
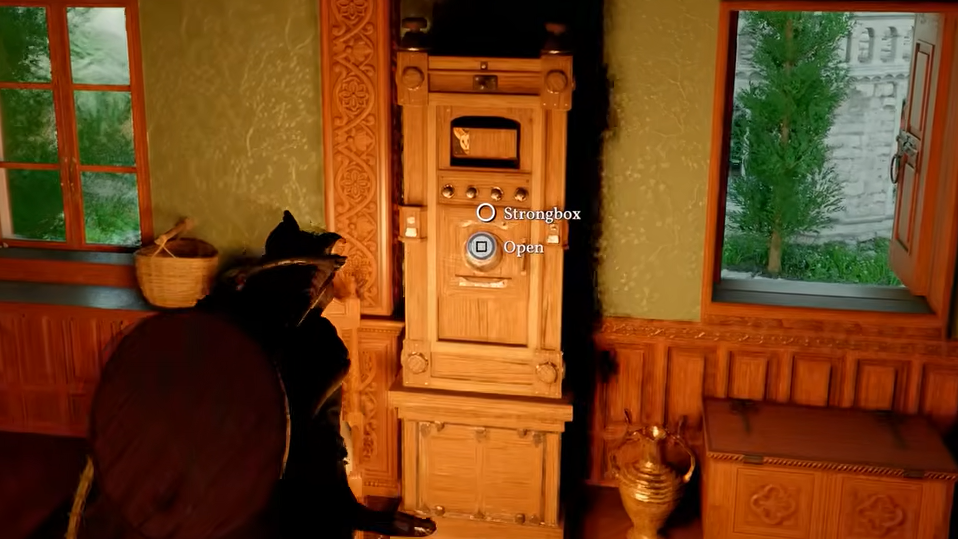
Strongboxes in Crimson Desert are high-value safes hidden inside manors, castles, courts, and monasteries throughout Pywel. They appear as white chest icons on the minimap and contain some of the best early-to-mid-game accessories, crafting recipes, and unique keys. Each one is locked behind a mechanical puzzle — rotating image wheels, sliding picture tiles, musical keys, or vertical cylinder alignment — and you'll need to equip the mask after solving a strongbox before you can steal the reward inside.
Quick answer: There are 17 confirmed strongboxes spread across four regions. Most have fixed solutions you can input immediately; two (Lioncrest Manor and Sungrove Manor) randomize their starting positions for every player and must be solved manually.
Hernand Region Strongboxes (5 Total)
The Hernand strongboxes are the most accessible in the game. All five sit within or near Hernand City and can be reached relatively early if you're comfortable with a bit of trespassing and wall-climbing.
Northern Bluemont Manor — Rotating Image Puzzle
Reward: Oath of Darkness Earring
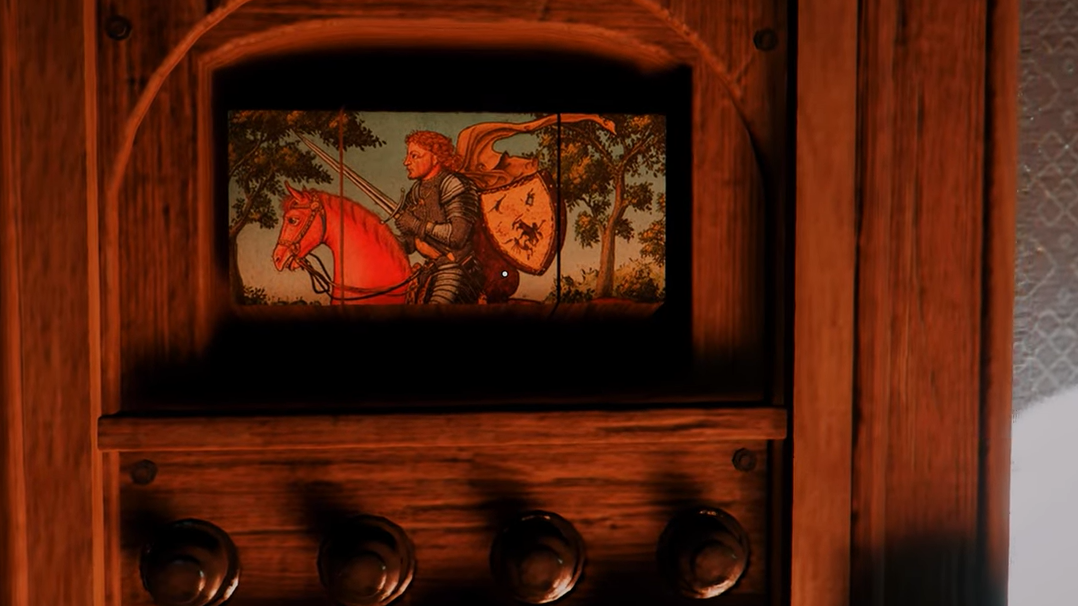
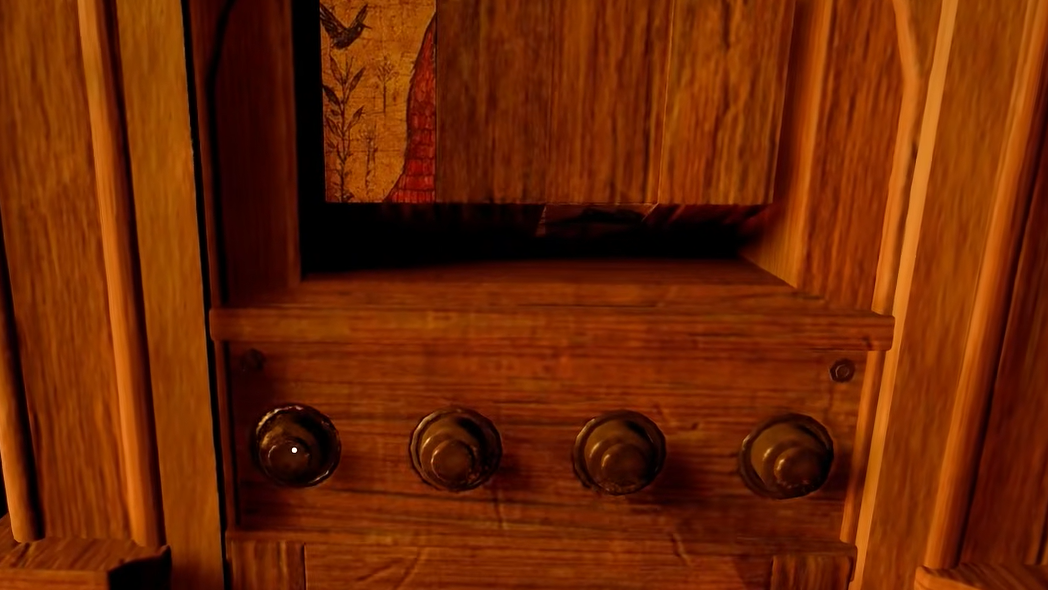
The northern Bluemont building is the smaller stone structure on the western side of Hernand Town, just south of the main plaza tree. It is not guarded. Head to the second floor and enter the southernmost room to find a strongbox displaying a rotating owl picture split into four panels. Each button rotates one or more panels simultaneously, so pressing them at random will get you nowhere fast.
Press the buttons in this exact sequence to complete the image: 2, 2, 2, 4, 3, 3, 3, 3, 2, 1, 1, 1, 1
The Oath of Darkness Earring can be refined multiple times to unlock a bonus passive ability.

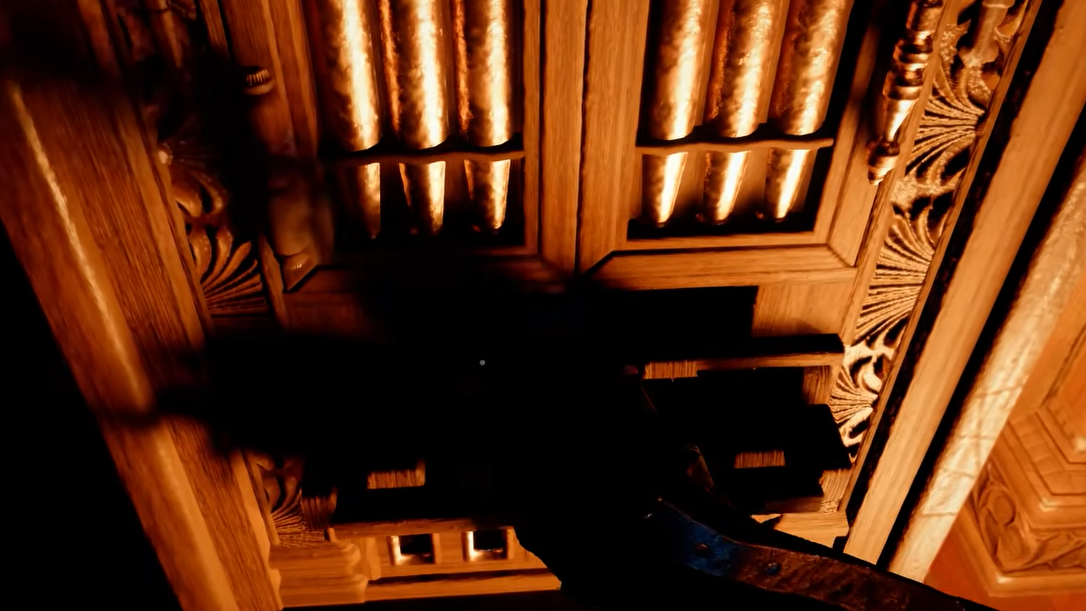
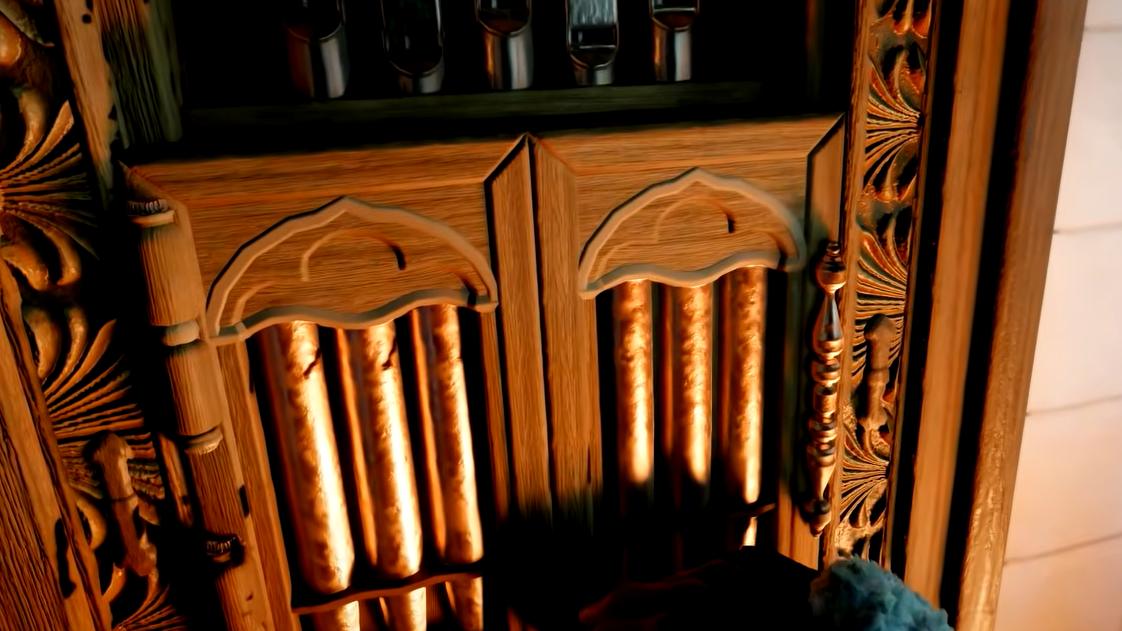
Southern Bluemont Manor — Cylinder Alignment Puzzle
Reward: Finely Crafted Gold Necklace
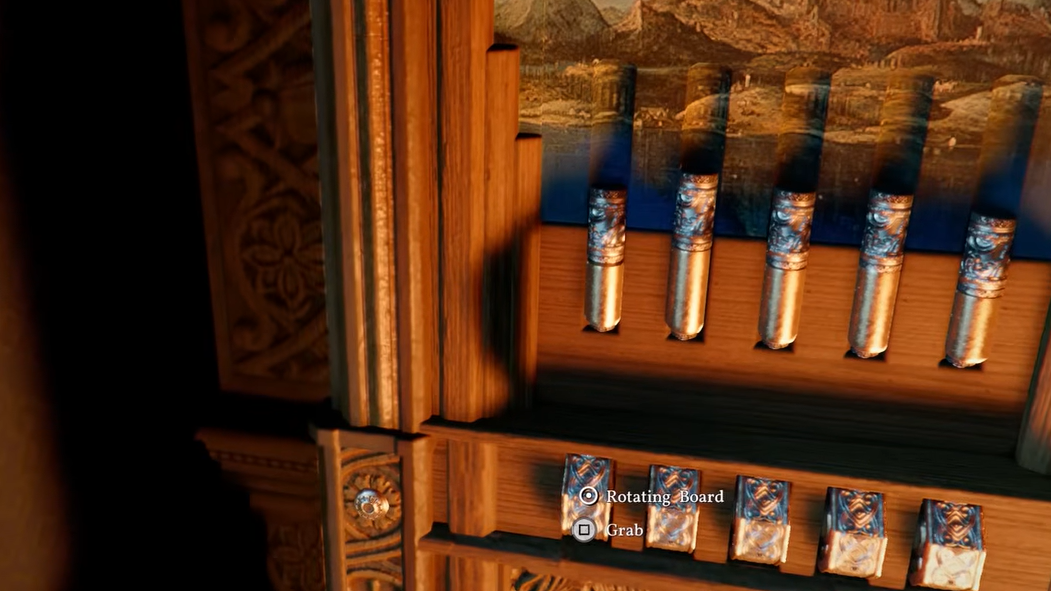
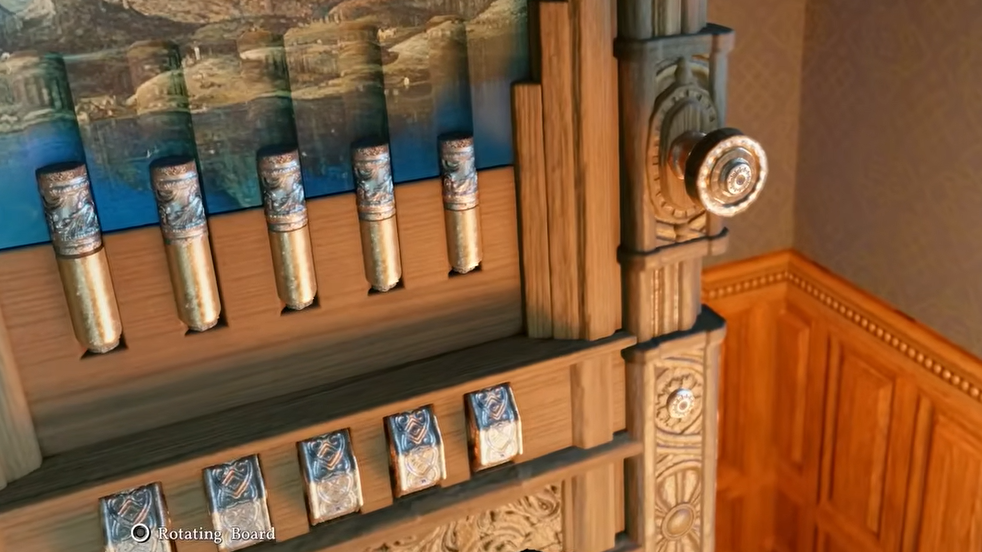
The larger southern Bluemont building is guarded at every entrance, but the second-floor balcony on the western side is unpatrolled. The balcony door is locked and requires a key. Inside, the strongbox uses five metal cylinders that function like a tumbler lock. Each cylinder must be raised so its silver top sits above the wood paneling line while the golden base stays below it.
Scroll the wheels from left to right:
| Wheel | Turns |
|---|---|
| 1st | 5 |
| 2nd | 2 |
| 3rd | 4 |
| 4th | 3 |
| 5th | 5 |
Press the button on the right side to confirm alignment. If the lower paneling swivels open, you've cracked it.
Hillside Manor — Cylinder Alignment Puzzle
Reward: Saint's Necklace
Hillside Manor sits just below the eastern tip of Hernand Castle, above the Church of Hernand. The front doors are heavily guarded, but you can bypass them entirely by climbing the exterior wall on the left side and entering through the upper corner window on the southwest face.
This strongbox uses the same cylinder mechanism as the southern Bluemont puzzle. Scroll the wheels from left to right:
| Wheel | Turns |
|---|---|
| 1st | 2 |
| 2nd | 3 |
| 3rd | 4 |
| 4th | 5 |
| 5th | 5 |
The Saint's Necklace grants a temporary stamina boost when worn.
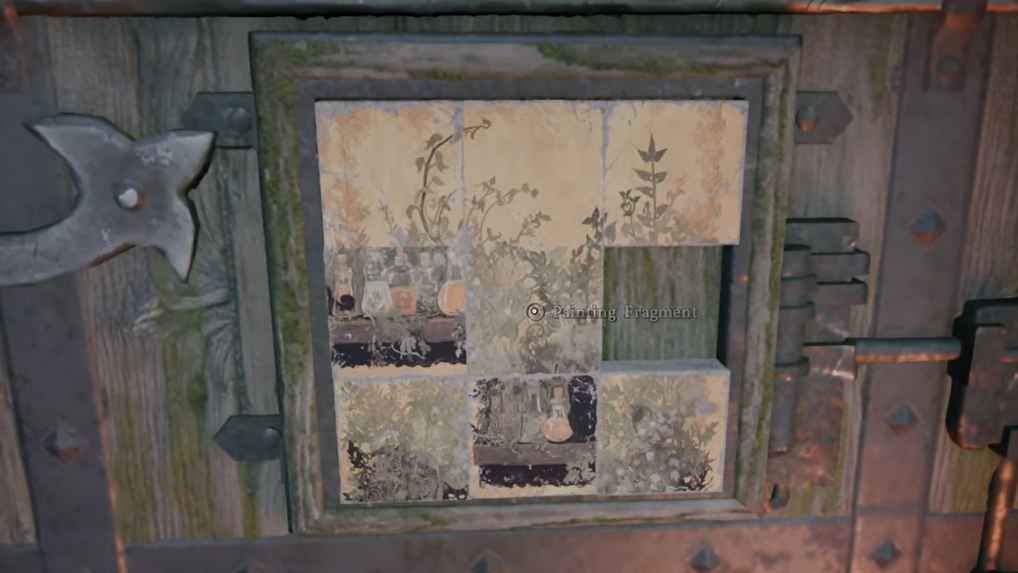
Lioncrest Manor — Randomized Rotation Puzzle
Reward: Engraved Gold Earring
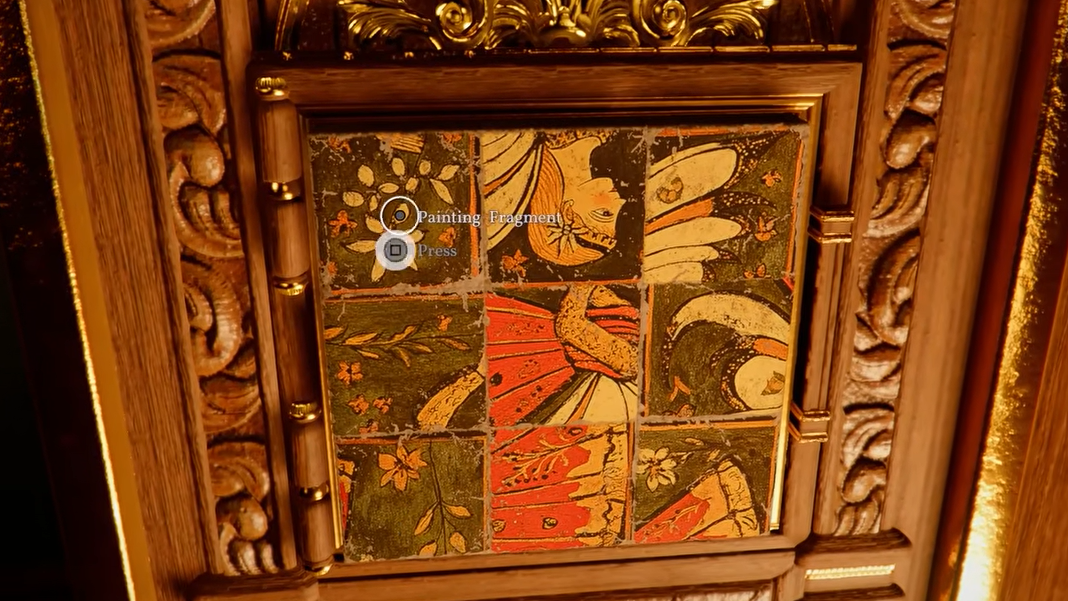
Lioncrest Manor sprawls across the northwest outskirts of Hernand Town, up the hill due west of the castle. Entrances are well guarded, so climb the back wall and slip through a second-floor window near the rear entrance. Once inside, go through the locked door on the southeastern side (not the double doors) to find a strongbox displaying a scrambled painting of a girl with fairy wings.
This puzzle randomizes its starting arrangement for every player, so there is no fixed input sequence. You need to manually rotate each of the nine painting fragments until the full image is assembled correctly.
The Engraved Gold Earring can be refined further to unlock a passive bonus.
Hernand Castle — Musical Key Puzzle
Reward: Lavish Meal Recipe
The strongbox is at the top of Hernand Castle's main keep. Climb the stairwell to the third floor and open the locked door — you'll need a normal key, which can be bought or stolen. If anyone is in the bedroom, sleep in the bed until daytime to clear the room.
The strongbox has eight piano-like keys arranged in two rows. Wind up the gears on the side to hear a seven-note tune, then replicate it. The correct key order:
| Note # | Key |
|---|---|
| 1 | Top 1st |
| 2 | Bottom 4th |
| 3 | Bottom 3rd |
| 4 | Bottom 4th |
| 5 | Top 3rd |
| 6 | Bottom 1st |
| 7 | Top 3rd |
The recipe inside requires a large number of ingredients to prepare a buff-boosting Lavish Meal feast.
Demeniss Region Strongboxes (7 Total)
Demeniss is far more dangerous than Hernand. Several locations require you to either sneak past heavy patrols or defeat boss-tier Reapers before you can safely reach the puzzles.
Church of West Demeniss — Corner Box Puzzle
Reward: Dagger of Radiance
This strongbox is encountered during the "Secret at the Church" main quest in Byron Estate. Press the four corner boxes in this order: Lower Right → Upper Left → Lower Left → Upper Right.

Southern Court — Rotating Image Puzzle
Reward: Witch's Earring
You must liberate the Southern Court first by clearing enemies and defeating the New Moon Reaper boss. Enter the building and head to the second floor. The strongbox is in the blue room.
Press the buttons in this order: 1, 2. That's it — this is the simplest strongbox in the game.
Azerian Manor — Rotating Image Puzzle
Reward: Ancient Earring
Azerian Manor is very close to Sungrove Manor, found under the M in Demeniss on the map. Go to the second floor and look for a fake wall. Push it to reveal a hidden room containing the strongbox.
Press the buttons in this sequence: 1, 1, 2, 2, 2, 3, 3, 3
You can also solve this puzzle during the Blazing Fire main quest.
Sungrove Manor — Randomized Rotation Puzzle
Reward: Sungrove Manor Key
Head to Sungrove Manor near the M in Demeniss and go to the second floor. The strongbox is in the room at the end of the corridor. Like Lioncrest Manor, this puzzle scrambles randomly for every player. You must rotate each individual square until the picture is complete — no fixed code exists. This can be solved during the Whispering Shadows main quest or through free exploration.
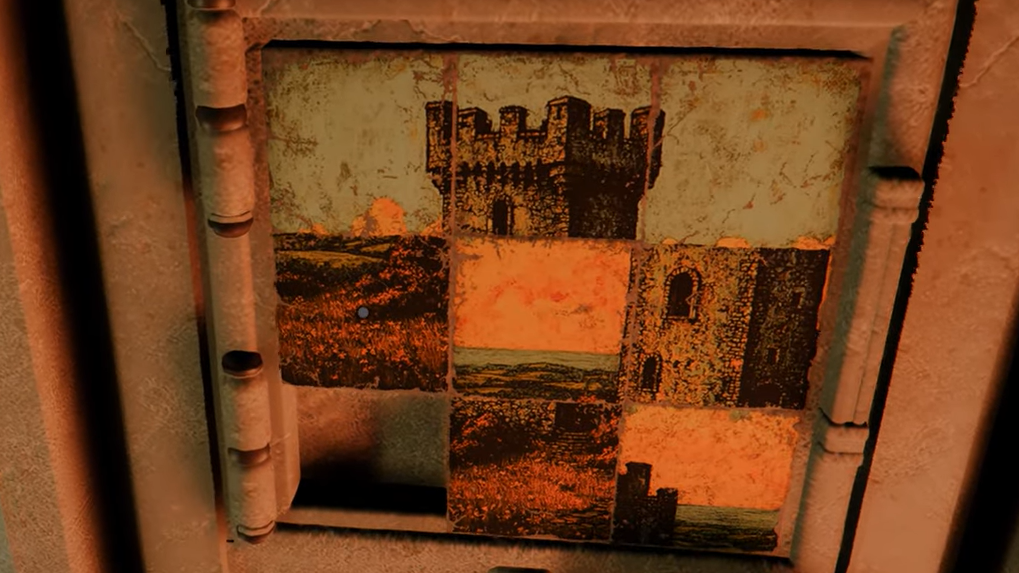
Western Court — Sliding Tile Puzzle
Reward: Karanda's Necklace
The Western Court sits northwest of Demeniss city. You may need to defeat the Half Moon Reaper boss and clear the courtyard before entering. On the first floor, look for a curtain next to the stairs — the basement ladder is hidden underneath. Head down to find the sliding tile strongbox.
Follow these tile moves exactly:
Step 1: Bottom Center → Right. Bottom Left → Right.
Step 2: Center Left → Down. Center → Left. Center Right → Left.
Step 3: Bottom Right → Up. Bottom Center → Right. Bottom Left → Right.
Step 4: Center Left → Down. Center → Left.
Step 5: Bottom Center → Up. Bottom Left → Right.
Step 6: Center Left → Down. Center → Left.
Step 7: Bottom Center → Up. Bottom Right → Left.
Reventine Monastery — Sliding Tile Puzzle
Reward: Reventine Monastery Exclusive Document (sells for a large amount of silver)
Reventine Monastery is southeast of the Hills of No Return, east of the D in Demeniss. Navigate to the round courtyard full of doors, take the eastern door, and push the library bookshelf on the right to reveal a secret room.
Follow these tile moves exactly:
Step 1: Center Right → Down. Center → Right.
Step 2: Bottom Center → Up. Bottom Left → Right.
Step 3: Center Left → Down. Center → Left.
Step 4: Bottom Center → Up. Bottom Right → Left.
Step 5: Center Right → Down. Center → Right.
Step 6: Bottom Center → Up. Bottom Left → Right.
Step 7: Center Left → Down. Center → Left.
Step 8: Center Right → Left. Bottom Right → Up.
Pororin Forest Strongbox (1 Total)
Mudridge Cabin — Sliding Tile Puzzle
Reward: Flower Petal Earring
Mudridge Cabin is south of Unicorn Cliff in Pororin Forest. The cabin is surrounded by toxic mud that slows movement and constantly drains HP, so climb the wooden posts immediately to reach the second floor. Clear the enemies in the area first — liberating the zone makes subsequent visits much easier.
Follow these tile moves exactly:
Step 1: Center Right → Down. Center → Right. Center Left → Right.
Step 2: Bottom Left → Up. Bottom Center → Left.
Step 3: Center → Down. Center Left → Right.
Step 4: Bottom Left → Up. Bottom Center → Left. Bottom Right → Left.
Pailune and Hills of No Return Strongboxes (4 Total)
Arboria Castle — Cylinder Alignment Puzzle
Reward: Equipment Manual
Travel to the Hills of No Return and enter Arboria Castle. The strongbox is in an abandoned room filled with spider webs in the basement. Scroll the wheels from left to right:
| Wheel | Turns |
|---|---|
| 1st | 3 |
| 2nd | 4 |
| 3rd | 5 |
| 4th | 4 |
| 5th | 2 |
Stellen Manor Strongbox 1 — Cylinder Alignment Puzzle
Reward: Finely Crafted Gold Ring
Stellen Manor is northeast of Drakesfall Gorge in Pailune. The first strongbox is at the top of the tower. Climb the exterior walls and enter through the window. Scroll the wheels from left to right:
| Wheel | Turns |
|---|---|
| 1st | 2 |
| 2nd | 5 |
| 3rd | 5 |
| 4th | 4 |
| 5th | 3 |

Stellen Manor Strongbox 2 — Musical Key Puzzle
Reward: Stellen Manor Closet Key
The second Stellen Manor strongbox is on the second floor, inside the dining room. You can reach it by climbing through a window or entering normally. This is a musical puzzle — press the keys in this order:
| Note # | Key |
|---|---|
| 1 | Bottom 1st |
| 2 | Bottom 3rd |
| 3 | Bottom 4th |
| 4 | Bottom 2nd |
| 5 | Bottom 1st |
| 6 | Bottom 3rd |
| 7 | Bottom 4th |
Complete Strongbox Reward Reference
| Location | Region | Puzzle Type | Reward |
|---|---|---|---|
| Northern Bluemont Manor | Hernand | Rotating Image | Oath of Darkness Earring |
| Southern Bluemont Manor | Hernand | Cylinder Alignment | Finely Crafted Gold Necklace |
| Hillside Manor | Hernand | Cylinder Alignment | Saint's Necklace |
| Lioncrest Manor | Hernand | Randomized Rotation | Engraved Gold Earring |
| Hernand Castle | Hernand | Musical Keys | Lavish Meal Recipe |
| Church of West Demeniss | Demeniss | Corner Box | Dagger of Radiance |
| Southern Court | Demeniss | Rotating Image | Witch's Earring |
| Azerian Manor | Demeniss | Rotating Image | Ancient Earring |
| Sungrove Manor | Demeniss | Randomized Rotation | Sungrove Manor Key |
| Western Court | Demeniss | Sliding Tile | Karanda's Necklace |
| Reventine Monastery | Demeniss | Sliding Tile | Reventine Monastery Exclusive Document |
| Mudridge Cabin | Pororin Forest | Sliding Tile | Flower Petal Earring |
| Arboria Castle | Hills of No Return | Cylinder Alignment | Equipment Manual |
| Stellen Manor (Tower) | Pailune | Cylinder Alignment | Finely Crafted Gold Ring |
| Stellen Manor (Dining Room) | Pailune | Musical Keys | Stellen Manor Closet Key |
Most strongboxes are in guarded locations, so keep a few normal keys in your inventory for locked doors and consider clearing enemy garrisons before attempting the trickier sliding tile puzzles. If you mess up a sliding tile sequence, back out and interact with the strongbox again to reset it. For the two randomized rotation puzzles at Lioncrest Manor and Sungrove Manor, patience is the only strategy — rotate each fragment one at a time until the full painting clicks into place.