
The Tree of Slumber is one of the trickier Abyss Restoration Challenges in Crimson Desert. It sits deep inside the Sleet Isles chain, and its central pillar-height mechanic can feel opaque if you don't know exactly which slots to stab and which direction to turn. The good news is that the entire puzzle resolves in three precise moves once you understand the layout.
Quick answer: Stab the central pillar's slot three times in sequence, rotating specific outer pillars up or down until all rings sit flush with the ground and glow blue. The full step-by-step is below.
Prerequisites and Required Skills
Tree of Slumber is the seventh link in a mandatory chain of Abyss Puzzles. You cannot reach it without clearing every preceding puzzle in order. The Abyss Gate that starts this chain is inside the Spire of Ringing Truth, which is guarded by a boss fight.
| Order | Abyss Puzzle |
|---|---|
| 1 | Spire of Ringing Truth |
| 2 | Ether Rest |
| 3 | Frostbitten Paradise |
| 4 | Path of Trials |
| 5 | Sanctorum of Darkness |
| 6 | Loop of Life |
| 7 | Tree of Slumber |
| 8 | Skyloop Bridge |
You will need three skills equipped before entering the puzzle room. Axiom Force is used to interact with environmental objects, Stab lets you insert your sword into the central pillar's slots, and either Force Current or Force Palm is needed to activate the completion device at the end.
| Detail | Value |
|---|---|
| Rewards | Fast Travel Teleport, Abyss Artifact, Flame Strike, Imbue Element |
| Required Skills | Axiom Force, Stab, Force Current or Force Palm |
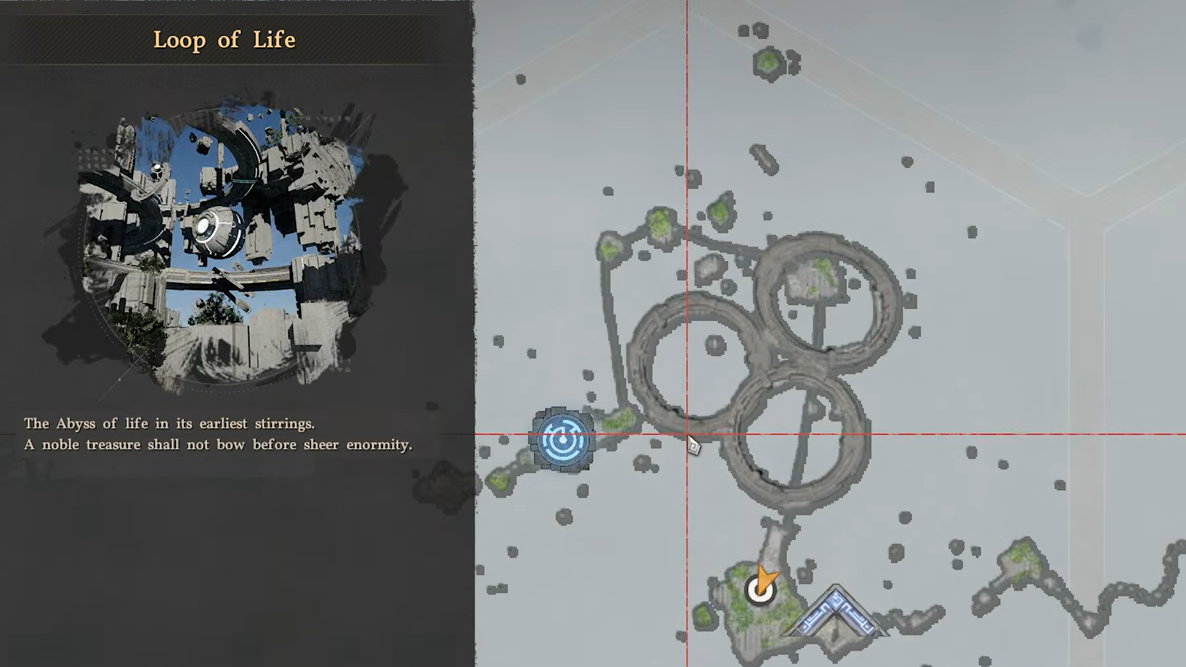
Reaching Tree of Slumber from Loop of Life
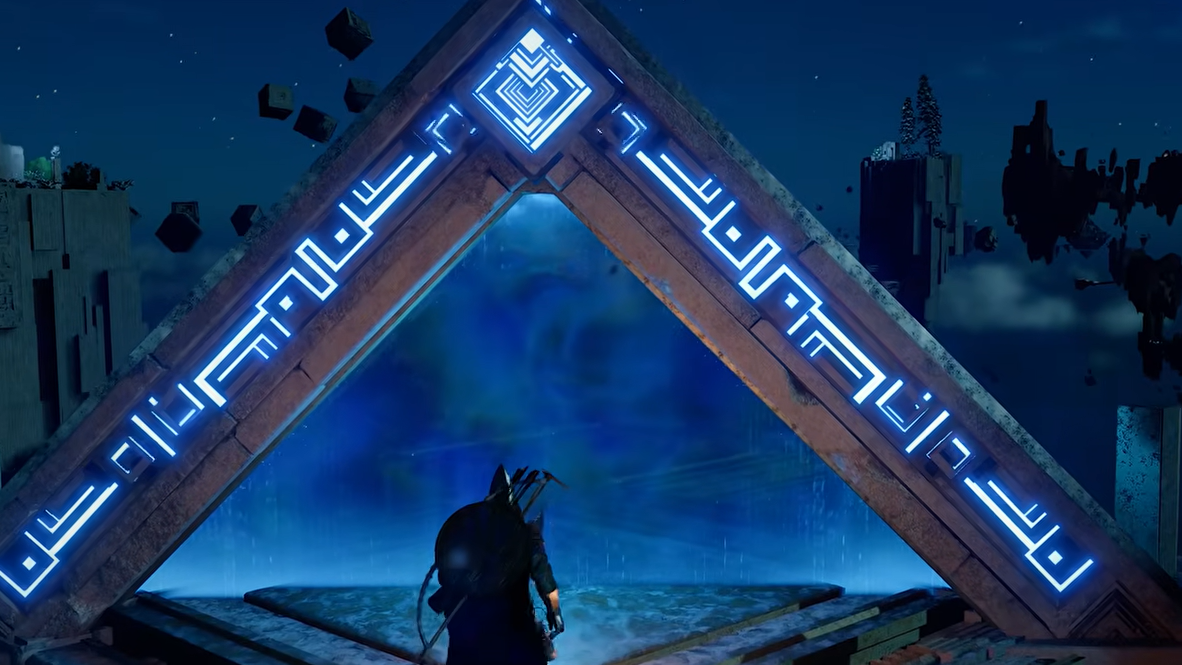
After finishing Loop of Life, look slightly east of where you picked up the previous Abyss Artifact and walk through the triangle gate. Use Axiom Force on the grey pillar nearby to rotate it and form the path forward.
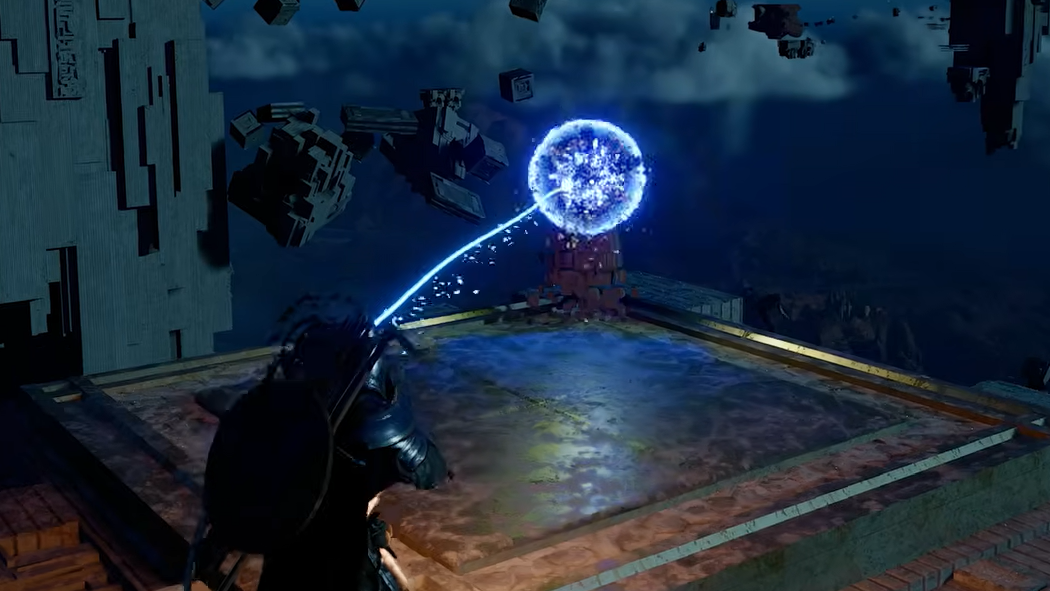
Head east, then southeast across the platforms. Follow the blue-lit blocks eastward until you land on a square platform. A moving platform will arrive from the southeast — ride it to the next static platform and repeat this process until you reach the Tree of Slumber teleporter. If the rotating glowing platforms give you trouble, you can bypass them by boosting into the air with Force Palm and gliding over.
Control Inputs for the Puzzle
Every interaction in this puzzle uses the Stab command on the central pillar. Here are the inputs across all platforms:
| Action | PlayStation | Xbox | PC (Keyboard + Mouse) |
|---|---|---|---|
| Stab | R1 + Triangle | RB + Y | L-Shift + RMB |
| Axiom Force | Hold L3, release | Hold L3, release | Hold Tab, release |
| Force Current | Axiom Force → R3 | Axiom Force → R3 | Axiom Force → MMB |
| Jumping Force Palm | Square → R3 | X → R3 | Space → MMB |
Tree of Slumber Puzzle Solution
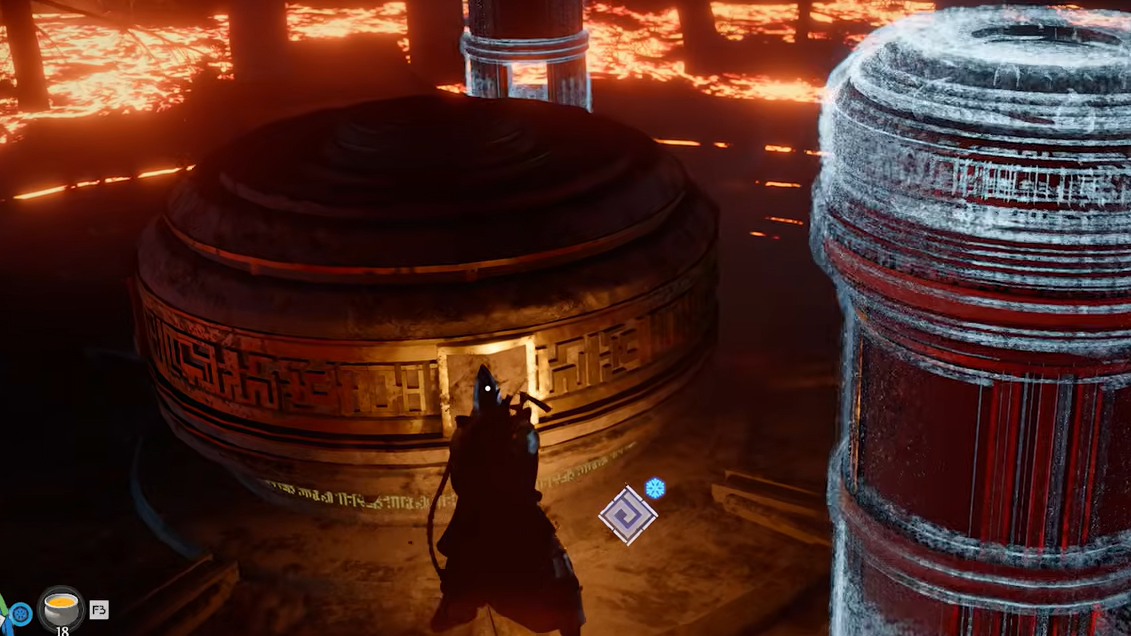
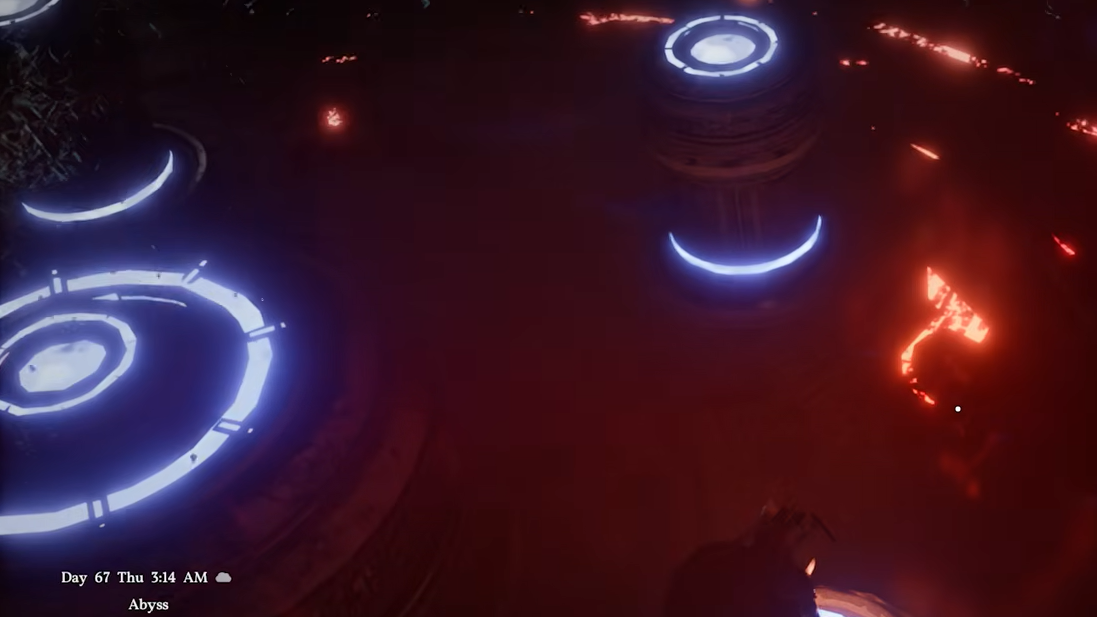
When you arrive, head north to activate the Abyss Nexus — this is your checkpoint. Continue north through the gate to enter the puzzle room. The goal is straightforward: make every outer pillar the same height so its rings sit even with the ground. Each slot on the central pillar controls different outer pillars, raising or lowering them depending on which direction you turn.
Step 1: Face the short pillar and stab your sword into the slot on the opposite side of the central pillar from where you entered. Rotate clockwise (turn right) until the rings on the pillars to your left rise to just above ground level. Three pillars should light up, confirming they moved correctly.
Step 2: Release the slot and move one position clockwise to the next slot. Stab again and rotate clockwise once more. Keep turning until the pillar to your left sinks even with the ground — you will not be able to rotate any further once it locks in. At this point, one pillar should be fully solved, and the remaining three should be roughly equal in height.
Step 3: Release and move one more position clockwise to the final slot. Stab and rotate counterclockwise (turn left) this time. Lower the remaining pillars until all rings sit flush with the ground. Every pillar should glow blue simultaneously, confirming the puzzle is complete. If nothing triggers, a mistake occurred in Step 1 or Step 2, and you should reset by stepping into the lava.
Activating the Completion Device and Claiming Rewards
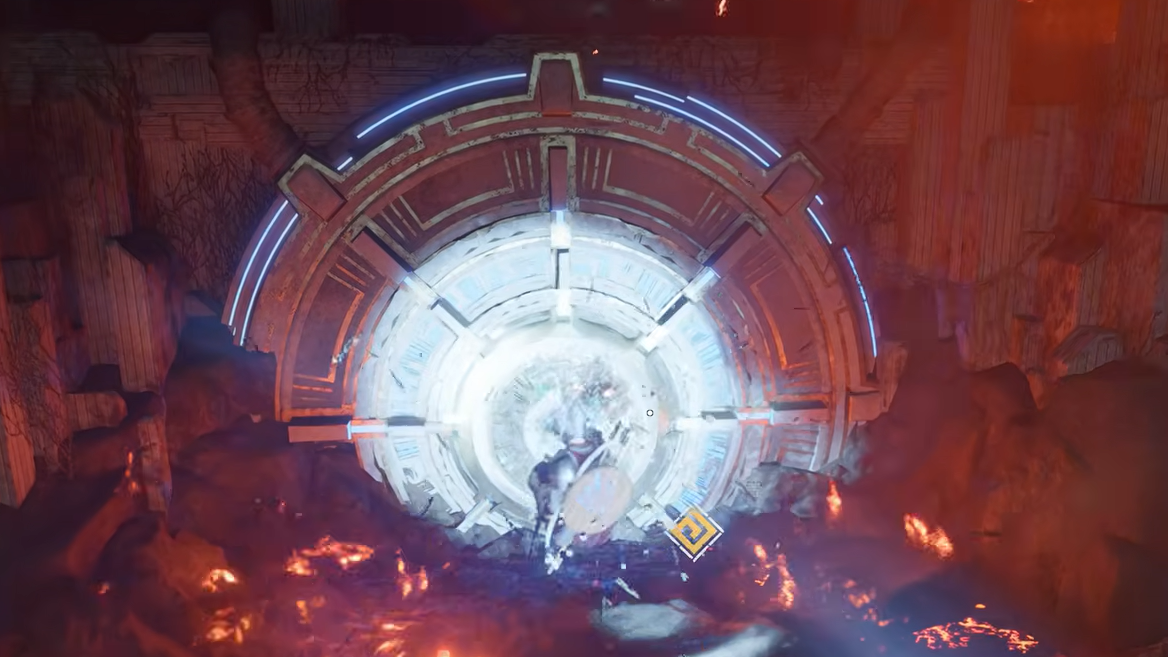
Once the pillars lock into place, a large circular device on the far side of the room activates and glows yellow. Getting to it requires crossing near the lava, and dying here resets the entire puzzle — so be careful.
After the device activates, climb up to the platform above it and collect the Abyss Artifact. Flame Strike will immediately unlock in your skill tree, and the Flame element becomes available for Imbue Element skills across all characters. Walk through the triangular gate behind the artifact to proceed.
The Skybridge to Skyloop Bridge
Beyond the gate, the Skybridge connecting Tree of Slumber to the final puzzle in this chain — Skyloop Bridge — is one of the simpler traversal sections. It consists mainly of air vents that let you glide quickly from platform to platform with no hidden collectibles along the way. Ride the vents to the teleporter at the end to continue into Skyloop Bridge.
Tree of Slumber can feel finicky on a first attempt, but the three-move solution is consistent and repeatable. The real danger is the lava surrounding the completion device, not the pillar alignment itself. Take the remote activation approach with Axiom Force and Force Current, and you will walk away with the Flame Element without any resets.