
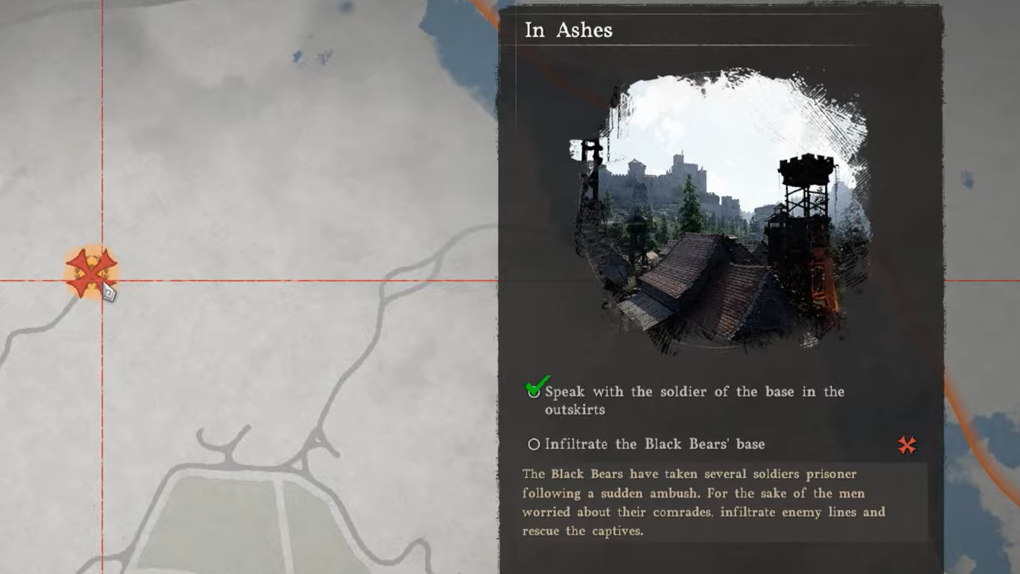
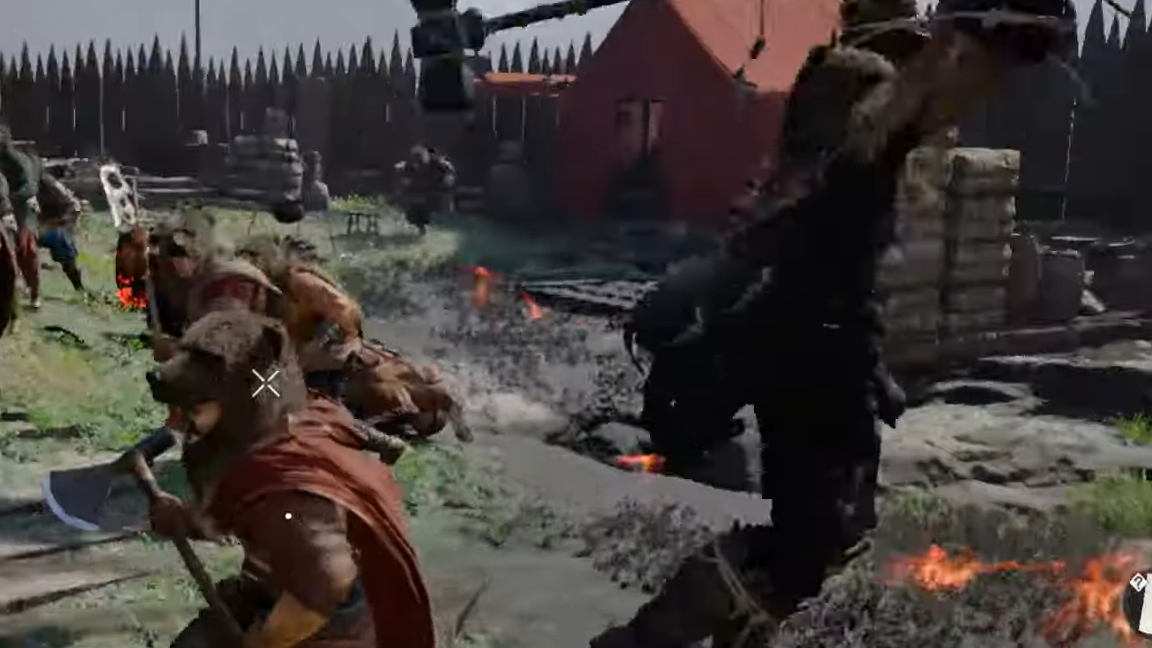
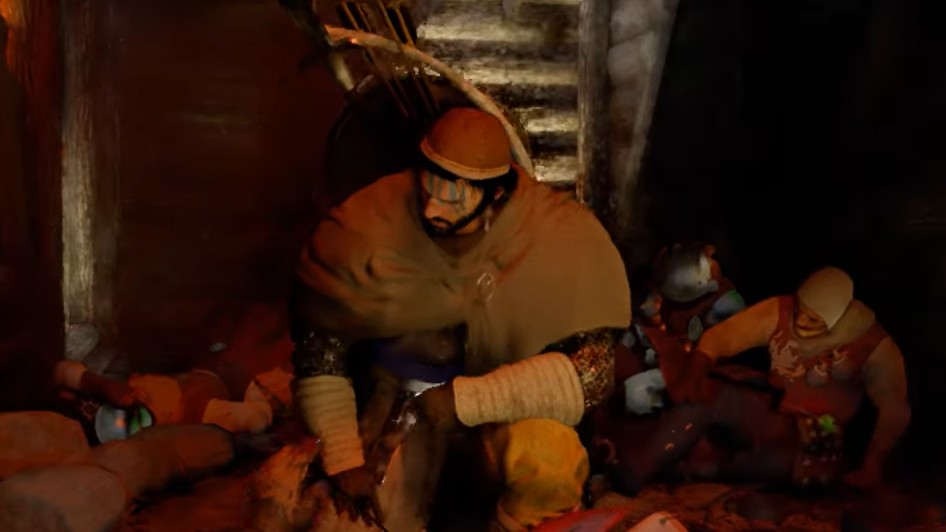
"In Ashes" is a main quest in Crimson Desert's Chapter 6 — part of the Turning Tides arc within the "Cracks in the Shield" storyline — and it asks Kliff to infiltrate a Black Bear stronghold and rescue captured soldiers. The quest itself sounds simple enough, but the base is swarming with hostile Black Bear warriors, and standing in the middle of them is a hammer-wielding Black Bear Captain who functions as a miniboss. This Captain hits hard enough to kill Kliff in one or two attacks, has a massive health pool, and can close distance with a devastating jump-slam. Many players have spent hours stuck on this fight.
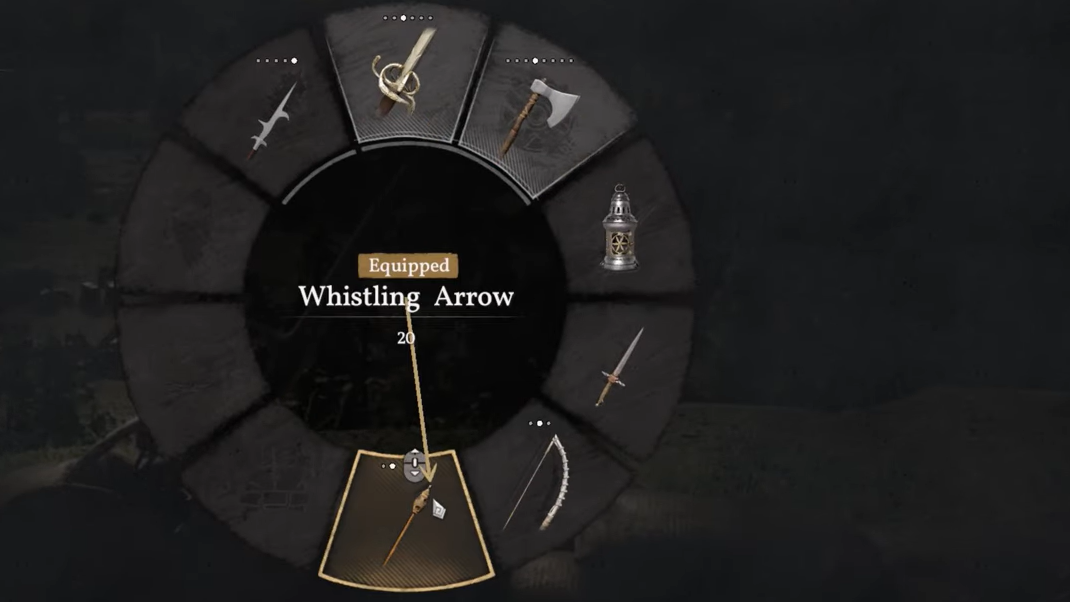
Quick answer: Equip Whistling Arrows and shoot the Black Bear Captain to call in allied artillery strikes. Stay mobile, dodge his jump attacks when the red circle appears, and repeat the artillery bombardment until he dies — avoid prolonged melee combat.
Preparation Before Entering the Black Bear Base
Before you walk through the gates, take a moment to thin out the groups of Black Bear soldiers stationed around the entrance. Rushing straight in means dealing with the Captain and a crowd of regular enemies simultaneously, which is a fast way to get overwhelmed. Clear the exterior pockets of resistance first so you can focus on the miniboss when the time comes.
Stock up on healing items at one of the resupply points nearby — they're marked by flag icons on your map. Carry as much food as your inventory allows. The Captain's attacks hit hard enough that you'll burn through healing supplies quickly, especially if any stray warriors are still alive during the boss fight.

Recommended Gear for the Fight
The Darkbringer sword makes a noticeable difference in this encounter. If you haven't picked it up yet, it's worth the detour — players who attempted the fight with weaker weapons reported barely denting the Captain's health bar even after minutes of sustained melee attacks. Reinforcing the Darkbringer and socketing any damage-boosting enhancements (such as Crow Abyss gear orbs) further shortens the fight.
A shield can also help if you prefer a more defensive approach, though the Captain's hammer swings are powerful enough to punish blocking if your timing is off. Regardless of your loadout, Whistling Arrows are the real key to this encounter.
Defeating the Black Bear Captain With Whistling Arrows
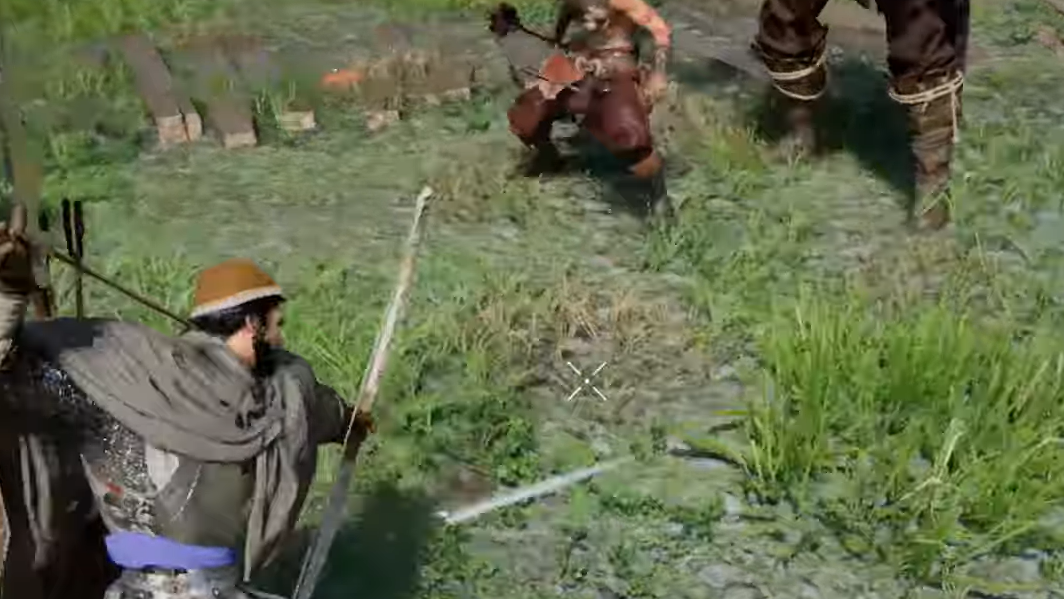
Step 1: Enter the base and immediately equip your bow with Whistling Arrows. Aim directly at the Black Bear Captain and fire. This calls in an artillery strike from your allied forces positioned outside the stronghold, dealing significant damage to the Captain.
Step 2: The artillery hit will provoke the Captain into his signature jump attack. Watch the ground — a red circle will appear where he's about to land. Dodge roll out of the red zone immediately. This slam deals massive damage and can one-shot Kliff at lower gear levels.
Step 3: After the Captain lands, he has a brief recovery window where he stands still or moves slowly. If he's jumped outside the base gates, he temporarily becomes unable to attack, giving you a safe window to land melee combos. Hit him during this opening, then back off before he resets.
Step 4: Once the Captain retreats back inside the gates, fire another Whistling Arrow at him to trigger another artillery barrage and repeat the jump-attack cycle. Keep looping this pattern — artillery strike, dodge the jump, punish during recovery, back off — until his health is depleted.
Step 5: Once the Black Bear Captain falls, the remaining warriors scatter automatically. A cutscene triggers, and the quest progresses to its next stage.
Alternative Strategies That Work
Tower sniping method
Climb to the top of the tallest watchtower inside the base. From this elevated position, you can fire Whistling Arrows down at the Captain to call in repeated artillery strikes without being in range of most of his attacks. The Captain may teleport up to your position — if he does, dodge his jump attack and land a quick combo before he drops back down. Repeat until he's dead. This approach minimizes your exposure to both the Captain and the surrounding enemies.
Lure-and-separate method
Pull the regular Black Bear warriors outside the base walls where you have more room to maneuver. Eliminate them in the open, then re-enter the base to fight the Captain one-on-one. With no adds to worry about, you can focus entirely on dodging his hammer swings and landing artillery strikes. This takes longer, but removes the chaos of the crowd fight.
Shield-and-food rush
Some players have had success equipping a shield, running directly at the Captain, and firing Whistling Arrows at their own feet to call artillery strikes at point-blank range. This requires constantly consuming food to survive the incoming damage, but the concentrated artillery hits can bring the Captain down in just two or three volleys. It's risky and resource-intensive, but fast if you have enough healing items.
Common Problems and How to Handle Them
| Problem | Cause | Solution |
|---|---|---|
| Captain barely takes damage from arrows | Whistling Arrows deal indirect damage through artillery, not direct bow damage — the Captain has high resistance to normal hits | Keep firing Whistling Arrows to trigger artillery; don't rely on standard arrows or melee alone |
| Supply depots (flag icons) disappear | Resupply points can become unavailable after checkpoint respawns | Manual save after restocking; reload that save instead of using checkpoint revive |
| Enemies respawn after checkpoint revive | Checkpoint system resets enemy spawns but not your consumed items | Use manual saves to preserve both your inventory and enemy clear progress |
| Quest doesn't progress after killing the Captain | Occasionally the quest marker stays on the base location | Try destroying remaining structures in the base with artillery strikes; this can trigger the next objective |
| Captain one-shots Kliff repeatedly | Gear level is too low for the encounter | Upgrade to the Darkbringer sword and reinforce it before attempting the fight; socket damage-boosting enhancements |
The Black Bear Captain fight in "In Ashes" is one of the sharper difficulty spikes in Crimson Desert's main story. The encounter rewards patience and smart use of the Whistling Arrow mechanic over brute-force melee. Keep your distance, let the artillery do the heavy lifting, dodge the red circles, and stock more food than you think you'll need. Once the Captain goes down, the rest of the quest wraps up quickly.