
Cubewalker Lithus is a massive stone golem lurking in the Southern Quarry of the Grace Estate in Crimson Desert's Hernand region. It hits hard, fills the cramped arena with wide area-of-effect attacks, and can even scatter its cube stones into an undodgeable whirlwind. Trying to chip away at it with normal damage is technically possible, but painfully slow. The real trick is far more satisfying — and far quicker.
Quick answer: Activate Axiom Force (L3), target the red glowing cube on Lithus's head, then use L2 and the right stick to rip it free. Lithus will collapse into pieces, letting you deal massive damage while it's helpless. Repeat two or three times to finish the fight.
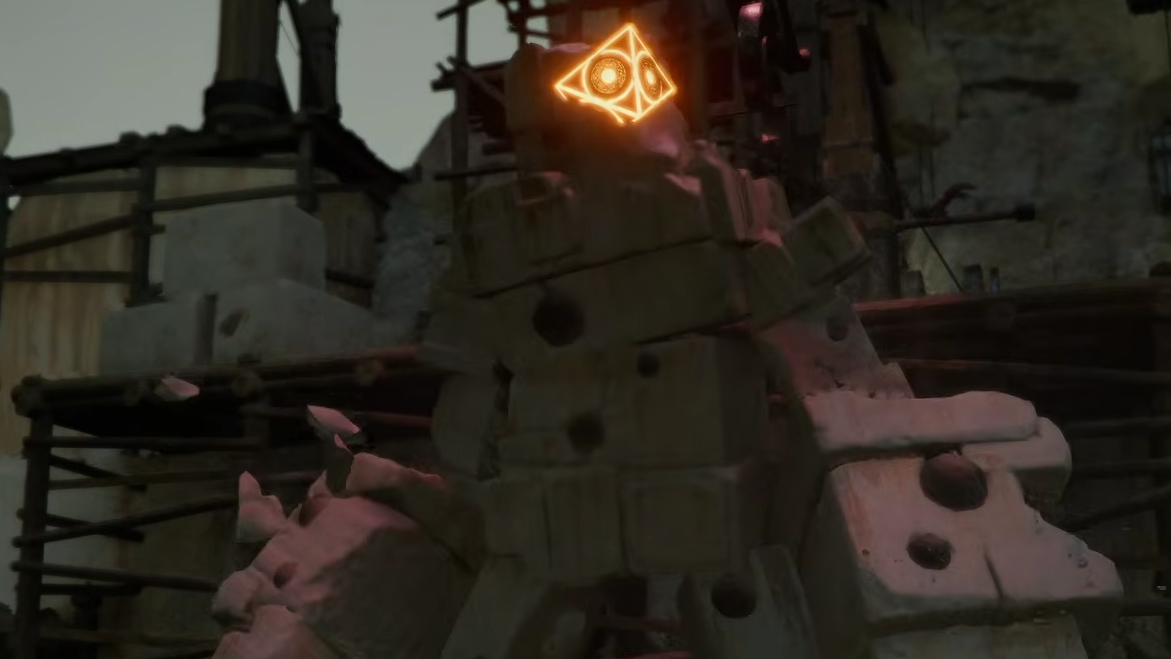
Lithus's Weak Spot and the Axiom Force Pull
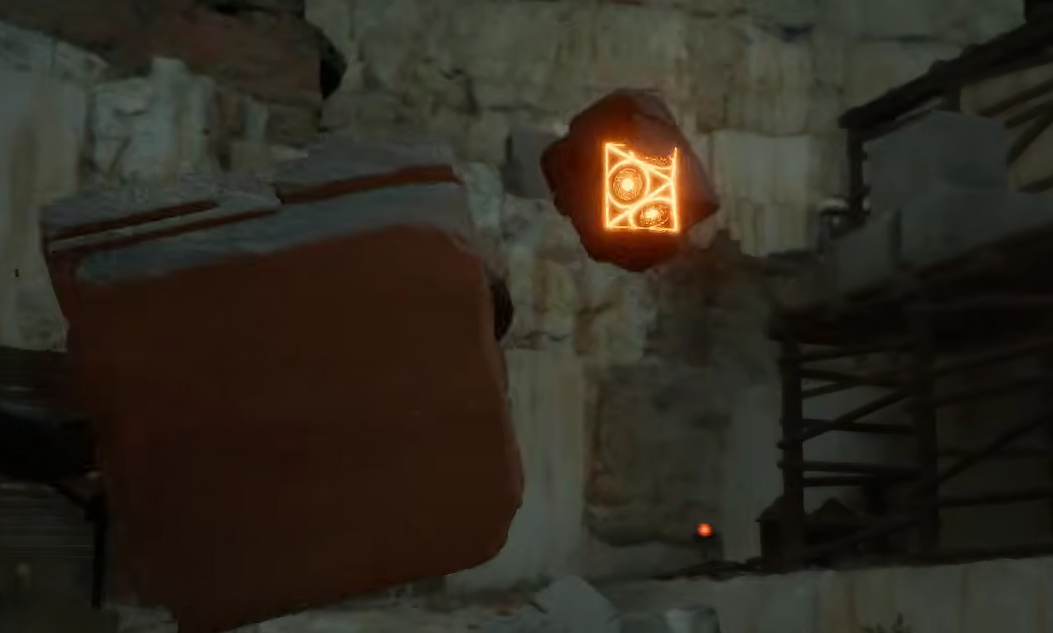
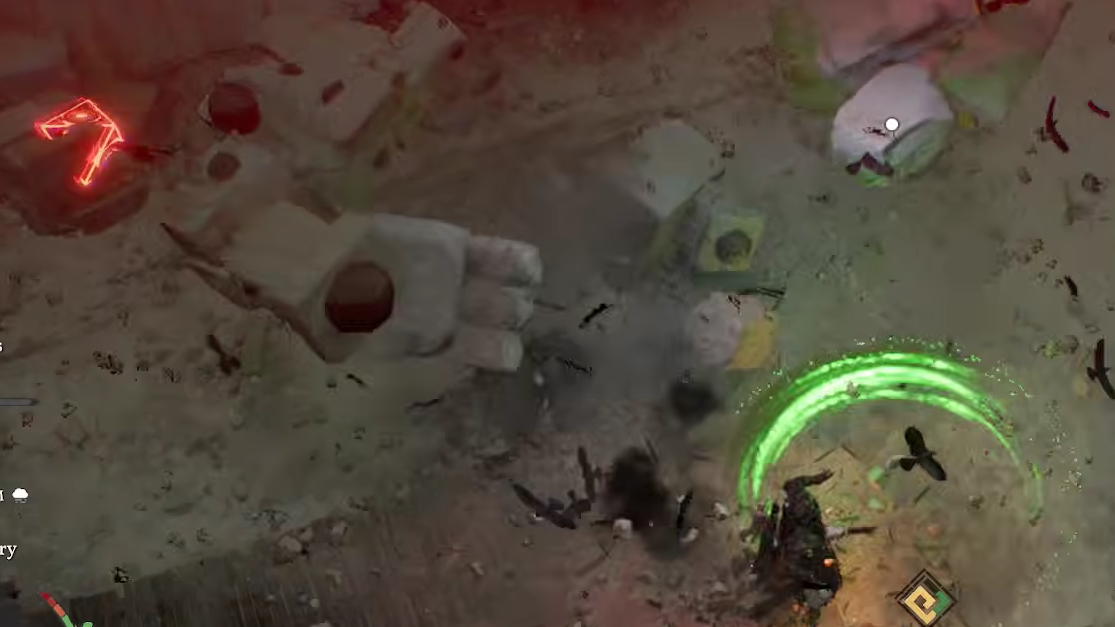
During the fight, you'll notice a red glow on the cube sitting atop Lithus's body. That glow marks its only real vulnerability. Locking onto it with Axiom Force and yanking it loose causes the entire golem to crumble into scattered stone chunks, each of which can be attacked freely for several seconds. The head itself takes the most damage, so prioritize it over the body clusters whenever you can reach it.
Once Lithus begins to reassemble, back off immediately and prepare for another pull cycle. Two to three successful pulls are typically enough to deplete its health entirely, depending on your gear and weapon level.
Stepwise Fight Strategy
Step 1: Press L3 to activate Axiom Force and aim the reticle at the glowing cube on Lithus's head. You need a clear line of sight, so position yourself at a distance where you can see the head without being mid-dodge.
Step 2: Once the Axiom Force latches on, hold L2 and rotate the right stick clockwise — like reeling in a fishing line — to wrench the cube free. A common mistake is holding L2 while also pushing the right stick in a single direction; this can prevent Kliff from entering the proper pulling animation. Either use the trigger alone or the right stick alone if the combined input isn't working for you.
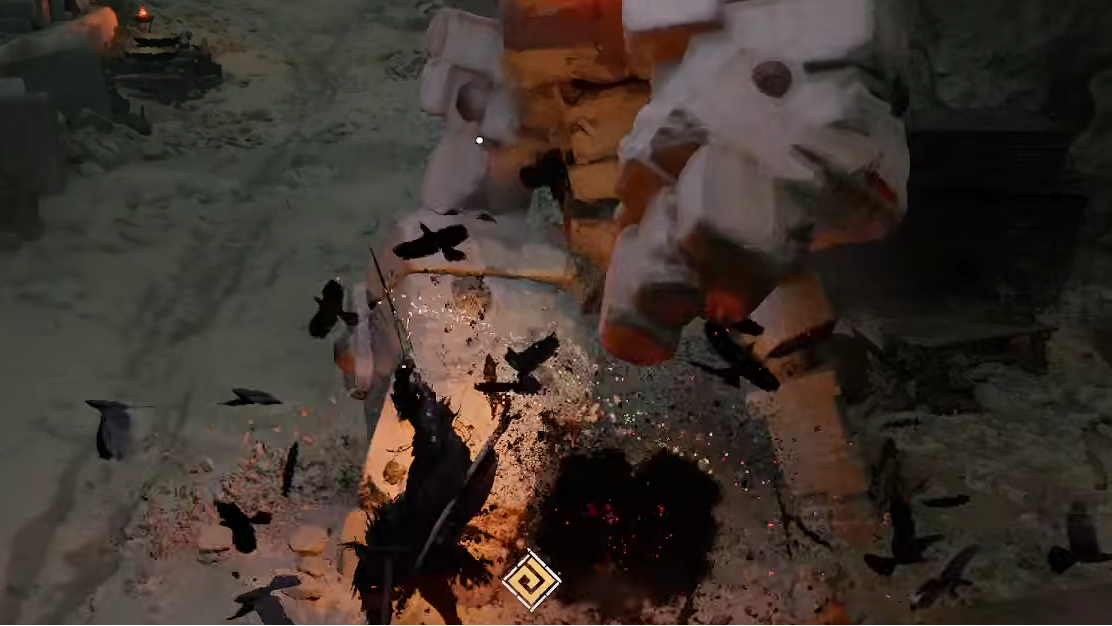
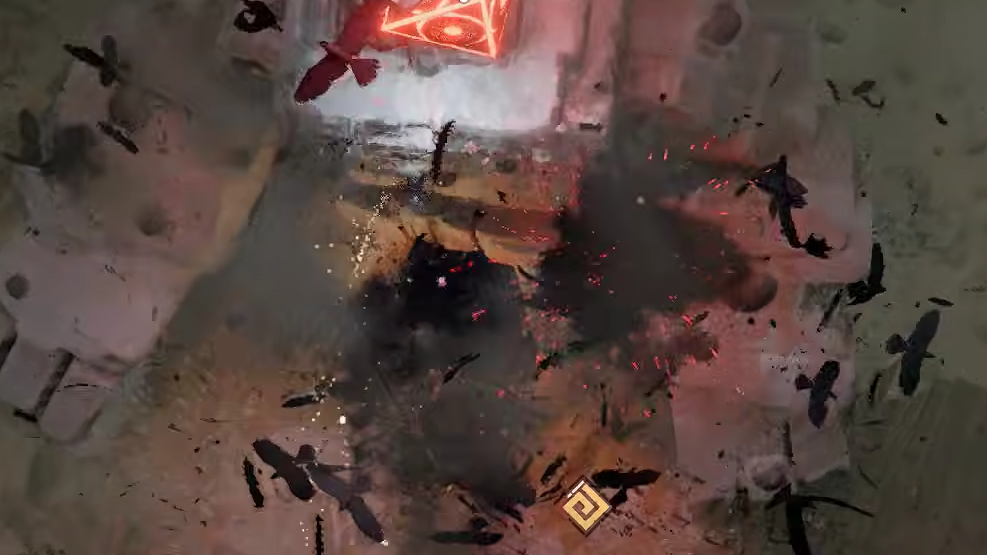
Step 3: Lithus will shatter into stone fragments on the ground. Rush to the largest cluster (or the head itself) and spam heavy attacks with R2. The Blinding Flash Finisher is especially effective here if you have it unlocked.
Step 4: When the stones start floating back together, create distance. Use the rock structures scattered around the arena as cover while you wait for Lithus to finish an attack, then repeat the Axiom Force pull.
Step 5: Continue the cycle until Lithus is dead. The safest windows to grab its head are right after it finishes an attack or while it's walking to reposition.
Scaffolding Cheese — Safe Pulls From Above
The arena has climbable scaffolding and stone slabs along its edges. If you climb up onto one of these elevated platforms, you'll technically leave the combat zone and trigger a "Return to the Battlefield" warning. The fight does not cancel, though, as long as you drop back in within roughly 30 seconds.
From the elevated position, Lithus cannot reach you with its attacks. You can safely activate Axiom Force, grab the head, and pull it free without any pressure. The pull takes noticeably longer than it does on a boss like the Crimson Nightmare, but 30 seconds is more than enough time. Once Lithus crumbles, jump down and unload your attacks. With decent gear, two cycles using this method can finish the fight entirely.
Alternative Approaches
Not everyone wants to use the head-pull mechanic, and a few other methods work — they just take longer.
| Method | How It Works | Drawback |
|---|---|---|
| Brute force | Dodge attacks and hit Lithus with normal combos between openings | Very slow; the narrow arena makes dodging inconsistent |
| Nature Snare reflect | Use Nature Snare to catch Lithus's ranged attacks and unleash them back; two reflected volleys can stagger it | Requires precise timing on ranged attacks specifically |
| Sword of Lords stamina drain | Magical basic attacks shred the yellow stamina bar, causing a stagger that opens a long damage window | Needs the weapon at level 5 or higher to be effective |
Rewards for Defeating Lithus
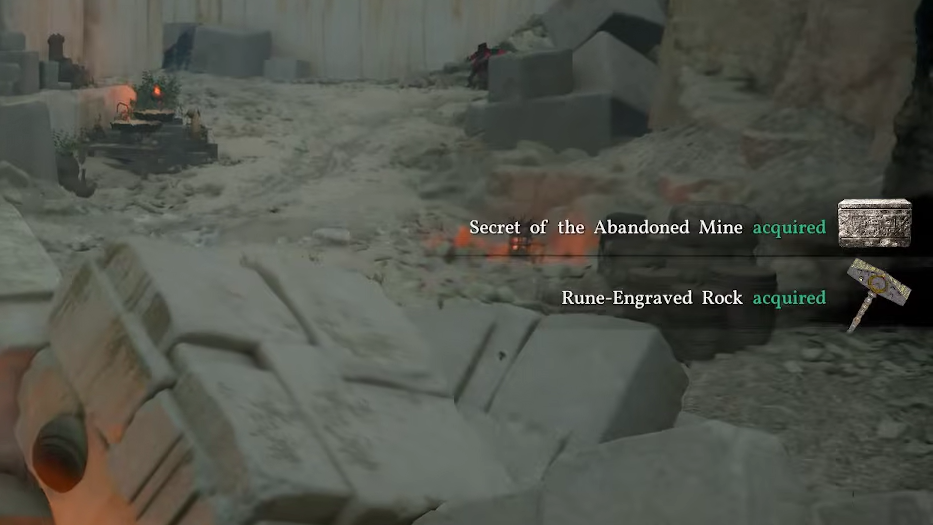
Killing Cubewalker Lithus drops the Rune-Engraved Rock, a two-handed weapon, along with the Secret of the Abandoned Mine, which contains Fine Stone when opened. After the boss falls, you can also use Axiom Force and Triangle near the Kuku Pot to seal the Power Core — Verse of Sowing.
Liberating the Southern Quarry After the Boss
Defeating Lithus fills a significant chunk of the Southern Quarry's liberation meter, but it won't complete it on its own. You still need to clear out the Bleed Bandits scattered throughout the quarry. Roam the area and take them down in groups to push the meter toward full.
There are also destructible structures — an Infirmary, Barracks, and Training Ground — that you can burn down using R1+R2 or fire abilities. These contribute only a small amount of liberation progress, so focus your time on the bandits instead.
Cubewalker Lithus looks intimidating, but the fight boils down to a simple loop: pull the head, punish the pieces, back off, repeat. Whether you do it from the ground between attack windows or from the safety of the scaffolding above, two or three clean cycles will put this stone golem down for good and push you well on your way to freeing the Southern Quarry.