
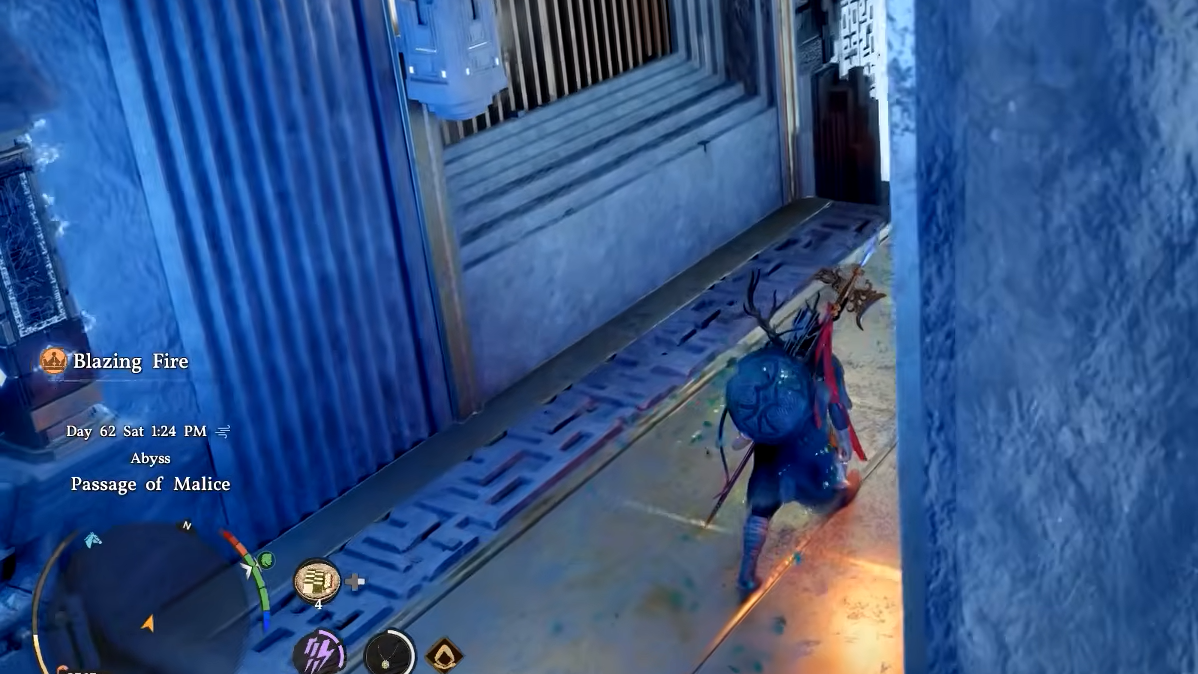
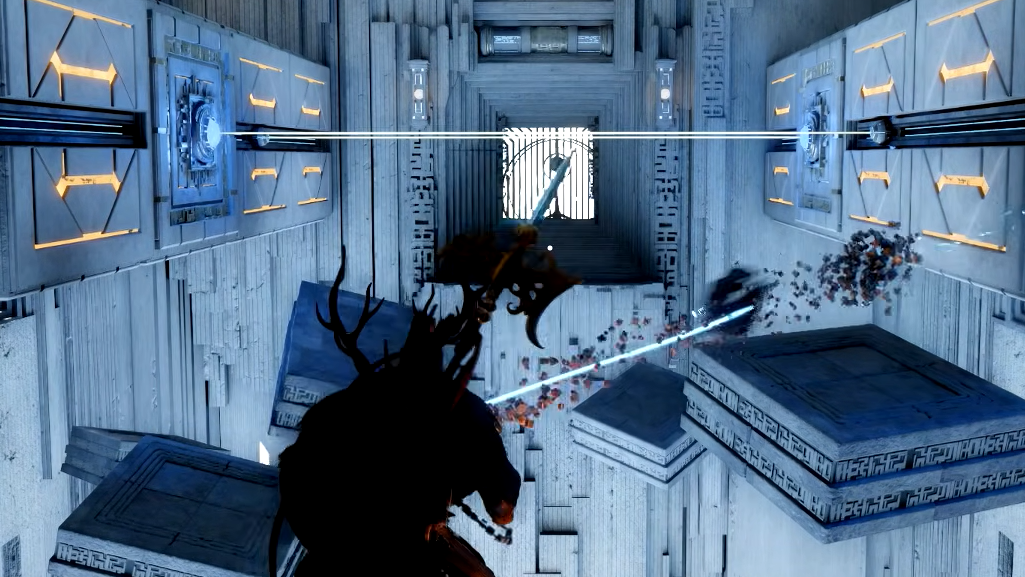
Passage of Malice is one of Crimson Desert's Abyss Island puzzles, and it's a genuine headache. The room is full of rotating cubes, sliding devices, lasers, and platforms with low ceilings that love to knock you into the void. Completing it earns you a Fast Travel Teleport and an Abyss Artifact, and the area also hides a Fruit of Life key item and a treasure chest containing Frostward II Abyss Gear (level 2 Ice Resistance).
Quick answer: You must use Axiom Force to align sliding devices and rotate cubes so that lasers hit yellow buttons and turn them blue, then insert a blue pillar into the circular device at the end using Force Palm or Force Current to activate the teleporter and claim your Abyss Artifact.
Prerequisites and required skills
| Category | Details |
|---|---|
| Prerequisite puzzle | Spire of Frost (must be completed first) |
| Required skills | Axiom Force, plus Force Palm or Force Current |
| Recommended skill | Flight |
| Rewards | Fast Travel Teleport, Abyss Artifact |
You cannot reach Passage of Malice until Spire of Frost is done. Make sure you have Axiom Force and at least one of the two Force attachment skills before entering, or you won't be able to finish the final step.
Entrance laser puzzle — Aligning the first sliding device
Step 1: When you enter the room, look to the left side for a sliding device. Use Axiom Force on it and push it until it lines up with the yellow button on the right wall. The button should turn blue once the alignment is correct.

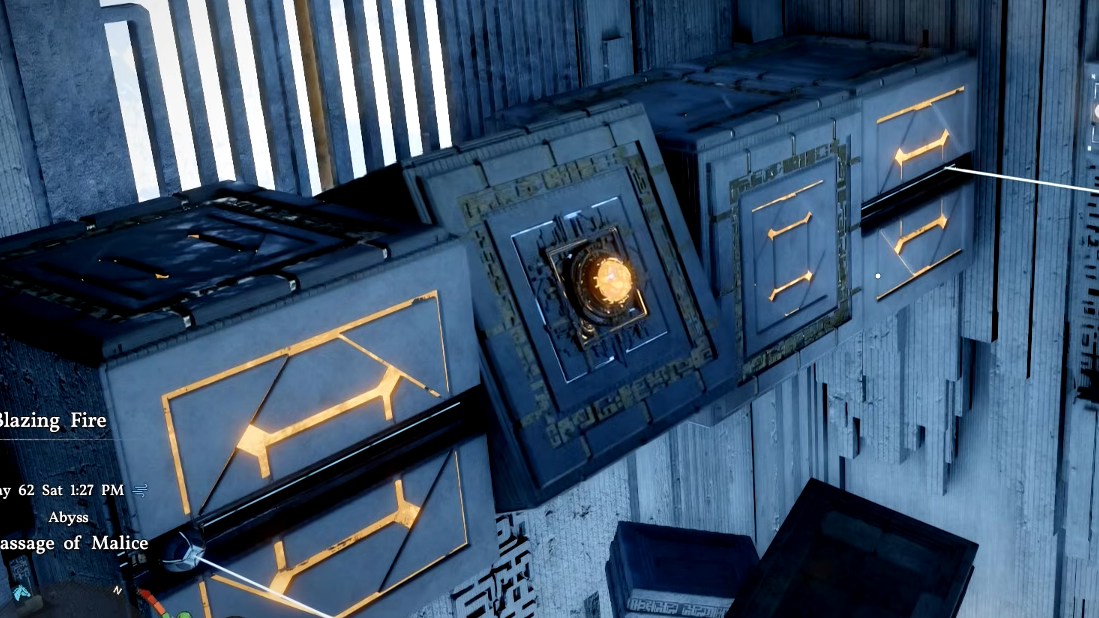
Step 2: A new section opens in the center of the room. Jump down into it. Use Axiom Force on the right button, then select the cube that has the yellow button on it. Rotate it to the right twice. A line will appear on the cube, and all four cubes on the right side should now be aligned.
Step 3: Switch to the left button using Axiom Force. Select the cube with the yellow button — it's the second cube from the left. Rotate it to the left once until the same kind of alignment line appears.
Step 4: Without leaving the left button, select the third cube from the left. Rotate it to the right twice until the line shows up on that cube as well.
Repositioning the sliding devices from the upper platforms
Step 5: Use Axiom Force and double-jump to reach the top of the left platform.
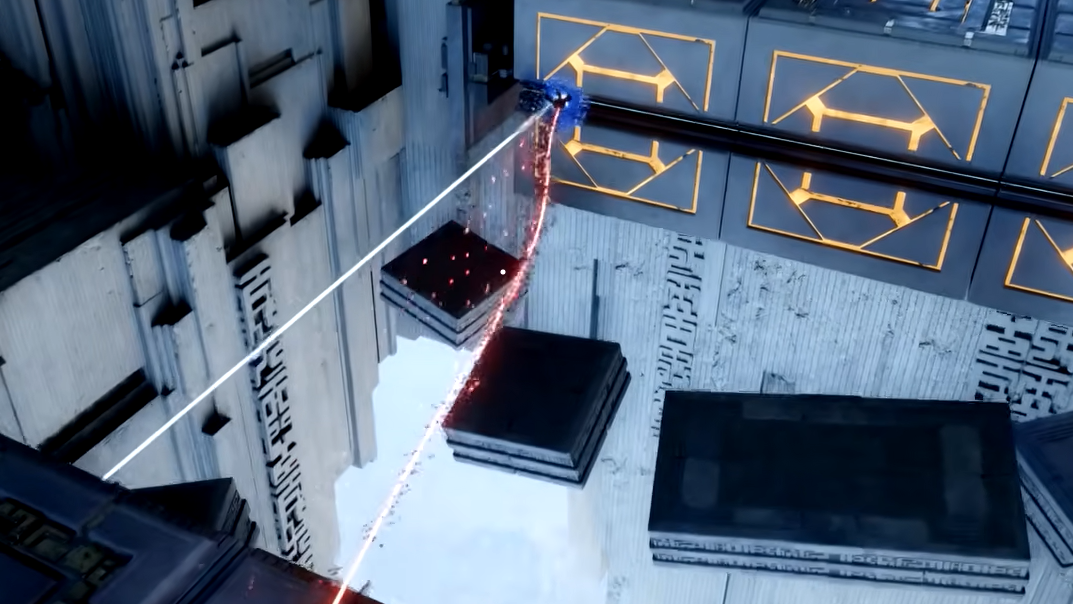
Step 6: From the left platform, look east toward the cubes on the opposite side. Use Axiom Force on the sliding device sitting between those cubes and move it so it's positioned at the third cube from the left.
Step 7: Now use Axiom Force and double-jump to reach the top of the right platform (the one to the east, opposite your current position).
Step 8: From the right platform, look west — back toward where you just were. Use Axiom Force on the sliding device between the cubes on that side and move it to the third cube from the left, mirroring what you did in the previous step.
Step 9: Drop back down and return to the starting platform where you originally interacted with the yellow buttons.
Final laser alignment — Turning both buttons blue
Step 10: Use Axiom Force on the right button again. This time, select the cube that the laser is currently pointing at. Rotate it to the right twice until the yellow button face appears directly in the laser's path. It will turn blue.

Step 11: Use Axiom Force on the left platform's yellow button. Select the cube the laser is aimed at — but not the same cube you just rotated in the previous step. Rotate this one to the right twice as well until the yellow button faces the laser and turns blue.
Both lasers should now be satisfied, and a new room to the north will open up.
Reaching the circular device and claiming the Abyss Artifact
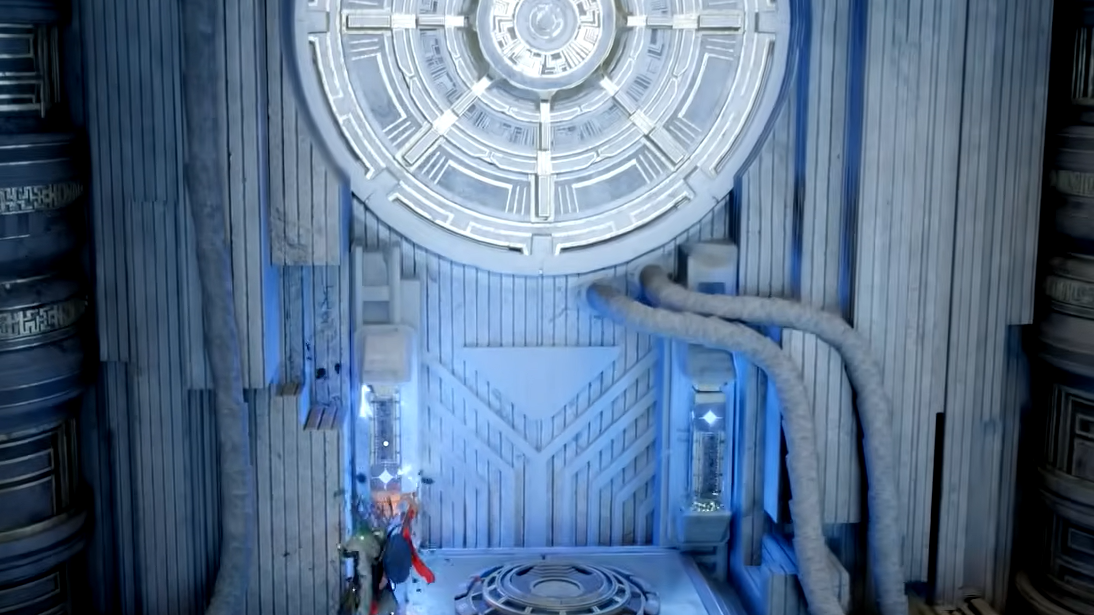
Step 12: Move north into the newly opened room. Be extremely careful here — the gap is easy to misjudge. Your safest approach is to use Axiom Force to reach one of the upper platforms (left or right), then drop down once you're close enough to the room's entrance.
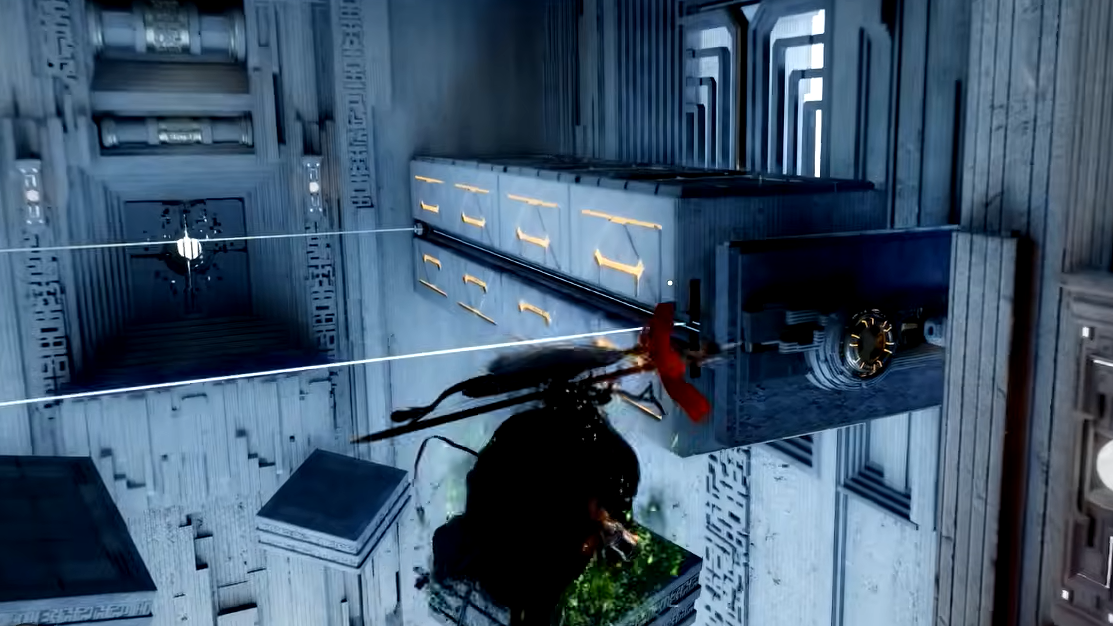
Step 13: Inside the final room, you'll see a large circular device with a blue pillar in front of it. Use Axiom Force on the blue pillar and insert it into the left slot below the device. Then use Force Current or Force Palm to attach it securely. Finally, interact with the device itself to activate the teleporter beneath it. Step onto the teleporter to collect your Abyss Artifact.
Bonus loot — Fruit of Life and Frostward II
Passage of Malice contains two additional pickups worth grabbing while you're in the area. The Fruit of Life is a key item found within the puzzle zone itself. The treasure chest is guarded by lasers that you'll need to deactivate; inside it is Frostward II, a piece of Abyss Gear that grants level 2 Ice Resistance. Both are accessible during or shortly after completing the main puzzle sequence, so take a moment to explore before teleporting out.
Passage of Malice is one of the trickier Abyss Island puzzles in Crimson Desert, but the pattern is consistent once you understand it: rotate cubes so their button faces align with lasers, reposition sliding devices from elevated platforms, and repeat. The biggest threat isn't the puzzle logic — it's the low ceilings and narrow platforms. Save often, and don't rush the jumps.