
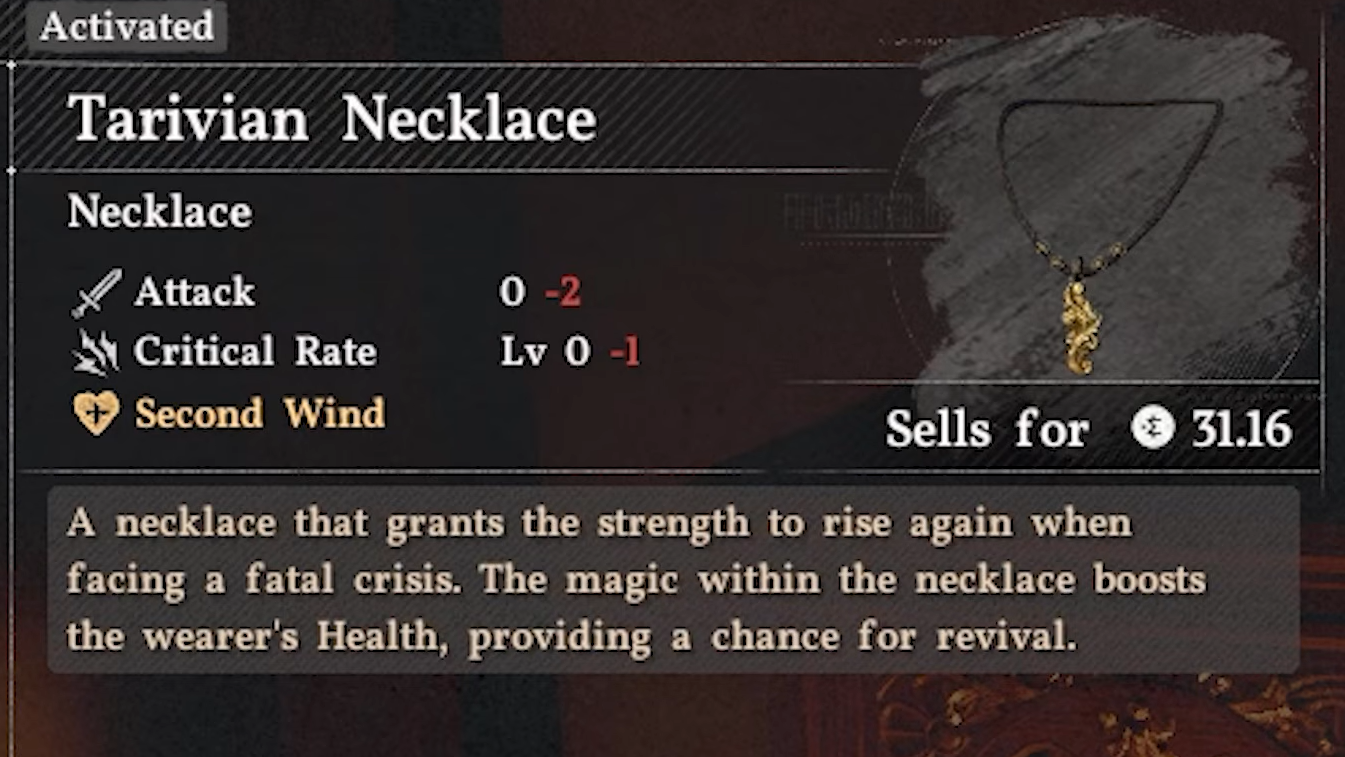
The Tarivian Necklace is an Ultimate-tier accessory in Crimson Desert that grants a passive ability called Second Wind. When your health drops to a critical threshold — roughly 30 percent or lower — the necklace automatically triggers and restores you to full HP. It carries no stat bonuses and cannot be refined at a blacksmith, but the free revive it provides makes it one of the strongest survival tools you can pick up in the early game.
Quick answer: Head to the noble's house in central Demeniss (directly right of the Abyss Nexus near the castle gate), push the bookshelf to reveal a hidden room, and solve the music box puzzle with the sequence 1-5-2-6-5 (reading tabs left to right). Equip the necklace, and Second Wind will fire automatically when your HP gets critically low.
Preparation Before Entering Demeniss
Obtaining the Tarivian Necklace counts as theft, so you need a few things squared away before you walk through the door.
| Item | Purpose | How to Get It |
|---|---|---|
| Mask | Reduces detection while committing the theft | Buy from a vendor in Hernand, or loot from defeated bandits |
| Key | Opens the back door of the noble's house | Purchase from the same Hernand vendor |
One more thing to keep in mind: if you haven't finished Chapter 8 of the main story, every guard in Demeniss will be hostile on sight. You can still grab the necklace before that point, but you'll be fighting your way in and out. Completing Chapter 8 first removes that complication entirely.
Tarivian Necklace Location in Demeniss
Demeniss sits to the east of Hernand. The building you're looking for is a noble's manor right in the center of town, immediately to the right of the Abyss Nexus beside the castle gate.
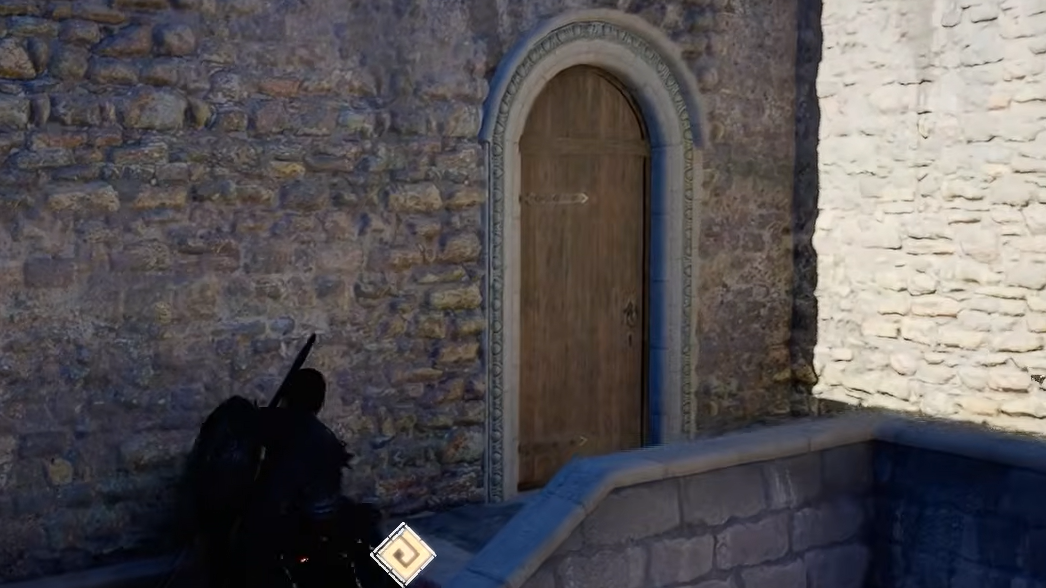
Step 1: Approach the manor from the back to avoid guard patrols. Look for a set of stairs leading to a rear entrance. Use your key to unlock the back door.
Step 2: Once inside, head to the main room on the ground floor. Find the bookshelf in a corner near the entrance to the kitchen. Walk into it or interact with it to push it aside, revealing a hidden compartment with a strongbox.
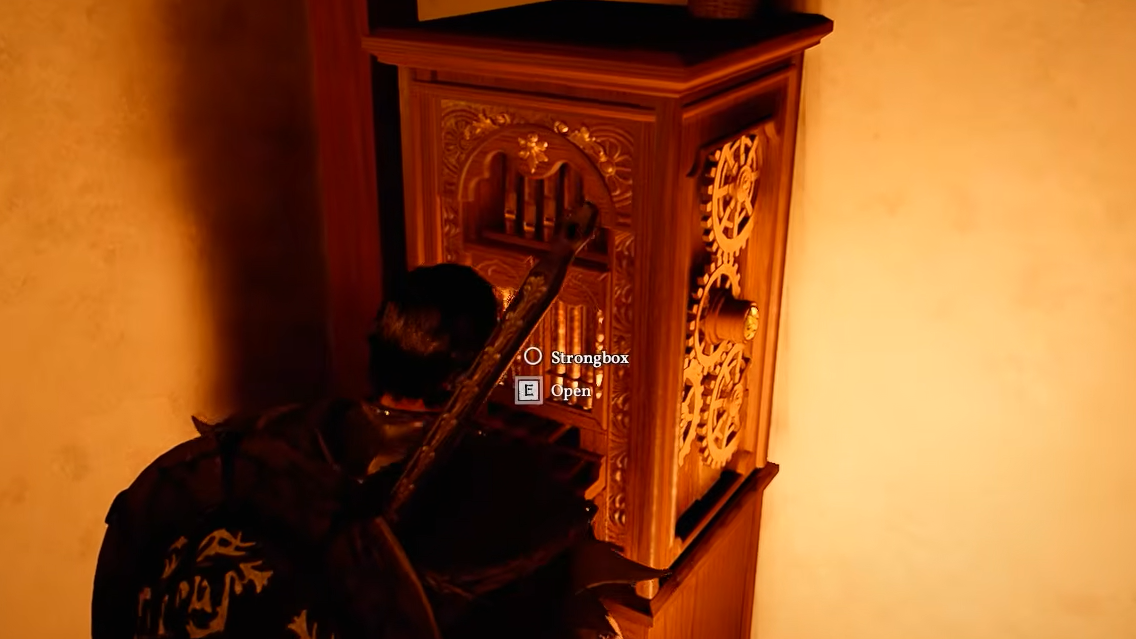
Music Box Puzzle Solution
The strongbox is locked behind a music box puzzle. Reading the tabs from left to right, press them in this order:
1 – 5 – 2 – 6 – 5
If the room is dark, light the candle or raise your lantern so you can clearly see each tab. After entering the correct sequence, the strongbox opens and reveals the Tarivian Necklace inside a small box.
Step 3: Loot the necklace. A crime indicator will appear on your minimap because this is flagged as stealing. Since the hidden room has no witnesses, you don't need to flee. Simply wait in place until the crime meter fully drains, then walk out without consequence.
Second Wind — Stats, Trigger, and Cooldown
| Property | Detail |
|---|---|
| Tier | Ultimate |
| Stat bonuses | None |
| Refinable | No |
| Passive ability | Second Wind |
| Trigger condition | HP drops to roughly 30% or lower |
| Effect | Fully restores HP to 100% |
| Cooldown | 30 minutes |
| Activation | Automatic — no button press needed |
Because the necklace offers zero raw stats, wearing it full-time means you're giving up whatever offensive or defensive bonuses another amulet would provide. The tradeoff is a guaranteed full heal once every 30 minutes.
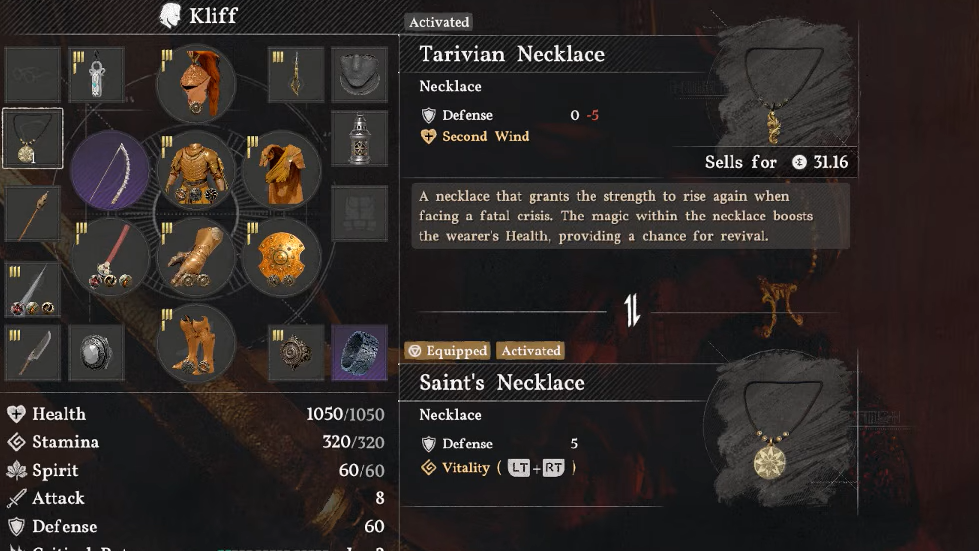
Equipment-Swap Strategy for Boss Fights
Crimson Desert lets you swap weapons, armor, and accessories on the fly through the equipment wheel. That opens up a practical trick with the Tarivian Necklace that avoids the stat penalty of wearing it permanently.
Step 1: Fight normally with a stat-boosting necklace equipped.
Step 2: When your HP gets low, open the equipment wheel and swap to the Tarivian Necklace instead of using a healing item.
Step 3: Take the next big hit. Second Wind will trigger and bring you back to full health.
Step 4: Immediately swap back to your regular amulet and continue the fight with full stats.
This approach effectively gives you a free full heal without burning a Refined Palmar Pill, though it does require some quick menu work under pressure. After Second Wind fires, the 30-minute cooldown begins, so you'll realistically only get one use per encounter.
The Tarivian Necklace doesn't make you invincible, but it does turn what would be a death into a full-health comeback — and that single reprieve is often enough to close out a difficult boss or survive a bad pull in a dangerous region. Picking it up early in the Hernand and Demeniss stretch of the game is one of the most efficient things you can do to improve your odds of staying alive.