
The End of Greed is the third and final quest in Chapter 2: Golden Greed of Crimson Desert's main storyline. It sends Kliff on a collision course with the corrupt leadership of the Goldleaf Merchant Guild, culminating in a boss fight against Kailok, the Hornsplitter, on Unicorn Cliff. The quest is combat-heavy, so refining your weapons and armor at the blacksmith in Hernand before you start is strongly recommended.
Quick answer: Complete all five subquests — The Dark Veil, The Flames of Greed, Kidnapped Healer, Rebellion or Revolution, and Cheers Echoing from the Edge — then defeat Kailok, the Hornsplitter, to finish the quest and unlock the Seal of Greed for the Goldleaf Merchant Guild.
The Dark Veil — Investigate the Goldleaf Merchant Guild
Head southeast from Hernand town to the Goldleaf Tradepost. It sits just down the road from the farms you visited during the previous quest. Watch your minimap for purple icons along the way — these mark Sealed Abyss Artifacts you may have missed earlier. Every one you pick up feeds into challenges that reward Abyss Artifacts, which you'll want for unlocking combat skills.
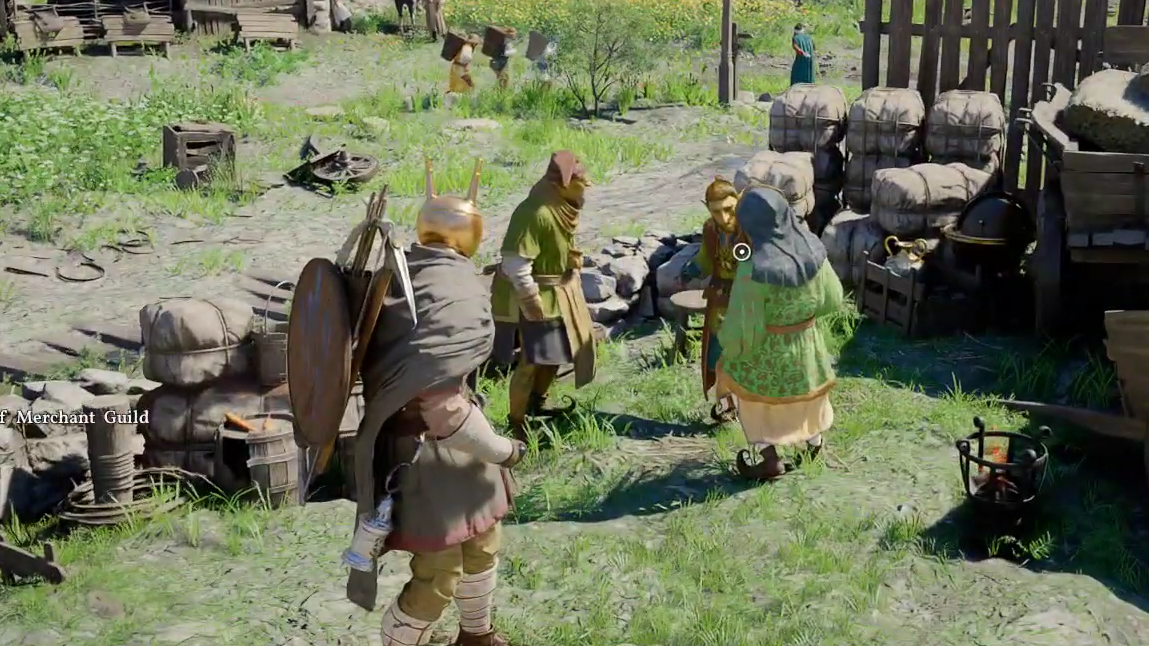
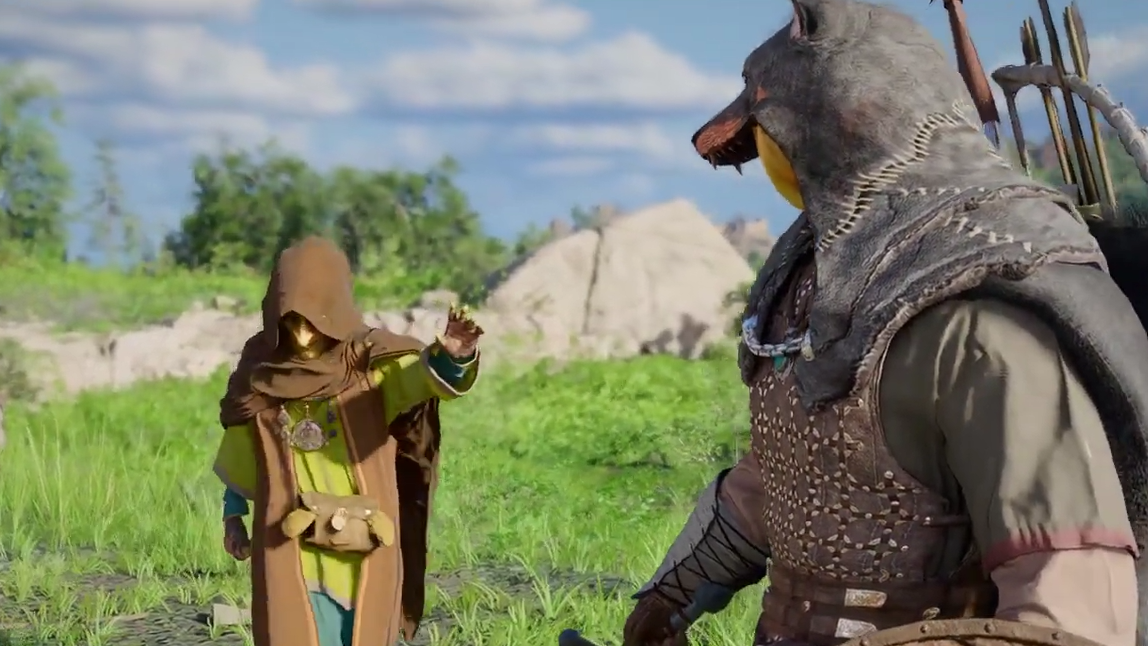
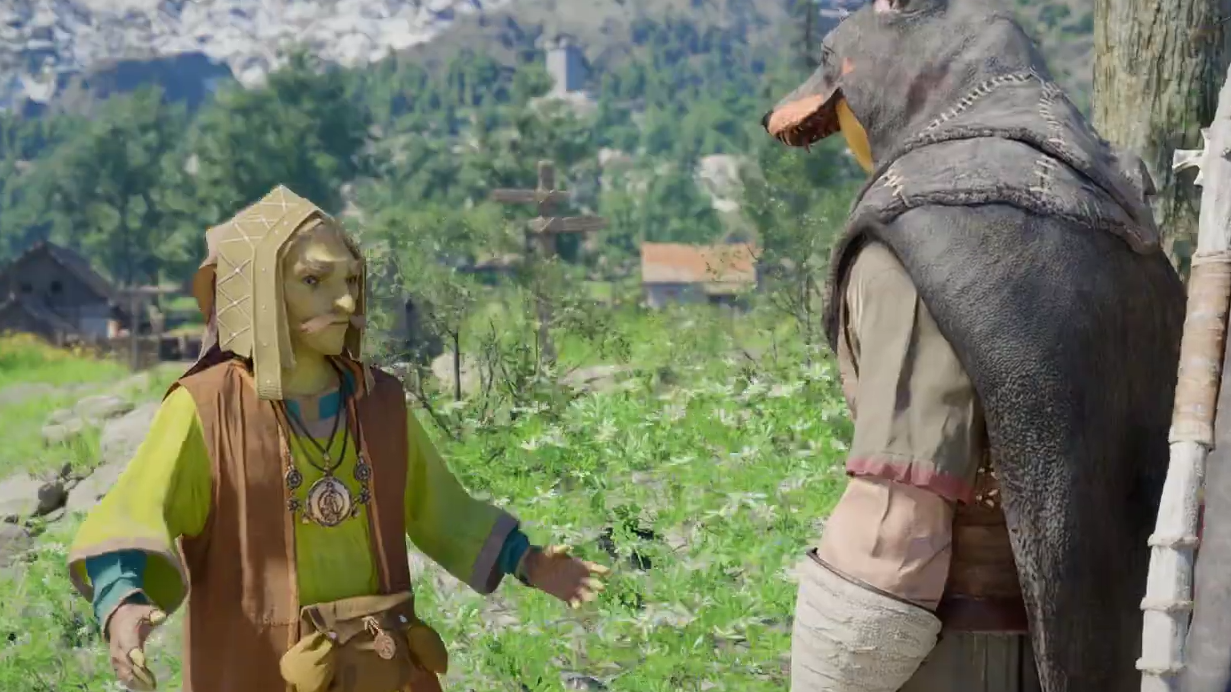
At the tradepost, speak with a goblin named Shakatu. He'll explain that someone at the top of the Goldleaf Merchants Guild is behind the region's problems, but the conversation is cut short by an emergency nearby. The subquest ends as soon as the dialogue finishes.
The Flames of Greed — Rescue Marten from the Burning House
Nearby, worried people on the road tell you that bandits have set a healer's house on fire because he refused to hand over a strange stone. Before riding out, check the fork in the road for another Sealed Abyss Artifact. Remember that Abyss Artifacts are not awarded automatically — you need to open your inventory, check each artifact's attached challenge, and manually claim the reward once completed.
Ride along the river toward the burning house near Unicorn Cliff. Hunting deer with your bow on the way is a good idea; you'll want extra food for the fights ahead.
Step 1: Approach the blocked door of the burning house. A 120-second timer starts. Use Nature's Grasp to lift the charred logs blocking the entrance.
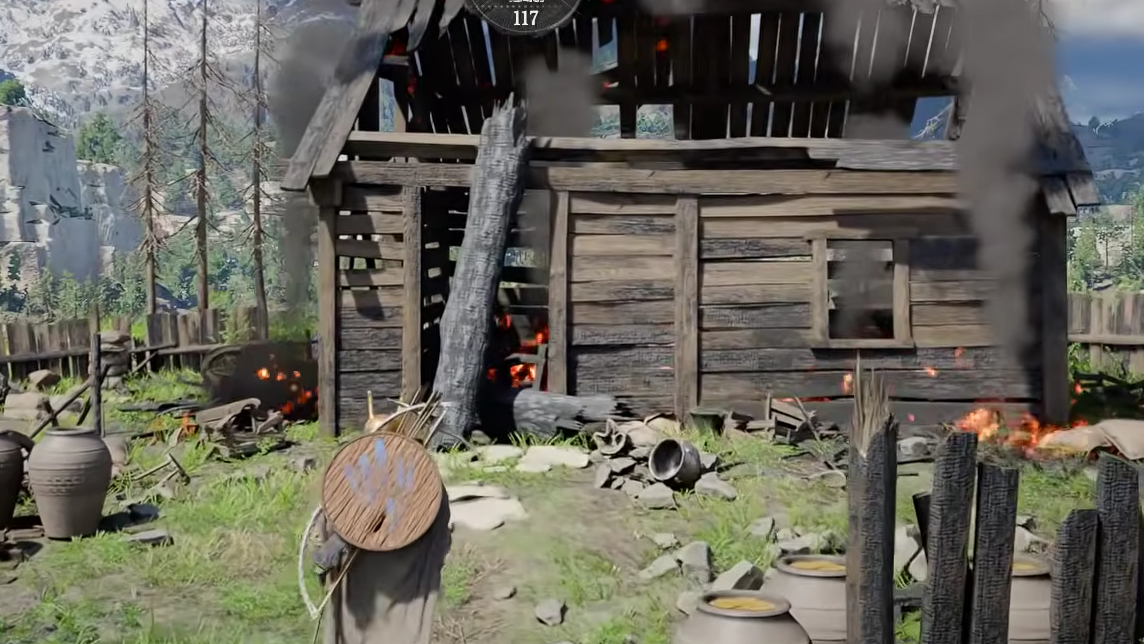
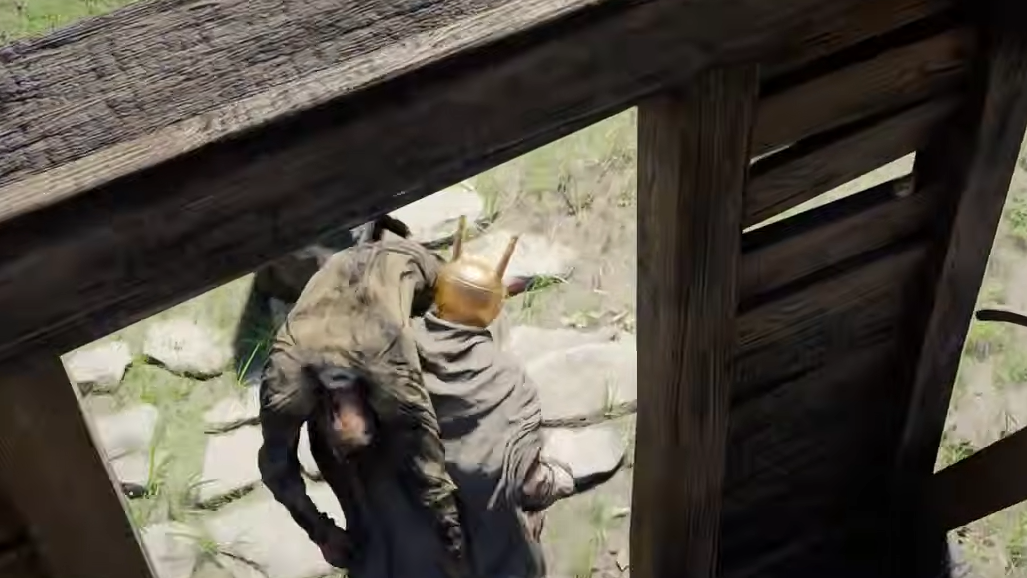
Step 2: Rush inside, pick up the trapped person — Marten — and carry him out before the timer expires. The timer is generous, but failing to exit in time will fail the quest.
After the rescue, the survivors tell you the healer Hubert has been kidnapped. You'll receive an Abyss Artifact as a reward.
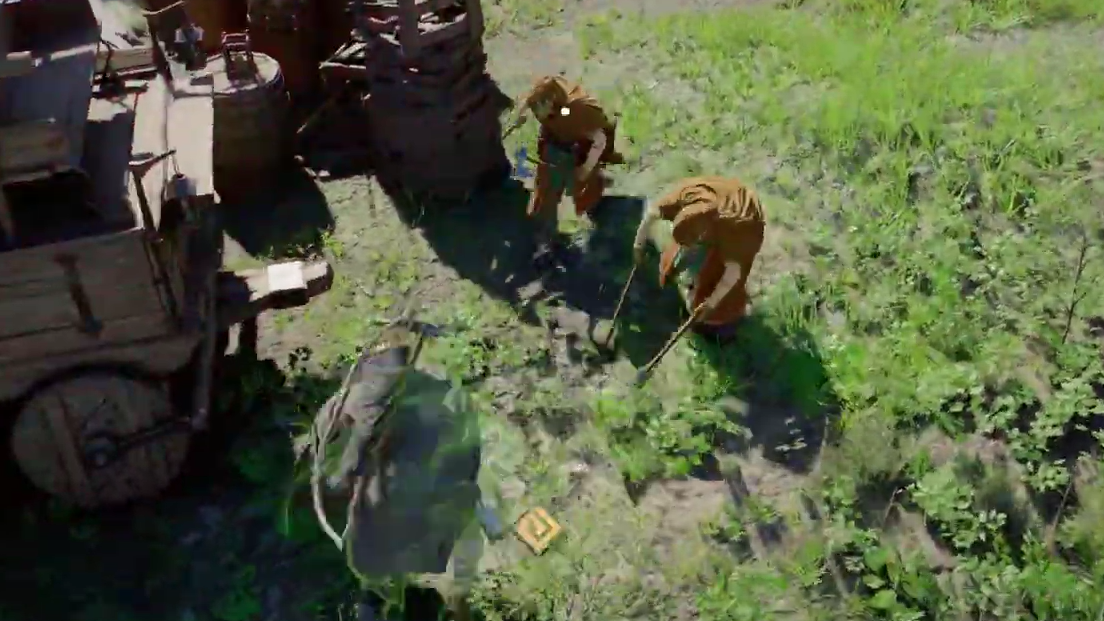
Kidnapped Healer — Free Hubert from the Bandit Camp
Mount your horse and head west toward the Hernand Highlands. The bandit camp holding Hubert is roughly 500 meters away. Along the route, you can pick up extra loot and collectibles.
| Optional Stop | What You'll Find |
|---|---|
| Base of Unicorn Cliff | Small group of bandits; they drop basic swords and axes you can sell later |
| Looted wagon on the road | Another squad of bandits plus a Sealed Abyss Artifact nearby |
| Wagon contents | Lootable if you wear a mask, but stealing incurs a bounty if you're spotted |
The bandit camp itself has light resistance. You can sneak up behind one of the guards for a stealth assassination before open combat begins. After clearing the enemies, untie Hubert to continue.
Check the notice board in the camp as well. If its map icon is purple, there's new information or a side quest available (such as Rhett's Request). A white icon means nothing new is posted.
Rebellion or Revolution — Return to Shakatu
Before leaving the bandit camp, use the cooking pot to prepare food. The next encounter involves a fight you'll want to be stocked up for.
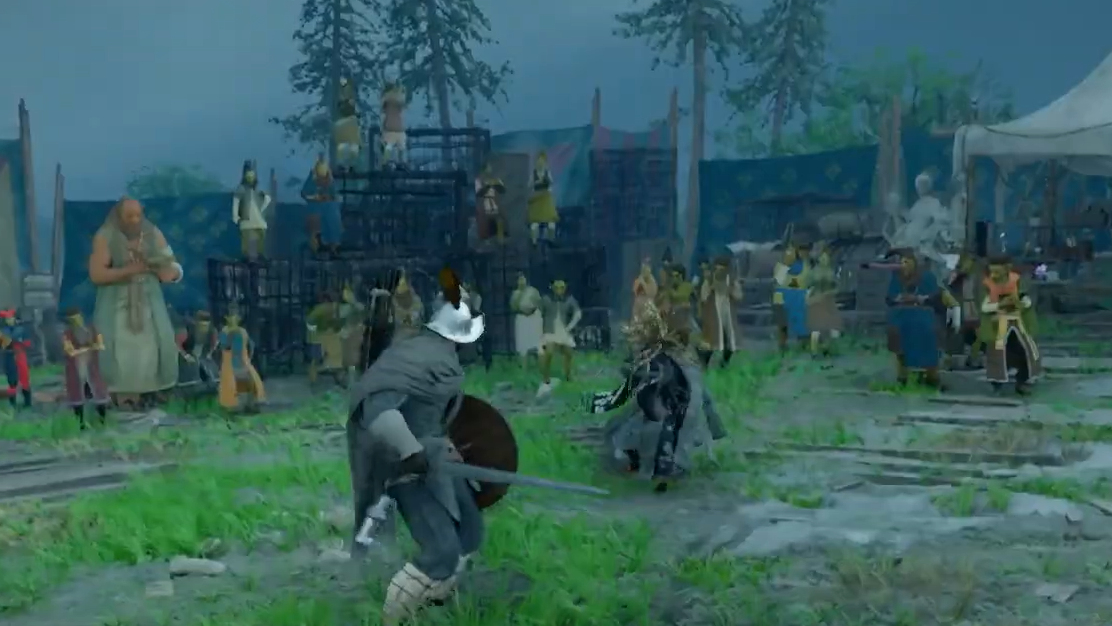
Ride back to Shakatu's location near the Goldleaf Guildhouse. When you arrive, five of his soldiers will attack you due to a miscommunication. These soldiers all carry strong shields, which makes landing normal attacks difficult.
| Counter Strategy | How It Works |
|---|---|
| Grapple attacks | Bypass shields entirely; unlock with Abyss Artifacts if you haven't already |
| Shield bash | Staggers shielded enemies, opening them up for follow-up hits |
| Heavy attacks | Break through guards as long as you have spirit remaining |
| Parry | A well-timed parry staggers a soldier, giving you a window to attack |
Once all five soldiers are down, walk with Shakatu. He apologizes for the mix-up, and the two of you discuss plans to dethrone Hornsplitter, the Goldleaf branchmaster responsible for the region's tyranny.
Cheers Echoing from the Edge — Storm Hornsplitter's Camp
This is the final subquest of Chapter 2, and it ends with a boss fight. Make sure you're carrying plenty of food. If you want to upgrade your gear first, head back to the City of Hernand. Even without mined Iron or Copper, most vendors sell limited quantities of crafting materials — enough to refine one or two pieces of equipment.
When you're ready, travel to Hornsplitter's camp on Unicorn Cliff. A large group of goblins guards the entrance. They outnumber you significantly, so thinning the crowd is essential. Since you're fighting on a cliff edge, you can kick or toss goblins off the ledge for instant kills. A charged Turning Slash hits multiple enemies at once and will kill most of these unshielded goblins outright.
Some goblins outside drop gear marked with a coin purse icon. This equipment can't be worn but sells for good money back in town.
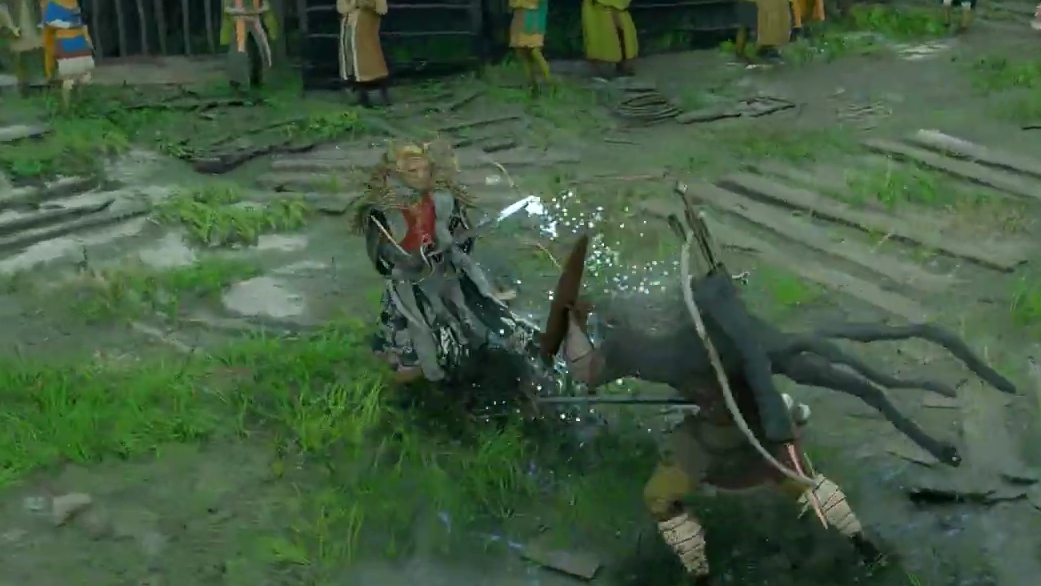
Boss Fight — Kailok, the Hornsplitter
Kailok is a goblin wielding a deceptively simple sword enhanced by special powers. His moveset is relatively straightforward once you learn the patterns, but he hits hard and moves constantly.
Kailok's Attack Patterns
| Attack | Tell | How to Counter |
|---|---|---|
| Linear AOE blasts | Kailok dashes away, then fires a line attack toward you | Keep your shield raised to lock the camera on him; sidestep in a zig-zag pattern to close distance |
| Forward slash + overhead strike | Kailok rushes toward you with a horizontal swing, followed by an overhead chop | Block both hits with your shield (low stamina cost), then counter with quick slashes |
| Unblockable slam | Your shield flashes red; Kailok jumps into the air | Dodge roll immediately; he's briefly vulnerable after landing |
During the fight, you'll see a "Learning in Progress" notification. This teaches you the Evasive Roll ability, which lets you dodge-roll out of an enemy's attack range after being hit. It's useful immediately, so start incorporating it into your movement.
Stagger and Finish
Heavy attacks and any skills you've unlocked through Abyss Artifacts deal significant stagger damage. The stagger meter is the yellow bar beneath Kailok's health bar. Once it fills completely, press R1 + R2 (PlayStation) or RB + RT (Xbox) to perform a powerful finisher. Prioritizing stagger buildup is the fastest way to end the fight.
The safe general rhythm is straightforward: block or dodge his combo, land two or three heavy hits, then back off before he repositions. It's a patient approach, but it keeps you alive and steadily chips away at both his health and stagger meter.
Rewards for Completing The End of Greed
After Kailok falls, Shakatu takes over as branchmaster of the Goldleaf Merchant Guild. You receive the Seal of Greed for the Goldleaf Merchant Guild, which permanently improves your prices when buying from or selling to Goldleaf merchants. The story then continues into Chapter 3: Howling Hill.