
The Tomb of Perdition is one of the trickier Abyss Puzzles in Crimson Desert. It sits in the Crimson Desert region and revolves around a central mechanic: using Axiom Force to rotate a pair of golden cubes, then shuttling batteries between the rooms those cubes reveal. If you've already cleared the Passage of Malice, the logic will feel familiar — but the spatial layout here can still trip you up.
Quick answer: You need to toggle a central dial with Axiom Force (L3) to alternately open the left and right golden cubes, move batteries between them, slot each battery with Force Palm (R3), then Triple Jump onto a cube's roof to place the final battery and activate a large dial that restores the Abyss.

Key Abilities You'll Need
| Ability | Input | Role in This Puzzle |
|---|---|---|
| Axiom Force | L3 | Activates dials, picks up and carries batteries |
| Force Palm | R3 | Slots batteries into wall and floor connectors |
| Triple Jump | Square + L3 | Reaches the roof of a golden cube in the final phase |
Tomb of Perdition Walkthrough — Full Battery Sequence
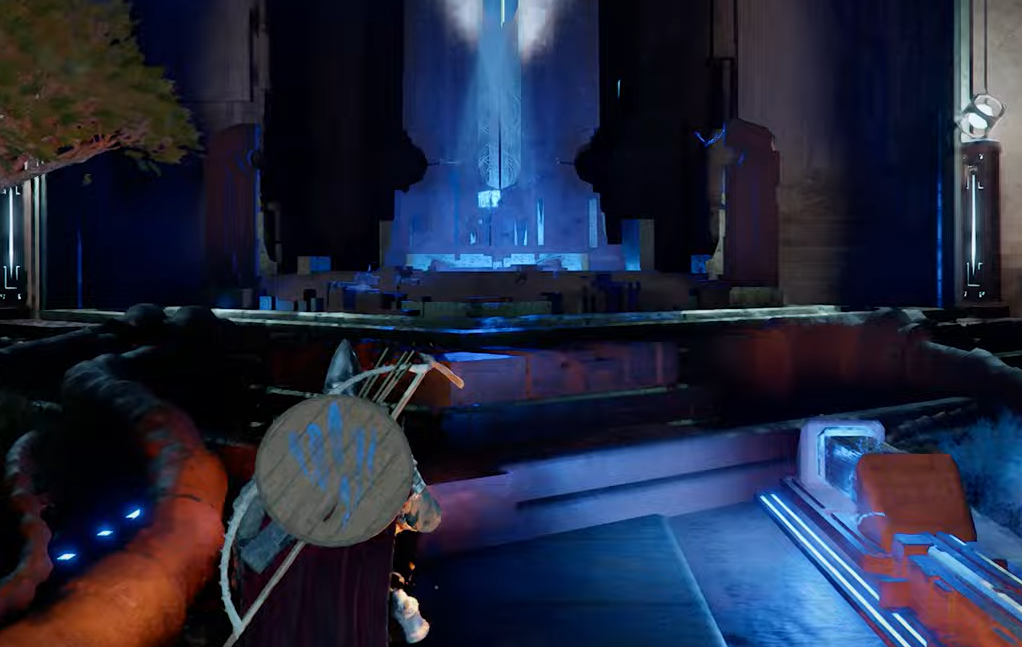
The entire puzzle takes place around a central starting platform flanked by two golden cubes. Activating the yellow dial at the center rotates these cubes, alternately exposing the room inside the left cube or the right cube. Every battery you collect must be carried back through the cube to the start before the dial is toggled again.
Step 1: Walk up to the yellow dial in the center and hit it with Axiom Force (L3). It turns blue, and the golden cubes rotate so the left one opens. Head inside the left cube.
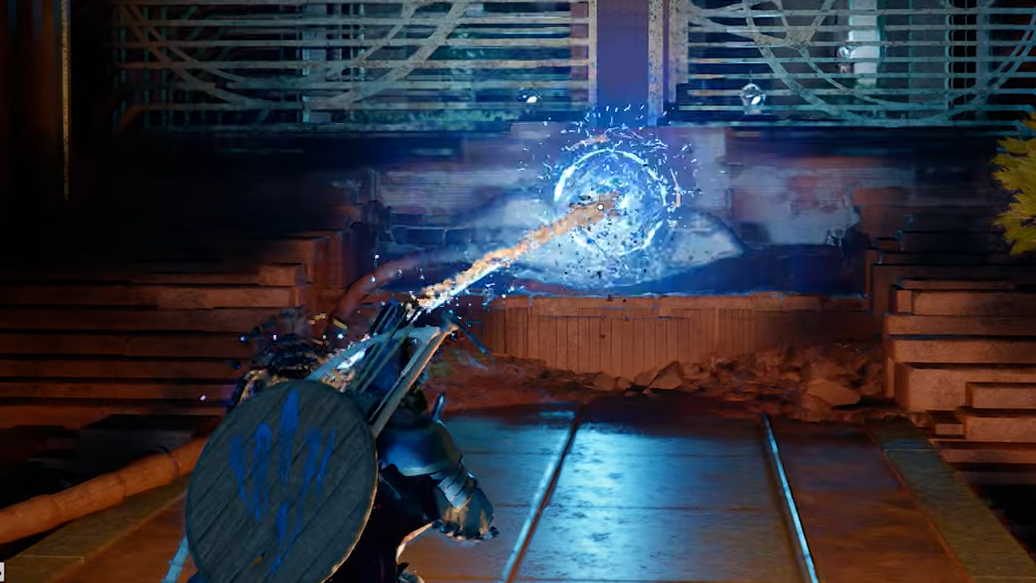
Step 2: Inside the left cube's room, use Axiom Force to pick up the battery sitting there. Carry it back through the cube to the starting platform.
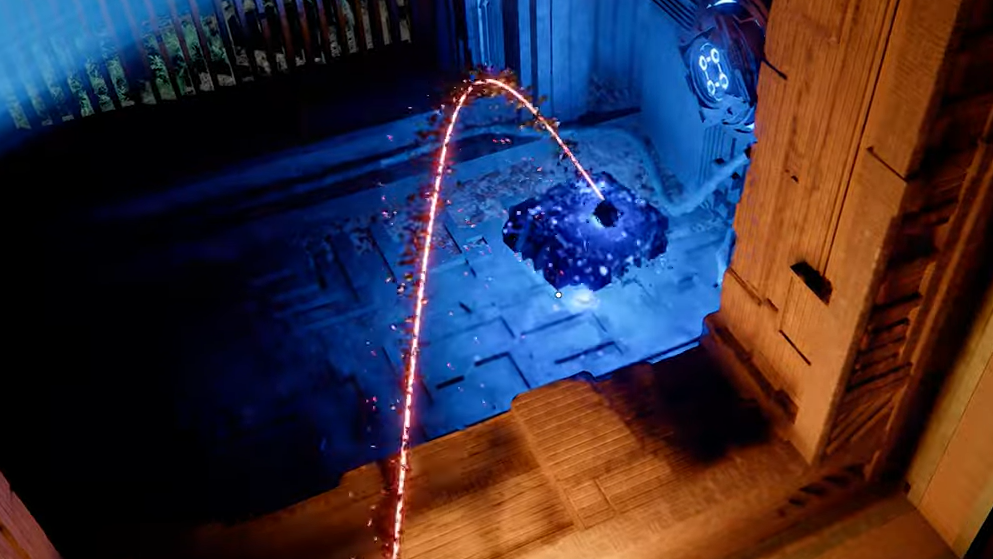
Step 3: Activate the central dial again. This time, the right cube opens. Enter the right cube and place the battery you're carrying into the wall slot inside. Lock it in with Force Palm (R3).
Step 4: While still in the right cube's room, look around — there are two cylinder batteries here. Pick up both (one at a time) and carry each one back to the starting platform.
Step 5: Toggle the dial once more to reopen the left cube. Take one of the cylinder batteries into the left room and slot it into the connector on the left wall using Force Palm.
Step 6: Return to the start, grab the remaining cylinder battery, and enter the right golden cube with it. This is where the puzzle gets a little unusual — don't place the battery yet.

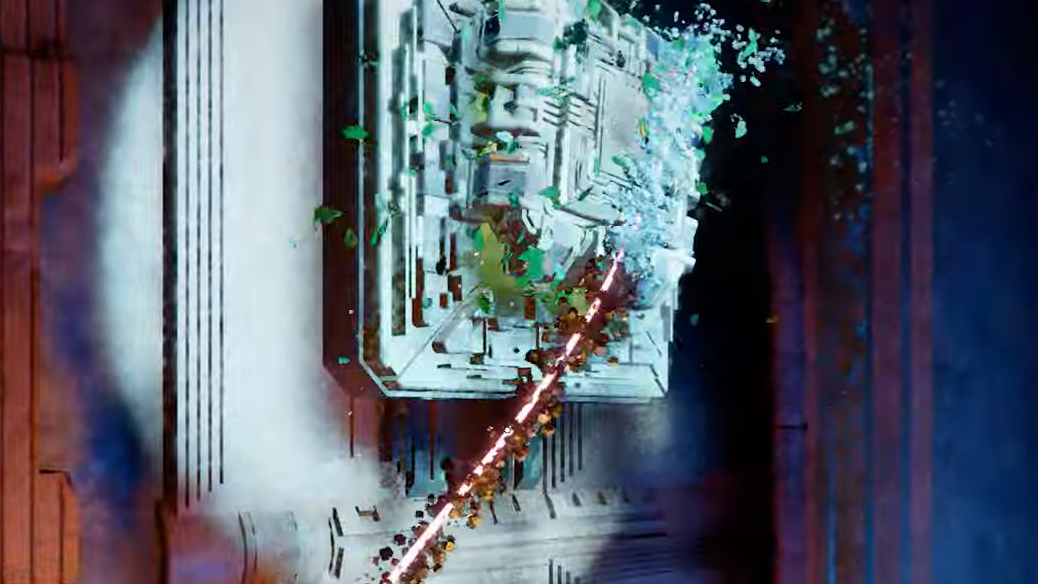
Step 7: While standing in the right cube, look toward the right room. You'll spot another dial. Activate it with Axiom Force. This rotates the golden cube you're standing in and exposes its roof.
Step 8: Use Triple Jump (Square + L3) to launch yourself out of the cube and land on top of it, on the opposite side.
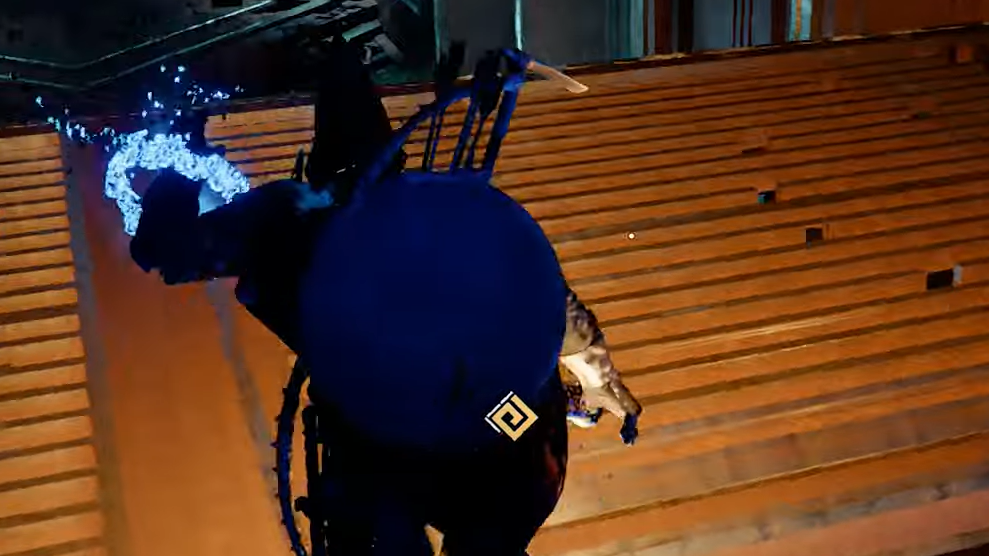
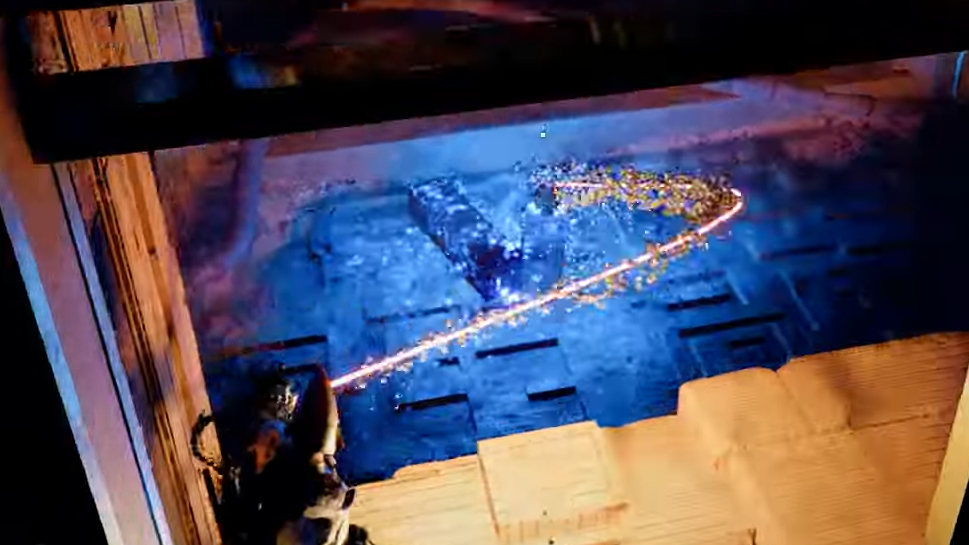
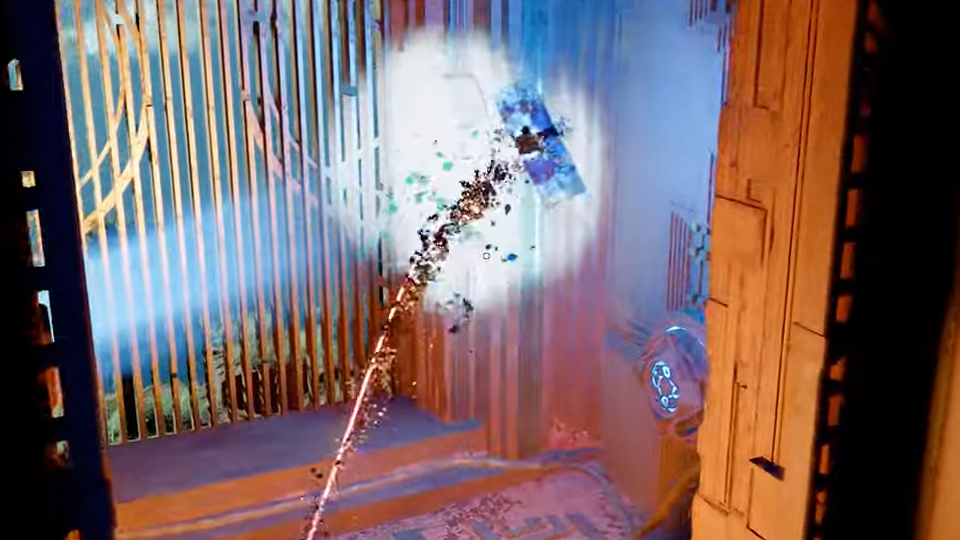
Step 9: From the roof of the golden cube, use Axiom Force to carry the battery outside and down to the floor on the right side. There's a connecting slot on the ground — place the battery in it and lock it with a jumping Force Palm. You need to be in the air when you hit R3 for this one to register properly.
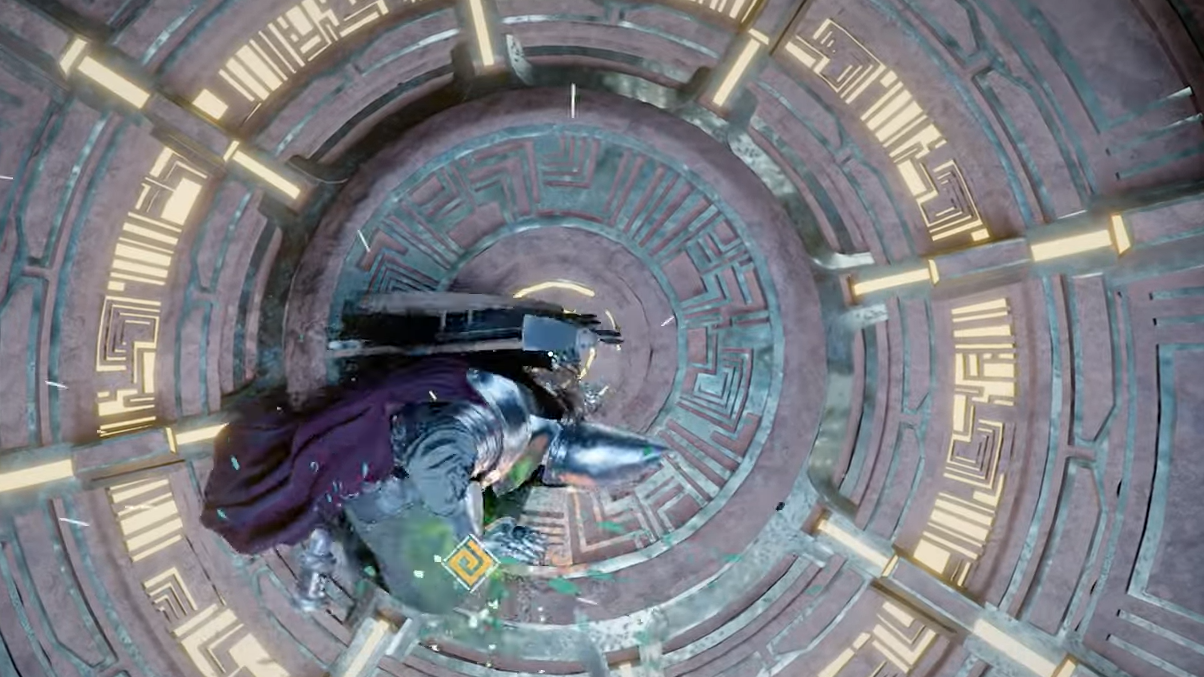
Step 10: A large dial is now accessible nearby. Hit it with a jumping Force Palm. This restores the Abyss and spawns an Abyss Artifact for you to collect.
Collecting the Abyss Artifact and Exiting
Once the large dial activates, the restoration sequence plays out, and the Abyss Artifact appears. Grab it, then retrace your path back toward the entrance. Instead of leaving the way you came in, take a right — the Abyss Gate that was previously sealed is now open. Heading through it leads to the next puzzle area and another Abyss Artifact opportunity.
Common Sticking Points
| Problem | Cause | Fix |
|---|---|---|
| Battery won't slot into the floor connector | Force Palm must be used mid-air | Jump first, then press R3 at the peak of your jump |
| Can't reach the cube's roof | Triple Jump requires the correct input | Press Square + L3 together; make sure you're inside the cube when the roof opens |
| Dial doesn't seem to do anything | You may be hitting it with a normal attack | Use Axiom Force (L3), not a standard melee strike |
| Lost track of which cube is open | Each dial toggle swaps left/right access | Return to the center platform and check which side is exposed before carrying a battery |
The Tomb of Perdition is ultimately a logistics puzzle dressed up in Crimson Desert's Abyss aesthetic. Once you internalize the rhythm — toggle dial, ferry battery, slot with Force Palm, repeat — the whole thing takes only a few minutes. The jumping Force Palm on the floor connector is the one move that catches most players off guard, so keep that in mind as you work through the final steps.