
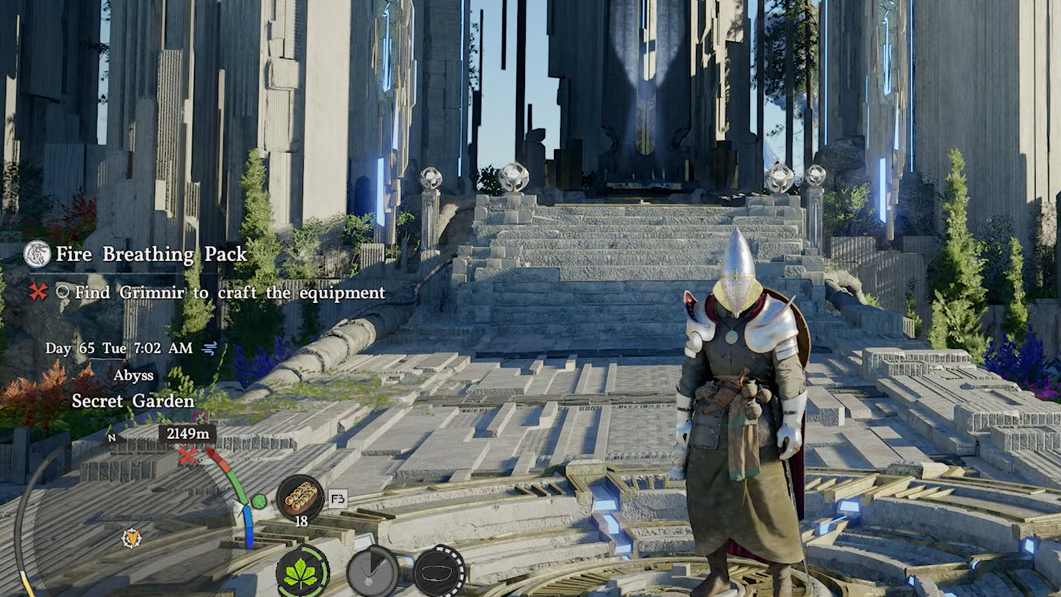
The Vault of Vengeance is one of the more punishing Abyss Restoration Challenges in Crimson Desert — not because the puzzles are complex, but because the room is full of lasers that will shred your health bar in seconds. Knowing the exact sequence of moves before you walk in makes the difference between a smooth clear, and a frustrating chain of knockback deaths.
Quick answer: Use Focus Shot to hit all timed crosshair buttons simultaneously, grab the Golden Sword to descend into the lower vault, navigate the laser hallway carefully on the left side, then place the power block with Axiom Force and Force Palm to restore the Abyss and claim your Abyss Artifact.
Prerequisites and Required Skills
The Vault of Vengeance sits within the Spire of the Stars cluster. You must first complete the Sanctorum of Insight and Secret Garden Abyss puzzles before you can reach it. The path leading to the vault involves a series of climbable platforms and two moving platforms that shuttle between a far ledge. You can either wait for them or use Aerial Force Palm to boost across and glide to the Abyss Nexus.
| Detail | Info |
|---|---|
| Required Skills | Nature's Grasp, Flight, Axiom Force, Force Palm, Focus Shot |
| Recommended Skill | Aerial Force Palm |
| Required Items | None |
| Rewards | Fast Travel Teleport, Abyss Artifact |
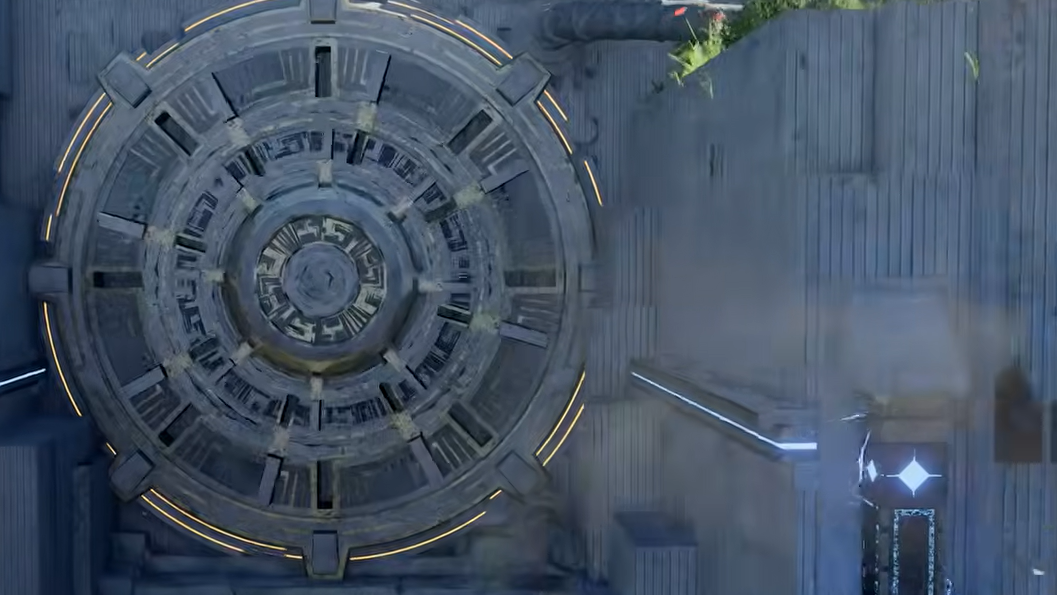
Dropping the Barrier and Opening the Vault Door
Step 1: Approach the main vault structure. A force field blocks the entrance, so head to the north and south sides of the platform. Two floating blue energy blocks need to be moved with Axiom Force onto the pedestals flanking the path to the vault door. Once both are in place, the barrier drops.
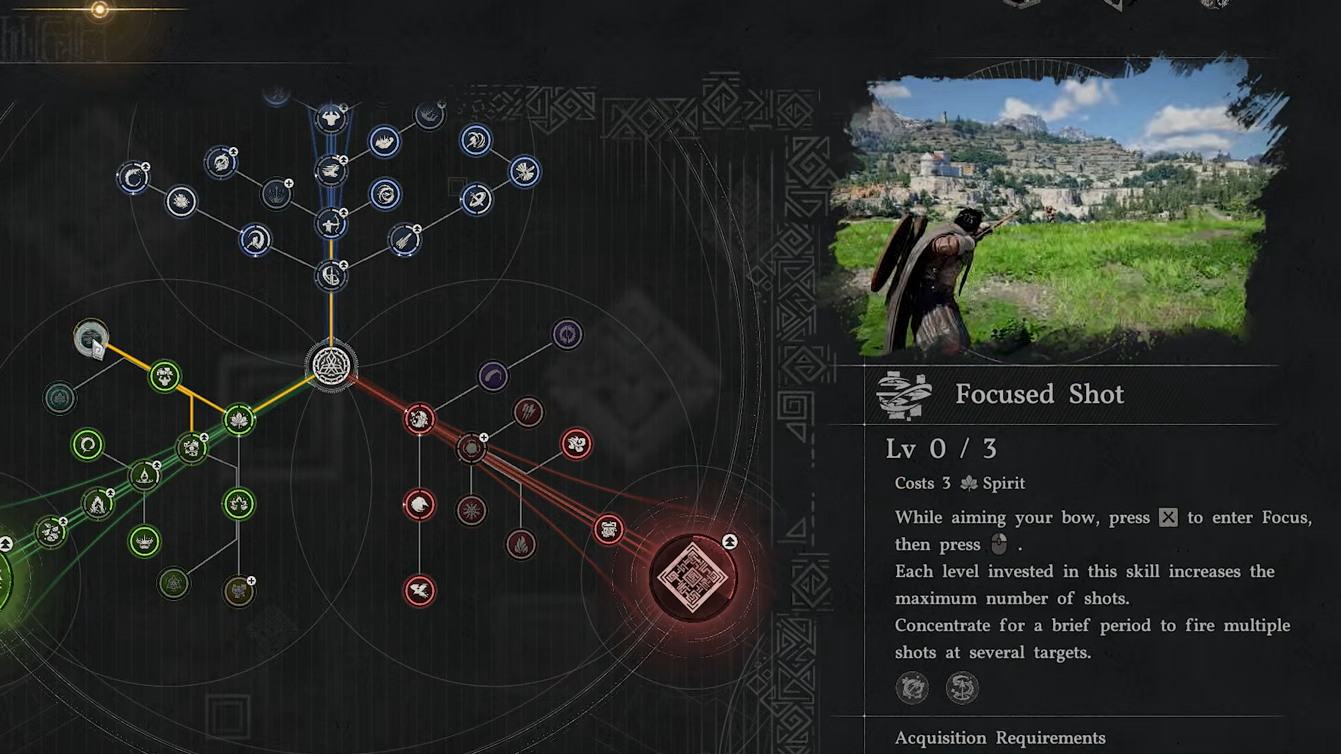
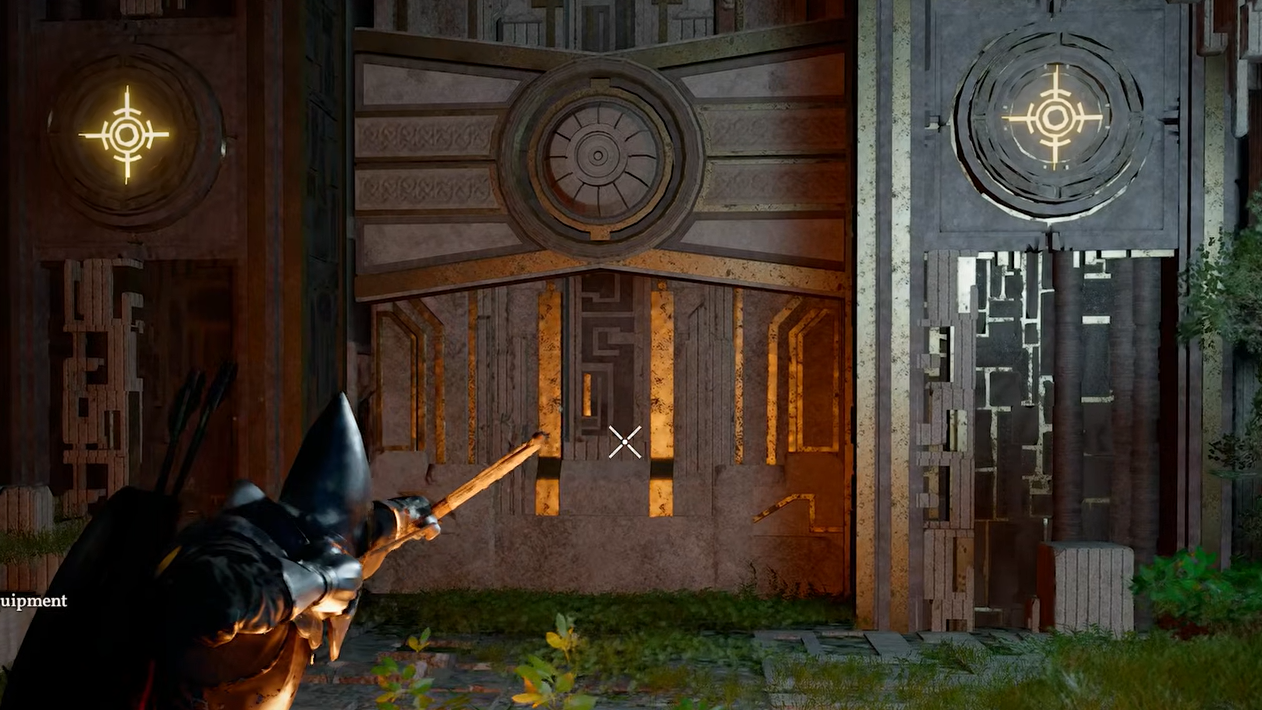
Step 2: Walk up to the vault door. Two yellow crosshair buttons sit on either side of it. Shoot one with an arrow, and a blue light ring will appear around it — you need to hit the second button before that ring fades completely. Focus Shot is the easiest way to handle this, since you can tag both targets and fire them off nearly simultaneously. After both activate, the lock disappears. Use Nature's Grasp to lift the door and step inside.
Disabling the Laser Room
Step 3: The first interior room is crisscrossed with lasers and has four crosshair buttons mounted near the ceiling. The lasers will destroy your arrows mid-flight, so you cannot simply fire them one at a time. You need all four buttons hit almost simultaneously. Activate Focus Shot, mark all four targets, and release. The lasers will shut down, and the force field protecting the central pedestal will deactivate.
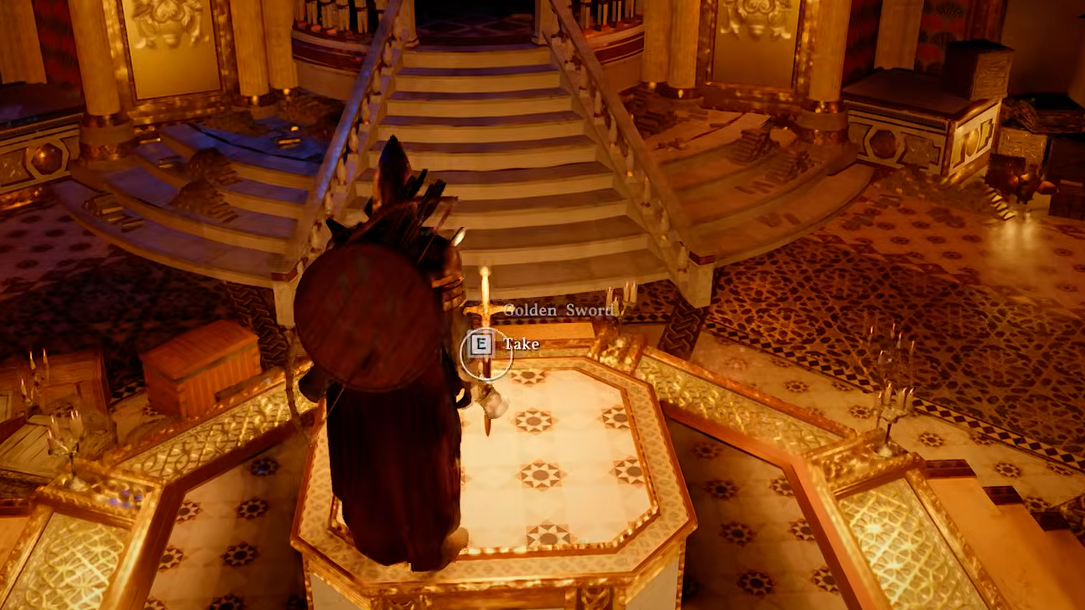
Step 4: Walk to the pedestal and pick up the Golden Sword, a unique weapon. Grabbing it causes the central platform to descend into the lower levels of the vault. Before you drop down, loot any chests and items scattered around the room — there's no easy way back up once you go.
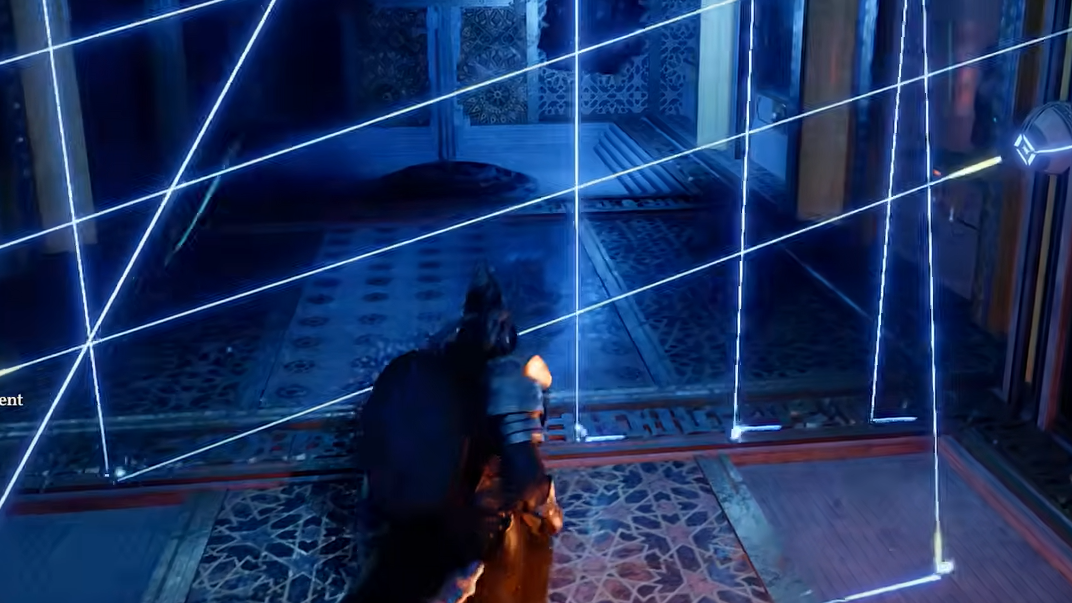
Surviving the Laser Hallway
Step 5: The lower level is a long corridor packed with moving laser barriers. This is the deadliest section of the vault. Contact with any laser knocks you backward, and that knockback can chain into another laser, then another, draining your entire health bar before you regain control.
Placing the Power Block and Restoring the Abyss
Step 6: At the far end of the laser hallway, a flat power block floats near a wall unit. Use Axiom Force to grab it and position it directly in front of the wall slot, then use Force Palm to push it into place. This activates a teleporter that carries you back to the top of the structure.
Step 7: Once topside, grab the power block ahead and place it into the slot on the right side. Press the now-active button to restore the Abyss and complete the Vault of Vengeance. The Abyss Artifact appears for you to collect.
Hidden Bonus Loot
Before you leave, turn around from where you picked up the Abyss Artifact. A patch of vines covers a hidden area nearby. Burn the vines away to reveal a chest containing a Faded Abyss Artifact and a Swift I core. These are easy to miss if you immediately fast-travel out after finishing the puzzle.
After completing the Vault of Vengeance, the next Abyss Restoration Challenge in the Spire of the Stars chain is the Courtyard of Precision, which rewards a Lightning elemental skill. The Vault of Vengeance itself feeds into the broader Path of Providence cluster, and finishing all 40 Abyss Restoration Challenges across the game's nine Spires is required for the Conqueror of the Abysses achievement — though several Spires only unlock through main story progression up through the later chapters.