
Deep Freeze is a limited-length gamemode in Dead Rails that compresses an 80km run into a 40km dash across a Frozen Desert, then layers a constant hypothermia threat and nightly enemy sieges on top of the usual survival and train management.
Core rules of Deep Freeze mode
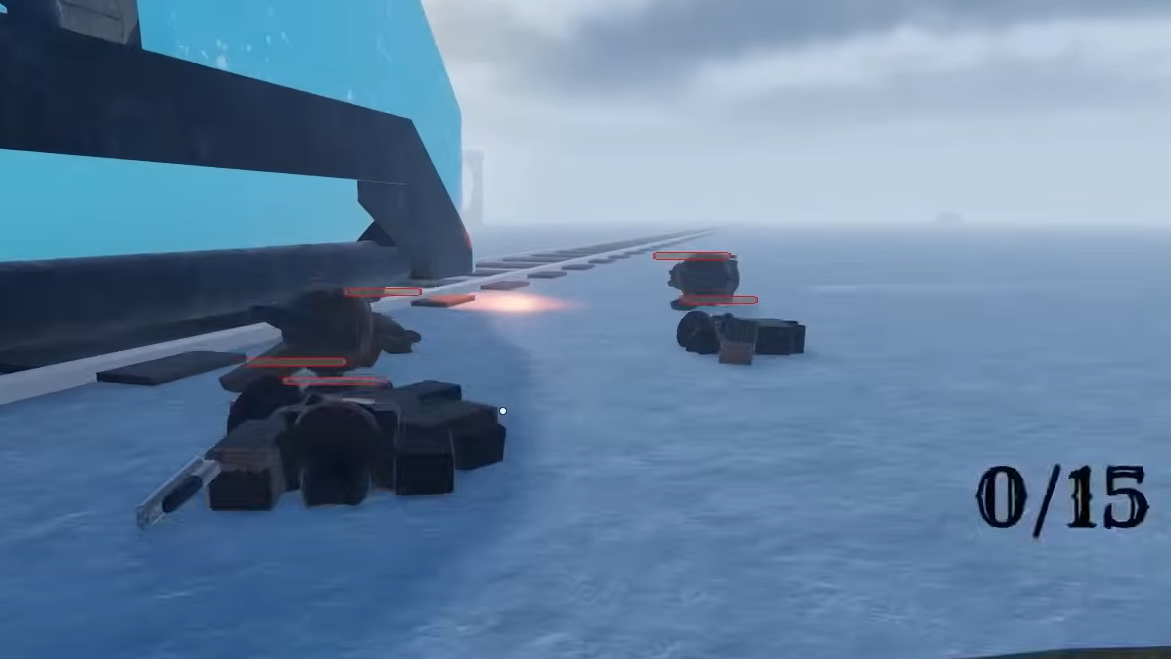
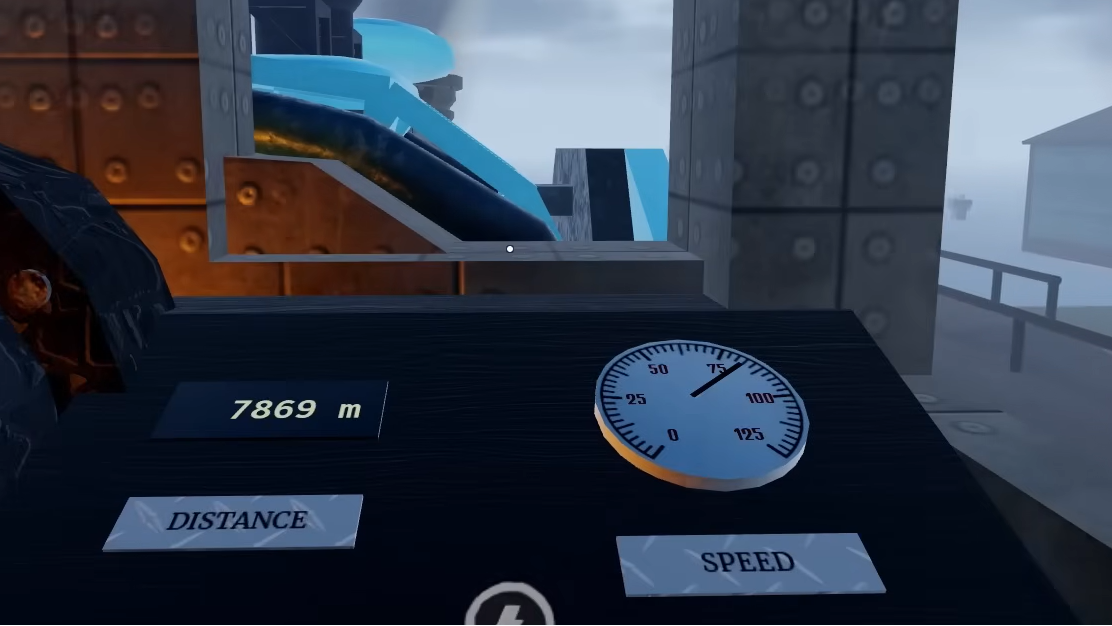
Deep Freeze uses the same shortened layout and structure spawn rules as Bite-Sized Mode but locks the entire run to a single Frozen Desert biome. The total distance is 40km instead of the standard 80km, which brings typical clear times down to roughly 15–30 minutes if you keep the train moving and avoid unnecessary detours.
The mode keeps the usual Dead Rails loop of looting, fueling, and defending the train, but changes several fundamentals:
- Permanent cold: Your character is always freezing unless you stay within range of a heat source.
- Night waves: Large enemy waves spawn at night and completely stop the train until cleared or until morning.
- Single biome: No biome transitions or long stretches of empty desert; the Frozen Desert dominates the entire route.
Deep Freeze is marked as available in the gamemode selector and uses the same underlying mechanical changes as Bite-Sized, so movement, train pacing, and structure density will feel familiar if you have played that mode.

How freezing works in Deep Freeze
The defining mechanic of Deep Freeze is continuous exposure to cold. Over time, your character becomes covered in ice whenever you are away from warmth. This is not just a visual effect. The more you freeze, the more you slow down, and eventually you start losing health quickly.
You avoid or reverse freezing by staying near a heat source. In this mode, that includes:
- The train’s furnace when the train is running.
- The Torch item.
- Any other explicit heat sources placed in the world, such as campfires.
Riding a horse does not protect you. Mounts are useful for covering distance or dragging enemies around, but they do nothing against the cold. If you sprint away from the train on horseback without a Torch or nearby heat, you still freeze and eventually bleed health.
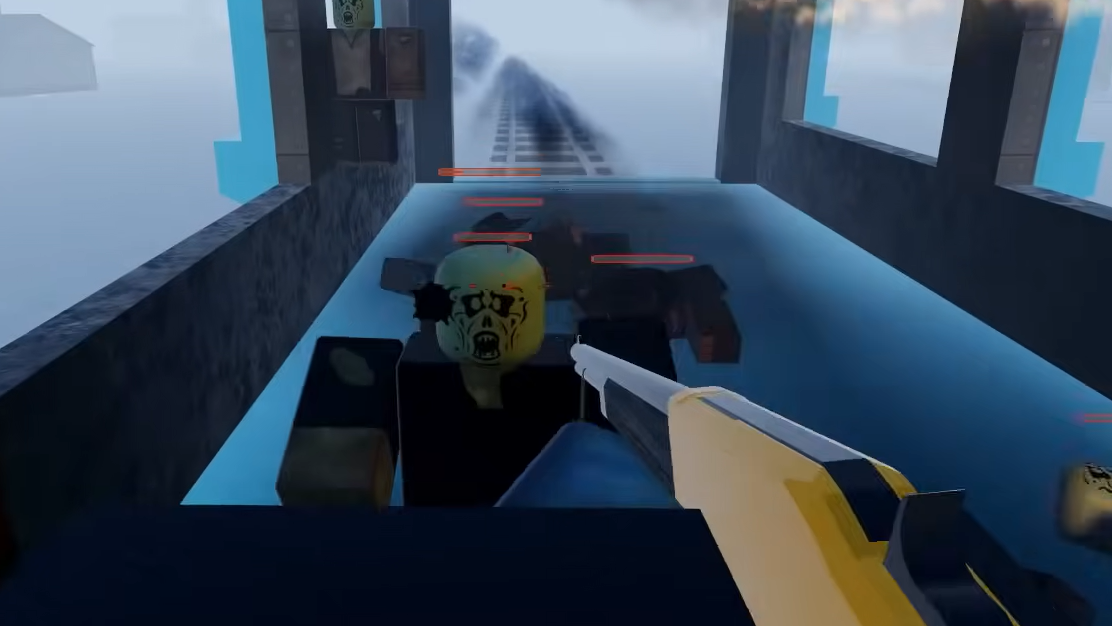
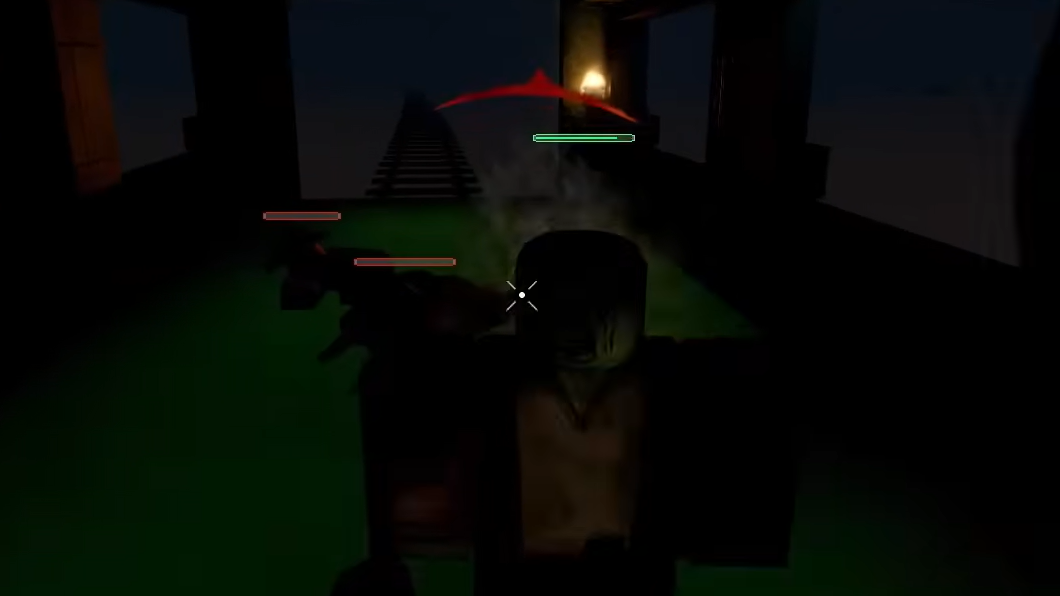
Night waves and how they stall the train
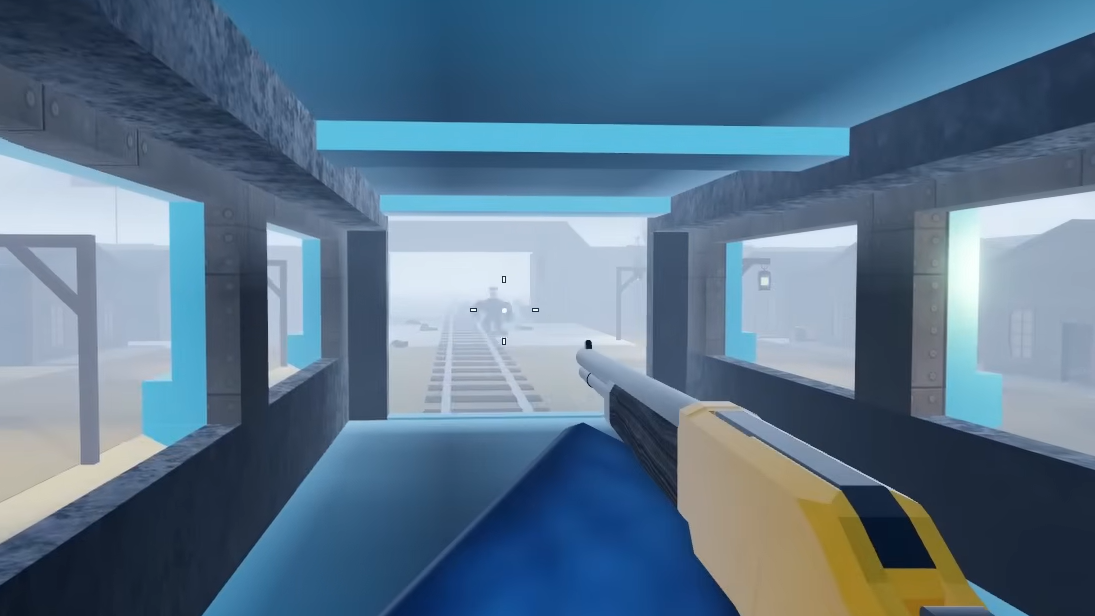
Deep Freeze replaces the usual free-flowing night cycle with fixed waves. At night, groups of enemies spawn around the train, and the train is forced to a stop. You cannot resume movement until the wave is cleared or the sun comes up.
Key implications:
- No driving through the night: In other modes, you can sometimes burn extra fuel and outrun trouble. Here, night automatically becomes a combat phase.
- Defensive positioning matters: Because the train is stationary, your fortifications and firing lines around the train cabin become the main defense.
- Wave clearing is mandatory for pace: If you want sub‑20‑minute clears and the associated rewards, you need to wipe waves quickly instead of waiting them out.
Night waves stack with the freezing mechanic. Moving far from the train during waves is risky because you lose both your primary heat source and the protection of any train defenses you have built.
Selecting Deep Freeze mode and getting started
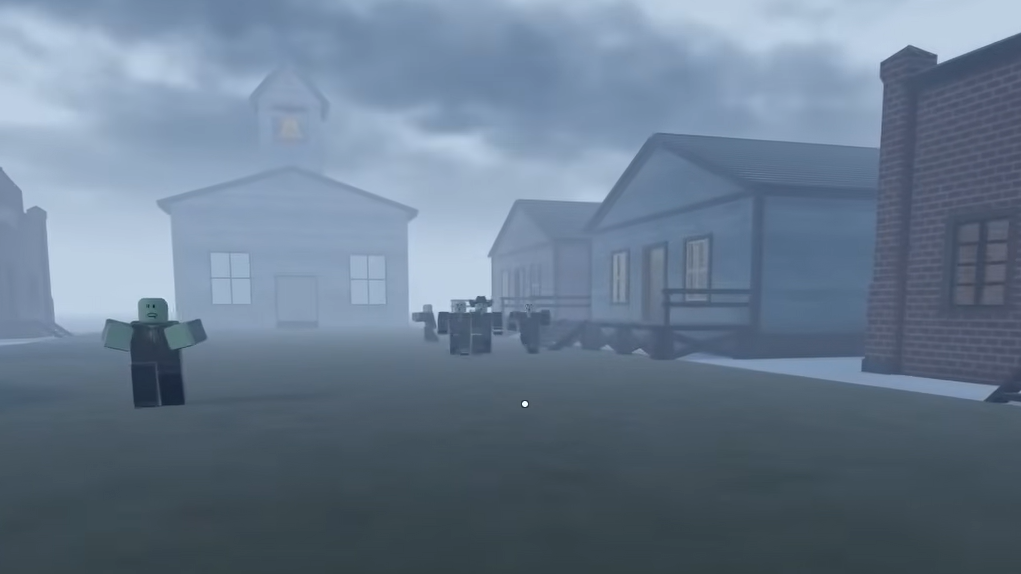
Deep Freeze lives in the same lobby town as other Dead Rails modes. To enter it, you travel to the gamemode selection area at the rear of the starting town, then board the blue-highlighted train station that corresponds to Deep Freeze.
Once the mode begins, you receive a Torch as a starting item. Treat that Torch as non‑optional equipment rather than a convenience. It acts as:
- A portable heat zone that lets you explore away from the train.
- A light source for navigating the Frozen Desert and buildings at night or in poor visibility.
Recommended classes, weapons, and items
Deep Freeze is shorter but more aggressive than a standard run, so front‑loaded combat strength pays off more than long economic ramp‑ups.
For solo play, Tycoon is particularly effective. The class’ passive bonus on selling items makes looting towns or Sterling Mines significantly more profitable, which in turn helps you quickly buy high-tier weapons, armor, and fuel despite the condensed map.
On the weapons side, high rate of fire and reliability matter more than niche gimmicks. Two standouts are:
- Mauser C96: A rapid‑firing sidearm that shreds waves and is forgiving if your aim is not perfect.
- Thompson: A strong close‑ to mid‑range automatic option that clears clustered enemies quickly.
Healing is not optional. Snake Oil remains one of the strongest healing items in Dead Rails and is especially valuable in Deep Freeze, where cold damage and night waves can overlap. Carry multiple charges and resist the urge to drink them for minor scrapes.
Using heat sources effectively
Management of heat sources is as important as ammo or fuel management in Deep Freeze.
- Train furnace: When the train is running, the furnace creates a moving safe zone around the cabin. Plan short, looping excursions that begin and end within that radius so you return to warmth before ice buildup becomes dangerous.
- Torch: Drag the Torch with you whenever you commit to looting a building, town section, or POI far from the tracks. Its heat bubble gives you freedom of movement while the train is stopped or when you temporarily park it.
- Static heat: If you find any other heat sources in the environment, treat them as mini‑checkpoints. Clear nearby enemies, then use those areas as intermediate hubs for deeper pushes.
Route planning and POIs in a 40km run
Even though the total distance is halved, Deep Freeze still uses the same structure spawn logic as Bite-Sized Mode. That means many of the same POIs can appear along the route, but not all are guaranteed.
Important details:
- Standard POIs like Tesla Lab or Stillwater Prison may or may not appear during a given Deep Freeze run.
- The Castle is an exception. It always spawns near the third Fortified Town and effectively marks the halfway point of the 40km map.
- Towns and points of interest still offer the same mix of valuables, weapons, and healing items as in other modes.
Because you only have 40km, detouring to every POI is rarely efficient if your goal is fast clears and Bond farming. Prioritize locations that give a strong return in bonds, weapons, or healing items, then skip marginal stops once you are adequately geared.
Baseline strategy for clearing Deep Freeze
A consistent Deep Freeze run hinges on balancing three pressures: cold, time, and combat. A simple, reliable approach looks like this.
Step 1: Choose a class that suits your role. For solo runs, Tycoon or a combat‑leaning class (such as Survivalist or Cowboy) works well. In groups, you can layer support and defense roles on top of that.
Step 2: Grab the Torch at the starting base and keep it with you. Begin by stocking up on basic fuel and at least one solid firearm, then build a minimal defense at the train entrance using sheet metal or other materials as they become available.
Step 3: Push the train steadily forward during the day, stopping mainly for high‑value structures such as banks, gunsmiths, and doctor’s offices. Use short, Torch‑backed excursions to loot, then return to the train before exposure stacks too high.
Step 4: When night begins, shift focus entirely to defense. Stay close to the train furnace and your fortifications, and use high‑rate‑of‑fire weapons to thin waves as quickly as possible. Avoid chasing stragglers too far into the dark, where you lose both warmth and positional advantage.
Step 5: After each night, quickly consolidate loot, restock fuel, and assess if you still need better weapons or armor. If your kit is strong, skip lesser buildings and prioritize progress down the track to stay ahead of the 20‑minute reward threshold.
Frost Train stats, cost, and passive effect
The Deep Freeze update adds the Frost Train, a combat‑oriented locomotive that also interacts thematically with the mode’s cold motif.
| Attribute | Frost Train value |
|---|---|
| Bond cost to unlock | 290 Bonds |
| Base maximum speed | 80 km/h |
| Maximum speed with Conductor | 104 km/h |
| Visual style | Armored‑train silhouette with ice‑blue texture |
| Special passive | Radiates cold that weakens nearby enemies, reducing the damage they deal |
The Frost Train’s cold aura is a defensive passive rather than a direct damage source. Enemies close to the train deal less damage, which synergizes with train‑centric defense strategies where you funnel waves into chokepoints around the cabin.
Despite its cost, the Frost Train is a strong long‑term investment if you play Deep Freeze or other combat‑heavy modes frequently. Its speed profile matches the Armored Train, and the damage‑reduction aura pays dividends during night waves and at end‑of‑run sieges.
Deep Freeze Bond rewards and time efficiency
Deep Freeze is one of the most efficient ways to earn Bonds relative to distance traveled. The reward structure is simple but layered.
| Objective | Reward |
|---|---|
| Base victory (mode completion) | 10 Bonds |
| First completion bonus | +15 Bonds |
| Completion under 20 minutes | +15 Bonds |
Your first successful clear can therefore award up to 40 Bonds if you finish within the 20‑minute threshold. Subsequent runs without the first‑time bonus still offer a solid 25 Bonds for a fast victory, all while covering half the distance of a standard 80km mode.
Because the map is shorter and structured like Bite-Sized Mode, you spend more of each run in active combat and looting, and less time idling on long stretches of track. That makes Deep Freeze well‑suited for quick sessions focused on unlocking trains like the Frost Train or classes that require Bond purchases.
Deep Freeze reshapes Dead Rails into a concentrated survival sprint: constant cold pressure, mandatory night fights, and a compact route that rewards tight routing and decisive combat. Once you settle on a class, lock in a reliable weapon set, and treat heat management as seriously as ammo, it becomes a consistent way to both test your combat chops and stockpile Bonds in relatively short runs.