
Nora is one of the most important NPCs in Deadly Delivery’s Forest update. Freeing her mid‑run doesn’t just give a large cash payout; it also unlocks the Escape Artist class, a mobility-focused option that is especially strong for solo play. The catch is that she spawns randomly and only on deeper floors, so you need to know what you’re looking for and how to get her out alive.
Where Nora can spawn in Deadly Delivery
Nora only appears on deeper floors, and her presence is never guaranteed on any given run.
| Requirement | Details |
|---|---|
| Minimum floor | Can spawn on any floor after Floor 5 |
| Higher chance | Spawn chance increases after Floor 8 |
| Typical room | Most commonly found in the Toy Room (if that room generates) |
| Other locations | Can also appear in other random rooms on the level |
| Rescue NPC limit | Only one rescue NPC can appear per floor (Nora or someone else) |
Because of the random element, you may meet Nora on your first qualifying run or only after many attempts. There is no way to force her spawn beyond consistently reaching later floors and fully clearing every level before you evacuate.

How to recognize and free Nora
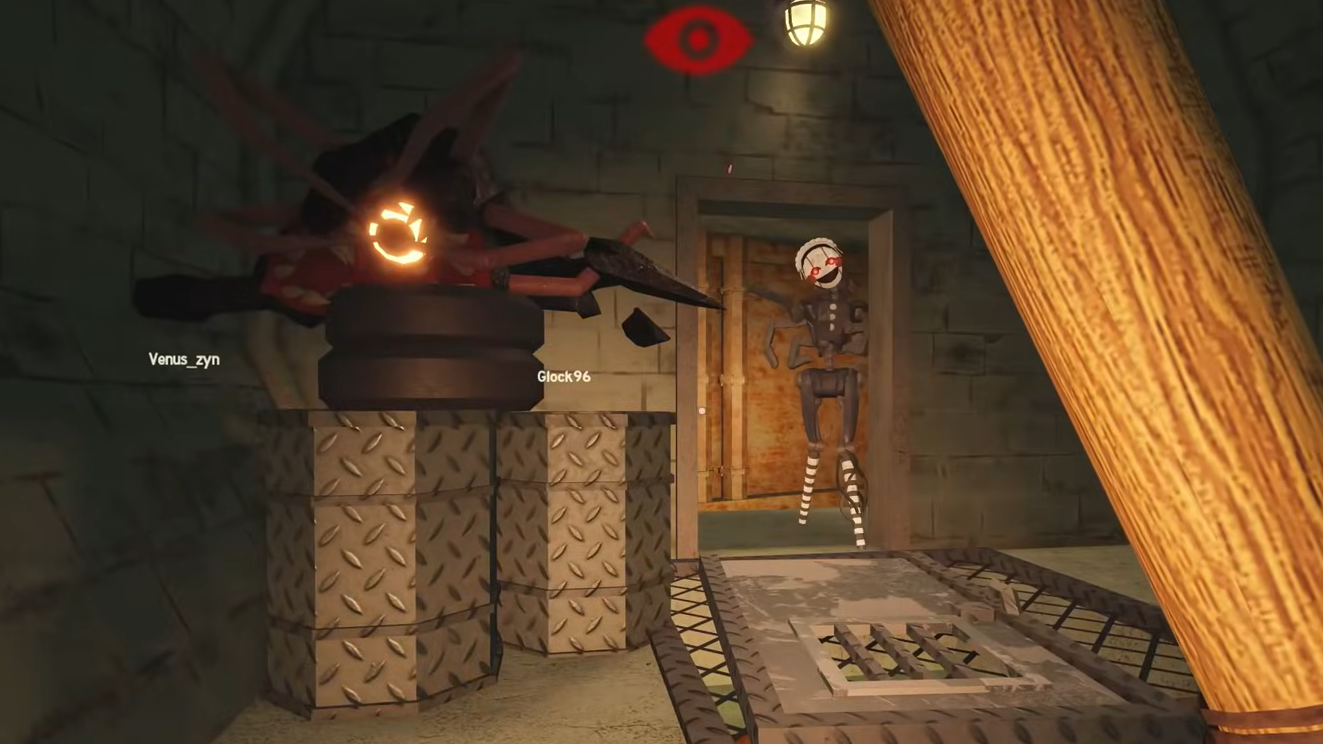
Nora appears like other rescue NPCs: sitting or lying on the floor, tied up with ropes. The rescue interaction follows the standard NPC rescue flow.
Step 1: Clear nearby enemies before starting the rescue. The interaction locks you in place for a moment, and getting interrupted can easily down you on higher floors.
Step 2: Walk up to Nora and hold the interaction button until the untie animation completes. Releasing too early cancels the rescue, so keep holding until the prompt finishes.
Step 3: Once freed, Nora will stand up and automatically begin following you. At this point, the escort phase starts, and monsters are more likely to converge on your route back.
How to escort Nora safely to the elevator
Escorting Nora is the only way to unlock Escape Artist, so the walk back is the critical part. Treat it as a short extraction mission rather than a normal looting phase.
Step 1: Before you free her, mentally trace the fastest line from her room to the elevator. Note choke points, safe corners, and any doors you may want to close behind you.
Step 2: After she starts following, move decisively toward the elevator instead of loitering for extra loot. Sprint on straight sections, but slow briefly at corners to ensure she does not get stuck.
Step 3: Use stuns, knockback weapons, or syringes proactively. A baseball bat, stun grenade, and bandages are all valuable here; treat any enemy you meet as a threat to the whole run, not just your own health bar.
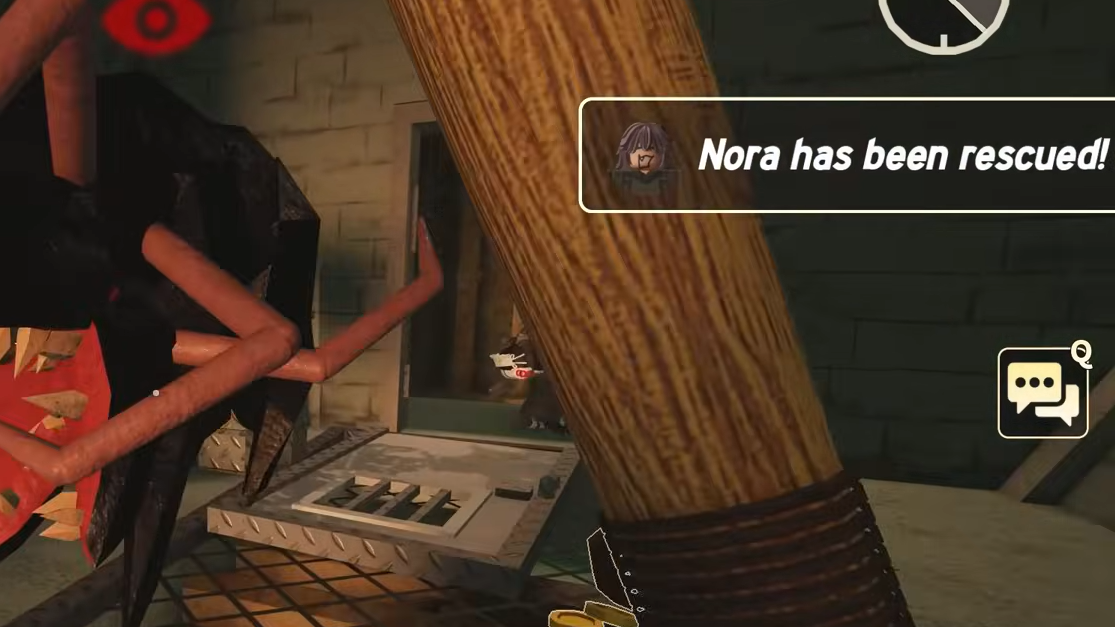
Step 4: Once you reach the elevator, walk fully inside and wait until Nora crosses the threshold. The moment she gets in, she will despawn and drop a bag of cash, and you will receive an on‑screen notification that the Escape Artist class has been unlocked.
Why the teleporter is risky for Nora
The Forest update adds teleport tools that are excellent for covering the long distances of the Underground Forest and other lower floors. For escorting Nora, though, they create more problems than they solve:
- Nora does not teleport with you; she stays behind and tries to follow the long way.
- Her pathfinding is prone to getting hung up on corners, doors, or props.
- The further away you teleport, the more time she spends moving alone through hostile areas.
If you activate a teleporter from Nora’s room to the elevator, she will slowly work toward the elevator on her own, often drawing aggro on the way. In practice, that makes a failed rescue far more likely than simply running back together. For Nora runs, treat teleporters as tools for reaching deeper floors, not as part of the escort itself.
Escape Artist class unlock and cost
Rescuing Nora triggers the condition to unlock Escape Artist, but you still need to purchase the class before you can use it.
Step 1: After a successful Nora escort, finish the round and return to the surface lobby.
Step 2: Talk to the class vendor NPC on the surface. Escape Artist will now be available in the class list.
Step 3: Spend 2,500 in‑game currency to unlock Escape Artist. Once bought, you can select it like any other class before a run.
Escape Artist perks and what they change
Escape Artist is built around survivability and mobility. Each level focuses on moving faster, recovering stamina, or staying alive through mistakes.
| Class Level | Perk | Effect | Practical impact |
|---|---|---|---|
| Level 1 | Stamina boost | 10% increased stamina regeneration | Shorter downtime between sprints; easier kiting and repositioning. |
| Level 2 | Adrenaline speed | 50% increase to adrenaline-triggered movement speed | Huge burst of speed when adrenaline kicks in, ideal for dodging attacks or reaching cover. |
| Level 3 | Free revival | One free self‑revive per round | Acts as a built‑in extra life, especially valuable on deep floors or solo runs. |
Escape Artist also starts every run with a box item. The box is a flexible utility pickup that can be used alongside whatever gear you purchase from vendors before entering the elevator.
In terms of power level, Escape Artist is not the most dominant choice in every lobby, but it excels in specific scenarios:
- Solo runs: The free revive and higher mobility give more margin for error when no one is around to pick you up.
- Deep floors (18–30): Long travel distances and dangerous entities make stamina regeneration and speed spikes highly valuable.
- Learning the Forest level: Faster repositioning and a backup life make exploration less punishing while you learn layouts and enemy paths.
Best preparation before hunting for Nora
You cannot influence Nora’s spawn chance directly, so the most efficient strategy is to consistently survive to deeper floors and thoroughly clear them. That demands preparation at the surface and smart team choices.
Surface loadout and spending
Before riding the elevator down, you can buy gear from the surface vendor. This is more reliable and cheaper than depending on the vending machine mid‑run, which has limited stock and higher prices.
- Baseball bat: A dependable melee weapon for clearing weaker monsters without burning ammo or consumables.
- Bandage: Basic healing to stabilize between encounters.
- Revive syringe: Essential for team revives and insurance on higher floors.
- Hourglass: A strong early utility item that helps manage pace and pressure on early floors.
You can only carry four items from the surface into a run, so prioritize tools that directly help you survive and reposition rather than purely economic items while you are still chasing the Nora unlock.
Why you should avoid solo queues when targeting Nora
Deadly Delivery is tuned around multiplayer, especially once you push past the early floors. For Nora specifically, more players make a meaningful difference:
- Easier to hit or exceed quota, which makes later floors less punishing.
- Multiple people can search different wings of each floor, increasing the odds of actually finding her before the timer runs low.
- Teammates with revive syringes can pick you up when you take a bad hit, keeping the run alive.
- One player can act as a bodyguard during the escort while others run ahead to clear paths or hold doors.
Solo is still viable, and Escape Artist itself is designed to support that style once unlocked, but the initial Nora rescue is smoother with at least a small group.
Floor-clearing habits that help you find Nora
Because Nora can spawn outside the Toy Room, treating that room as the only place worth checking is a mistake. A few habits dramatically improve your odds:
- Open every door: Systematically work through all accessible rooms before returning to the elevator.
- Prioritize side rooms after quota: Once you’ve secured enough food to meet the floor’s requirement, shift focus to exploration rather than extra profit.
- Call out finds: In multiplayer, immediately tell your squad when you locate a rescue NPC so they can converge and help escort.
- Use the NPC limit rule: If you see Sam, Graves, or another rescue character on that floor, you can stop searching for Nora there and push deeper instead.
Over time, this pattern—reach Floor 8+, fully explore, evacuate only after confirming there is no rescue NPC—gives the best balance between progression speed and Nora attempts.
Common Nora rescue questions
Can Nora’s spawn be guaranteed?
No. Nora’s appearance is random across eligible floors. She may show up multiple runs in a row or be absent for ten runs straight. The only control you have is reaching Floors 6 and higher consistently, then Floors 8+ to take advantage of her higher spawn rate there, and keeping up the search.
Does Nora only appear in the Toy Room?
No. The Toy Room is the most common place to find her when that room generates, but she can spawn in other standard rooms as well. Always treat the entire floor as a candidate area, not just special rooms.
Is Escape Artist worth using after unlocking?
Escape Artist is not the strongest pick in every composition, but it is very effective in certain contexts. The free per‑round revival and mobility perks are valuable for solo players and for anyone pushing deep floors where a single mistake is often run‑ending. In group lobbies that already have solid damage and crowd control, adding an Escape Artist can bring a safety net and flexible objective running.
Once you are comfortable on Forest floors and have other classes unlocked, you can rotate between them depending on whether you value raw power, utility, or survivability. Escape Artist fits best when mobility and second chances matter more than pure damage output.
Unlocking Escape Artist through Nora is one of the more demanding goals in Deadly Delivery’s Forest update, not because the task itself is complex, but because it leans entirely on surviving deep floors and respecting the escort as soon as you find her. Build a survival‑focused loadout, move with a team when you can, clear every room on Floors 8 and beyond, and treat the walk back to the elevator as the priority objective. Once Nora steps through those elevator doors, every subsequent run becomes more forgiving.