
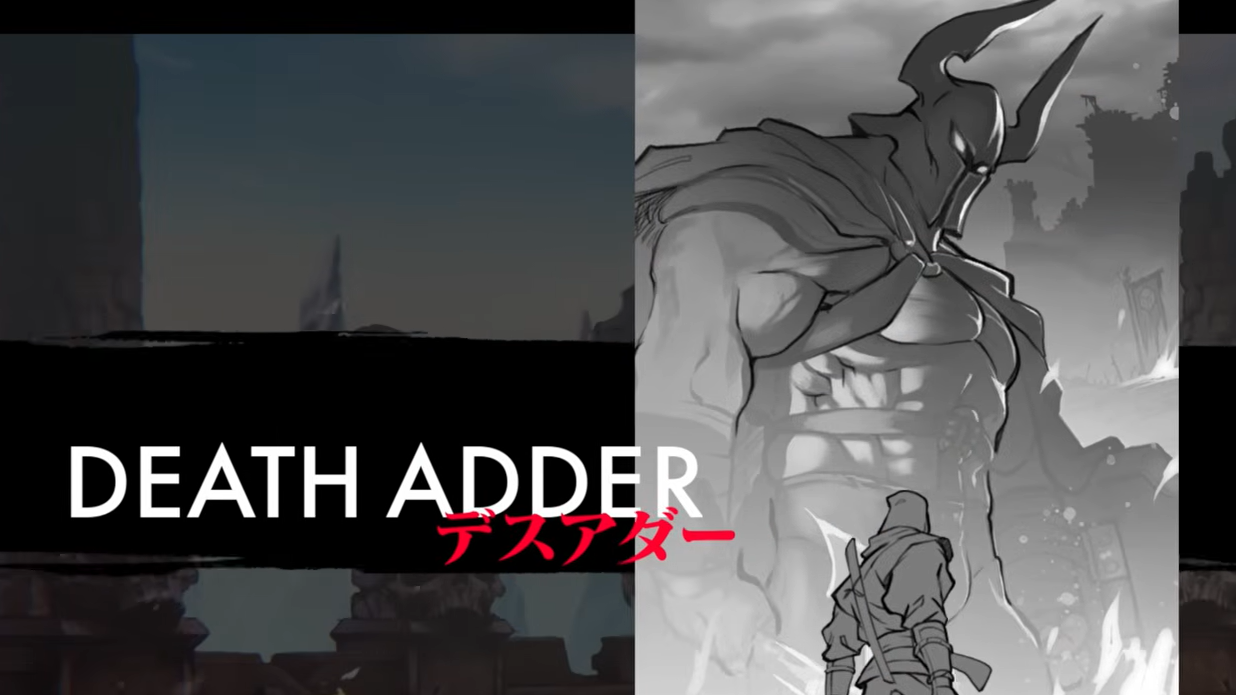
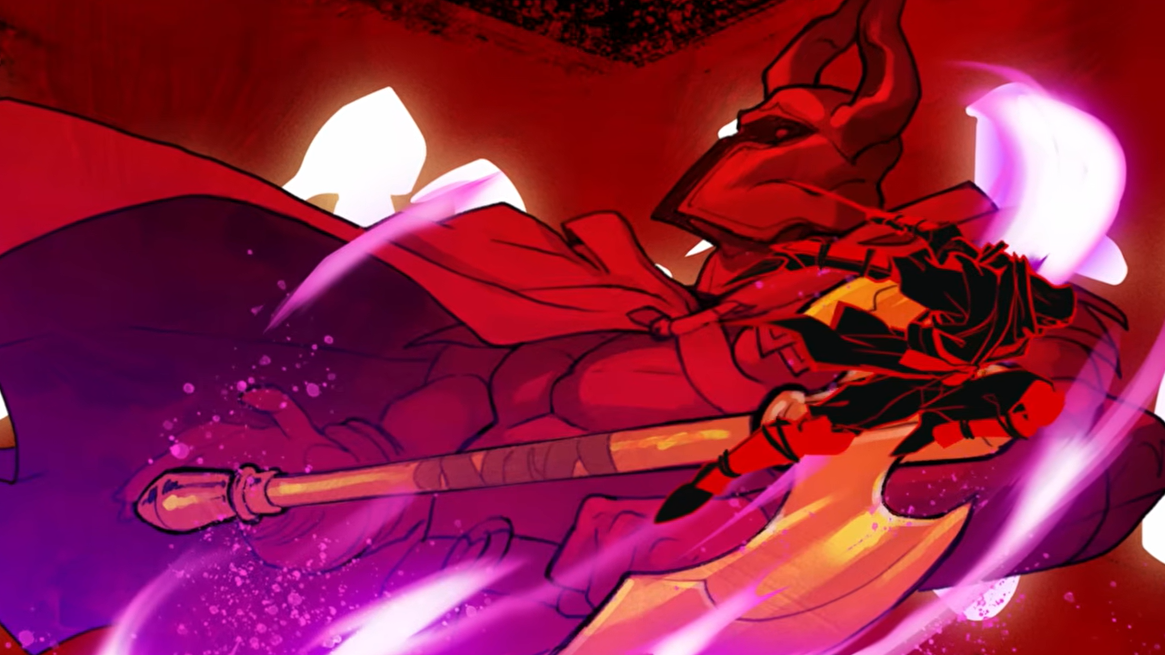
Death Adder is one of three bosses introduced in the Sega Villains DLC for Shinobi: Art of Vengeance. Originally the final boss of the classic Golden Axe, he wields the legendary Golden Axe itself and commands devastating area-of-effect attacks that can shred roughly a quarter of your health bar per hit. He's aggressive, fast, and punishing — but every move he throws has a readable tell.
Quick answer: Equip the Shisui Ninjutsu for healing, pair it with the Vampire and Rage Regenerator amulets, and save your Water Ninpo for Phase 2. Dodge roll through the Geometry Beam shapes, double jump and glide over the Death Beam, and jump-dash over the Shield Charge. Execute him at roughly 5% health to earn the Golden Axe Ninpo.
Recommended Loadout Before the Fight
Death Adder's raw damage output means you need consistent ways to recover health mid-fight. The Shisui Ninjutsu is your primary heal and should be ready to use at all times. Pair it with two amulets that synergize well with aggressive play:
| Equipment | Effect |
|---|---|
| Shisui Ninjutsu | Active healing ability — use it whenever your health dips below half |
| Vampire amulet | Restores health when you land attacks, rewarding offense |
| Rage Regenerator amulet | Speeds up Rage recovery so you can use Ninpo more often |
You can tackle Death Adder or Goro Majima in either order, but fighting Death Adder first is the stronger play. Beating him awards the Golden Axe Ninpo, a high-damage projectile that proves very useful in the Majima encounter afterward.
Phase 1 — Death Adder's Full Moveset
Death Adder doesn't follow a scripted attack order. He can open with any move, and depending on how fast you deal damage, he may not cycle through every ability before the phase transition. Staying aggressive while watching for purple glows and weapon raises is the core rhythm of this fight.
| Attack | Tell | How to Avoid |
|---|---|---|
| Teleport | Throws the Golden Axe forward | Dash away or jump over the thrown axe — he warps to wherever it lands |
| Death Beam | Glows purple, plants his shield in the ground, channels energy | Double jump and glide slowly; you need maximum height to clear the beam as it crackles along the floor |
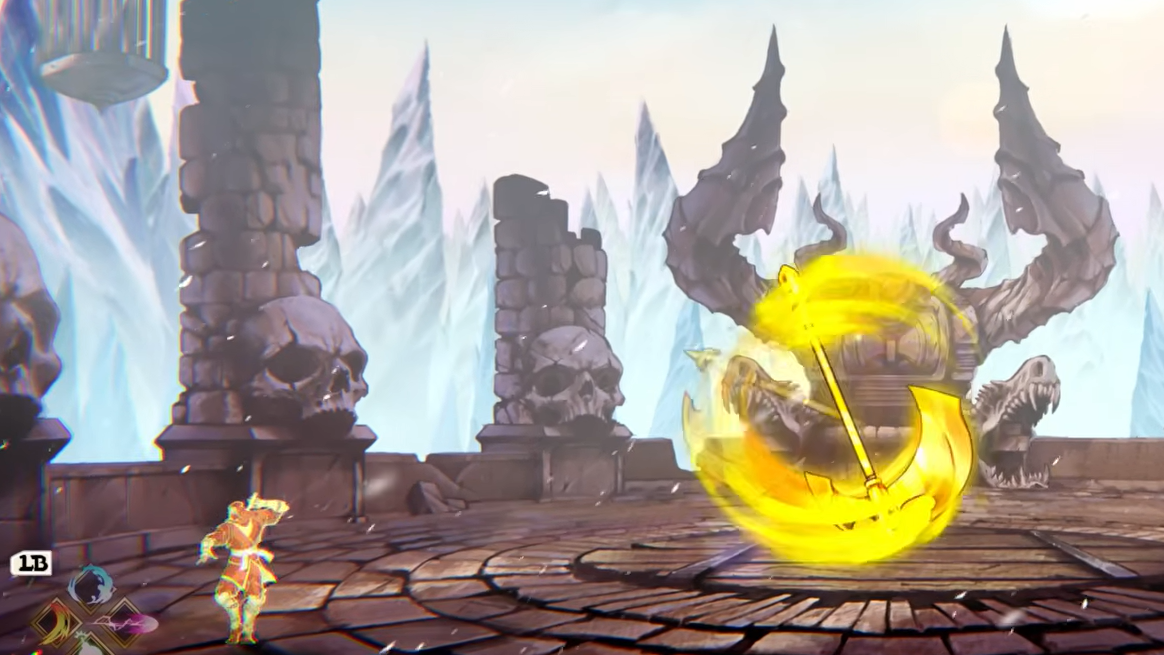
| Geometry Beam | Raises the Golden Axe, charges electric energy | He sends an expanding triangle followed by a double diamond. Dodge roll through the shapes to get hits in, then roll back out before they close |
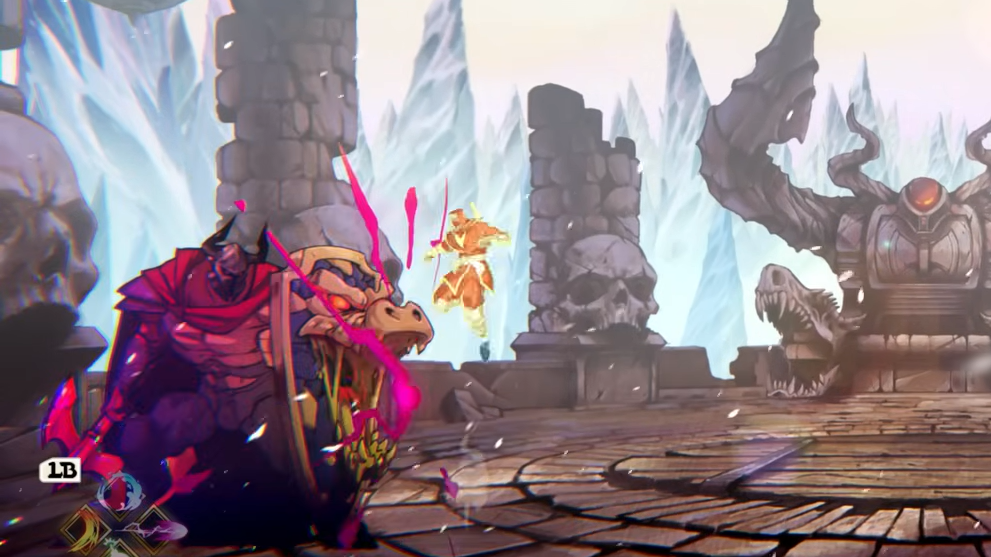
| Shield Charge | Glows purple, hoists the axe, then rushes across the screen | Jump and air-dash over him. He sometimes does this twice in a row, so stay airborne and ready |
| Heavy Swing | Winds up the Golden Axe | Creates a tall, wide arc in front of him — back away or dodge behind him |
| Spin-to-Win | Glows purple, begins wide horizontal sweeps | Repeatedly dodge toward the opposite side of the screen immediately; these swings are among his hardest-hitting moves |
The Geometry Beam also offers a solid opening. Roll through the expanding shapes, land a few quick hits, and roll back out the moment the yellow energy lines start closing in. For the Death Beam, height is everything — if your double jump plus glide doesn't clear it, you'll eat the full hit.
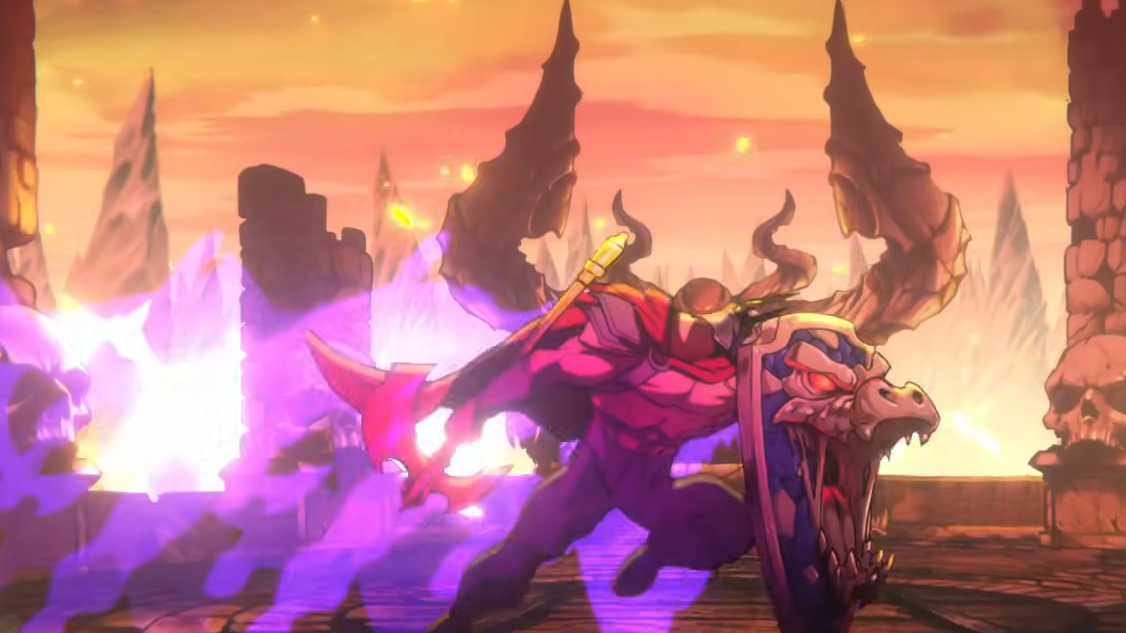
When Death Adder drops to around 50% health, he summons his dragon, the screen ignites, and Phase 2 begins. If he's in the middle of an attack animation when the transition triggers, keep swinging. You can shave off extra health during that window and make the second half shorter.
Phase 2 — Upgraded Geometry Beam and Higher Damage
Phase 2 doesn't introduce brand-new attacks, but everything hits noticeably harder. The critical change is the Geometry Beam, which becomes far more complex. Instead of a triangle and double diamond, Death Adder now fires an octagon, triangle, double octagon, and double triangle in sequence. The shapes expand and contract faster, making the dodge timing much tighter.
Save your Water Ninpo for this phase. It gives you a burst of damage that can help close out the fight before the upgraded Geometry Beam overwhelms you. The strategy remains the same as Phase 1 — roll through the shapes, hit, retreat — but you have less margin for error.
Continue pressuring Death Adder with the same tactics from Phase 1. Punish Shield Charges from the air, dodge the Spin-to-Win immediately, and keep Shisui Ninjutsu ready for emergency heals. The Vampire amulet will do a lot of passive healing work as long as you stay on the offensive.
Execution and Reward
When Death Adder reaches approximately 5% health, the game signals that you can perform an execution. Trigger it to finish the fight and claim the Golden Axe Ninpo. This new ability lets Joe Musashi hurl a Golden Axe projectile that travels across the entire screen, hitting everything in its path. It functions similarly to the Shuriken Ninpo but with high damage output, making it a straightforward offensive tool.
Beating Death Adder also unlocks the Tyrant Warlord outfit — a costume inspired by Death Adder's armor — which you can grab from a chest at the end of the Eternal War Dimension level. With the Golden Axe Ninpo in hand, you're well-equipped to move on to the Majima or Eggman stages in whichever order you prefer.
Death Adder is widely considered the toughest of the three Sega Villains DLC bosses in terms of raw difficulty. His moveset is hard to manage and his damage is punishing. But every attack has a visible tell, and the fight rewards aggression as long as you respect those cues. Keep healing available, stay mobile, and don't panic during the Phase 2 Geometry Beam — patience and clean dodge rolls will carry you through.