
Dr. Eggman is the final and toughest boss in the Sega Villains Stage DLC for Shinobi: Art of Vengeance. The fight takes place in the Egg Zone Dimension and is split into two separate encounters — the Egg Cart and the Giant Eggman Robo — with a checkpoint and full heal between them. The first battle is manageable, but the second is a multi-phase gauntlet that can shred your health bar in seconds if you're not prepared.
Quick answer: Equip the Golden Axe Ninpo and Doppelganger Ninpo before entering the Egg Zone Dimension. Save your Rage meter for Shisui Ninjutsu healing during the second fight. Target the Blue Glowing Circles on the Giant Eggman Robo to deal damage, and use Golden Axe Ninpo to instantly destroy the bottom nodes at the start of each phase where they appear.
Prerequisites Before Fighting Dr. Eggman
You must defeat both Death Adder and Goro Majima in their respective DLC stages before the Egg Zone Dimension unlocks. Beating Death Adder in "The Warlord" level awards the Golden Axe Ninpo, and defeating Majima in "The Mad Dog" stage gives you the Doppelganger Ninpo. Both of these are valuable for the Eggman encounter, so make sure you pick them up first.
Golden Axe Ninpo functions as a high-damage axe projectile — essentially a harder-hitting version of the Shuriken Ninpo. Doppelganger summons clones that attack in multiple directions and is especially useful for building the Execution Gauge, though it's trickier to use effectively during the Eggman fight specifically. Enter the Egg Zone Dimension with as many Ninpo stocks as possible.

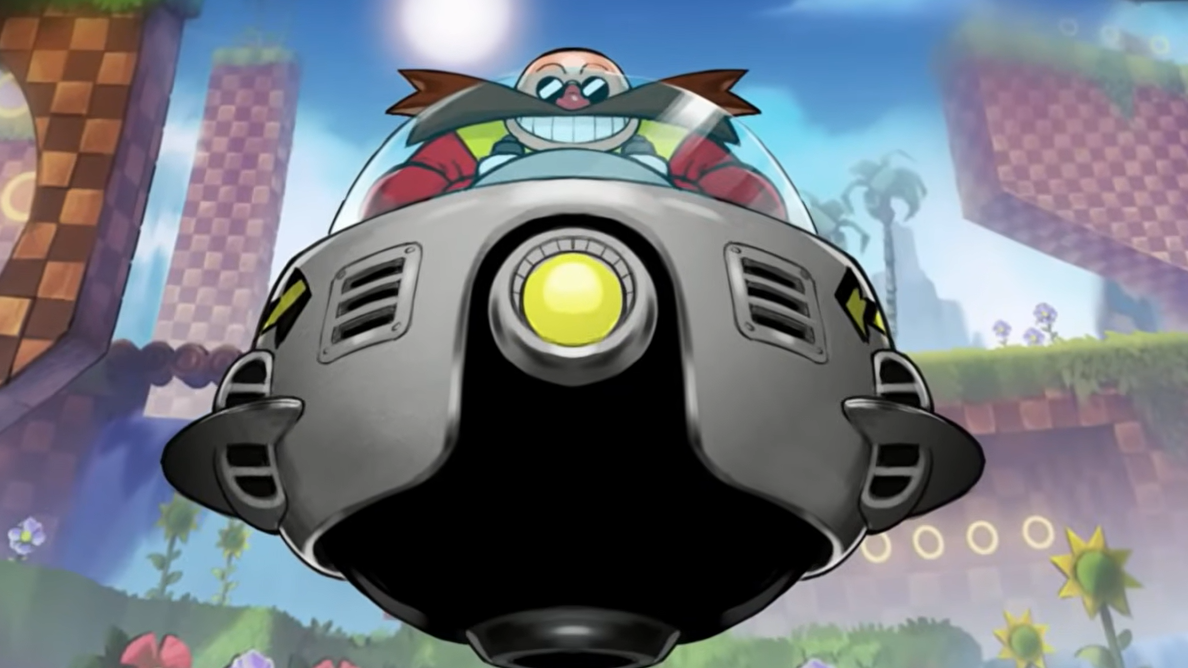
Battle 1 — Egg Cart
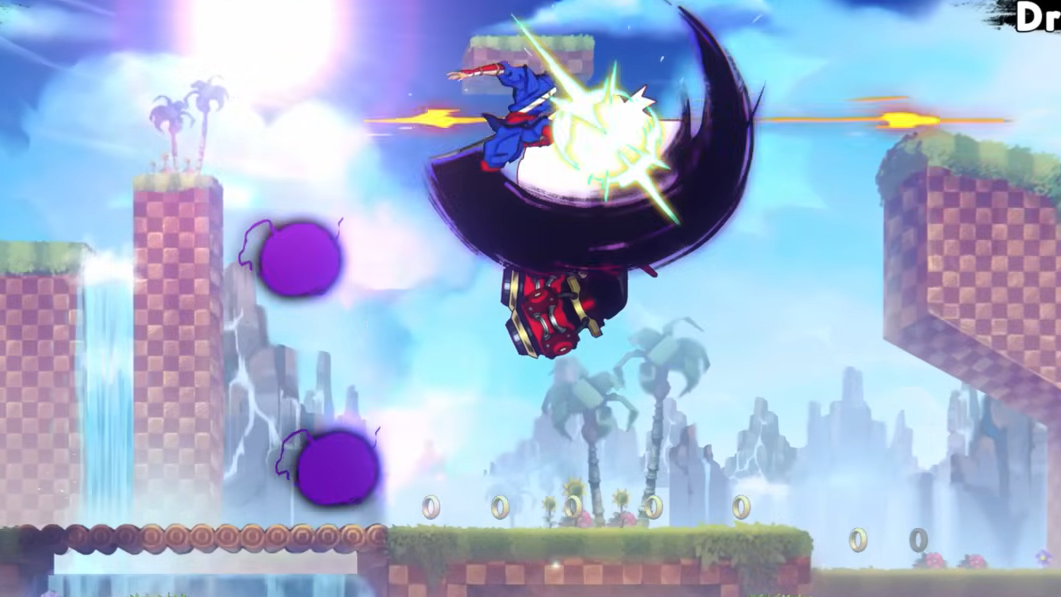
The first encounter is a hovering vehicle fight packed with Sonic series references. Eggman starts high on the screen but descends lower after a short time, giving you openings to land hits. Most of the attacks here are straightforward to dodge, and the fight shouldn't give you too much trouble if you've handled the base game's bosses.
| Attack | Description | How to Avoid |
|---|---|---|
| Wrecking Ball | Drops a wrecking ball that swings back and forth across the screen twice | Stay above it and keep attacking the Egg Cart |
| Afterburner | A beam sweeps back and forth across the screen; platforms don't block it | Get above Eggman if possible |
| Egg Bombers | Small walking bombs that explode when close to you | Jump or dash away before they detonate |
| Bullet Hell | Six cannons fire slow orange bullets while Eggman moves across the screen | Stay mobile; watch for Egg Bombers spawning simultaneously |
| Shadow Bullets | Three large shadowy projectiles fired five times in succession | Jump between the gaps in each volley |
The most dangerous moments happen when Egg Bombers are walking around the arena while bullets are also flying. Keep moving and prioritize clearing the Egg Bombers with quick dashes when you have a safe window. Once the Egg Cart goes down, you'll hit a checkpoint, get a full heal, and can grab the Evil Genius outfit (the Dr. Eggman-themed costume) from a chest before proceeding to the real challenge.
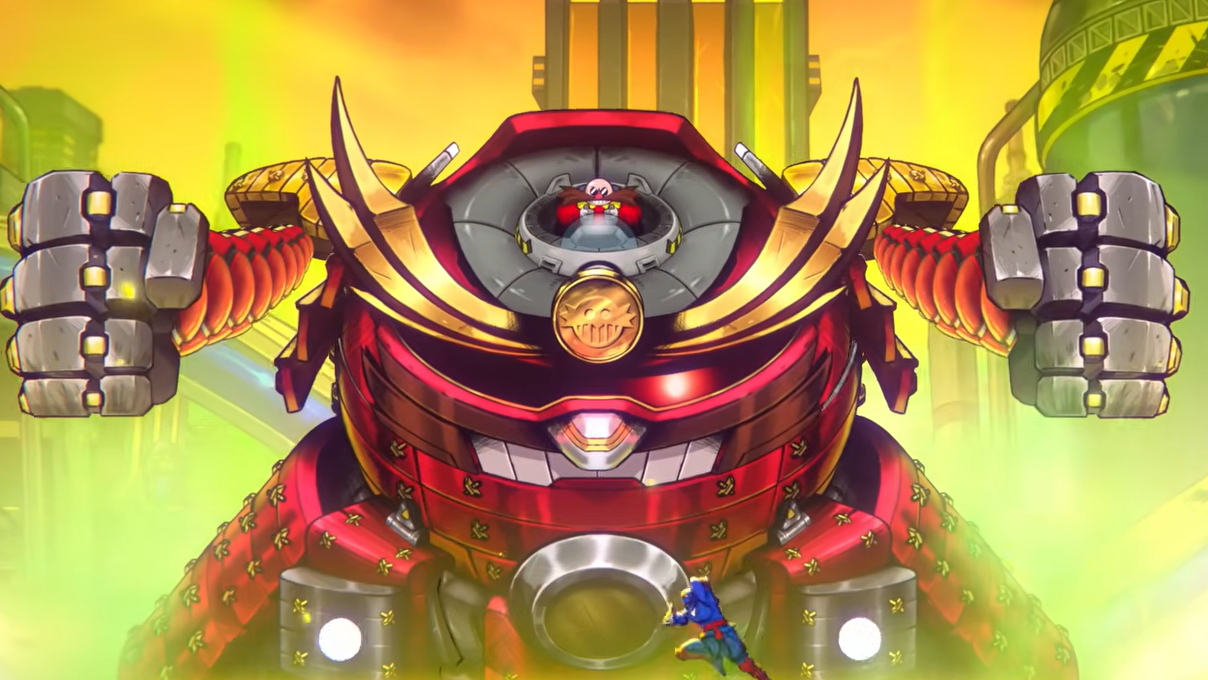
Battle 2 — Giant Eggman Robo (Phase 1: Bottom Nodes)
The Giant Eggman Robo is dramatically harder than the Egg Cart. You can only damage this boss by hitting the Blue Glowing Circles that appear on specific parts of its body. Each set of nodes stays lit until you deal enough damage to break them, and destroying a set shifts the fight into a new phase with different attack patterns.
If you don't have Ninpo stocked, the bottom nodes break in roughly one Heavy Attack combo each. The trick is landing those combos without eating damage. Here are the attacks you'll face during this phase:
| Attack | Description | Counter |
|---|---|---|
| Finger Poke of Doom | The robot's pointer fingers chase you and stab at the ground | Keep moving laterally |
| Patty Cake | Hands slap the ground moving outward, then slide back inward | Stay clear of the hands' path |
| Everybody Clap Your Hands | Hands glow purple and clap together quickly; may repeat immediately | Jump over and air-dash to safety |
| Egg Bombers | A turret at the top of the screen drops walking bombs periodically | Same as before — dash or jump away |
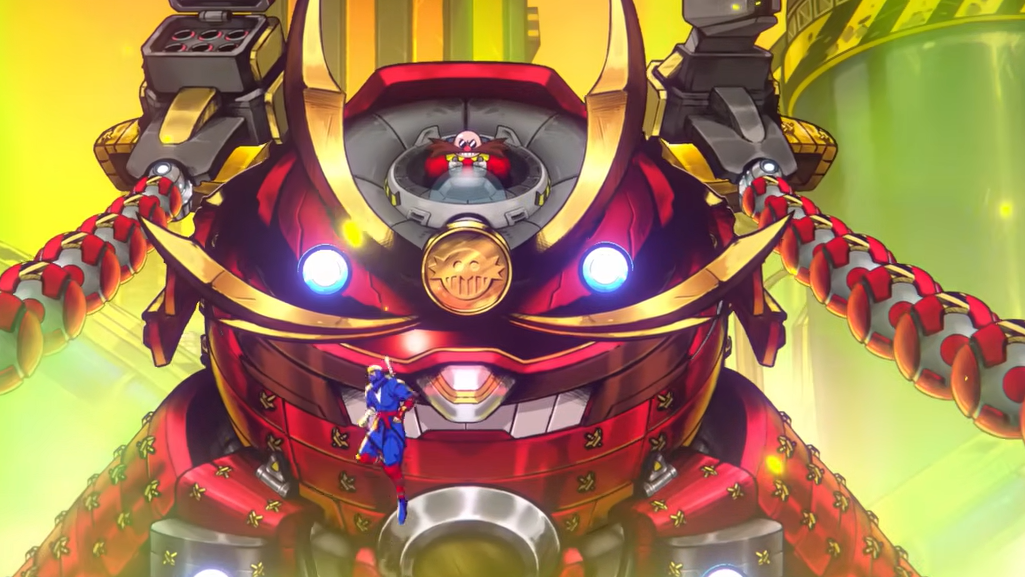
Battle 2 — Giant Eggman Robo (Phase 2: Upper Nodes)
After the bottom nodes break, the fight escalates significantly. Bullet hell mechanics and rocket bombardments layer on top of the hand attacks from Phase 1. The upper nodes are harder to reach, so you'll need to rely on heavy jump kick combos to connect with them while dodging everything else.
The clap attack now comes in two variants. A high-range clap means you should stay on the ground. A lower clap requires crouching, but crouching also means you need to dodge rockets at the same time — crouch-walk back and forth between the rocket impact points to stay safe.
| New Attack | Description | Counter |
|---|---|---|
| Fast Shots | A turret on the right fires tracking plasma blasts for several seconds | Keep moving; don't stay in one spot |
| Rotating Plasma Shots | Four-directional shots rotating counter-clockwise, often paired with Egg Bombers | Watch the rotation pattern and slip between the gaps |
| Rocket Bombardment | The left turret fires large rockets that rain down at an angle | Move to either edge of the screen and walk between impact zones |
Battle 2 — Giant Eggman Robo (Phase 3: Upper and Lower Nodes)
Four targets appear in this phase — a new set of bottom nodes plus upper nodes. If you've built up Ninpo stocks again, you can repeat the Golden Axe Ninpo trick on the lower nodes to eliminate them instantly, cutting the phase's difficulty roughly in half. The upper nodes still need to be handled with jump combos.
Egg Bombers drop far more frequently during this phase, so clearing them becomes a constant secondary priority. You'll also see Patty Cake attacks more often, both at high and low ranges. The high version forces you to the ground (meaning you can't hit the upper nodes during it), while the low version requires crouching and is frequently paired with rockets.

Battle 2 — Giant Eggman Robo (Phase 4: Three Middle Nodes)
The robot's torso opens up, revealing three final nodes. This is the most aggressive phase — attacks come faster, and combo patterns overlap heavily. Hand smashes layer with rockets, and Patty Cake can trigger back to back with almost no recovery window between repetitions.
Focus on staying mobile and chipping away at the middle nodes with whatever openings you get. When the boss drops to around 5% health, the Execute prompt appears. Trigger it to finish the fight.
Rewards for Defeating Dr. Eggman
| Reward | How to Unlock | Details |
|---|---|---|
| Evil Genius outfit | Beat the first Eggman boss (Egg Cart) | Dr. Eggman-themed costume for Joe Musashi; found in a chest before the second fight |
| Egg Bomb Ninpo | Beat the second Eggman boss (Giant Eggman Robo) | Air-only Ninpo that launches powerful self-destructing Egg Bombers; high damage output, solid pick for Hardcore Mode |
| DLC Boss Rush | Complete all five DLC levels (including Eggman) | A gauntlet featuring all three DLC bosses with significantly increased difficulty |
Beating Dr. Eggman wraps up the Sega Villains DLC's main content. The Egg Bomb Ninpo is limited to air activation, which makes it situational, but its raw damage output makes it worth slotting in for tougher challenges. If you want one more test after finishing the Egg Zone Dimension, the DLC Boss Rush pits you against Death Adder, Goro Majima, and Eggman in sequence — and it's considerably harder than fighting them individually.