
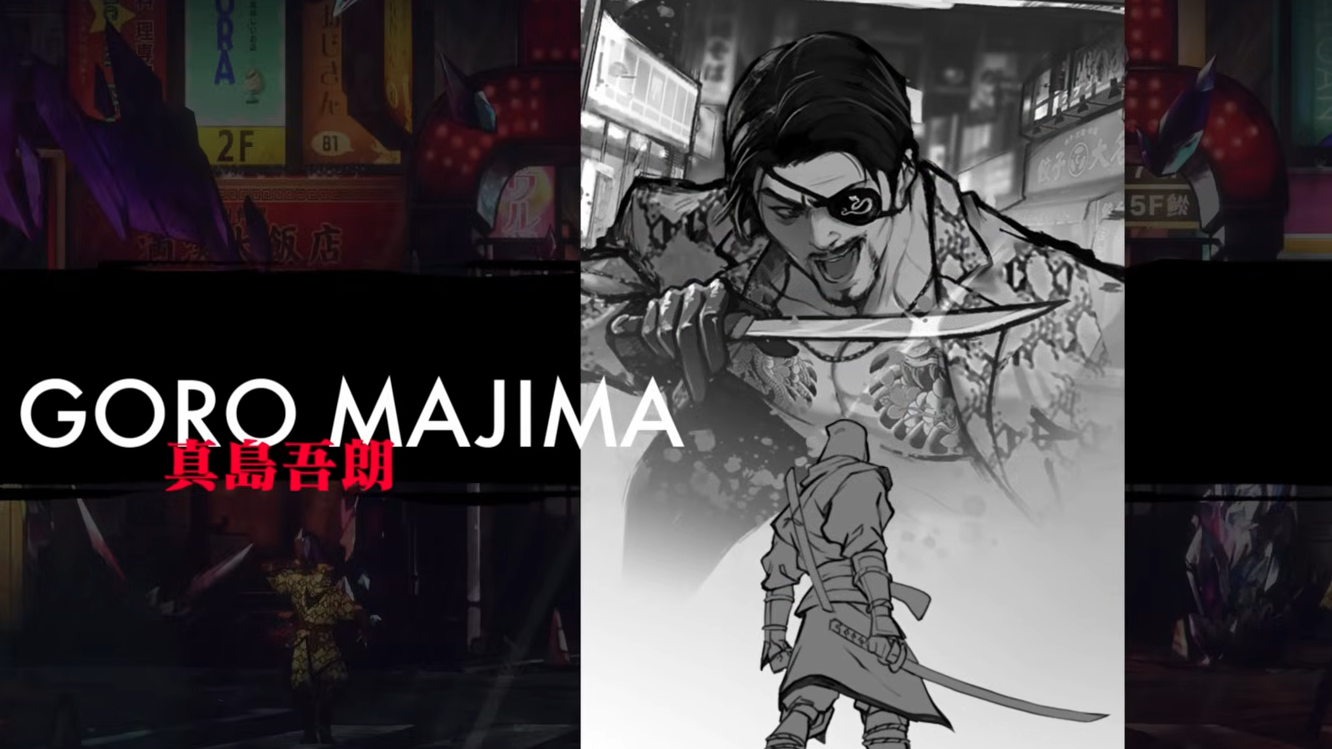
Goro Majima — the "Mad Dog of Shimano" from the Yakuza / Like a Dragon series — is one of three crossover bosses in the Sega Villains DLC for Shinobi: Art of Vengeance. He waits at the end of the stage called The Mad Dog, fighting against Kamurocho's neon-lit gate backdrop. He's fast, unpredictable, and armed with his Demonfire Dagger, shadow clones, and a spinning attack fans of the Yakuza games will instantly recognize. If you've already cleared the late-game bosses in the base campaign, Majima is tough but manageable — provided you know what each phase throws at you.
Quick answer: Save your Shisui Ninjutsu for healing, equip the Vampire and Rage Regenerator Amulets, and focus on punishing Majima during his locked attack animations — especially the Mad Dog Combo. At roughly 5% health, trigger the Shinobi Execution to finish the fight and earn the Doppelganger Ninpo.
Recommended loadout before the fight
You don't need any specific Ninpo to win, though having the Golden Axe Ninpo from the Death Adder fight gives you a solid ranged damage option during Phase 2. The more important choices are defensive. Equip the Vampire Amulet, which restores health whenever you deal damage, and the Rage Regenerator Amulet, which refills your Rage gauge passively. Together, these keep you topped off between attempts and let you stay aggressive without constantly retreating to heal.
Hold onto your Shisui Ninjutsu charge rather than spending it early. The massive heal it provides is far more valuable during Phase 2, where Majima's enhanced attacks can shred your health bar in seconds.
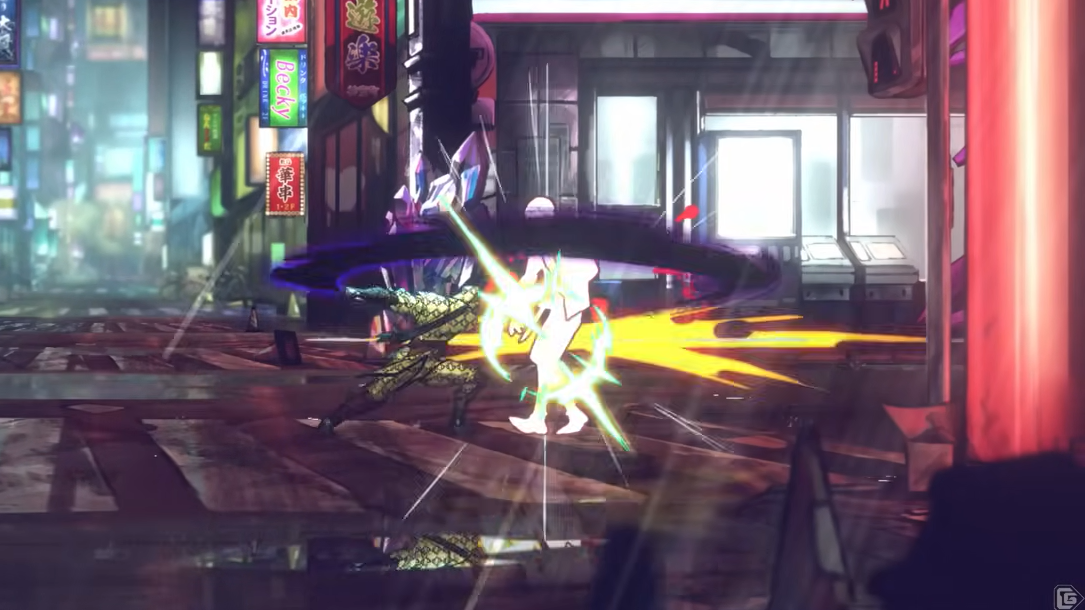
Phase 1 — Kamurocho gate (100% to 50% HP)
Majima opens the fight with no fixed pattern. He might lead with a wide knife spread or a single dagger toss, so you need to react rather than predict. Below is every attack he uses in Phase 1 and how to handle each one.
| Attack | What happens | How to avoid / punish |
|---|---|---|
| Fan of Knives | Jumps and throws three waves of Demonfire Daggers in a spread pattern | Stay at range and weave through the gaps between waves. Jump at the tail end of the last wave if spacing gets tight. |
| Mad Dog Combo | Flicks his dagger back, then performs a large upswing → dash-forward upswing → forward stab → upswing | Dodge or jump over the initial upswing. He cannot change direction once the combo starts, so getting behind him gives you free jumping heavy combos for the entire animation. |
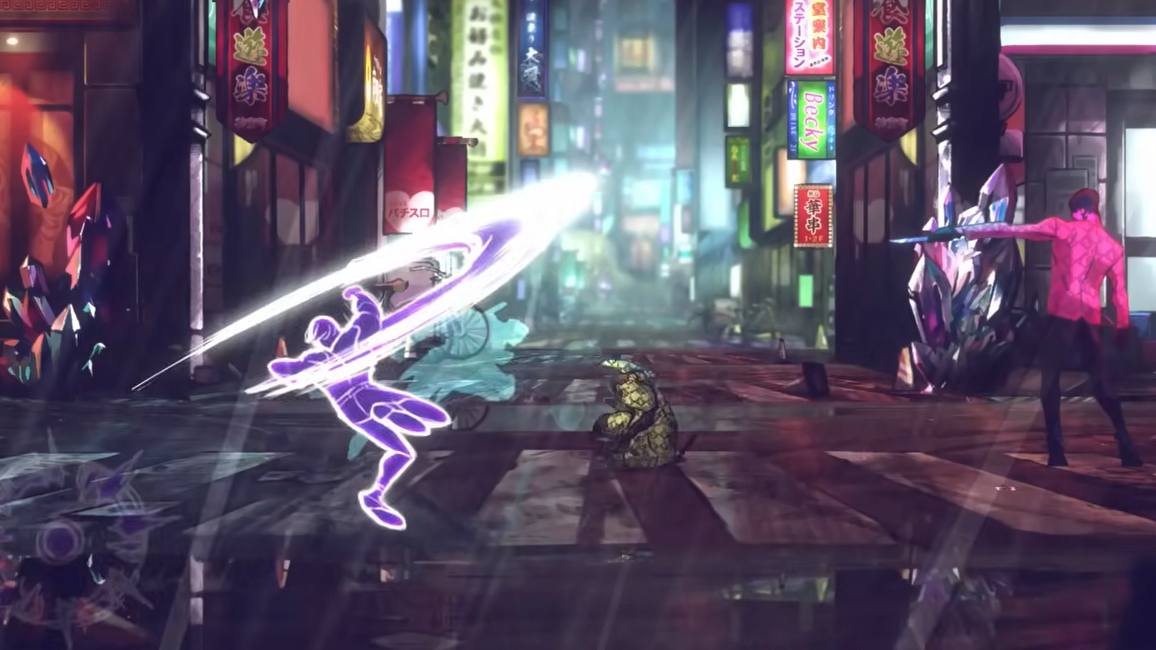
| Mad Shadowclone Jutsu | Summons purple shadow clones that chase you across the screen. If caught, they restrain you for a devastating baseball-bat smash. | Keep moving constantly. Dash through openings and land heavy jump kicks when safe. Do not stop moving — the follow-up hit is one of the hardest-hitting attacks in the fight. |
| "EHEHEHEHEH" spin | Glows purple and spins horizontally across the screen | Jump and air-dash over him as he approaches. Straightforward timing. |
| Dagger Toss | Jumps, kicks the Demonfire Dagger downward in an arc, then dashes across the screen | Easily sidestepped. Low threat. |
The Mad Shadowclone Jutsu is by far the most dangerous move in Phase 1. The clones appear as target icons before converging on your position, and the restraint-into-smash follow-up can wipe a huge chunk of your health. Prioritize evasion over damage during this sequence. If you have distance, pelt Majima with kunai from full screen — he's still vulnerable while the clones are active.
Your biggest damage windows come during the Mad Dog Combo. If you jump over his initial dash, he's locked into the full animation facing the wrong direction. Land behind him and chain jumping heavy attacks for as long as the combo lasts. This is free, uncontested damage, and the fastest way to push him to the phase transition.
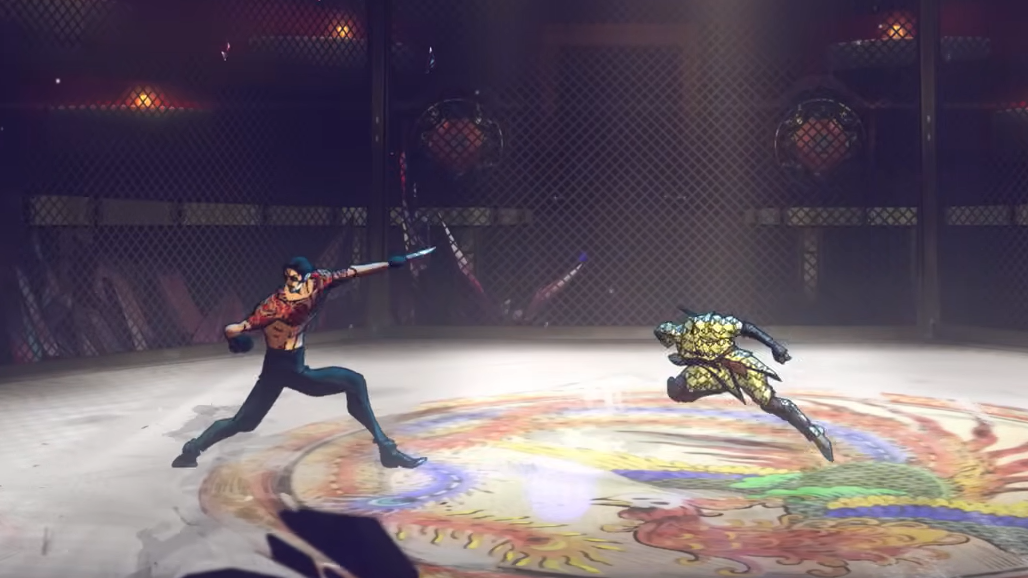
Phase 2 — Coliseum in Purgatory (50% to 0% HP)
At half health, Majima sheds his snakeskin jacket and teleports you to the Coliseum in Purgatory. The arena changes, and several of his attacks receive significant upgrades. The core fight rhythm stays the same, but the margin for error shrinks considerably.
Fan of Knives now fires five waves instead of three, and the tempo between waves shifts unpredictably. Navigating the gaps requires tighter movement and quicker reactions than Phase 1. Don't try to stand still and thread the needle — keep dashing through.
The Mad Dog Combo gains extra range. Majima runs full screen before initiating his strikes, and the jab appears to reach across the entire arena. He also tacks on an additional kick at the end of the sequence to catch you if you've been timing your punish around the old combo length. Despite the added danger, this is still a prime damage window. While he's locked in the combo animation, you can spam Golden Axe Ninpo projectiles safely — he won't interrupt his own attack to dodge them.
The Mad Shadowclone Jutsu lasts noticeably longer in Phase 2 and feels like it sends more clones at once. Getting caught here can end the fight outright. There's no reliable trick to neutralize it — just keep dashing, stay airborne as much as possible, and resist the urge to stand and trade hits.

Finishing the fight — Shinobi Execution at 5% HP
Like every other boss in Shinobi: Art of Vengeance, Majima becomes vulnerable to a Shinobi Execution when his health drops to approximately 5%. The execution prompt can trigger even during the Shadowclone rush, so stay alert for the Metsu symbol regardless of what's happening on screen. Land the execution to end the fight instantly.
Beating Majima rewards you with the Doppelganger Ninpo, which summons clones that leap outward from Joe Musashi and deal damage in multiple directions. It's the most unique Ninpo in the Sega Villains DLC and is particularly effective at building up the Execution Gauge against regular enemies. If you've already cleared Death Adder's stage, the only remaining DLC content is the Egg Zone Dimension and the Dr. Eggman encounters.
Unlockables tied to the Majima fight
Beyond the Doppelganger Ninpo, the Majima-themed content in the DLC includes the Mad Dog outfit for Joe Musashi, modeled after Majima's iconic snakeskin jacket. You unlock it by completing the City Streets Dimension level and opening the chest at the end — it's separate from the boss fight itself. After clearing all three DLC stages (Death Adder, Majima, and Eggman), a DLC Boss Rush mode also becomes available, pitting you against all three bosses in sequence at significantly higher difficulty.
Majima is arguably the most manageable of the three Sega Villains bosses, sitting between Death Adder's raw damage output and Dr. Eggman's multi-phase endurance test. The key is patience during the Shadowclone sequences and aggression during every locked combo animation. Stick to that rhythm, keep your healing resources in reserve for Phase 2, and the Mad Dog goes down.