
Devil contracts sit at the core of progression in Roblox’s Devil Hunter. Each one ties to a specific devil, has its own unlock requirement, and often demands you visit a particular part of the map or meet a stat threshold before you can claim it. Missing a single condition is usually why players feel “soft-locked” out of stronger builds.
What follows is a structured way to approach contracts so you can work through them methodically instead of wandering the map hoping to stumble into the right trigger.
How devil contracts work in Devil Hunter
A devil contract in Devil Hunter is a permanent pact with a specific devil. Once you sign one, you gain that devil’s abilities and passives, and your whole build tends to revolve around it. Contracts are not just cosmetic unlocks; they define your damage type, mobility options, and even how you survive high‑level encounters.
Each contract has three moving parts you need to care about:
- Location – The rough area or room where the related devil or trigger NPC appears.
- Requirement – What your character must meet beforehand, usually a level, stat, or story step.
- Acquisition method – Whether you talk to an NPC, interact with an object, or defeat a devil.
Until all three line up, the contract either will not appear or will refuse to bind to you.
Planning your route through devil contracts
Trying to chase “all contracts” at once is a good way to get stuck on requirements you can’t meet yet. It’s better to plan an order that matches your current stats.
Step 1: Decide what you care about first: raw damage, survivability, or mobility. Some contracts lean heavily into burst damage, others into sustain or crowd control. Choosing a priority helps you target the devils that matter most instead of collecting everything in a random order.
Step 2: Check the requirement on the next contract you want. If it calls for a specific level, ability, or quest progress that you don’t yet have, focus first on grinding or clearing the relevant story content. Many players waste time searching physical locations when the blocker is really progression.
Step 3: Once you meet the requirement, then travel to the associated area and look for either the devil itself or the NPC tied to the contract. Interacting in the right way will usually start a short dialogue or encounter that leads directly into the pact.

Reading common contract requirements
Contracts repeat a handful of requirement patterns. Learning to recognize them saves you from overthinking the wording on each individual one.
Level gates. Several devils only offer a contract after you reach a stated level. If the requirement line mentions a number without context, assume it’s your character level and not a single stat. You can check this in your character panel; if you’re one or two levels short, spend some time clearing faster, lower‑risk content rather than brute forcing harder fights.
Stat thresholds. Other contracts look at a specific attribute. If a requirement clearly names a stat, raise only that stat until you cross the threshold, then come back. Spreading points thinly across every attribute often delays these unlocks much longer than necessary.
Story progression. A few contracts are locked behind completing certain missions. If an NPC keeps repeating neutral dialog even though you think you meet the listed numbers, you are probably missing a story beat; check your quest log and finish any obvious main missions.
Location‑bound triggers. Some conditions sound vague, but really mean “be at this place at all.” Once you hit the stated level or stat, the devil or NPC will only appear in a specific room, alley, or rooftop. Revisit those areas deliberately instead of roaming the whole map.
Typical contract acquisition flow
Even though devils and requirements differ, the moment of getting a contract usually follows the same pattern. Treat it as a checklist.
Step 1: Confirm that your character meets the contract’s level, stat, or story requirement. If the requirement mentions a number or quest by name, double‑check your character screen and quest log so you are not troubleshooting the wrong thing.
Step 2: Travel to the devil’s known area. Many contracts are tied to recognizable landmarks or districts. Once you’re there, look for an interactable object, a dialogue prompt, or a boss‑style enemy spawn.
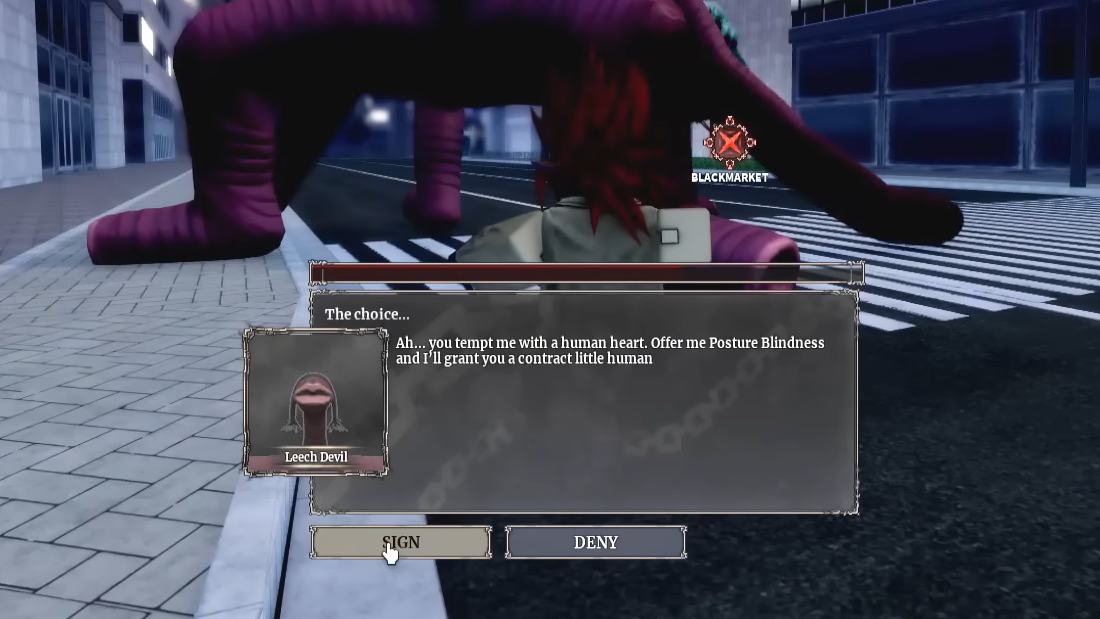
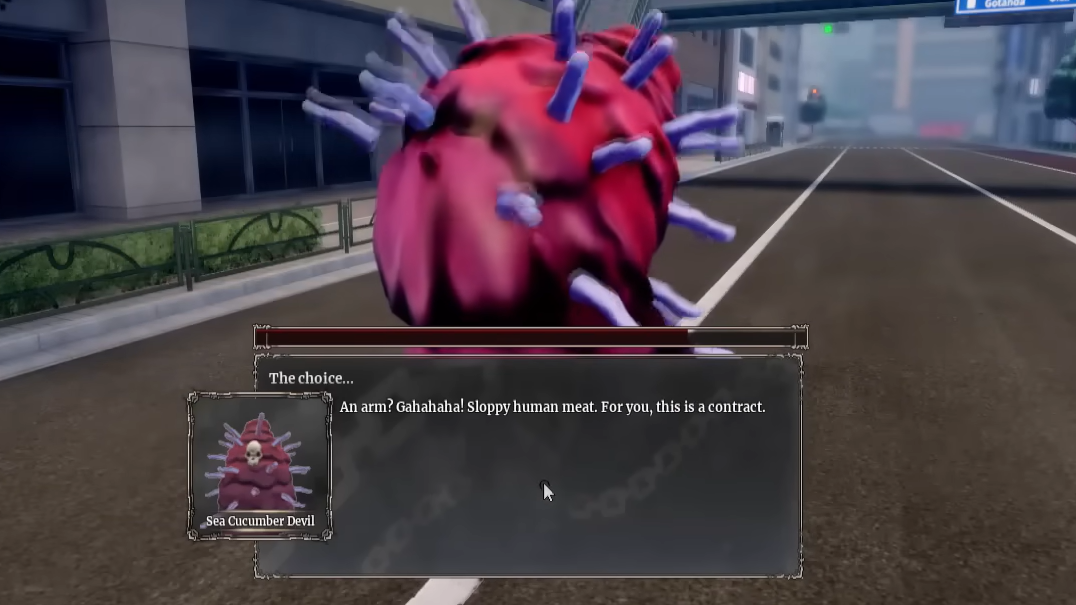
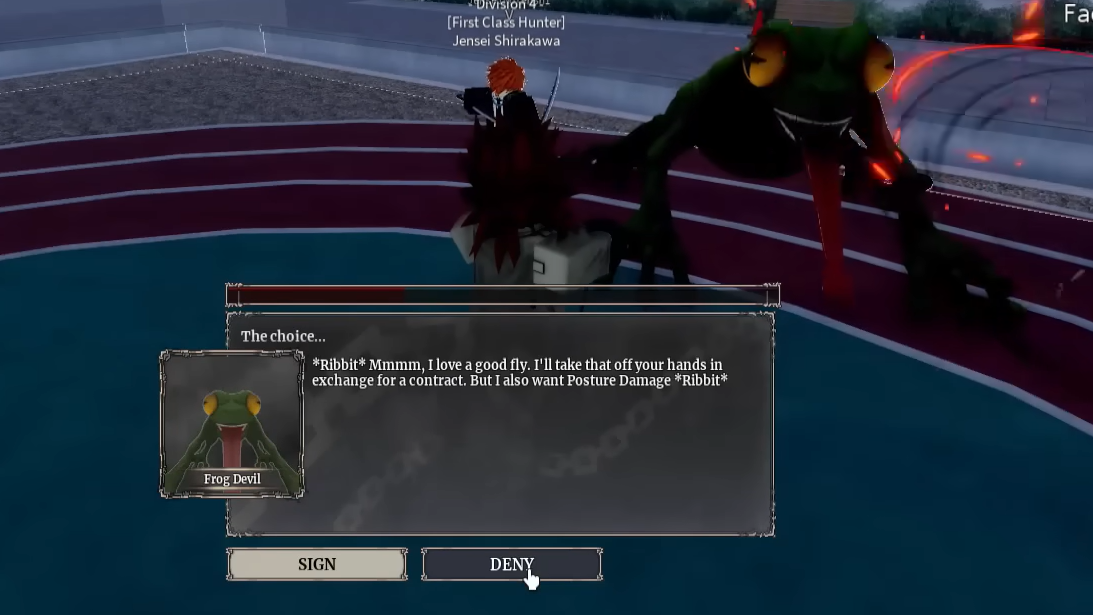
Step 3: Start the interaction. For NPC‑based contracts, talk through the dialogue until you get a line that explicitly mentions a pact, a price, or power. For combat‑based ones, finishing the fight is usually the trigger; as soon as the devil’s health bar empties, a contract prompt appears.
Step 4: Accept and confirm. Signing a contract is a yes/no prompt. Confirming immediately applies the contract to your character and unlocks its abilities. If the game lets you, read the description once before you accept so you understand the trade‑off.

Tracking which devil contracts you already own
Once you start accumulating contracts, it becomes easy to lose track of which devils you’ve already bound and which ones you still need. The game’s own UI is your first line of defense against duplicate effort.
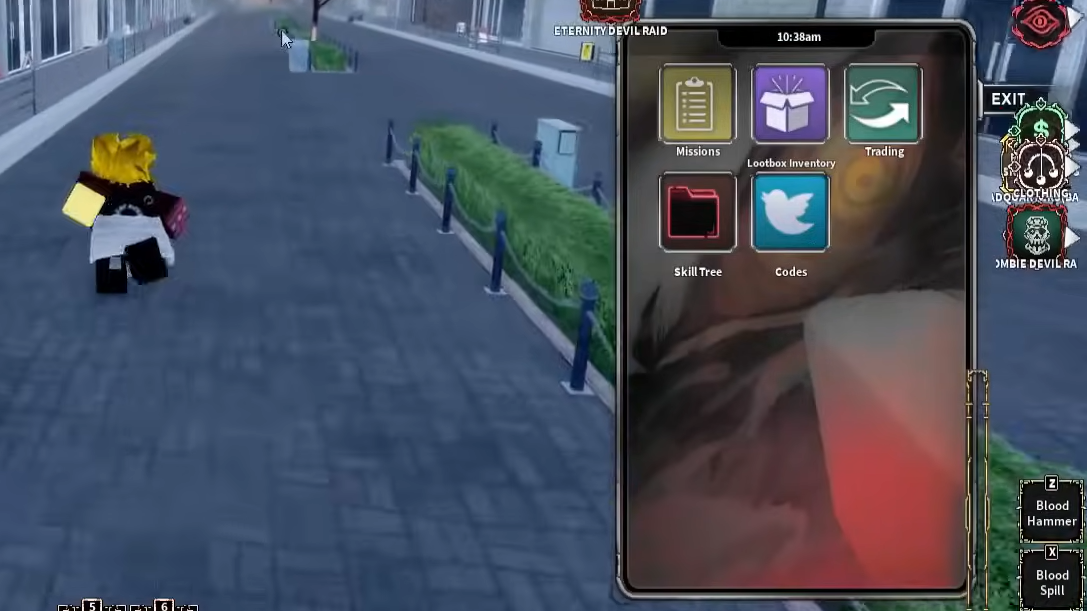
Step 1: Open your contracts or devils menu from the main interface. This panel lists every contract you currently own, often grouped by rarity or type.
Step 2: Compare that list to the devils you remember encountering. If a devil fight did not result in a contract entry here, you likely missed an interaction afterward or failed a condition during the encounter.
Step 3: Use the list to plan. Sort mentally into three buckets: early contracts you already have, mid‑tier ones you’re ready to pursue soon, and late‑game contracts that still require a lot more stats or progress. Always keep one or two realistic targets in the “next” bucket, so you’re never grinding aimlessly.
Why some devil contracts don’t show up
When a contract refuses to appear, the issue almost always lives in one of three places: your stats, your story progress, or the time and place you are trying to trigger it.
Hidden level checks. Even when the requirement text looks vague, the game sometimes enforces a minimum level under the hood. If you are significantly underleveled for the surrounding enemies, that is a warning sign. Gain a couple of levels and return.
Missed quest flags. If you rushed past dialogue or abandoned a mission mid‑way, you may have skipped a flag that the contract expects. Replaying or finishing nearby quests often causes the devil or NPC to show up properly on your next visit.
Incorrect timing or instance. Certain devils only appear after you reload an area or at specific points in a mission. If you have been camping in the right spot for a while, exit to another zone, then come back through the intended path so the event can fire cleanly.
Making the most of your current contracts
Chasing every last devil is only half the game; the other half is actually playing to your current contracts’ strengths while you hunt for more.
Build your skill bar and stat allocation around your strongest contract instead of trying to be a generalist. If a contract gives you high burst but leaves you fragile, invest points and gear into survivability and movement. If it is more defensive and sustain‑oriented, lean into longer fights and chip damage rather than chasing one‑shot combos.
Whenever you pick up a new contract, spend a few minutes testing it in lower‑risk content. Learn its range, timing windows, and how it interacts with your existing abilities. This short testing loop saves you from discovering a critical weakness for the first time during a high‑stakes fight.
Working through devil contracts in Devil Hunter becomes far less mysterious once you treat each pact as a small checklist: meet the requirement, go to the right place, trigger the right event, then confirm. With a bit of planning around your current level and stats, you can chart a clear path through the contracts that matter most to your build instead of hoping the next one randomly appears.