
Materials sit at the center of progression in the Roblox game Devil Hunter. They gate upgrades, contracts, and gear, and they quietly decide whether a run turns into a power spike or just another grind. Understanding exactly where each major material comes from makes the difference between random farming and a focused loop that pays off quickly.
How Devil Hunter materials work
Materials in Devil Hunter are tied directly to enemy rarity, contract progress, and the in-game economy. Common enemies drop basic items, while named Devils and higher rarities are the main way to get the pieces needed for more advanced systems like contracts or stronger builds. Many key items are not guaranteed drops, which turns material farming into a probability game where the goal is to maximize kill volume and target the right enemies.
On top of drops, a subset of materials can also be bought outright with Yen from the Black Market. That store acts as the pressure valve for unlucky players, but the prices are high enough that it still rewards those who can reliably farm Yen or efficient Devil routes.

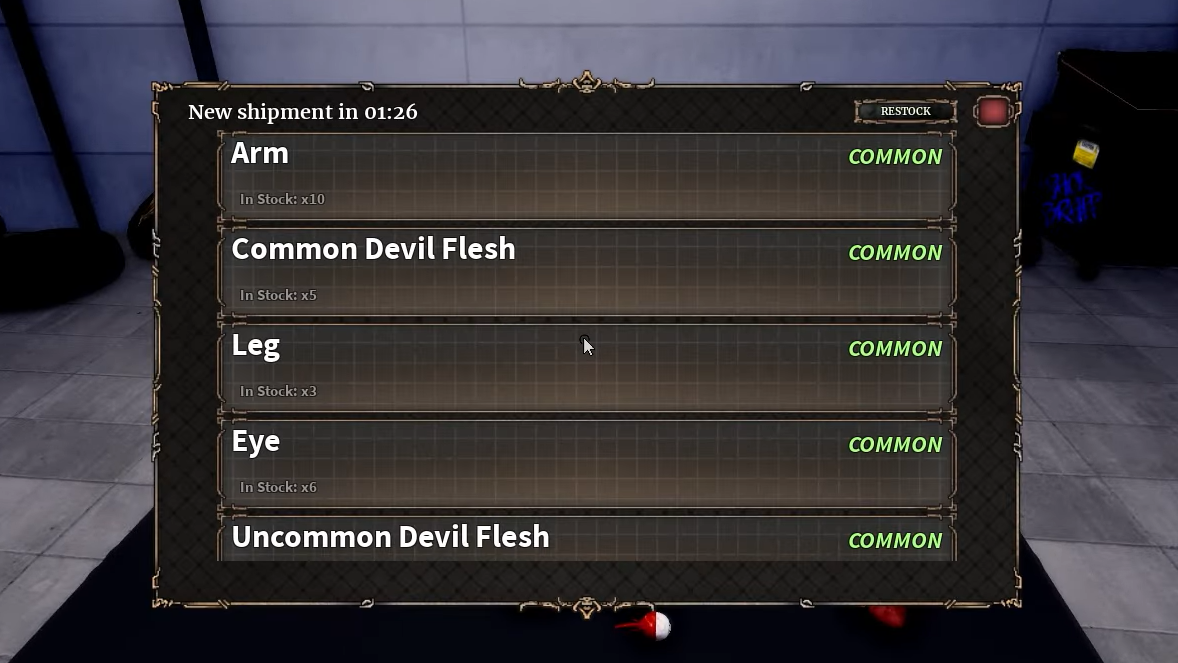
Black Market materials and Yen costs
The Black Market sells at least one core material for 35,000 Yen. That price level puts it firmly in the “late early-game” or “mid-game” range, where you have a solid income loop but still feel every big purchase. The purpose is clear: if drops from Devils refuse to cooperate, there is a cash-based fallback, but it should hurt enough that you think twice before buying multiple copies.
Step 1: Build a stable Yen income loop. Focus on routes that give reliable Devil encounters you can clear quickly, rather than chasing rare spawns that slow you down. This keeps Yen flowing and also produces natural material drops on the side.

Step 2: Visit the Black Market once you consistently have more than 35,000 Yen on hand. Treat that threshold as a soft minimum so a single purchase does not completely drain you.
Step 3: Only buy the 35,000 Yen material when you need it for a concrete upgrade or requirement, such as a contract unlock or progression gate. Avoid impulse purchases while you still have open, cheaper upgrades elsewhere.
Materials from Uncommon Devils
Uncommon Devils are a key source of one of the game’s central materials. Killing any Uncommon Devil has a chance to drop it, and the lineup for this tier includes Mantis, Leech, Frog, Stone, Yurei, and Bat. The game treats them as interchangeable for this drop, so your choice of target is more about spawn patterns and how quickly you can kill rather than any difference in loot tables.
Because the drop is chance-based rather than guaranteed, efficiency comes from encounter density. You want a farming route that chains multiple Uncommon Devils with minimal downtime rather than tunnel-visioning on a single favorite.
Step 1: Identify the Uncommon Devils you can kill fastest. If your build deletes Mantis quickly but struggles with Stone, prioritize areas where Mantis appears more often.

Step 2: Create a loop that passes through several Uncommon Devil spawn spots in one circuit. The goal is to minimize dead time between fights while allowing spawns to reset behind you.
Step 3: Commit to longer farming sessions when targeting these drops. Since each kill only has a chance to reward the material, volume over time matters more than any single fight.
Structured reference: Uncommon Devil material sources
| Devil rarity | Eligible enemies | Material source type | Drop behavior |
|---|---|---|---|
| Uncommon | Mantis, Leech, Frog, Stone, Yurei, Bat | Enemy drops | Chance-based on kill |
| Store purchase | Black Market | Yen purchase | Fixed price of 35,000 Yen |
Balancing farming between Devils and the Black Market
A practical approach to materials mixes Devil hunting and Yen spending instead of leaning on only one. Constantly grinding Uncommon Devils is time-efficient early on, but as your Yen income grows, the Black Market becomes a sensible shortcut when you are missing one last piece for a major upgrade.
A simple framework helps keep this balanced:
- Early game relies mostly on Devil drops. You are still learning patterns and building contracts, so every fight is useful for both practice and loot.
- Mid game introduces the 35,000 Yen purchase as a planned expense. You save for it deliberately when a specific contract or build requires that material.
- Late game shifts toward paying Yen to skip bad luck. When your time becomes more valuable than an extra set of runs, converting currency into guaranteed materials is the rational choice.

How material RNG and volume affect progression
Because some materials drop randomly from Devils, progression does not move in a straight line. Two players with the same number of kills can end up with very different material counts. The only reliable way to smooth this out is to raise your total number of encounters and diversify the ways you obtain items.
For Uncommon Devil materials, this means stacking several small advantages. Shorter kill times increase materials per hour. Smarter route planning increases the number of encounters. Occasional Black Market purchases reduce how often you are hard-blocked by bad luck. None of these alone eliminates randomness, but together they make it far less disruptive.
The more you understand how Devil Hunter ties materials to specific enemy rarities and high Yen prices, the easier it is to shape your own routine. Treat every Uncommon Devil kill as a lottery ticket, use the Black Market as a targeted safety net, and progression stops feeling like a brick wall and starts feeling like a series of deliberate tradeoffs.