
Raids in Devil Hunter are where progression stops being about basic missions and starts revolving around contracts, rare surgeries, and large Yen payouts. They sit on fixed timers, live in specific parts of the map, and each one is tuned for a different stage of your build. Knowing when they spawn, where to queue, and what you stand to gain makes the grind far more efficient.
Devil Hunter raid timers, locations, and difficulty
| Raid | Location | Recommended stage | Difficulty | Cooldown |
|---|---|---|---|---|
| Zombie Devil Raid | Graveyard District | Early–mid game (Lv 10–15+) | Medium, soloable with a good build | 30 minutes |
| Eternity Devil (Hotel Raid) | Secret area / Hotel | Mid game | Easy mechanically, still punishing | 45 minutes |
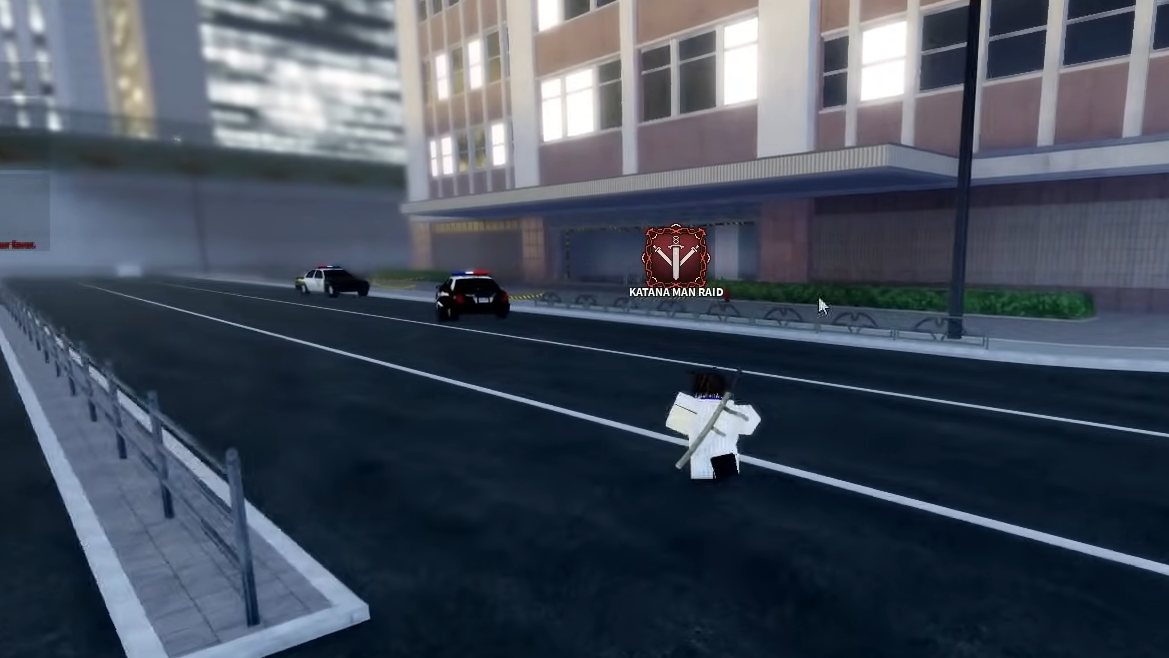
| Katana Devil Raid | Samurai Temple (hidden) | Late game (Lv 25+) | Very Hard, team-focused | 60 minutes |
| Yakuza Raid (Ghost Devil) | Yakuza Base (restricted) | Late game, Yakuza members | Hard | ~45 minutes |
| Gun Devil Raid | Apocalypse Zone | Max-level endgame | Extreme | ~60 minutes |
| Darkness Devil Raid | Hell (secret) | Elite endgame only | Extreme | Unknown / very rare |
Cooldowns are per server. Once a group clears a raid, the entrance goes on a 30–60 minute lockout, depending on the boss. Server hopping is the standard way to sidestep a long wait: if one server’s Zombie or Katana portal is on cooldown, swapping to another often lets you run it again immediately.

Zombie Devil Raid (Graveyard District)
The Zombie raid is designed as your first real endgame encounter. It lives in the Graveyard District and is tuned for early to mid-game builds; it can be soloed with solid stats, but it scales very well with a small group that can clear waves quickly.
| Aspect | Details |
|---|---|
| Location | Graveyard District |
| Suggested level | ~10–15+, Future Devil contract strongly recommended |
| Difficulty | Medium, beginner-friendly |
| Cooldown | 30 minutes |
| Primary drops | Zombie Devil Contract, Zombie Devil body parts, accessory and default lootboxes |
| Yen / XP | ~40,000 Yen, 800 XP per clear |
The core mechanics are simple: you climb through a multi-stage arena, repeatedly clearing waves of zombies and other devils. Between waves, red-glowing wooden pallets block your progression. These barricades only break from structure-damage abilities, so contracts like Sea Cucumber, Mantis, or Leech are extremely useful.
At the top, two buttons trigger a hook mechanism. One player rides the hook while another hits the opposite button, dropping it onto the Zombie Devil and shaving a chunk off its health to start the fight. The boss itself alternates between blockable melee patterns and a phase where it becomes invulnerable, summoning a dense ring of zombies. Area-of-effect contracts such as Bat or Leech are ideal here, because you must wipe the adds before you can damage the boss again.
Beyond Yen and XP, the value of this raid comes from the Zombie Devil Contract and its body parts. Zombie parts are required for specific weapons and talents, and this encounter is the primary path to unlock the Borrowed Life talent, which is a key survivability option early on.

Eternity Devil Raid (Hotel)
The Eternity Devil lives behind the game’s hotel raid, a mid-game activity often called the “mysterious hotel” run. It is categorized as Easy, but the volume of enemies and the boss’s damage numbers still punish sloppy play.
| Aspect | Details |
|---|---|
| Location | Secret Area / Hotel |
| Difficulty | Easy, but heavy mob density |
| Cooldown | 45 minutes |
| Primary drops | Accessory Lootbox, Default Lootbox |
| Yen / XP | 50,000 Yen, 900 XP |
The raid takes place across looping hotel corridors. You open doors one by one; each can spawn a wave of mixed devils, from head mobs to Stone Devils, and the number of enemies scales with your party size. You are hunting three colored keys — red, green, and blue — that can appear in different rooms each run.
Once all three keys are collected, you use them on the generator closet. That triggers the Eternity Devil cutscene: the hallway warps, you sprint away from the door as it rushes you, then slam it shut to survive. The arena flips, and you drop through to a vertical boss space.
The Eternity Devil encounter revolves around hitting a central weak point while avoiding extremely high-damage patterns sweeping through the arena. Importantly, Eternity does not kill your character permanently; in practice, you can brute-force your way through if you are patient, which is why the encounter is considered low-risk. Running it with a coordinated team still saves significant time and death animations.

Katana Devil Raid (Samurai Temple)
Katana is the raid that marks the shift into late-game play. It is located in the hidden Samurai Temple and is explicitly tuned for well-built players or premade groups.
| Aspect | Details |
|---|---|
| Location | Samurai Temple (hidden area) |
| Requirements | Level 25+ strongly recommended, team play expected |
| Difficulty | Very Hard |
| Cooldown | 60 minutes |
| Primary drops | Katana Fragment, Katana Hybrid Surgery, Legendary katana weapons, samurai cosmetics |
| Yen / XP | 80,000 Yen, 1,200 XP |
The raid begins in a Yakuza tower, where you clear floor after floor using an elevator hub. Each floor is a wave room full of Yakuza enemies. After wiping a floor, every player in the squad must return to the elevator and accept the prompt to move up; failing to do this stalls progression. One floor offers a one-time full heal, which acts as your main safety valve before the boss gauntlet.
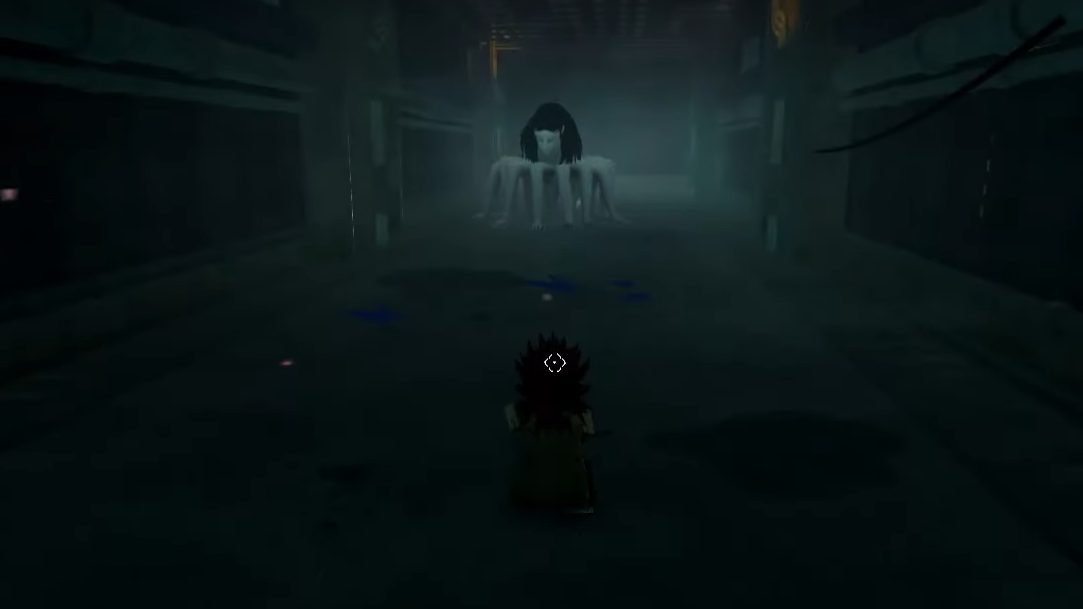
Midway through, you fight the Ghost Devil as a mini-boss. This fight is significant for two reasons: it awards rare Ghost Devil flesh and has a 10 percent chance to drop the Ghost Devil contract, and it counts toward rare devil kill requirements for rankings. The actual mechanics revolve around keeping distance, chunking its health in windows between large attacks, and dodging big telegraphed hits that can shred health bars.
At the top, you finally reach the Katana Devil. The encounter is high-lethality from the start. Katana’s combos can delete a chunk of health through i-frames if you mistime a dodge, and some abilities function as near-instant kill moves. Once you burn through the first bar, Katana shifts into a second phase with increased damage and health, using the same general moveset but with less room for mistakes. In current builds, the boss can sometimes bug out, but under normal conditions, you should expect a full second health bar.
The rewards justify the difficulty. Katana Fragments have around a 5–10 percent drop rate, depending on which reference you look at, and they feed directly into Katana Hybrid Surgery and high-end katana weapons. Katana Hybrid is considered an S-tier option, and the raid also drops large Yen bundles and cosmetic samurai gear.

Yakuza Raid and Ghost Devil contract
Separate from the Samurai Temple, the Yakuza Raid is a dedicated endgame encounter focused on the Ghost Devil. It takes place inside the Yakuza Base, a restricted zone tied to the Yakuza clan.
| Aspect | Details |
|---|---|
| Location | Yakuza Base (clan area) |
| Requirements | Yakuza clan membership (20 hearts) |
| Difficulty | Hard, team strongly recommended |
| Cooldown | ~45 minutes |
| Primary drops | Ghost Devil Contract, Ghost Devil body parts, Yakuza weapons |
The main reason to run this raid is simple: the Ghost Devil Contract is raid-exclusive. It has a 10 percent chance to drop per clear, and no other content offers it. Ghost body parts also feed into Ghost Walk and other high-value talents, and Yakuza-themed weapons provide additional incentives for clan players.
Because access requires 20 hearts to join Yakuza, this raid naturally sits behind a layer of progression. A team of three to four high-DPS players is the practical minimum, with Future Devil heavily favored for pattern prediction and easier dodging.
Gun Devil and Darkness Devil raids
At the far end of Devil Hunter’s PvE ladder sit the Gun Devil and Darkness Devil raids. Both are framed as extreme content, with the Darkness Devil positioned as a secret primal fear encounter.
| Raid | Location | Requirements | Difficulty | Key rewards |
|---|---|---|---|---|
| Gun Devil Raid | Apocalypse Zone (late-game region) | Max level, 6+ player coordinated team | Extreme | Gun Devil Contract, ultimate Gun abilities, exclusive cosmetics, maximum Yen |
| Darkness Devil Raid | Hell (secret area) | Completed Hell questline, elite build | Extreme | Darkness abilities, Primal Fear materials, legendary cosmetics, very high Yen |
The Gun Devil raid is structured around multiple mechanics and phases, with the Gun Devil Contract sitting at roughly a 2 percent drop chance. That makes it the rarest mainstream contract in the game and the main reason players run the Apocalypse Zone repeatedly. Teams need tight coordination and a strong handle on raid fundamentals to make meaningful progress.
The Darkness Devil raid is gated behind a full Hell questline and functions as an elite-only activity. Darkness is a primal devil, which in practice means its numbers and mechanics sit above even Gun Devil. Its exact drop rates are not clearly exposed, but the raid is the only source for Darkness Devil abilities and Primal Fear materials. The encounter itself is still being mapped out by the community; treating it as experimental content rather than a farm you clear on day one is the sensible approach.
Raid drop rates and RNG
Nearly all valuable raid rewards in Devil Hunter are tied to random rolls rather than guarantees. For most players, progression is less about a single clear and more about a loop of repeated runs.
| Reward | Source | Approx. chance per clear |
|---|---|---|
| Zombie Devil Contract | Zombie Raid | ~10–15% |
| Ghost Devil Contract | Yakuza Raid / Ghost fight | 10% |
| Katana Hybrid Surgery | Katana Raid | 5% |
| Gun Devil Contract | Gun Devil Raid | 2% |
| Body parts (general) | Raids and world devils | ~20% average once unlocked |
Raid drops are instanced per player, not shared across the group. Everyone rolls separately when the chest or reward screen appears. That structure is what makes repeated farming so central: even a 10 percent contract rate means you can easily go ten or more clears without seeing a specific item.
Body parts have their own progression gate. For each devil type, you need roughly 25 kills before parts start appearing at all. After that threshold, you can expect about a 20 percent chance on average, with specific limbs tied to different talents. For raids that sit on 45–60 minute timers, this can stretch a full talent build over many sessions.
Best practices for clearing raids efficiently
Certain habits make every raid in Devil Hunter more manageable, regardless of which boss you are tackling.
- Run Future Devil whenever possible. Future Devil’s prediction tools are functionally mandatory in high-tier content. They simplify learning telegraphs and let you consistently dodge instant-kill attacks from Katana, Gun, and Darkness devils.
- Lean into AoE for wave-based raids. Zombie and Katana raids both hinge on clearing large packs quickly. Contracts with wide-area skills, especially Leech and Bat, turn add phases from a liability into a damage window.
- Treat soloing as the exception, not the rule. Zombie can be soloed comfortably with a strong build. Eternity is survivable due to its failure rules. Everything else scales best with coordinated groups, and Katana, Gun, and Darkness should be treated as group-only content for most players.
- Farm with intent. Decide whether you are chasing contracts, Yen, or body parts. For raw Yen with minimal risk, Zombie is the most efficient loop. For high-value contracts, Yakuza (Ghost) and Gun raids are the primary targets. For Hybrid progression, Katana is non-negotiable.
Raids are currently the most rewarding mode in Devil Hunter. With a clear sense of timers, locations, and reward tables, you can chain runs together, hop servers when needed, and focus on the encounters that actually move your build forward.