
Early points are scarce and the “tree” is really a cross of four linear branches. Prioritize movement, survivability, and one reliable crowd-control tool; you’ll feel safer on rooftops, waste fewer weapons, and avoid punishing XP losses from deaths.
Best early skills to unlock (priority picks)
| Skill | Branch | What it does | Priority |
|---|---|---|---|
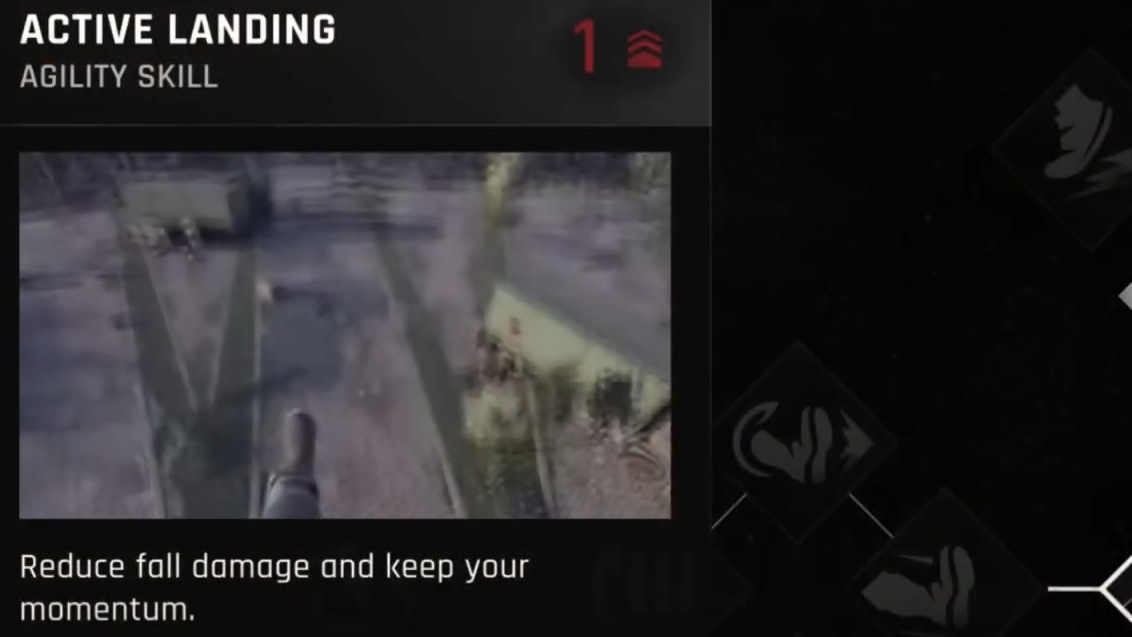
| Active Landing | Agility | Greatly reduces fall damage when you time a landing input. | Core |
| Dash | Agility | Lets you sprint continuously while stamina lasts. | Core |
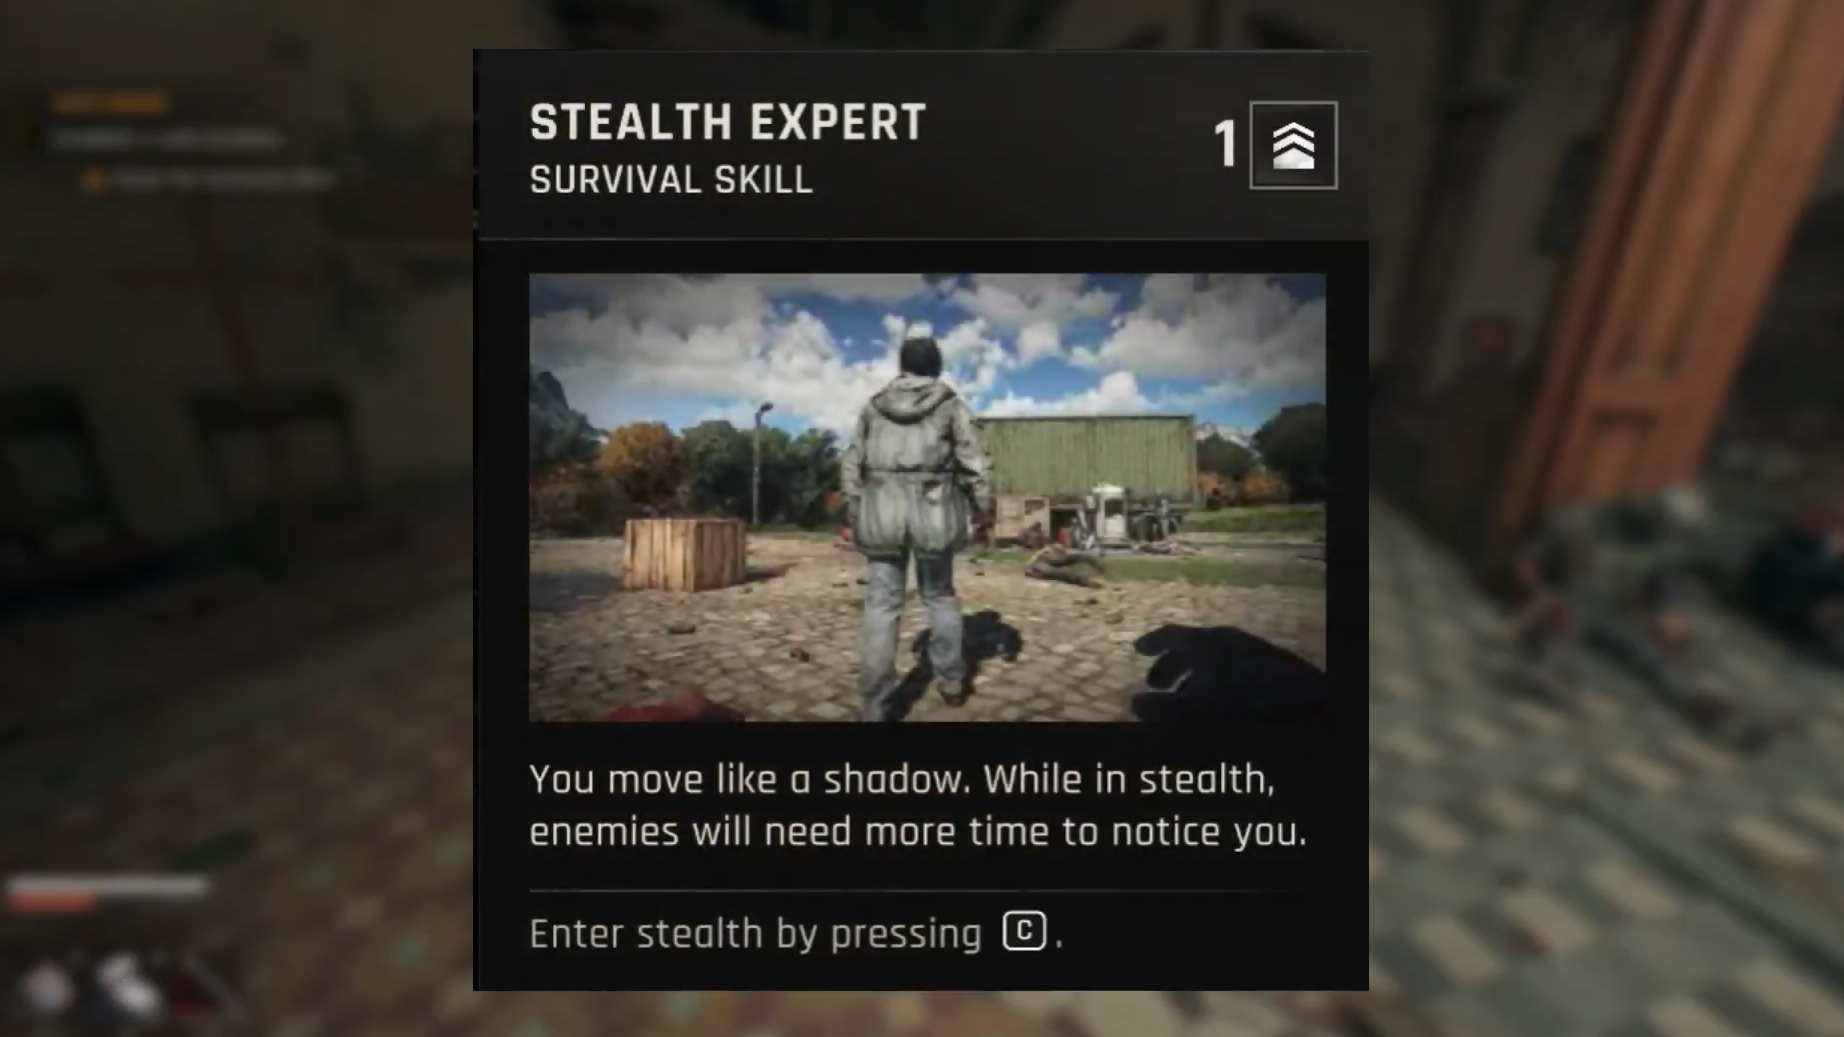
| Stealth Expert | Survival | Enemies take longer to detect you, enabling safer one‑hit stealth kills. | Core |
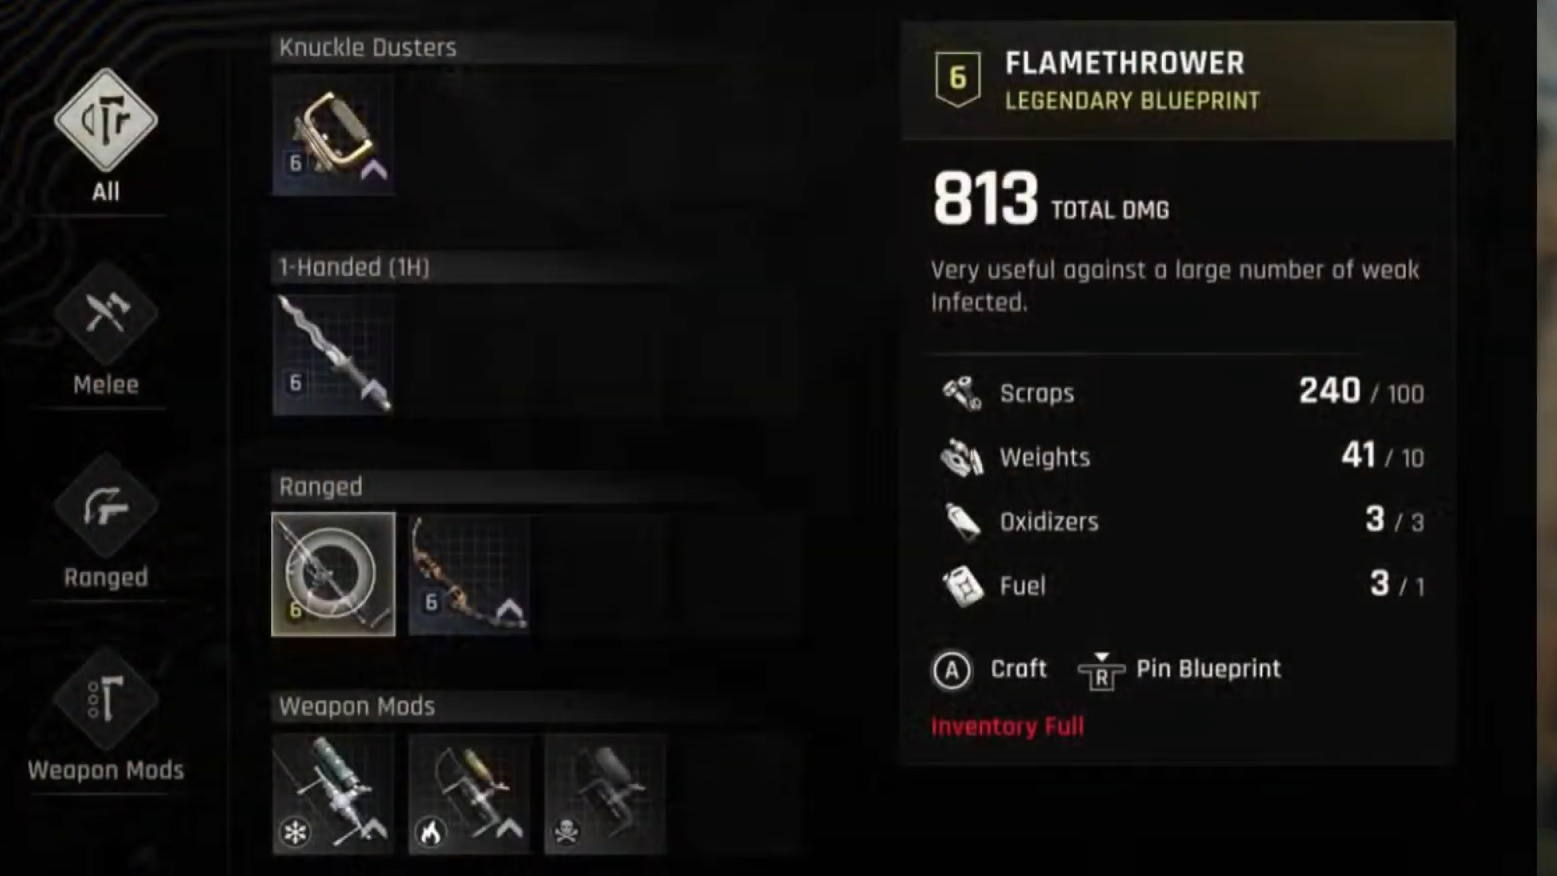
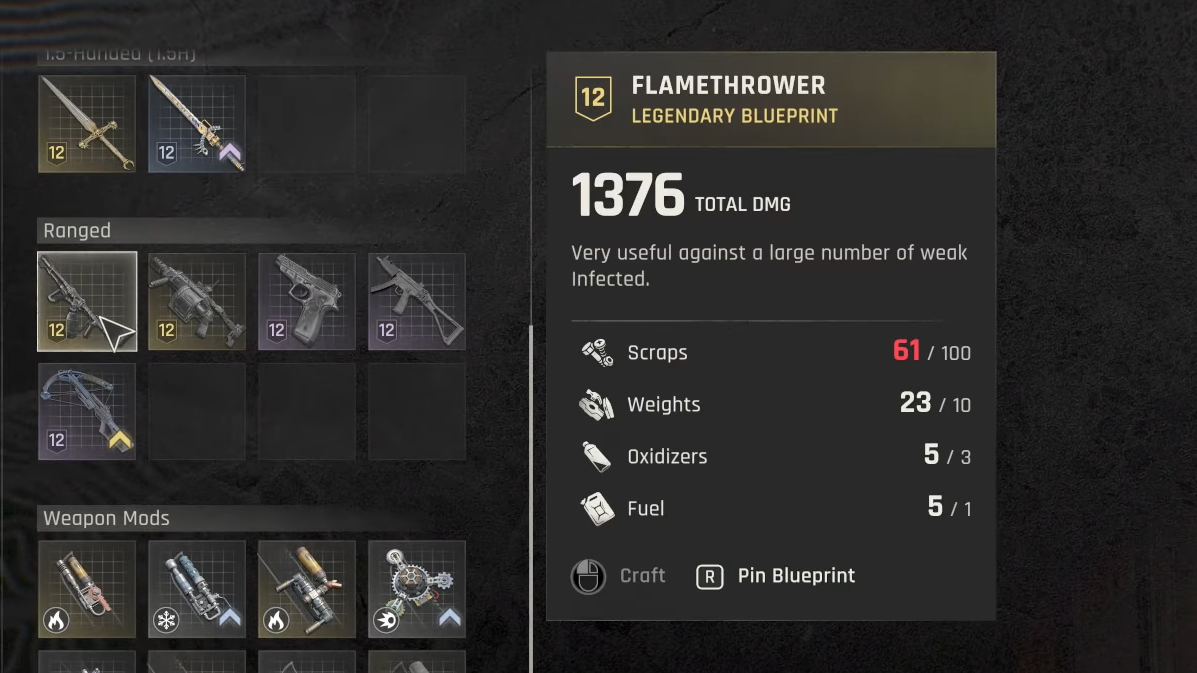
| Flamethrower | Survival | Unlocks the blueprint for a powerful, early crowd‑control weapon. | High |
| Enemy Jump | Agility | Vault over enemies while sprinting to escape swarms in tight spaces. | High |
| Efficient Fighter | Power | Attacks consume less stamina and weapons lose less durability. | High |
| Heavy Lift | Beast | As the Beast, pick up and throw heavy objects for ranged control. | High |
| Beast Controlled | Beast | Manual activation of Beast Mode instead of automatic triggers. | Milestone |
| Beast Conquered | Beast | Emits a stunning roar on entering Beast Mode. | Milestone |
| Advanced Grenades | Survival | Craft Flash, Pipe Bomb, and Gas Grenade for reliable control. | High |
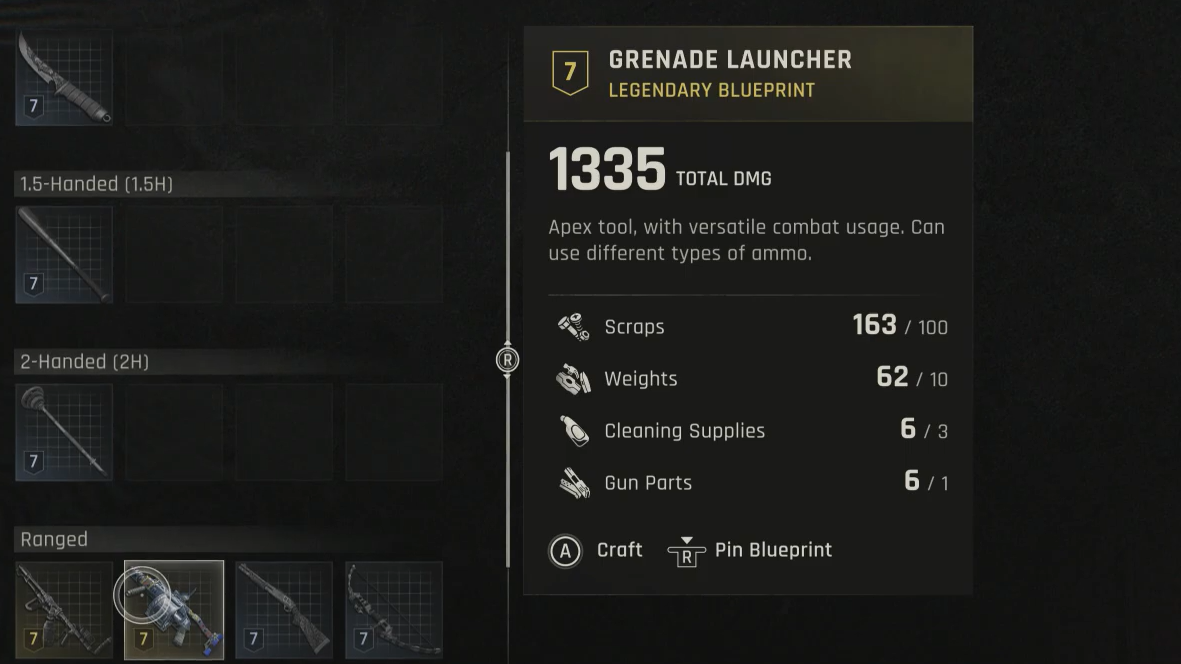
| Grenade Launcher | Survival | High‑impact ranged option for groups and tough encounters. | High |
| Bash | Power | Charge through enemies without getting stuck in the pack. | Nice‑to‑have |
Why these skills come first
Movement is survival. Rooftops are safer than streets, but missed jumps are costly. Active Landing turns mistakes into recoverable slips instead of broken runs. Dash extends your sprint window, which is crucial when a chase escalates at night.
Stealth saves gear and health. Early on, many encounters are better avoided or thinned out quietly. Stealth Expert widens your margin for error so you can set up one‑hit takedowns before noise draws a crowd.
Crowd control keeps you from getting pinned. A single reliable tool like the Flamethrower or grenades gives you an out when you’re boxed in, and Beast picks like Heavy Lift provide a low‑resource ranged option during transformations.
Skill tree structure and branch roles
The cross is split into four branches that unlock linearly in their directions:
- Agility: Parkour resilience and speed, including fall mitigation and sprinting.
- Survival: Crafting and stealth utilities, plus blueprint unlocks (e.g., Flamethrower, grenades).
- Power: Combat economy and moves that expand your options and preserve weapons.
- Beast: Abilities that govern Beast Mode activation, mobility, control, and area denial.
Branching is limited, and you’ll eventually claim most picks. Early choices simply set the tone: mobility first, then a dependable escape valve for crowds.
Branch‑by‑branch early recommendations
Agility
- Start with Active Landing to neutralize fall risk during rooftop traversal.
- Add Dash to sustain sprints; it’s vital during night chases when stamina management matters most.
- Pick Enemy Jump to spring off zombies and clear space when the street clogs up.
Survival
- Grab Stealth Expert early; it creates time to line up takedowns and slip past groups.
- Unlock Flamethrower as your first big blueprint; it’s consistent crowd control with simple resource upkeep.
- Work toward Advanced Grenades and, if your route allows, Grenade Launcher for scalable area damage.
- Expect to encounter Camouflage as a path milestone; it enables gore‑based concealment to bypass detection.
Power
- Efficient Fighter is the standout: lower stamina drain and slower weapon wear lengthen every encounter and stretch your toolkit.
- Charged Kick and Power Shot are solid complementary picks for knockback and timing‑based ranged damage boosts.
- Bash is situational but handy when you need to punch through a line without getting stuck.
Beast
- Heavy Lift immediately gives your Beast form consistent ranged pressure with environmental throws.
- Prioritize Beast Controlled so you can trigger transformations on your terms.
- Beast Conquered adds a stun burst on entry, making the shift safer when you’re surrounded.
Suggested early unlock path (flexible)
The exact sequence depends on your cross progression, but this order keeps you alive and versatile:
- Active Landing → Dash (Agility foundation)
- Stealth Expert (Survival baseline)
- Flamethrower (first major blueprint)
- Efficient Fighter (combat economy)
- Enemy Jump (escape valve in cramped fights)
- Heavy Lift (first Beast point)
- Beast Controlled → Beast Conquered (as Beast points allow)
- Advanced Grenades → Grenade Launcher (if your path reaches them early)
Quick reference: early Beast skills worth the points
| Skill | Role in early game |
|---|---|
| Heavy Lift | Low‑cost ranged control using the environment; saves Beast stamina on chaff. |
| Beast Controlled | Manual activation lets you bank the meter for tough moments or planned breaches. |
| Beast Conquered | Entry stun stabilizes the transform in the middle of a horde. |
| Furious Charge (optional) | Mobility pick that helps reposition; pairs well with crowd tools. |
Crafting notes for early explosives and fire
The Flamethrower blueprint is a standout early pickup for clearing lanes and softening groups. When you’re ready to build it, expect to spend common salvage rather than rare drops: you’ll need roughly 100 Scraps, 10 Weights, 3 Oxidizers, and 1 Fuel. Keep an eye on fuel reserves between sorties.
Advanced Grenades adds flexible tools (Flash, Pipe Bomb, Gas) that solve different problems: denial, burst damage, and area control. If your route opens the Grenade Launcher early, it’s a straight upgrade for clearing clustered threats.
You’ll eventually fill out most of the cross, but front‑loading mobility, stealth tolerance, and one dependable crowd answer will smooth the hardest stretch of the game’s opening hours. From there, push toward manual Beast control and durability‑friendly combat picks as your playstyle demands.