
Run night chases anchored at Town Hall’s UV lights, stack passive XP gear, and push quests after dark to level quickly without wasted time or risky grinds.
Farm XP fast with Town Hall night chases (Volatiles + UV)
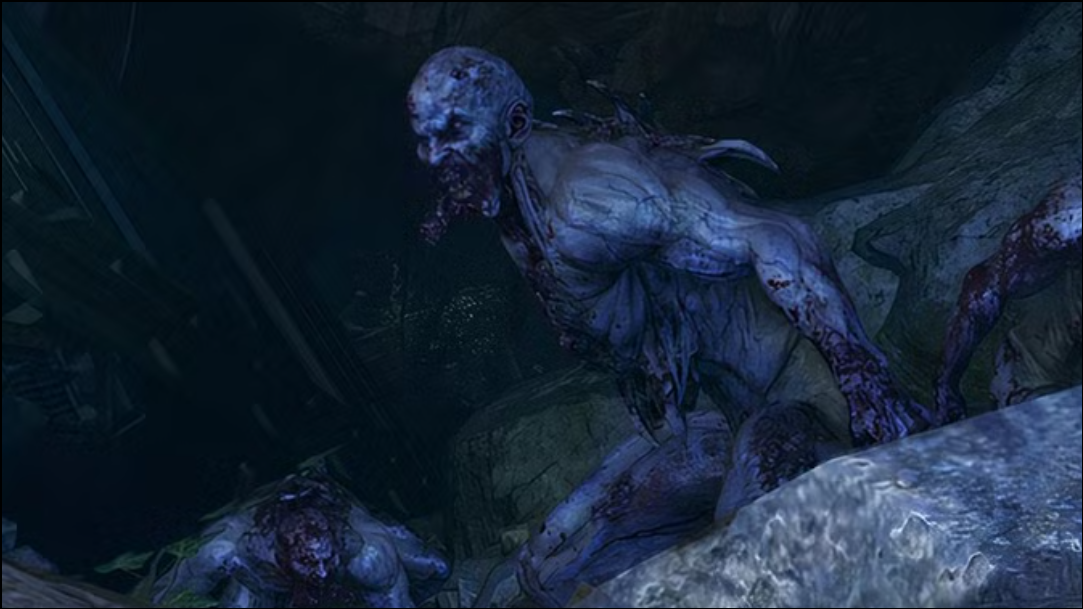
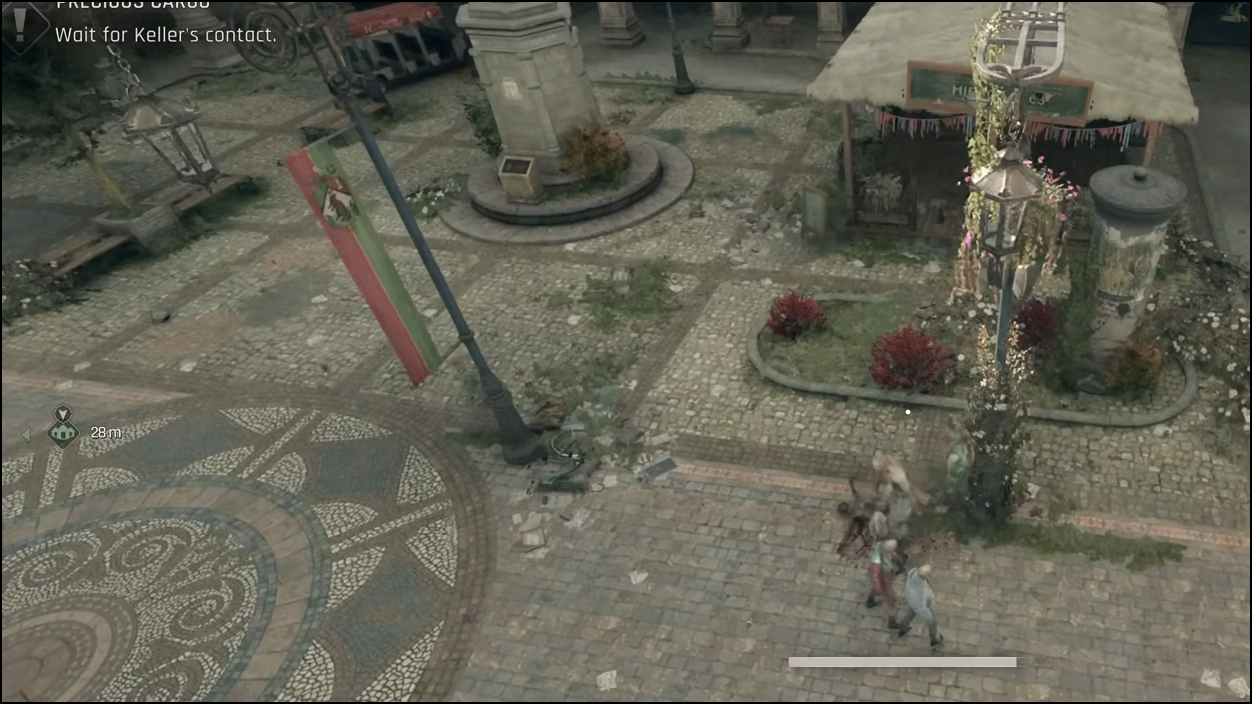
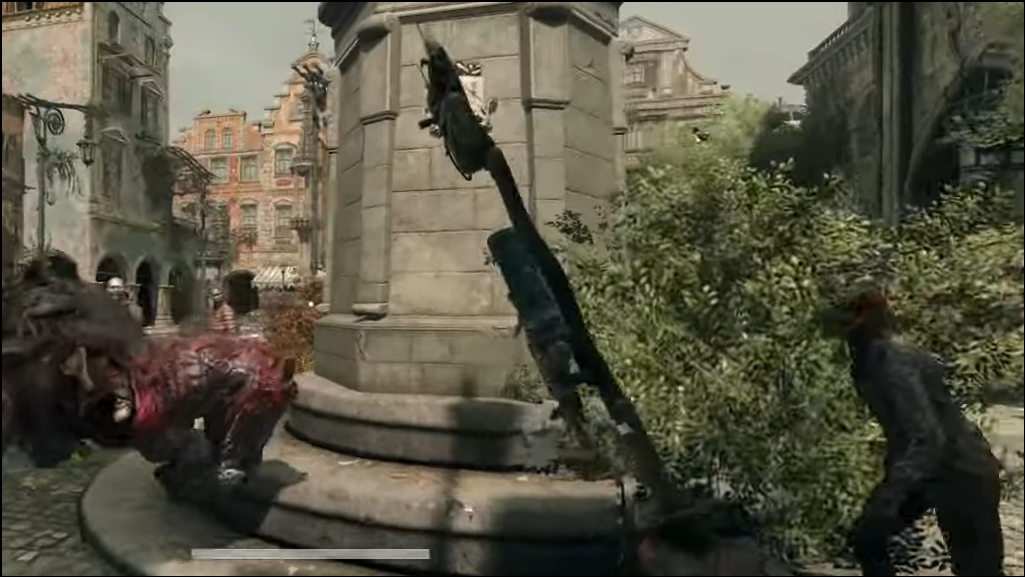
Volatiles are high-value targets that can award roughly 500 XP per kill, and all combat XP doubles at night. Using the UV wards at Town Hall turns dangerous chases into controlled fights that pay consistently without frequent deaths.
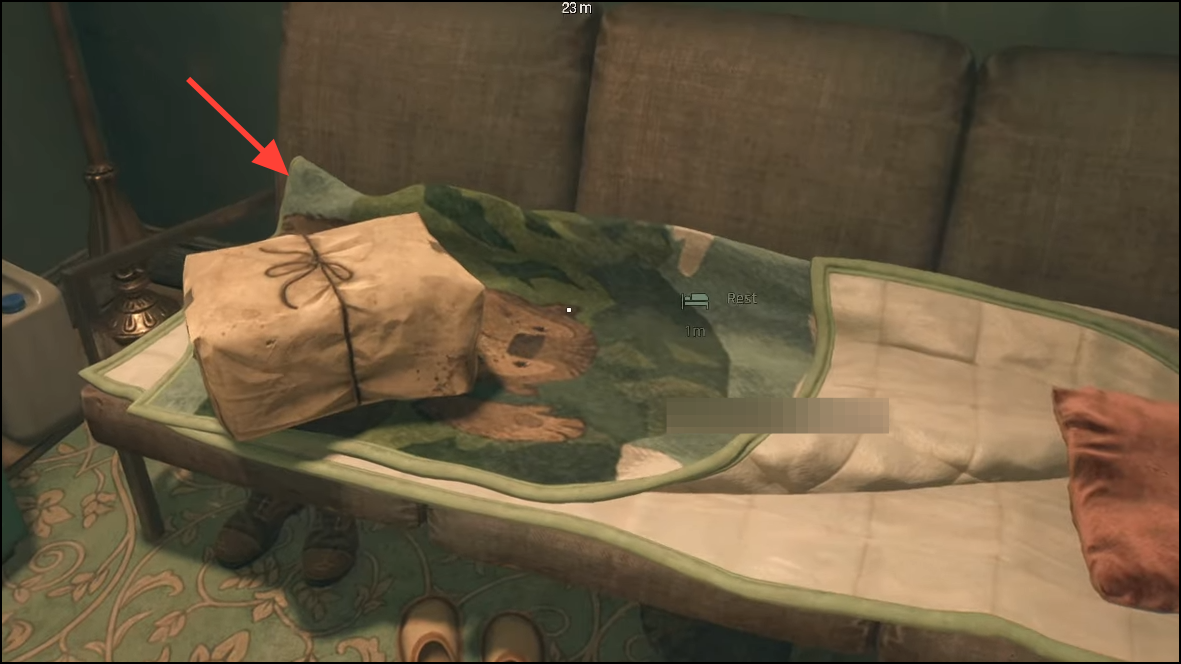
Step 1: Sleep in the Town Hall bed to switch to night. The nighttime bonus doubles XP from kills and objective completions, accelerating each run’s payoff.
Step 2: Leave the Town Hall and bait a Volatile until the on‑screen “Chase Started” indicator appears. Do not engage far from the UV; the goal is to kite back safely.
Step 3: Fight at the Town Hall entrance under the UV lights. Step into the UV to halt pressure and heal; step just outside to strike, then retreat when needed to avoid getting downed.
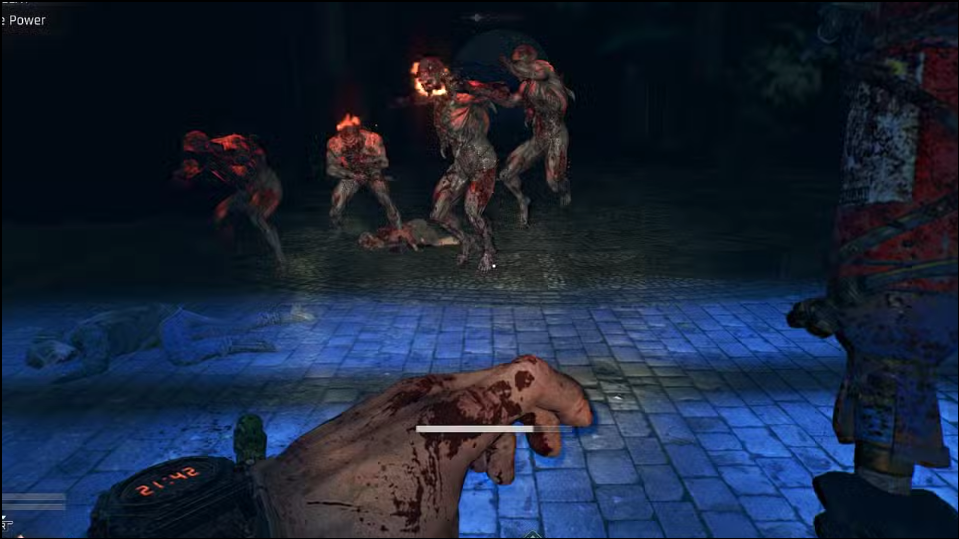
Step 4: If you’ve unlocked the Controlled Beast ability, use Beast Mode as a safety tool to survive bursts or stagger targets.
Step 5: Chain Volatile kills until the chase ends or your supplies run low. Each clean takedown near the UV should register XP immediately; avoid deaths, which subtract a noticeable chunk of progress.
Do story quests and Dark Zones at night (double XP)
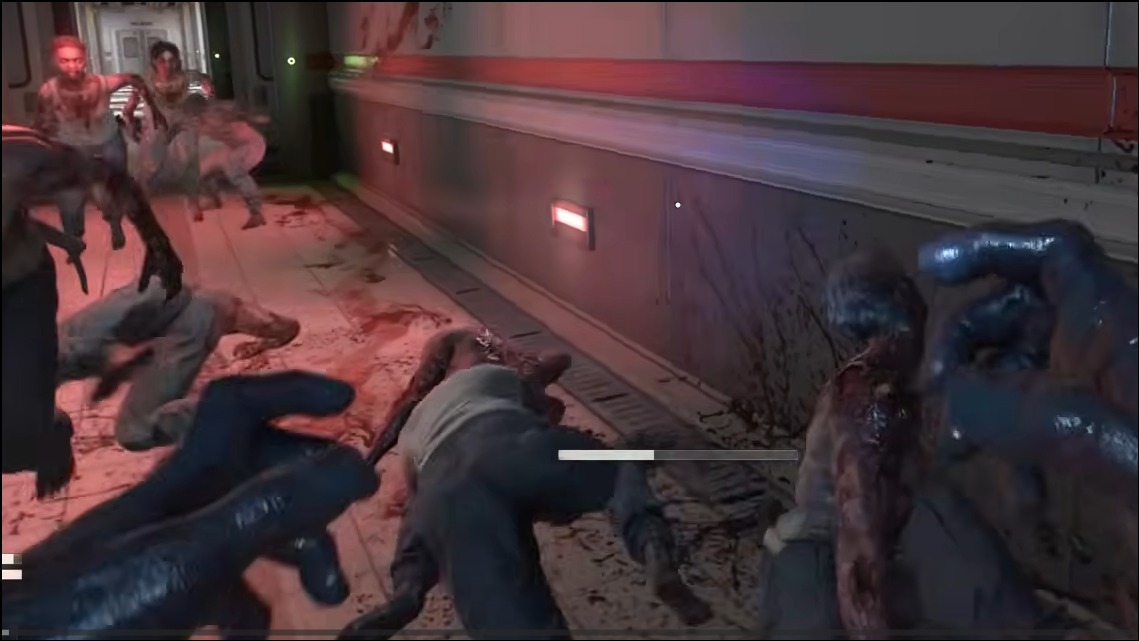
Level thresholds can reach around 20,000 XP per tier, so doubling payouts meaningfully reduces the number of objectives required. Indoor areas like Dark Zones keep Volatiles at bay while still paying the night bonus for kills.
Step 1: Scout objectives during daytime for routes and entry points. This keeps your night window focused on completions rather than navigation.
Step 2: Start and complete story missions or Dark Zones at night. Expect larger XP gains per encounter without the constant threat of outdoor nighttime predators while you’re inside.
Step 3: If you’re under the recommended level for the next main quest, pivot to side content at night first to close the gap, then return to the story.
Buy Explorer armor set for passive XP gains
The Explorer set provides a small but steady boost that compounds across every activity, reducing the total number of kills and objectives you need over time.
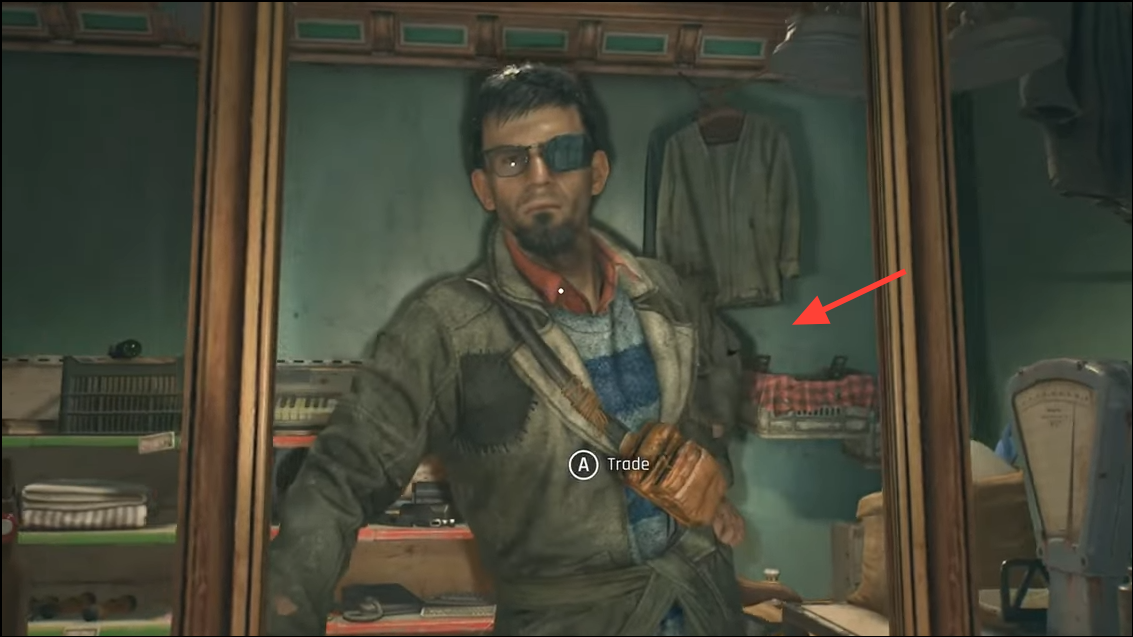
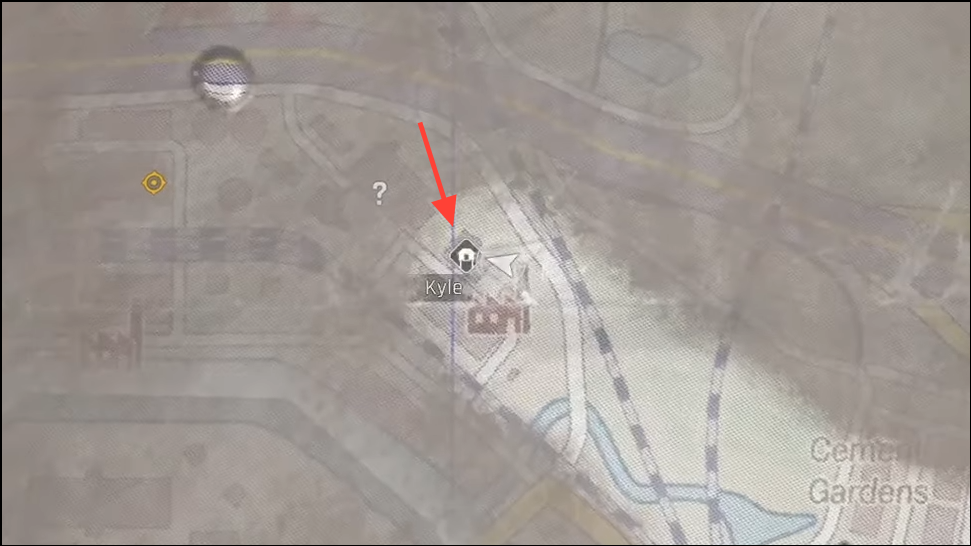
Step 1: Visit Doug at Town Hall and purchase Explorer armor pieces when they appear. Each equipped piece boosts XP gain by 2%.
Step 2: Keep Explorer pieces equipped during any XP‑focused activity (chases, missions, Dark Zones). The bonus applies continuously and adds up across long sessions.

Step 3: Replace individual pieces only if a major stat upgrade is worth more to your survivability; otherwise, maintain a full Explorer setup while grinding levels.
Prioritize side quests and white‑icon world activities
Side quests and compact world activities provide reliable, time‑bounded XP without the travel bloat of roaming fights.
Step 1: Accept side quests that match your level. Early missions often award 4,000–10,000 XP, with late‑game tasks paying up to about 20,000 XP on completion.

Step 2: Sweep Safe Spots and other white‑icon activities. These typically grant ~2,000–3,000 XP each and often include recipes, materials, or gear.
Step 3: Use Safe Spots to instantly end chases and reset routes. This keeps your loop tight and reduces time lost to escapes.
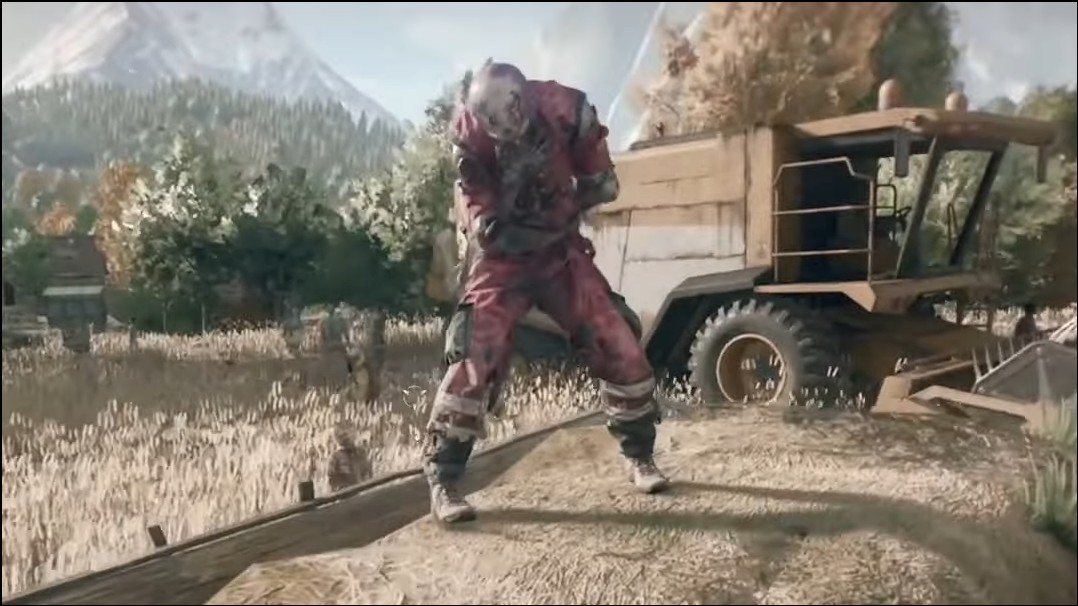
Kill priority targets, not every zombie
Free‑roam combat is time‑consuming and low-yielding compared to objectives and elites. Targeting tougher enemies increases XP per minute.
Step 1: Skip large ground‑level mobs during traversal. Move directly toward objectives and only engage enemies that pay better for the effort.
Step 2: Focus on elite infected and high‑threat enemies when you do stop to fight. Bigger targets grant more XP, making each encounter more worthwhile.
Minimize XP loss and downtime
Deaths subtract XP (often around 100–500 XP), which can erase multiple kills. Movement choices and chase escapes prevent those setbacks.
Step 1: Avoid risky brawls—if your health or gear is low, disengage to a Safe Spot rather than trade for a marginal kill and lose XP on death.
Step 2: Traverse rooftops whenever possible to avoid swarms. Take the Active Landing skill early to reduce fall damage and keep momentum on long rooftop chains.

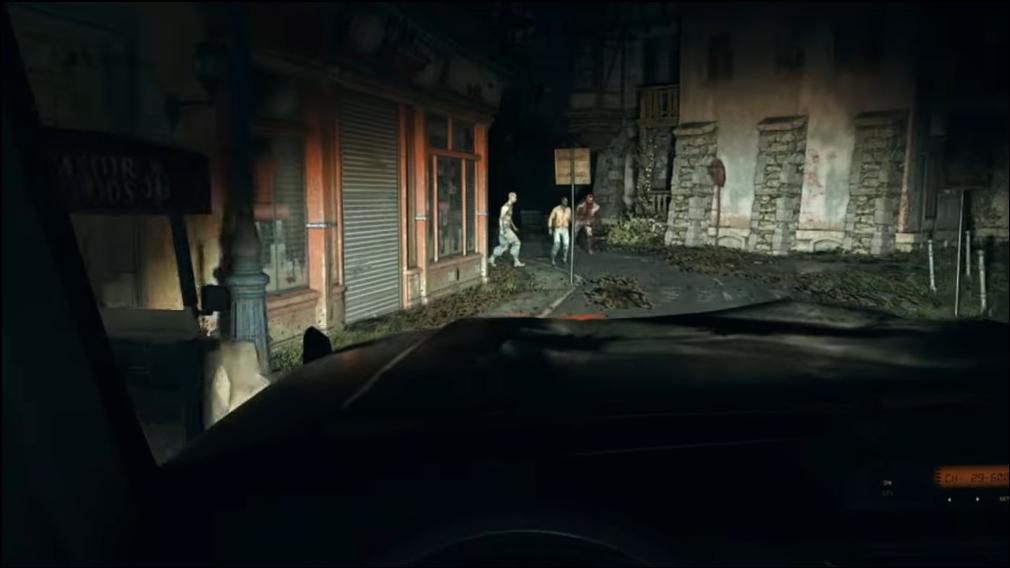
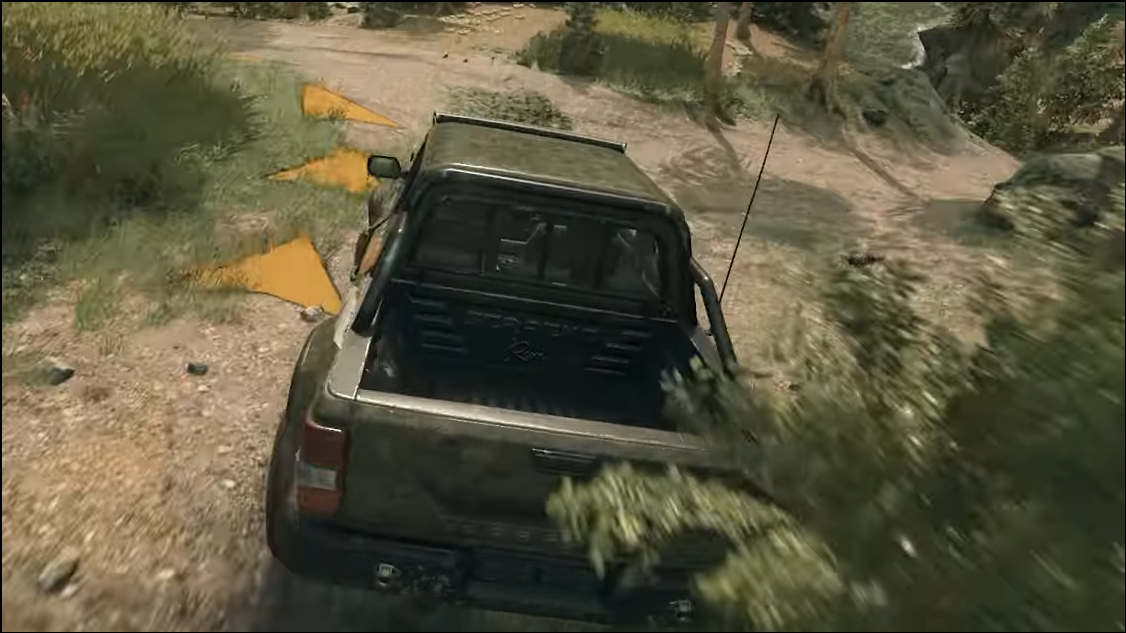
Step 3: If a chase turns bad in the open world, jump into a vehicle and run UV headlights to deter pursuers while you drive to safety.
Plan efficient XP routes with binoculars
Pre‑marking activities and rewards streamlines your night runs and reduces backtracking.
Step 1: From high vantage points, use binoculars to tag landmarks and see their rewards. On keyboard/mouse, press 1+B; on controller, use ←+LT/L2.
Step 2: Build short loops that chain side quests, Safe Spots, and indoor combat spaces. This clusters double‑XP activities into a single night without long travel gaps.
Know the level targets and cap
Expect some level‑ups to require about 20,000 XP; planning for doubled nighttime payouts makes those jumps manageable. The level cap is 15, so a few efficient evenings can finish the grind once your loop is optimized.
Note: Parkour actions do not grant XP in this game, and kills during Beast Mode may not award XP. Lean on objectives, elite kills, and nighttime completions to drive progress.
Anchor your grind around night chases at Town Hall, slot Explorer gear, and funnel most combat into quests and Dark Zones after dark—your XP bar will move faster with fewer headaches.