
This early side quest asks you to find Eli’s missing father, William, and complete a cable-and-explosives puzzle inside a cavern teeming with Infected. The path is linear, but the routing to each charge and the stealth section can be confusing. Here’s a clean, spoiler-light run from start to finish, including optional pickups and the final escape.
Unlock the quest at Town Hall (Old Town)
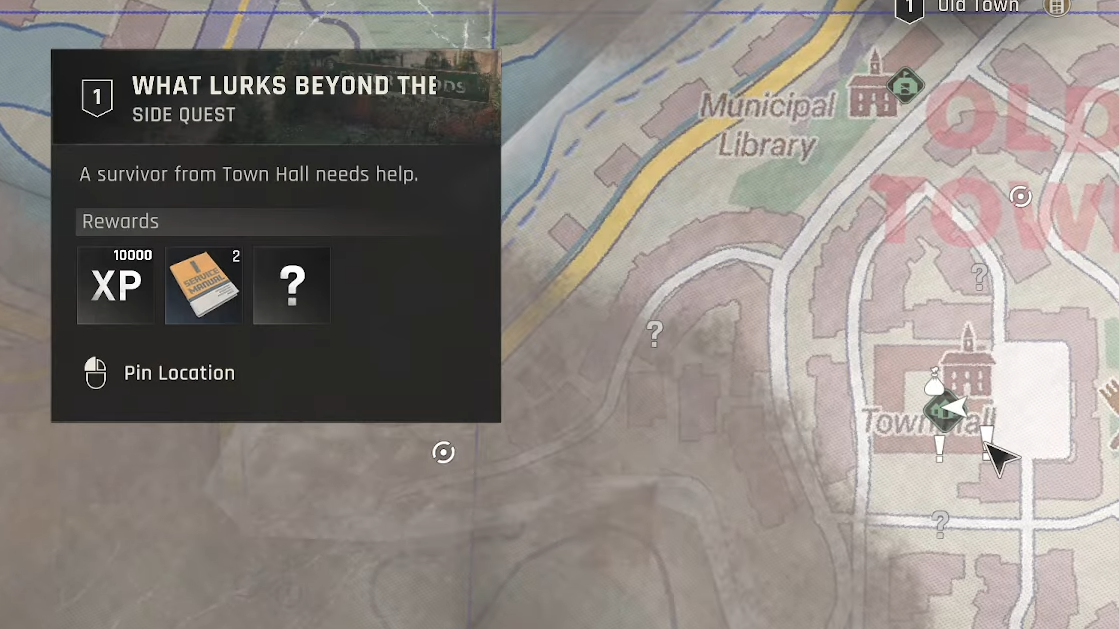
After you complete the main story mission “The Beast Within,” head to the Town Hall safe zone in Old Town. In the meeting room, speak with Eli (standing by a map) to accept “What Lurks Beyond the Pines.” Your first lead points to his family cabin in the National Park.
Go to Eli’s family cabin and collect the cave key
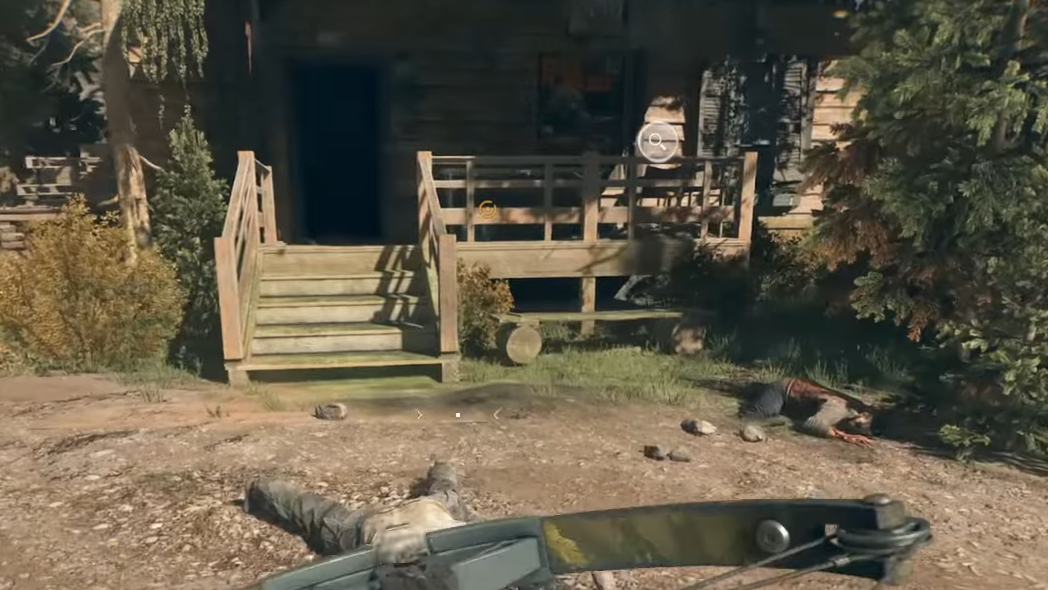
Travel to the marked cabin. Clear the Infected outside, then search inside:
- Interact with the large map on the table to obtain the Cave Spare Key (also sets your next waypoint).
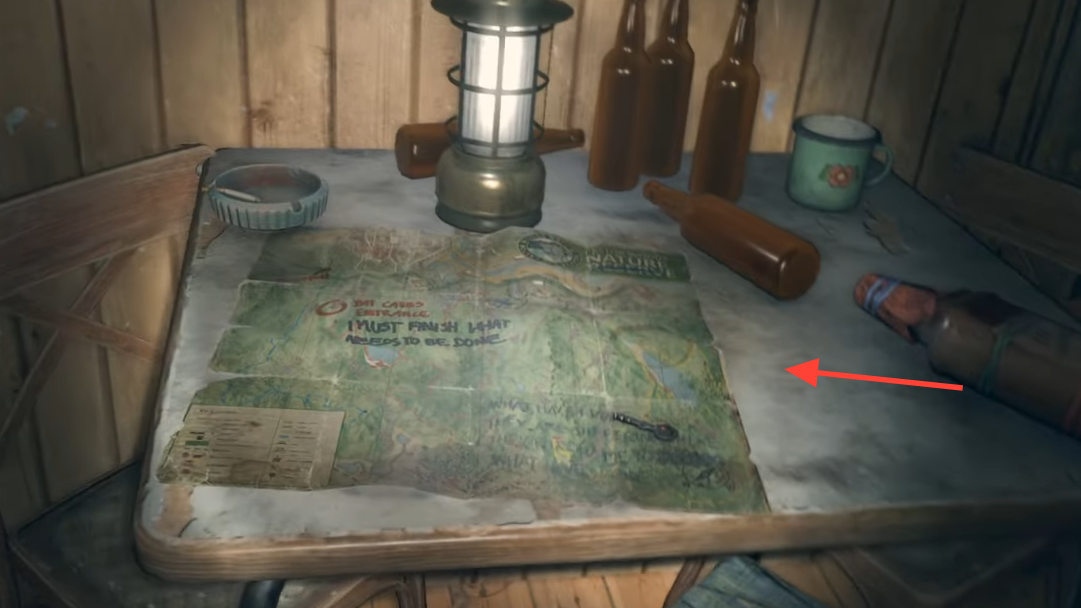
- Notes you can pick up here include a letter from William’s wife and a Congratulatory Letter found among the scattered journals.
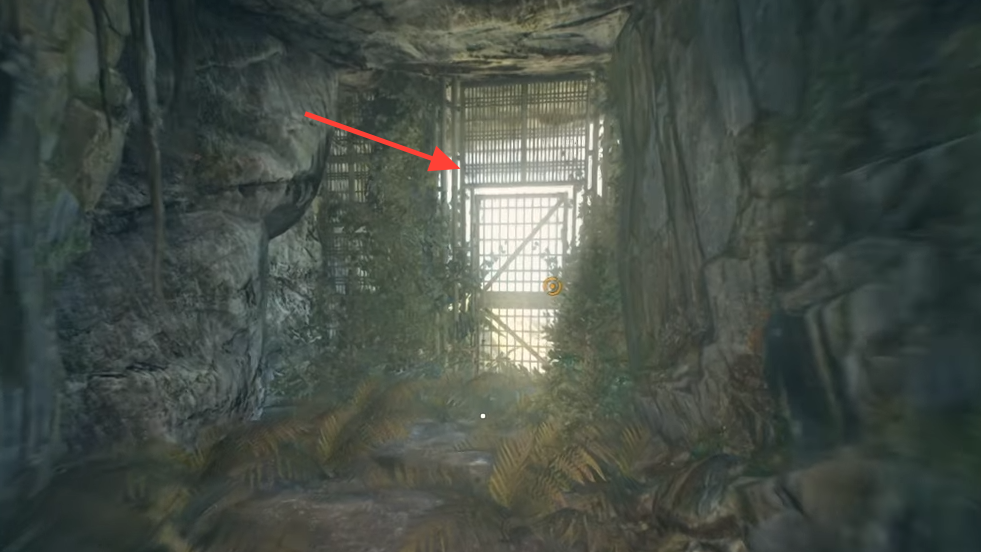
Climb to the cave entrance
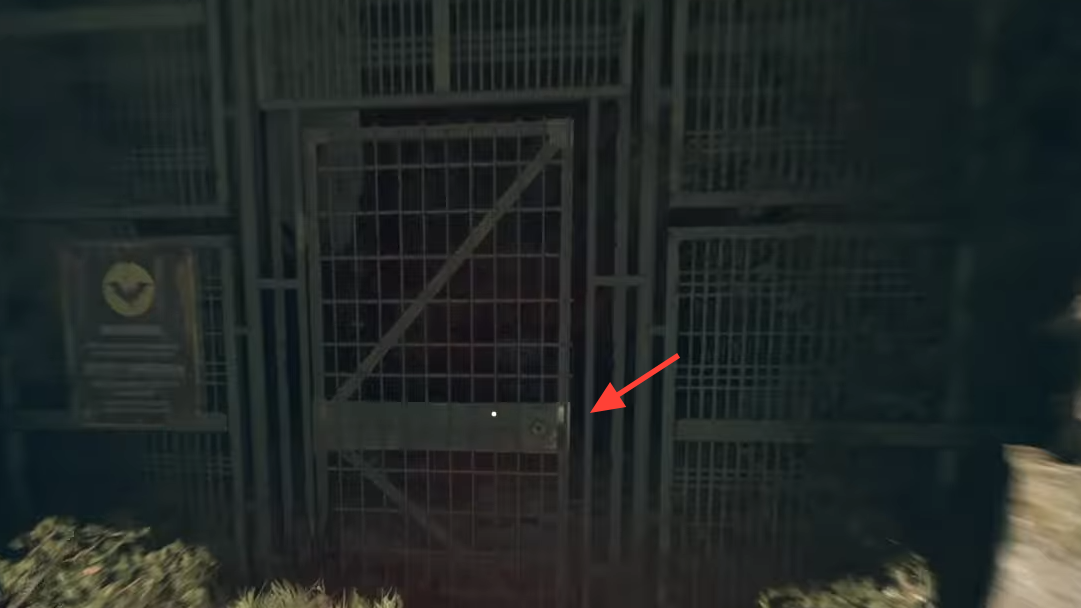
From the cabin, take the uphill route to the caves. You can either follow a straightforward footpath with railings or use a more vertical “parkour” line on nearby ledges and branches. Use the spare key at the gate to enter.
Early cave pickups before meeting William
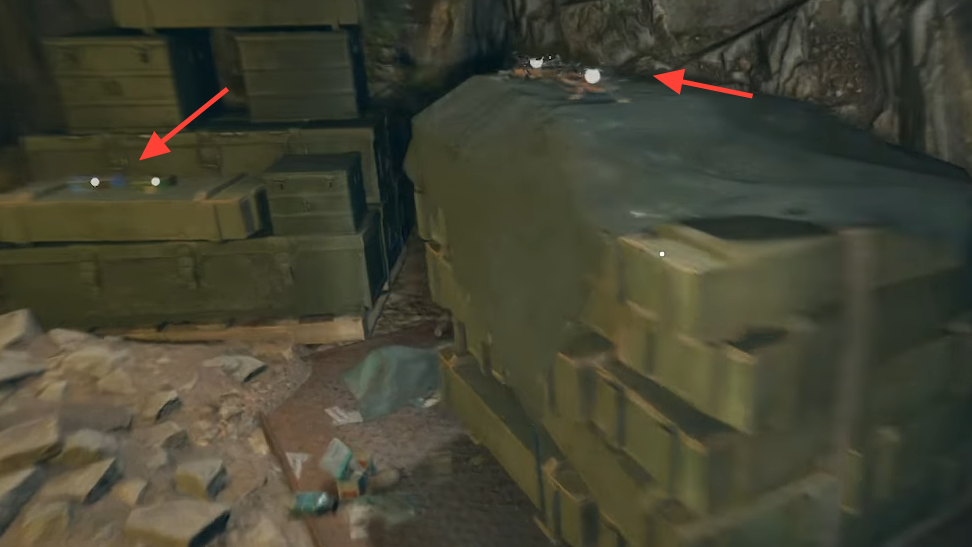
The cave path opens into a small cavern with a central pool. Along the left wall, a slumped skeleton lies next to a Reinforced Stick. Dive to the bottom of the pool to loot a container holding a Voltaic Wrench and a Bracelet. Beyond a short bridge section, you’ll find green crates with supplies such as SMG ammo, pistol ammo, wiring, and scraps. Continue to the overlook to find William.
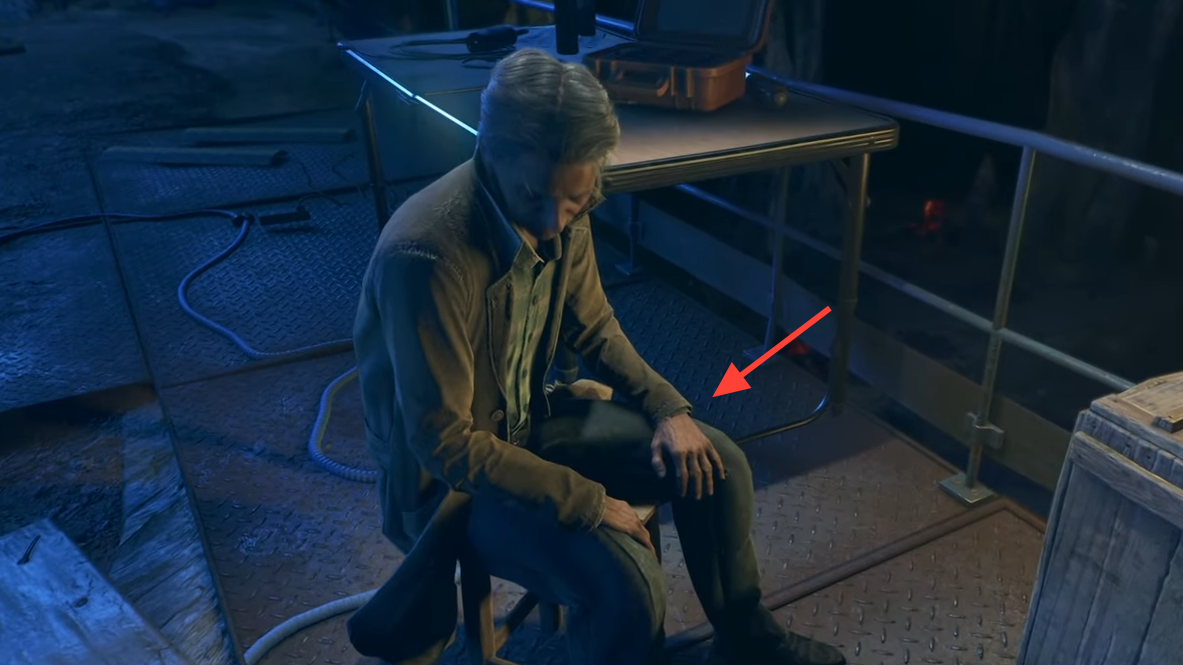
Talk to William (dialogue outcome is fixed)
William mistakes you for Eli. You can correct him or play along; either way, he asks you to connect four explosives placed around the cavern. The route mixes climbing with a stealth segment among dormant Infected and Volatiles. Survivor Sense will highlight cables and threats.

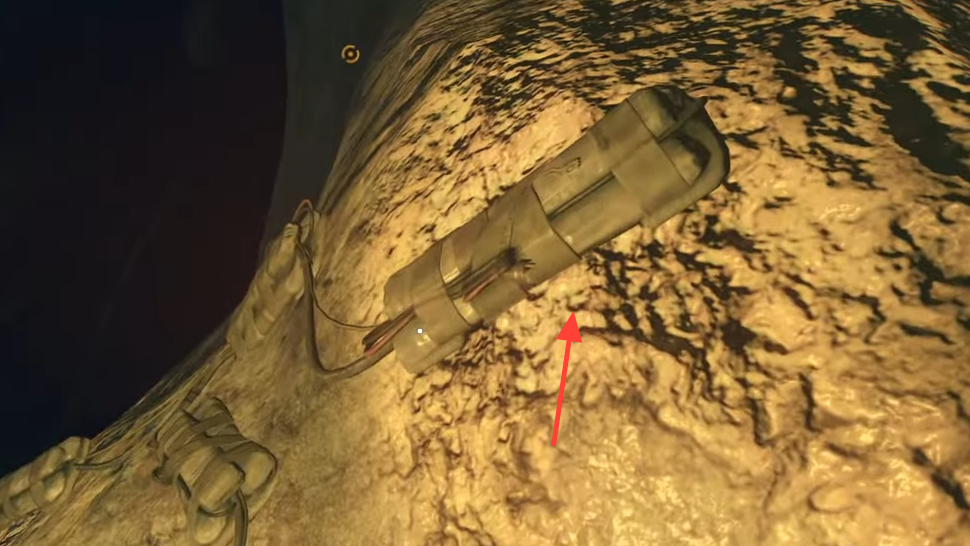
Explosive 1: cross the wall platforms and attach the first cable
Grab the first cable spool near William. Traverse the metal and rocky platforms hugging the cavern wall directly across from the overlook. Attach the cable to the first charge.
Explosive 2: climb the white holds to the next platform
Pull the next cable from the nearby spool. Climb the white-marked handholds across the gap. When holds run out on one face, pivot and jump to the opposite wall, then work up and right. A small metal platform with a skeleton (loot a Dirty Note) marks you’re on track. Cross the beam and continue along the holds to reach the second charge and connect the cable.
Explosive 3: follow the cable and repair the break
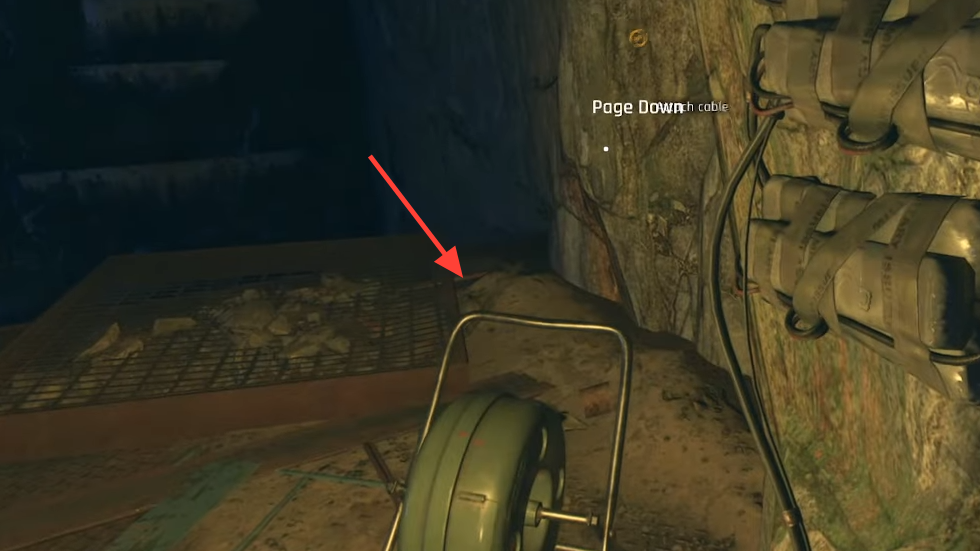
Use Survivor Sense to trace the third run. There are two workable approaches here:
- Stay elevated: descend a ladder to a lower catwalk, then jump between platforms toward the cable path without dropping to the cavern floor.
- Go low and stealth: drop down and crouch-walk along the cable itself, avoiding contact and using silent takedowns only when an enemy stands directly on your path.
Either way, you’ll reach a damaged section along a rock. Repair the break, loot the nearby skeleton for another Dirty Note, and continue following the line to its spool.
Explosive 4: take the high route to the final platform
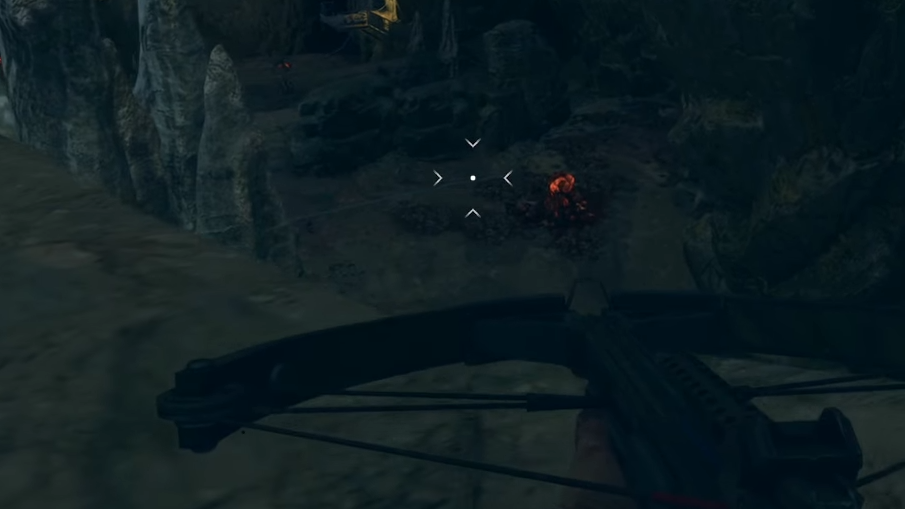
From the third cable’s spool, continue tracking the route toward the final charge. Keep crouched, minimize flashlight use until you reach lit “safe” spots, and stick to the right-hand wall to skirt clusters of Infected. Along this path you can optionally investigate remains (a family, a wheelchair) and find small valuables like a Wristwatch and a Bracelet.
To climb out to the last charge, backtrack slightly to pick up white-marked holds on the right. Climb to a higher platform with a ladder, then work around the upper ledges to the lit platform that hosts the fourth explosive. Attach the cable to complete the circuit.
Return to William (grab the nearby note and pickaxe)
Head back toward the overlook. On the way, there’s a Pickaxe resting on storage boxes you can take. Near William’s table, a Police Note can be logged if you didn’t collect it earlier.
Speak to William again. Dialogue choice does not change what happens next.
Escape the collapsing caves by swimming the right tunnels
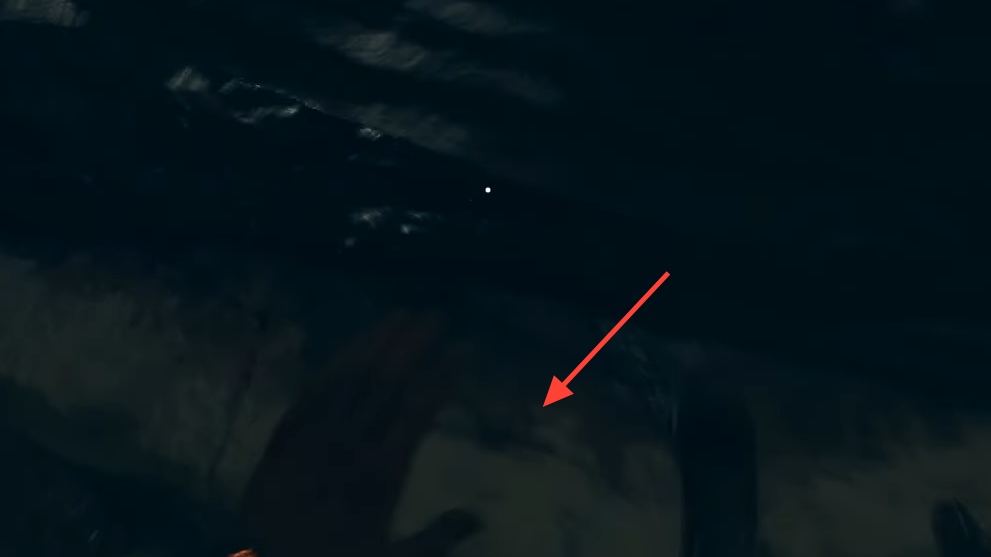
Follow the only forward path as the cavern destabilizes and drop into the water when prompted. Underwater, look for rising bubble streams at junctions—they point to the correct route and help conserve oxygen. In the large chamber where you can breathe, head across to a low tunnel, duck through, and continue a short swim to the next climb.

Near the surface exit, be ready for a brief grab/QTE. Outside, you can sprint past or fight the lingering Infected. Then fast-travel or run back to Town Hall.
Turn in at Town Hall and rewards
Report to Eli. Your dialogue choice at the end does not alter the outcome or rewards. Completing “What Lurks Beyond the Pines” grants:
- William’s Knife
- 2× Beginner Manual pages
- 10,000 XP

Quick reference: optional pickups along the route
- At the cabin: letter from William’s wife, Congratulatory Letter.
- Early cave pool: Voltaic Wrench, Bracelet; left-wall skeleton: Reinforced Stick.
- Climb to explosive 2: Dirty Note on the metal platform.
- Toward explosive 3: Dirty Note by the cable break.
- Path to explosive 4: Wristwatch and Bracelet near skeletal remains; body pile/wheelchair scene.
- On return to William: Pickaxe on boxes; Police Note at the desk.
That’s the full loop: start in Old Town after “The Beast Within,” route the four cables with a short stealth detour, swim the escape, and cash in for an early-game knife, manuals, and a solid XP bump.