
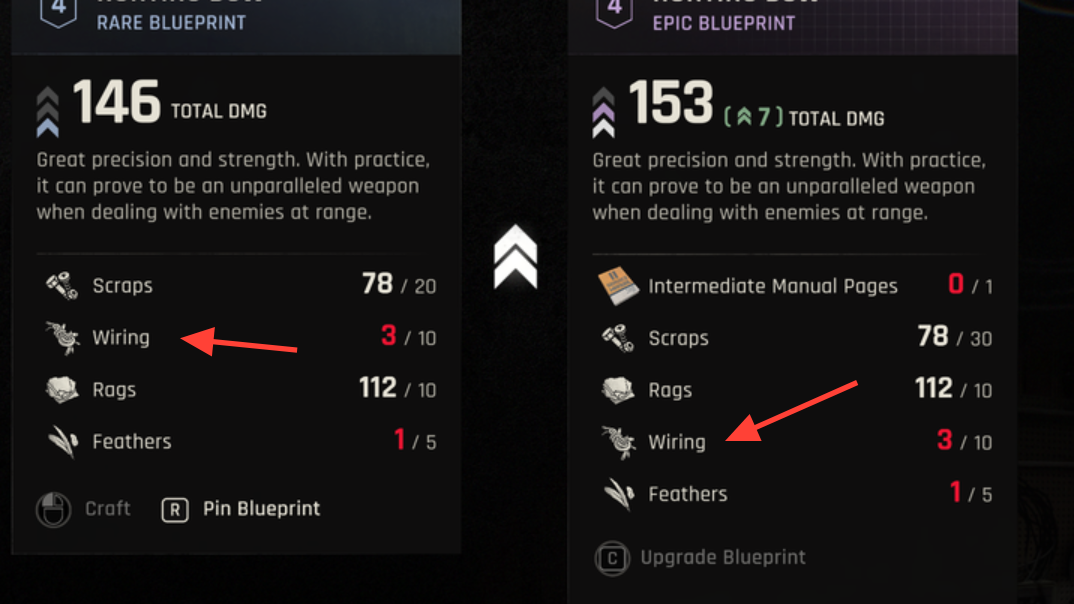
Wiring and Electrical Parts sit at the center of Dying Light: The Beast’s crafting loop. You’ll burn through them on weapon mods, throwables, and other upgrades, and while both count as “uncommon,” treating them as optional will bottleneck your gear fast. The good news: you can reliably farm them if you know which Dark Zones to prioritize — and there’s one early-game location that consistently pays out.
What drops Wiring and Electrical Parts most often
- Dark Zones that list electrical loot: Target Dark Zones that explicitly show loot icons for cables and batteries when you hover over them on the map. Those zones have a notably higher chance to yield Wiring and Electrical Parts.
- Electrical-themed interiors: Inside these Dark Zones, check shelves and fixtures in electronics aisles and backrooms. These areas cluster the parts you need rather than scattering them as one-off pickups.
- Enemy bodies (low yield): You can pull some components from zombies and bandits, but expect mostly common junk like Scraps and Rags. Treat body looting as incidental, not a core farming method.
- Vendors (costly but predictable): Merchants across Castor Woods, including a seller inside the Town Hall, stock major crafting resources. It’s expensive, so consider it a supplement when you’re short on time or a few parts shy of a key blueprint.
Functionally, Wiring and Electrical Parts serve similar roles: both feed into weapon modification and explosive crafting. If you’re constantly upgrading melee kits, slotting elemental effects, or keeping a steady supply of throwables, plan regular runs to zones that surface these icons on the map.
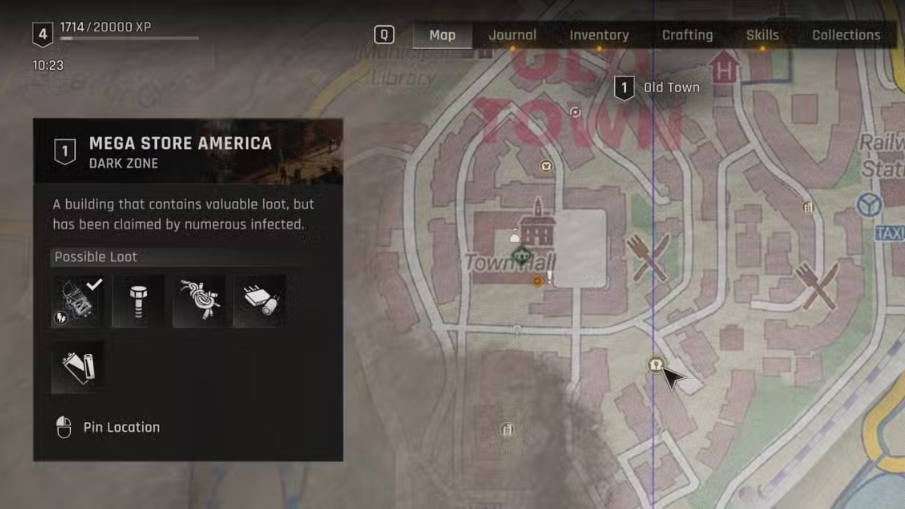
Best early-game farm: Mega Store America (Old Town)
If you’ve just unlocked the Town Hall safe area in the opening hours, head south to the Mega Store America Dark Zone in Old Town. It’s the most efficient early spot to gather both Wiring and Electrical Parts in volume.
- Why it’s efficient: The store shelves carry a dense concentration of cables, batteries, and related components, cutting down on dead-end rooms and backtracking.
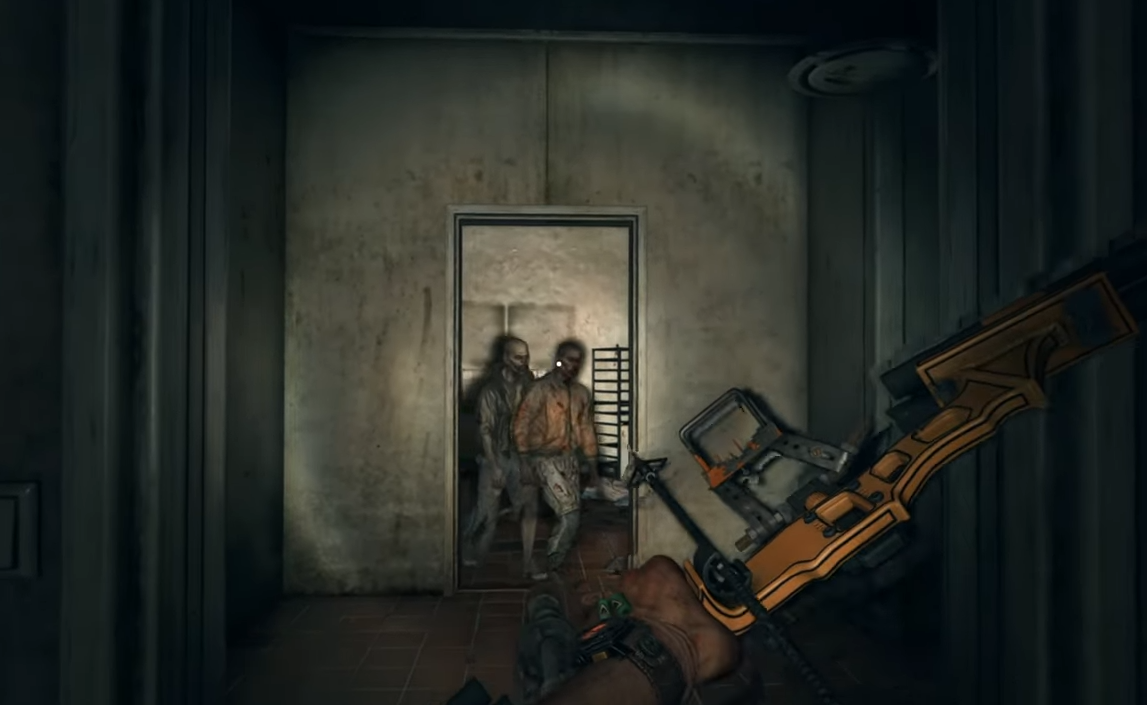
- How to approach: A patrolling screamer roams the store. Eliminate it first so it doesn’t rouse sleepers inside. With the screamer down, you can clear smaller groups quietly and loot the aisles at your pace.
Run the shelves methodically, sweep endcaps and counters, and check any electronics-adjacent sections before moving on. Compared to most Dark Zones, this single location front-loads the exact parts you need without demanding deeper progression.
How to read the map for the right Dark Zones
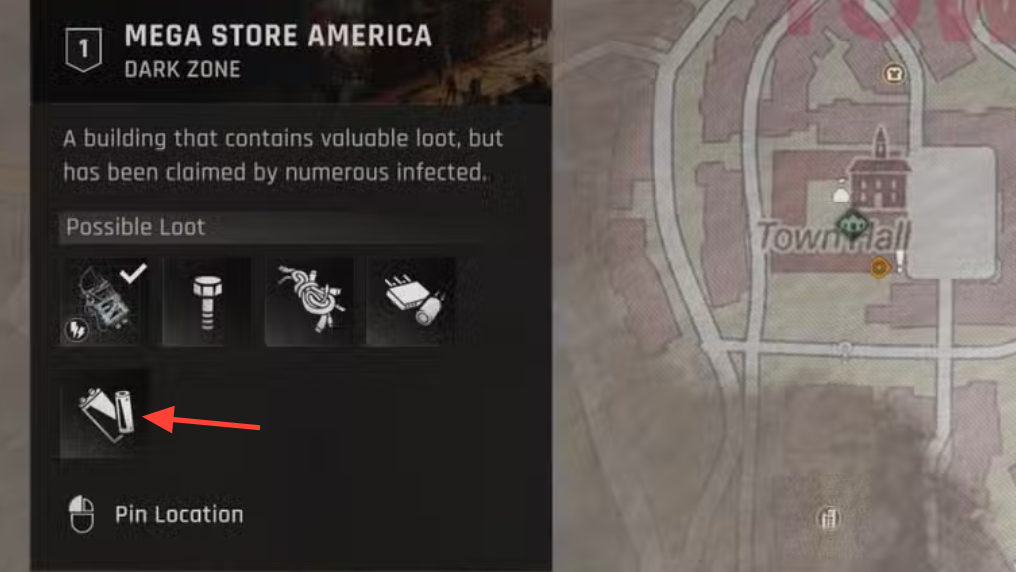
Not every Dark Zone labeled “loot” will respect your time. Before committing to a run, hover over the zone’s icon on the map and confirm you see:
- A cable icon (for Wiring)
- A battery icon (for Electrical Parts)
Zones that surface both are your best bets; zones that list neither tend to produce general supplies, not the electrical pile you’re after. Once you learn the iconography, planning a fast resource loop becomes straightforward.
When buying from vendors makes sense
Buying from merchants is the most predictable way to top up parts, but also the least cost-effective. Use it selectively:
- Top-offs for key blueprints: If a weapon mod or quest item needs just a few more pieces, buy them and move on.
- Busy-session fallback: If you’re short on time to run Dark Zones, vendors keep you crafting without a farming detour.
Expect higher prices at the Town Hall vendor, who stocks a wide spread of major resources. If funds are tight, completing side activities is a practical way to bankroll purchases without sacrificing your upgrade cadence.
What to do inside generic Dark Zones
When you can’t reach Mega Store America or a zone with ideal icons, you can still improve your odds:
- Prioritize electronics areas: Look for store sections or rooms that read as “electrical” — display shelves with devices, counters with components, backrooms with boxed stock.
- Loot quickly after neutralizing noise threats: Screamers and other aggro triggers snowball time and risk. Remove them, then sweep.
- Manage expectations: Generic zones will produce a mix of Scraps, Rags, and other common materials alongside occasional Wiring and Electrical Parts.
What Wiring vs. Electrical Parts are used for
In practical terms, the two materials overlap in their value to your build:
- Wiring: A staple for weapon modifications and in recipes that create or amplify explosive and electrical effects.
- Electrical Parts: Frequently paired with Wiring in similar mod and explosive blueprints; also benefit any loadout that leans on elemental damage or utility throwables.
If you’re choosing where to spend inventory space, treat both as “always pick up” materials. The limiting factor on your modded arsenal is more often these electrical components than base junk.
A simple, repeatable loop for early progression
- Start from the Town Hall safe area.
- Head south to Mega Store America in Old Town and clear the screamer.
- Loot shelves thoroughly for Wiring and Electrical Parts.
- If you’re short for a blueprint, buy the last few pieces from a nearby vendor.
This loop front-loads your electrical stockpile without requiring late-game gear or deep exploration. As you expand into other regions, the same rules apply: pick Dark Zones with cable and battery icons, clear noise-makers first, and focus on electronics-heavy interiors.

Bottom line: Don’t rely on random drops. Use the map’s loot indicators, make an early stop at Mega Store America, and treat vendors as a targeted backstop. Do that, and Wiring and Electrical Parts stop being a choke point — they become the backbone of steady, predictable upgrades.