
The Northern Vow Ruins in Battlecrest Slope, Qinghe, host one of Where Winds Meet’s earliest and most elaborate side stories: Echoes of Old Battles. The area mixes open combat, environmental traps, and a pair of puzzles that can stall players who rush past the clues. Clearing it unlocks the Touch of Death mystic skill and a bundle of early-game resources.
Where to start Echoes of Old Battles at Northern Vow Ruins
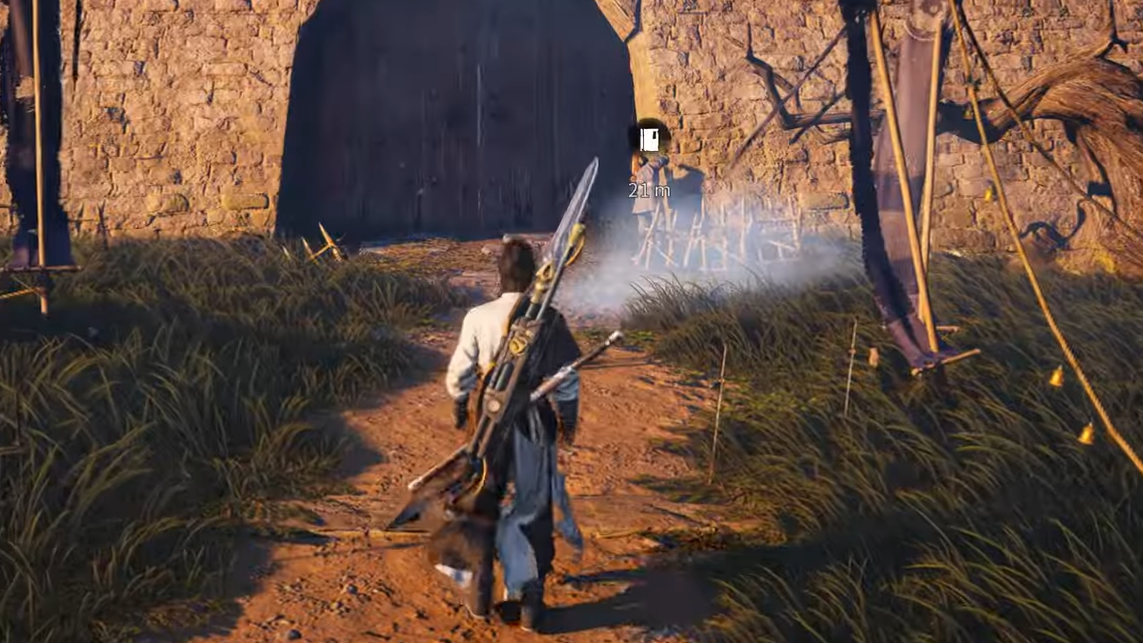
The Ruins sit in the Battlecrest Slope region of Qinghe, inside a shattered fortress dominated by broken walls and a central training yard. At the outer gate, you meet Lie Bujin, an eavesdropper peering through a crack in the door. Speaking with him starts the Lost Chapter quest Echoes of Old Battles and earns you the first clue, pointing you toward a Northern Vow descendant being interrogated inside.
The main gate is barred from the inside, so you enter by climbing the right-hand side of the wall and dropping down onto the guard tower. From her,e you overhear Zhang Bao, a Tiger Fort Bandit leader, ordering a search for the Northern Vow treasure and threatening to blow the ruins apart with gunpowder.
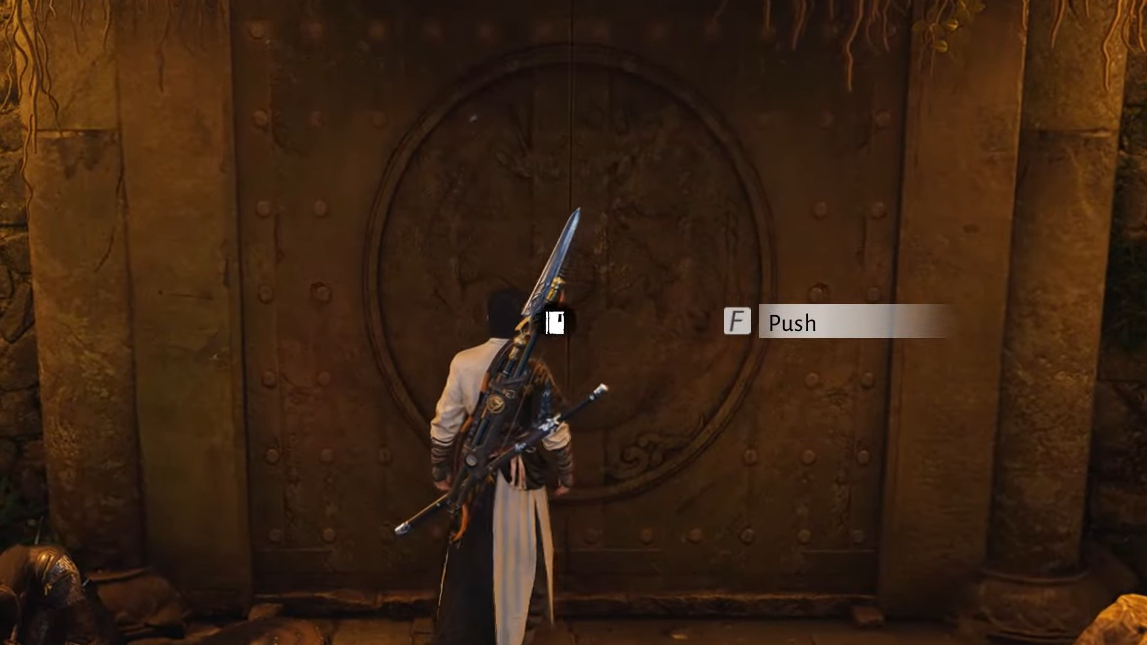
To properly open the fortress for later returns, shoot the nearby gunpowder barrels, then return to the gate and use the prompt to push it open. This also makes it easier to re-enter after you finish the dungeon beneath the yard.
Clearing the training ground and defeating Zhang Bao
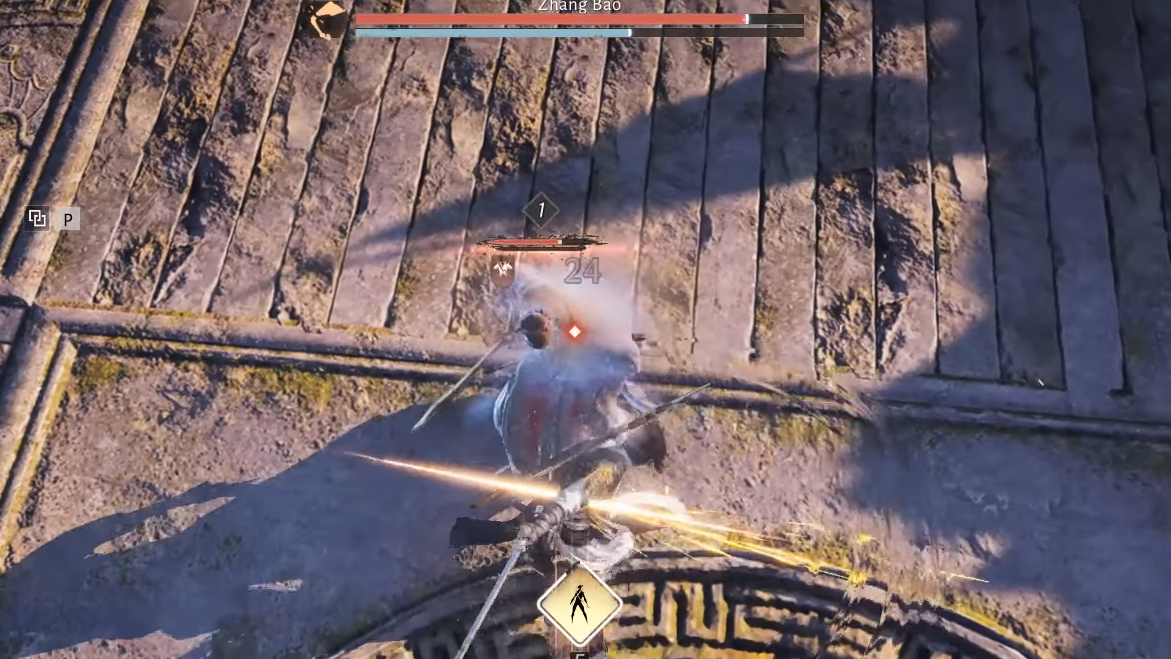
The ruined fort interior is packed with Tiger Fort Bandits, archers, and other enemies, but the key area is the central training ground overlooked by a tall watchtower. Climb that far watchtower, and you’ll see Zhang Bao and his lieutenants discussing the treasure hunt below.
Combat here revolves around Zhang Bao and two accompanying bandits. He fights with twin axes and favors two main patterns:
- Downward Swing – raises both axes high, pauses, then smashes the ground in front of him. The delay makes it easy to sidestep or dodge through.
- Twin Thrusts – lunges forward in a closing attack. If you dodge sideways at the right time, he overextends, leaving a long window to counter.
Zhang Bao moves slowly, so once you recognize those tells, you can bait his big swings, step aside, and punish. His health pool is moderate, and he falls quickly to sustained melee or ranged punishments. For a safer approach, you can open with flaming arrows from the watchtower, forcing the trio to run toward you; their pathfinding struggles to reach the tower, making it easier to whittle them down at range.
After Zhang Bao falls, approach the kneeling prisoner in the yard, Lie Bumie. He refuses to move and mutters about not betraying his family, which pushes you toward the next step: tracking down Zhang Bao’s stolen map.
How to light the Northern Vow Ruins braziers correctly
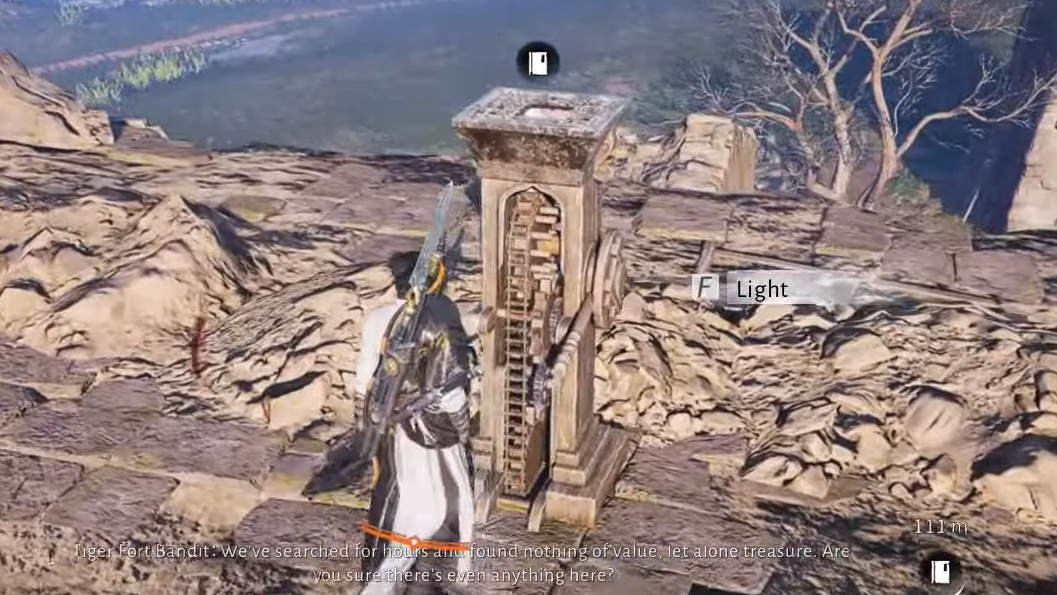
Progress is locked behind a brazier puzzle that many players misread by lighting every fire they see. The ruins contain six braziers, but the contraption only responds if exactly four specific fires are lit.
Two braziers in the area are already burning when you arrive, and you need to bring two more to life. The map you receive from Zhang Bao marks the correct locations as red circles. The important rules are:
- Do not ignite every brazier; having all six lit prevents the mechanism from triggering.
- Turn on the central brazier by the training yard and the specified ones on the fort walls and tower.
- If you accidentally lit the wrong one, you can extinguish it and restore the intended pattern.
Once the four correct braziers are burning, a stone pad in the middle of the yard unlocks as a Mighty Drop plate. Jump into the air above it and use your downward slam (Mighty Drop) to hit the plate. The ground opens to reveal a staircase leading into the Northern Vow’s buried complex.
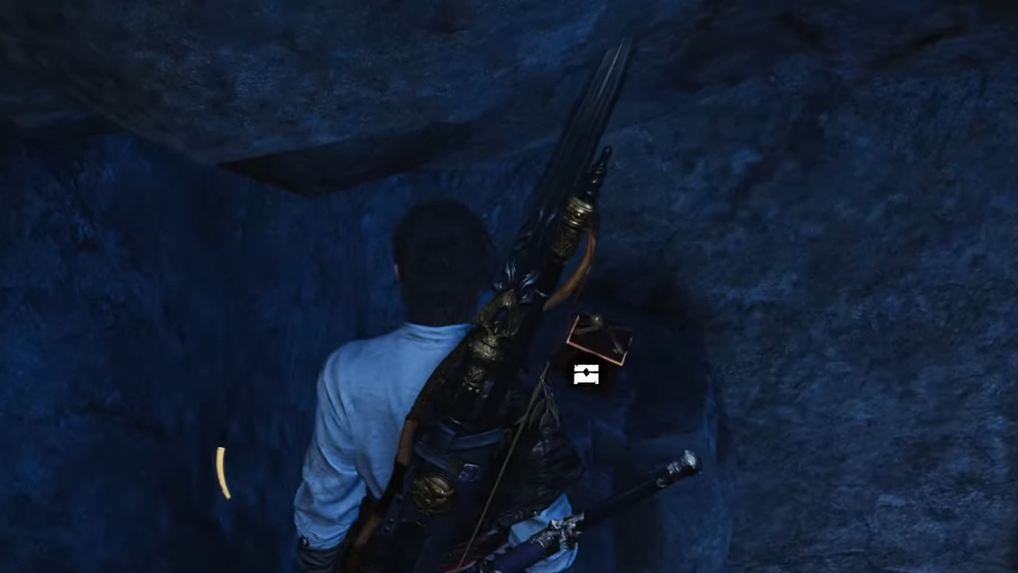
Entering the underground and watching for traps
The staircase drops into a quiet stone corridor lined with statues. Enemies are rare here, but traps are not. Expect ropes stretched at knee height, floor triggers near stair bottoms, and occasional projectiles.
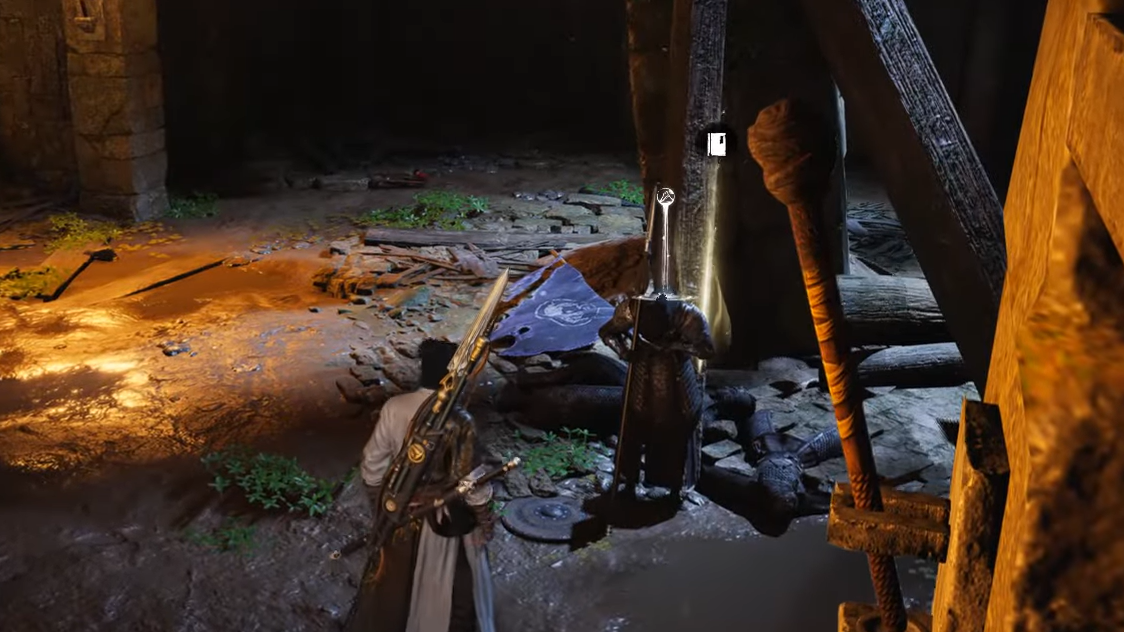
Step 1: Move down the staircase and interact with the stone door at the bottom to enter the first chamber. This room contains a corpse in an odd standing pose, surrounded by statues.
Step 2: Inspect the corpse to obtain Clue Three: Yanyun Oath. This transforms into a usable stance or emote called Yanyun Oath, described as standing facing north with a fist over the heart. You will need this immediately.
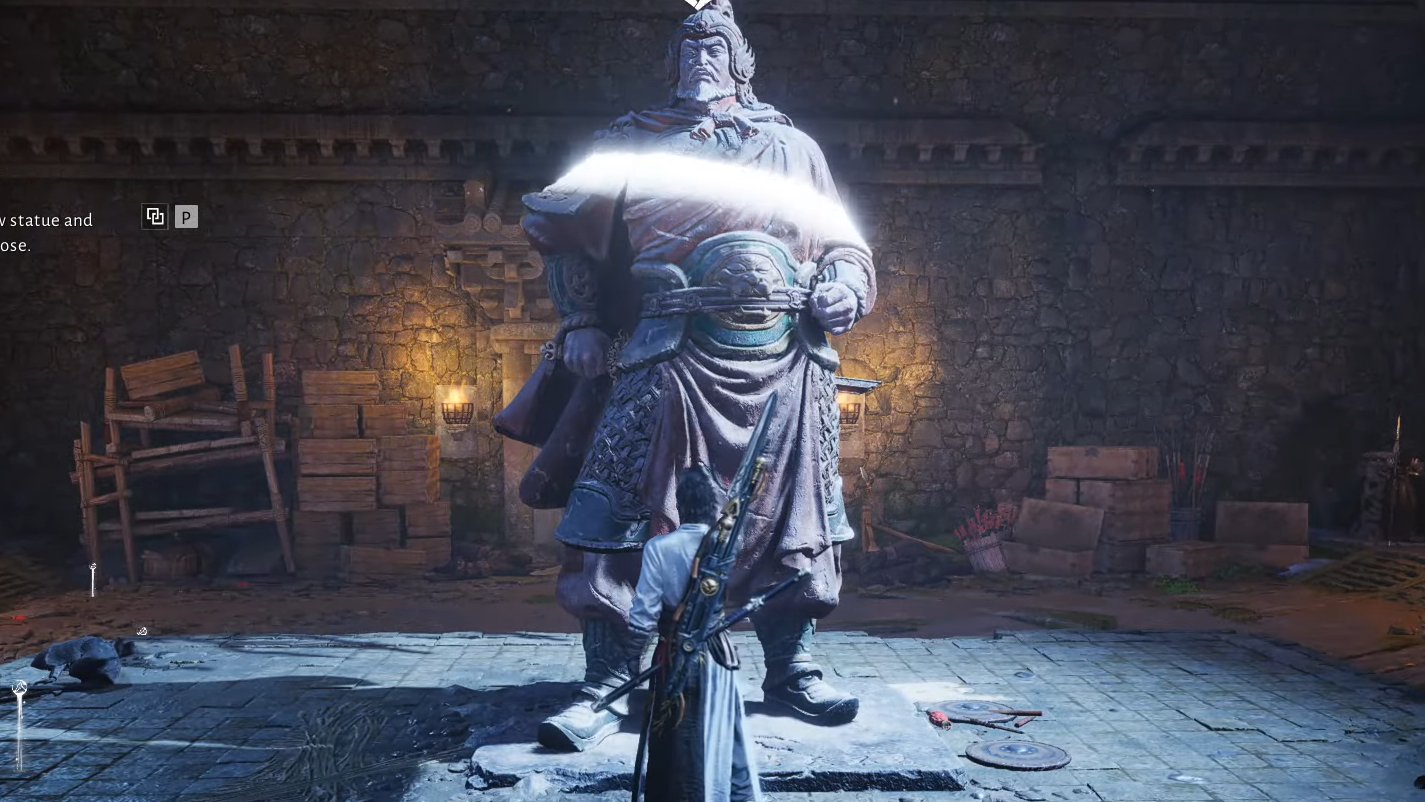
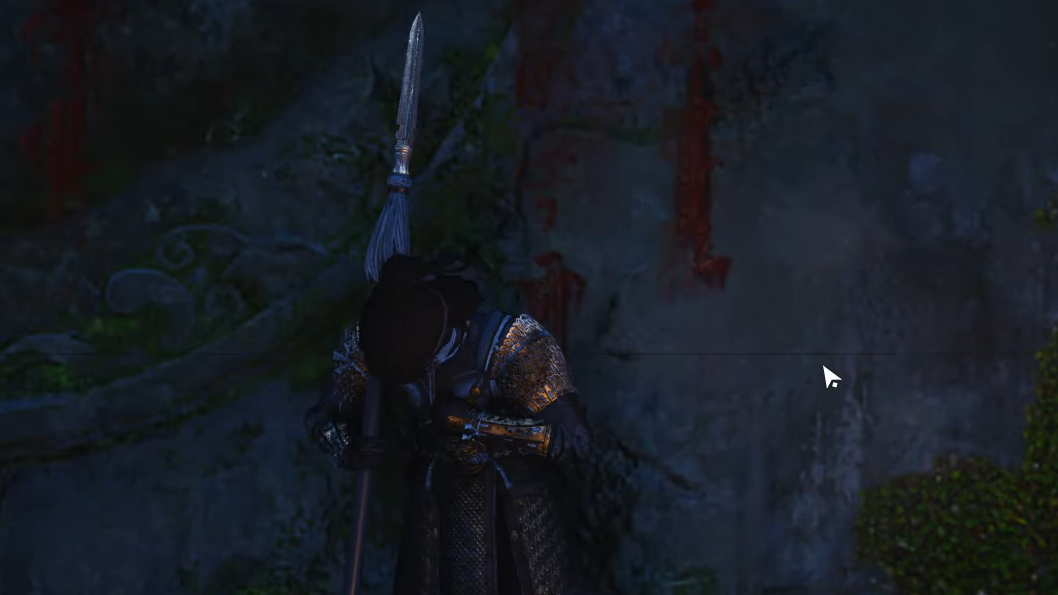
After collecting the clue, continue down, crouching under or jumping over any visible rope traps. The passage leads into a larger hall dominated by a heroic stone statue of a Northern Vow warrior.
How to use Yanyun Oath and solve the wall puzzle
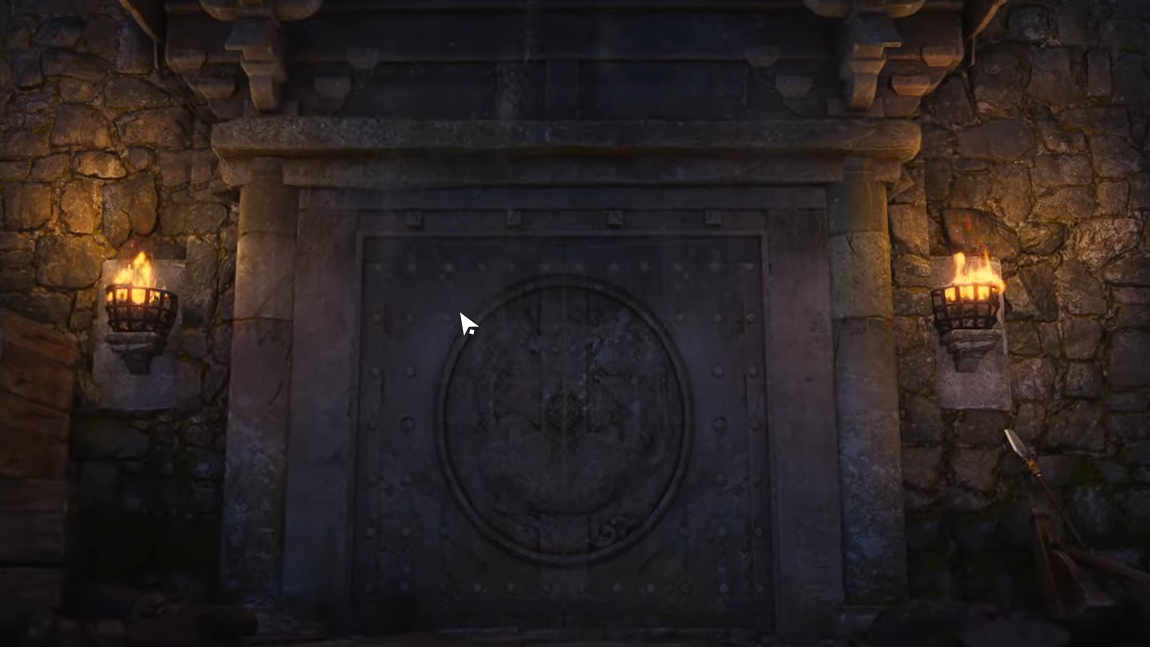
The main underground puzzle sits in this large chamber. A locked stone gate blocks the way forward, and the room’s walls are covered in large stone tiles carved with Chinese characters.
Step 1: Stand directly in front of the central statue and perform the Yanyun Oath emote. The statue responds by rotating to face the sealed stone gate and activates the wall tiles as interactable blocks.
Step 2: Read the nearby signpost. It repeats the line from your clue, “山河寸土, 誓死不易” – a phrase that appears across the room in the character tiles. These eight characters are the “correct” ones; the puzzle wants you to remove the extra characters, not the ones from the oath.
The interactable tiles blink slightly, but you only push back the ones that are not part of those eight characters. The solution is consistent:
- On the right wall, nearest the entrance, there are two tiles. One shows 易 (part of the oath) and the other shows 移. Push back the tile with 移 and leave 易 untouched.
- On the far left wall, you’ll see 土 (part of the oath) and another character. Push back the non-oath tile (漂 in many runs) and leave 土 flush with the wall.
- On the center section of the right wall, one tile reads 不 (part of the oath) and the other 百. Push back 百 and leave 不 in place.
Once those three incorrect characters are pushed into the wall, the locking mechanism disengages, and the stone gate ahead grinds open. No particular order is required; the puzzle only checks that all unwanted characters are recessed.
Beyond the gate, another corridor leads down with yet more rope traps near stair bases. Watch your footing or simply jump from mid-stair to clear them. A side path with wooden beams hides an extra chest if you’re willing to climb and balance across the gaps.
Unclogging the waterfall and opening the final gate
The last mechanical obstacle is a large cavern where an underground waterfall crashes over a motionless waterwheel. A quest clue at the wheel notes that the current hits it, but it does not move, implying something is blocking the mechanism.
Step 1: Drop to the waterwheel platform and interact with it to register the clue. Your objective updates to inspecting the mechanism behind the falls.
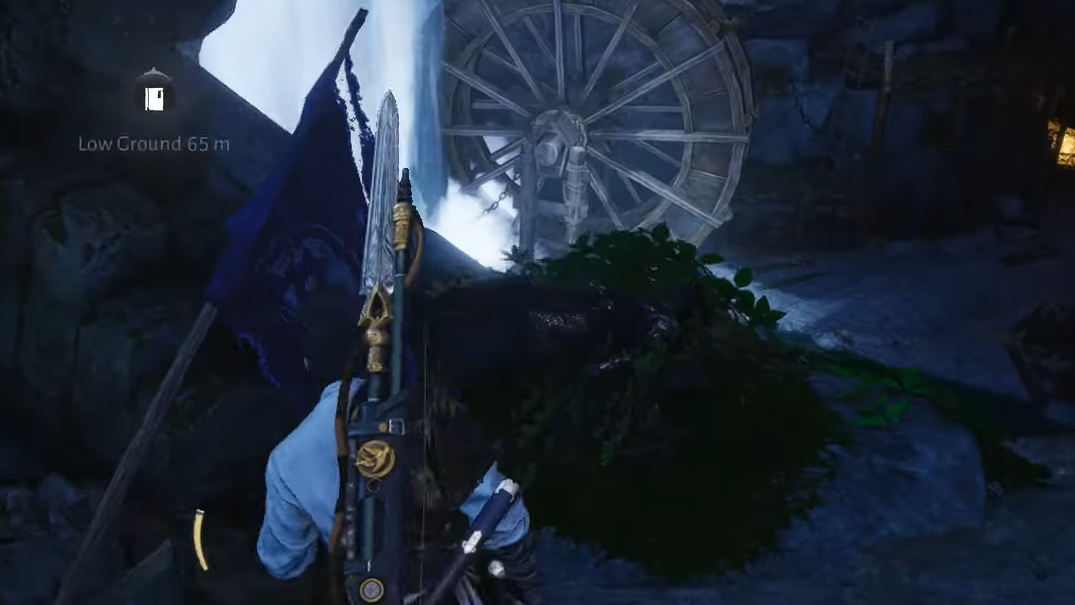
Step 2: Walk straight through the waterfall curtain. There is no hidden door; the water itself is the only barrier. Behind the falls, you’ll find the chain and locking mechanism that holds the wheel in place.
Step 3: Interact with the mechanism to free the wheel. A cutscene shows the waterwheel turning and a distant stone gate opening somewhere deeper in the complex.
Before you leave this cavern, look up to see a statue head with a chest perched on it. The nearby rock formation lets you climb up and reach that chest for extra materials. When finished, return out through the waterfall and follow the quest marker toward the newly opened gate.
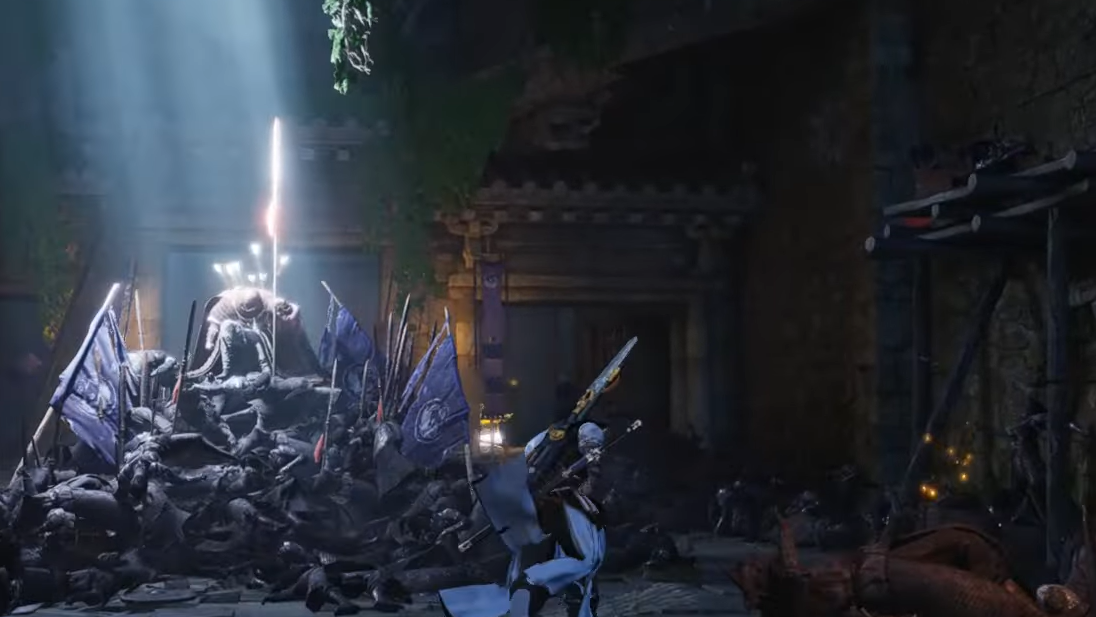
The Northern Vow treasure chamber and rewards
The final stretch runs through a newly opened stone gate into a tomb-like series of rooms. Piles of armored corpses and discarded weapons mark this as the last stand of the Northern Vow soldiers.
Step 1: In the first chamber, loot the side chest, then follow the passage into the inner sanctum, where a golden chest sits on the far right.
Step 2: Before opening the golden chest, examine the table beside it to pick up Lie Yan’s Final Words. Reading the letter sheds light on the fate of the garrison and the ideals behind the Northern Vow.
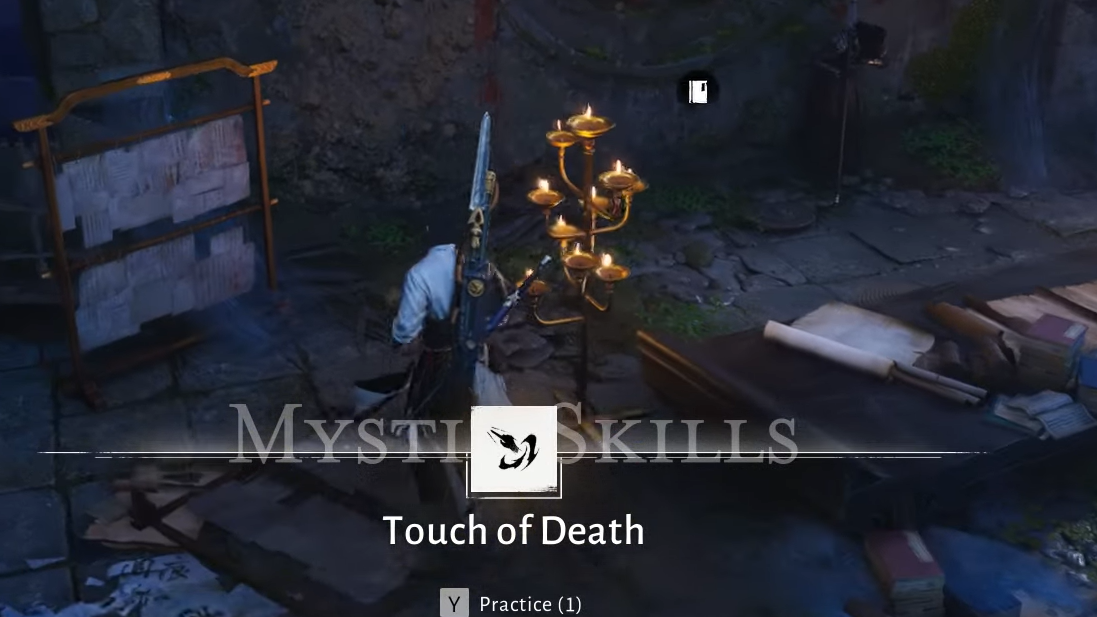
Step 3: Open the main chest to receive Warriors’ Pledge and, crucially, the Touch of Death Scroll of Mystic Skills. This mystic skill becomes part of your character’s toolkit once learned.
Step 4: As a final act, inspect the central wall inscription in the room. The text records the soldiers’ reflections as they faced encirclement, speaking of fear, wasted years, and the decision to die for righteousness despite hopeless odds. Interacting with this wall completes Echoes of Old Battles.
Finishing the quest grants a significant early-game payout, including Zhou Coins, Character EXP, Enlightenment Points, Echo Jade, Qinghe Exploration progress, Lv. 2 Ebon Iron, the Warriors’ Pledge letter, and the Touch of Death mystic skill.
Known cave entrance bug at Northern Vow Ruins
A subset of players encounter an issue when revisiting Battlecrest Slope later in the game: the training ground entrance that opens after the brazier puzzle appears sealed again, even though the four braziers are lit. Downward slams on the plate no longer trigger the mechanism, and the antiques tied to the statue and armor below become unreachable in that save.
Some workarounds involve joining a friend’s world in co-op and running the dungeon there, but antiques and chest flags are tied to the host, not the visiting player, so progress often does not count in your own world. Players affected by this problem have reported it to the official support team, who have acknowledged the issue and indicated a fix is in progress.
If your own cave entrance remains locked after completing Echoes of Old Battles and relighting the correct braziers, treat it as a progression bug rather than a puzzle error. Submitting an in-game report and waiting for a patch is the safest option if you want antiques and exploration credit to register on your character.
The Northern Vow Ruins set the tone for Where Winds Meet’s Jianghu Legacy quests: layered combat encounters wrapped around environmental storytelling and moderate puzzles that reward paying attention to text and symbols. Once you understand that the yard braziers must follow the treasure map and that the wall puzzle removes extra characters rather than pressing them all, the dungeon flows smoothly and delivers one of the game’s most useful early mystic skills.