
Escape from Duckov is a top-down PvE extraction shooter built around short, high‑risk raids and steady progression back at your base. It’s available across major storefronts via the official game page. This explainer lays out a practical order for your first hours: what to do in the tutorial and Ground Zero, which early quests to clear first, how to route to extractions, and how to sequence the most impactful hideout upgrades.
How raids work in Duckov (and why your runs will differ)
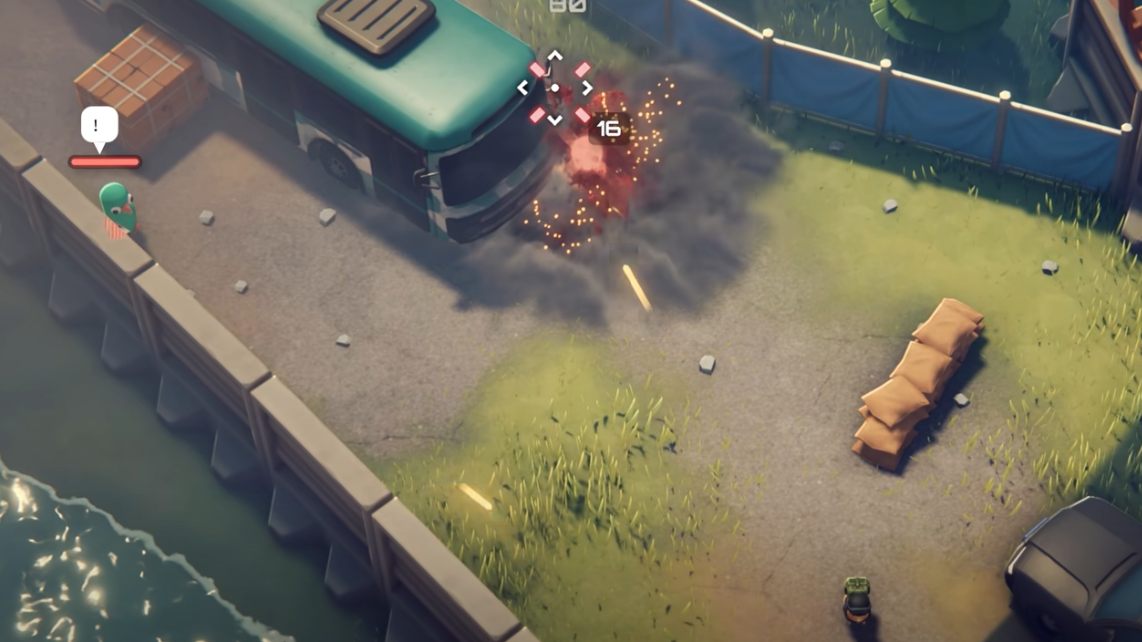
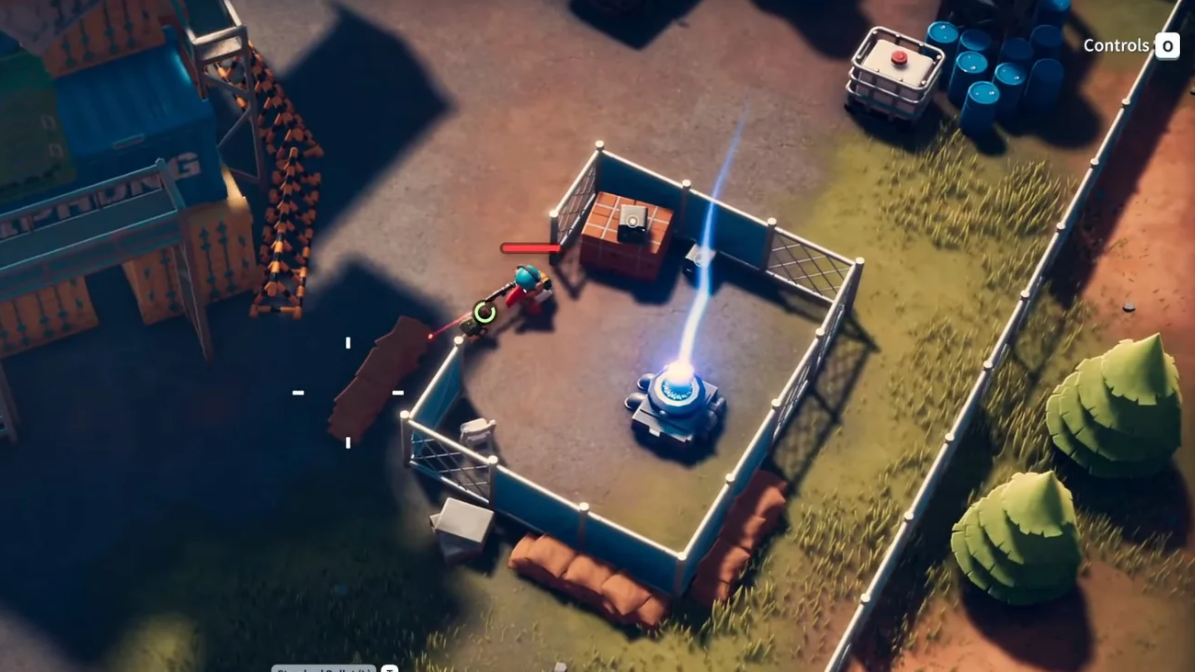
Every raid is a contained loop: enter the map, gather gear, complete objectives, and reach an extraction point. The game mixes in randomness — loot, layouts, and weather vary — so a plan should be flexible rather than rigid. Learn the map’s extraction options, pick a primary and a fallback route, and be ready to adjust when a path is blocked or time runs tight.
Key principles for survivability:
- Plan around extractions, not just loot. A bag full of gear is worthless if the exit is a dead sprint across open ground.
- Fight only when it serves an objective. Duckov rewards positioning and discretion more than trading shots in the open.
- Bring what you can afford to lose. Early on, prioritize utility (healing, a reliable mid‑range weapon, spare ammo) over niche gear.
First session: tutorial and your opening Ground Zero run
The tutorial introduces movement, looting, basic healing, and extraction. Complete it fully — the fundamentals carry directly into Ground Zero. Your first live raid should target two quick wins: finish a pair of early trader tasks while extracting with any armor and a dependable primary weapon.
Suggested flow for Run 1 in Ground Zero:
- Spawn and orient immediately toward the closest extraction route. Identify a secondary exit you can pivot to if combat spikes.
- Loot for essentials first: a chest rig or backpack, medkits, ammo, and a mid‑tier weapon if one drops. Don’t fixate on rare items this early.
- Complete the first simple quest objectives you encounter en route. If a task would pull you deep into contested space, mark it for Run 2.
- Extract as soon as you’ve banked progress and a small upgrade in gear. Early, safe extractions snowball into faster base upgrades.
Early progression roadmap (what to build and when)
This sequence prioritizes survivability, gear reliability, and traversal. It mirrors the early arc through Ground Zero into your first expansion zone.
| Phase | Primary actions | Outcome to aim for |
|---|---|---|
| Tutorial + Ground Zero (Part 1) | Finish the tutorial; complete two early quests in Ground Zero; extract safely. | Bank starter gear; unlock first trader steps and base modules. |
| Ground Zero returns (Part 2) | Set up the Armor shop; upgrade the Workbench; invest in core ability upgrades. | Higher baseline protection; more reliable crafting and weapon maintenance. |
| Strength and clearance (Part 3) | Build the Gym; clear the Road Camp objective. | Better stamina/handling from training; a safer corridor for future raids. |
| Midgame unlocks (Part 4) | Handle the “Man in White” objective; build the Weapons Shop. | Access to stronger weapons and upgrades; storyline progression. |
| Base expansion (Part 5) | Construct the Tech Center, Kitchen, and the Teleporter. | Utility boosts, resource efficiency, and faster map transitions. |
| Next zone (Part 6) | Push beyond Ground Zero into the Warehouse Zone. | New loot tables, objectives, and higher‑risk routes. |
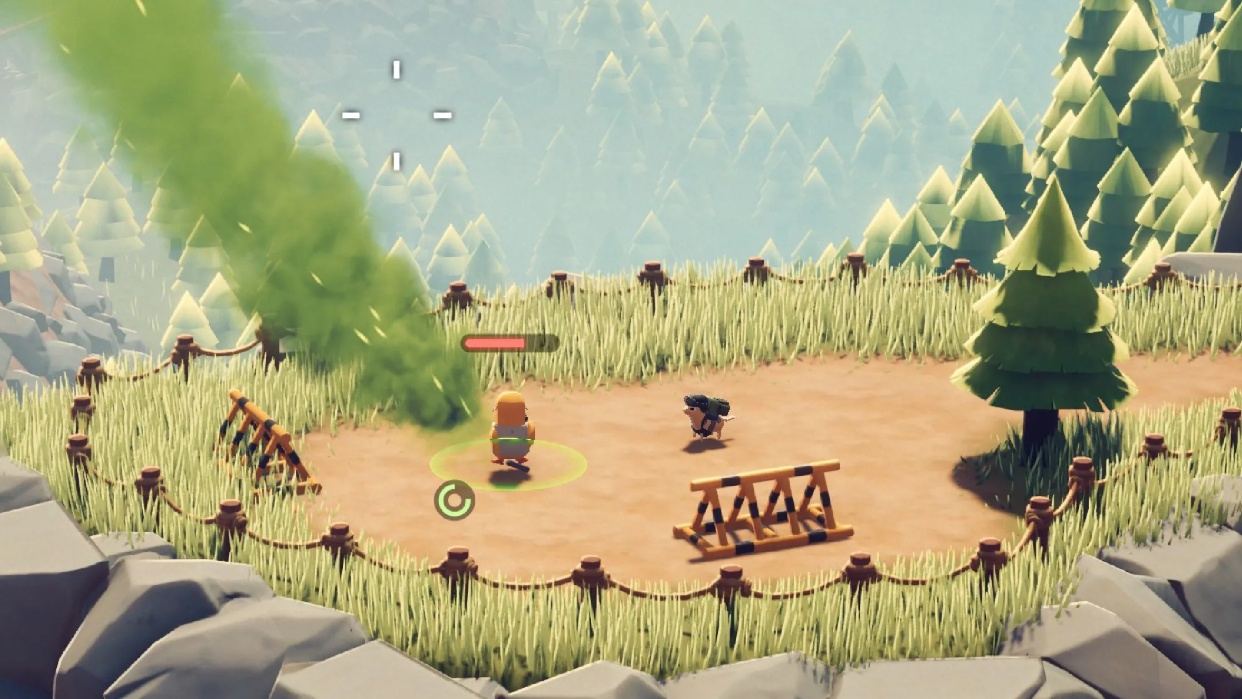
Quest order and pacing in Ground Zero
Use Ground Zero to stack low‑risk objectives. It’s the best place to learn enemy rhythms and to experiment with flanking routes that don’t cross wide open plazas. If a quest drags you into a choke point, circle to create a safer angle or delay it until you’ve upgraded armor and a sighted primary.
- Bundle “on the way” tasks. If a quest marker sits near your chosen extraction, do it last so you can exit immediately after.
- Mark multi‑stage tasks for back‑to‑back runs; partial progress that extracts is progress that sticks.
- Hold off on time‑intensive clears until the Workbench upgrade improves weapon dependability.
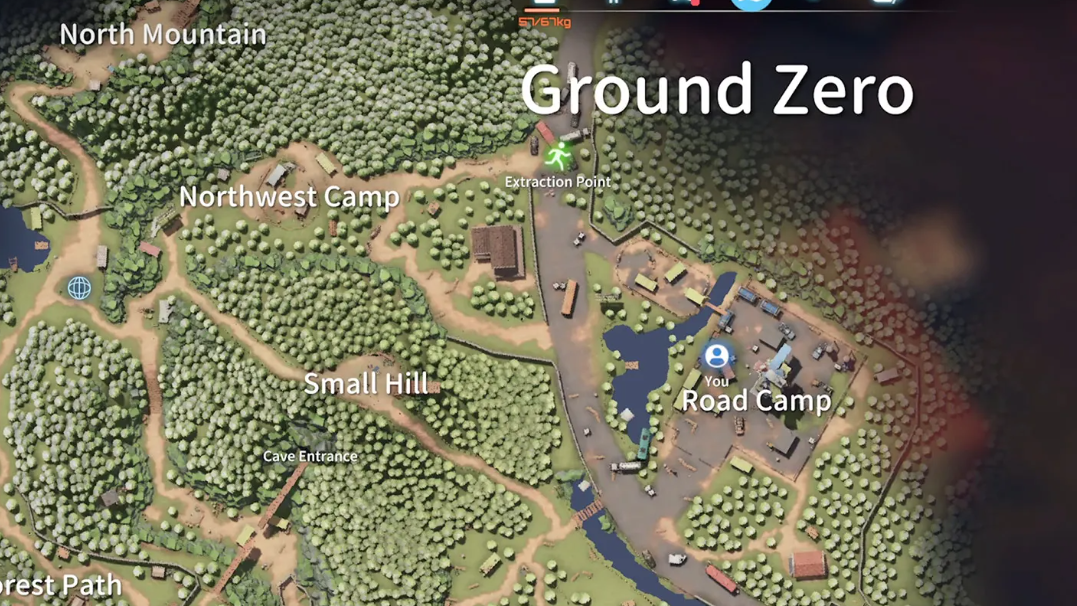
Extraction planning on evolving maps
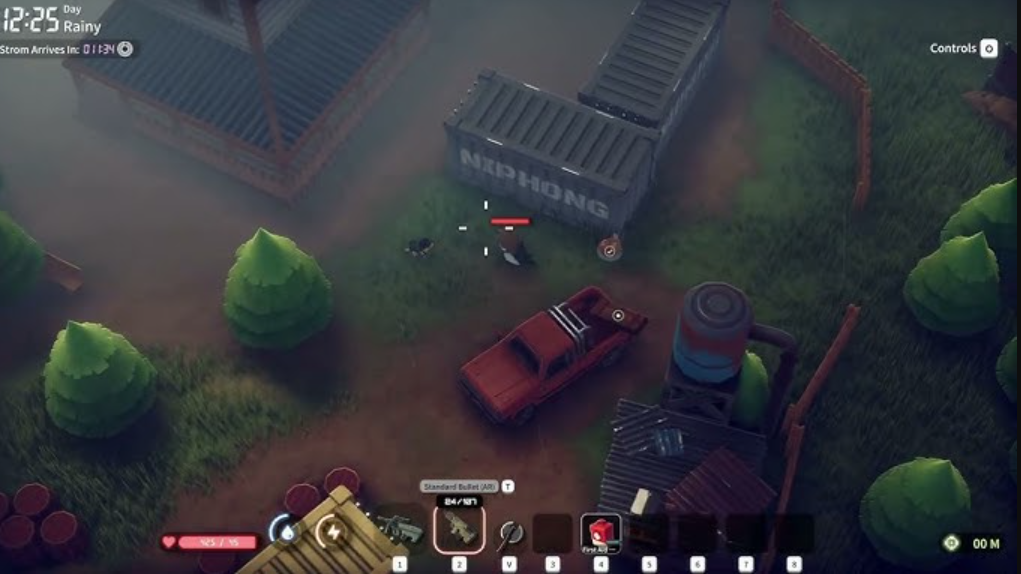
Maps provide multiple extraction points. Treat them as anchors for your route and pick lines that chain cover: alleys, building interiors, stacked crates, and parked vehicles break sightlines and buy time to heal. If weather reduces visibility, close the distance before engaging and reduce unnecessary sprints to keep stamina for the final dash.
- Rehearse two exits per spawn. If your primary exit is compromised, you shouldn’t be forced to cross the map cold.
- Rotate after a firefight. Even if you win, sound and line‑of‑sight often draw more enemies; shifting your route reduces risk.
- Extract early if you’ve banked a key upgrade component. Protecting progress is the fastest way to accelerate the base buildout.
Armor shop, Workbench, and Gym: why they come first
Defense and reliability are the two most impactful early investments. The Armor shop improves your survivability against chip damage and bursts, letting you survive mistakes and reposition. The Workbench upgrade stabilizes your kit: fewer jams or performance dips, more predictable recoil, and access to basic tuning. The Gym compounds both by improving movement and stamina handling so you can control fights rather than react to them.
Weapons Shop and “Man in White”: stepping into midgame
Once you can absorb hits and move confidently, build the Weapons Shop. Pair a controllable mid‑range rifle with a sidearm you’ve tested at close range; avoid overly specialized builds until you’re consistent with extractions. The “Man in White” objective is a key midgame milestone — plan it like a mini‑raid within the raid: safe approach in, decisive engagement, then an immediate exit.
Tech Center, Kitchen, Teleporter: utility that speeds every run
These three unlock a noticeable cadence shift. The Tech Center adds systems that pay off across multiple raids. The Kitchen improves resource efficiency through healing and stamina sustain. The Teleporter shortens friction between objectives and exits, compressing travel and letting you chain more tasks into a single run when conditions permit.
With these online, it’s time to graduate to the Warehouse Zone. Expect tighter spaces, more angles, and denser objective clusters; take a familiar weapon and keep your first visits short until you’ve learned extractions.
Combat and looting: simple rules that win more raids
- Angle first, then fire. Take half‑cover, lean the fight to your advantage, and use short bursts to manage recoil.
- Loot with intent. Prioritize armor plates, meds, ammo, and any component that unlocks a pending base upgrade.
- Reset tempo after noise. If you’ve fired loud weapons, pause, relocate, and listen before pushing the next room.
About mods and third‑party tools (offline only)
There are third‑party tools that offer overlays such as loot highlighting, recoil normalization, and session‑based stat tweaks. These are typically intended for offline or sandbox testing and can trigger anti‑cheat if used online. If you experiment, keep them strictly offline, avoid injecting anything persistent, and back up your settings before you start. When in doubt, play stock for public sessions.
What to do next
Loop Ground Zero until the Armor shop, Workbench, and Gym are set, then clear the Road Camp and tackle the Man in White as you bring the Weapons Shop online. Build the Tech Center, Kitchen, and Teleporter to speed your cadence, then probe the Warehouse Zone with short, information‑gathering raids. The core loop doesn’t change: plan your exits, protect your progress, and upgrade the base in an order that supports the way you fight. As the maps shift and weather rolls in, the players who adapt — and leave on their terms — come home with the most.