
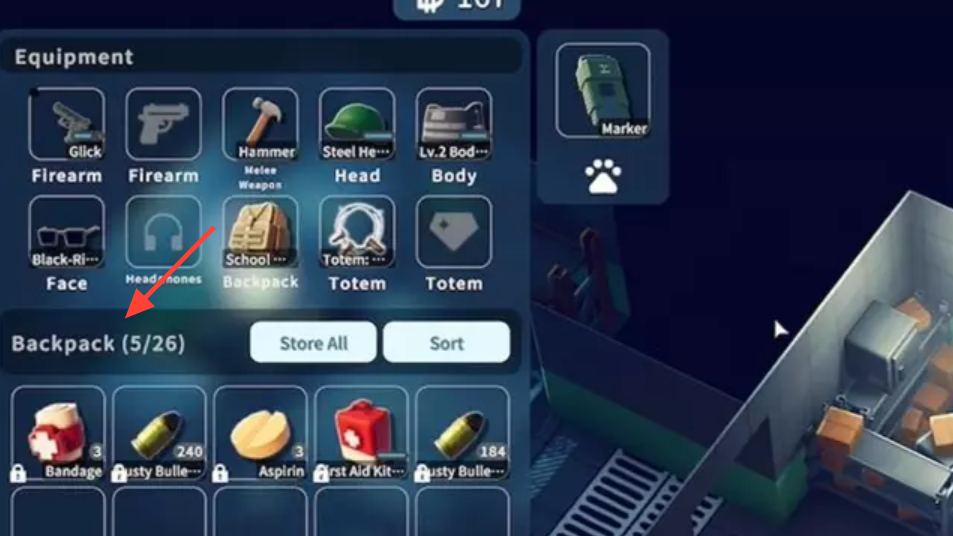
Backpack capacity in Duckov comes down to three things you can control: raw slot count, how efficiently a bag uses its footprint, and whether you can stack bags inside each other without wrecking your movement. The game exposes all of these through simple stats on each backpack — “Slots,” movement and turning penalties, ergonomics hits, weight, and a “Storage efficiency” value that tells you how much space you gain relative to the bag’s own size. Use those numbers to make deliberate choices rather than just grabbing the biggest thing you find.
Backpack capacity basics (slots, penalties, efficiency)
“Slots” are the raw grid space a backpack provides for loot. Movement speed, turning speed, and ergonomics penalties are the taxes you pay for carrying that space. “Storage efficiency” is the multiplier that indicates how much storage a bag gives you for the inventory footprint it occupies; values above 1 mean the bag gives you more space than it consumes, which matters both in raid when nesting and back in your stash.
Two immediate takeaways from the stats:
- Not all big bags are equal: some 35–48 slot packs hit your speed and turning hard, others are lighter with gentler trade-offs.
- High-efficiency smaller bags can be ideal “liners” inside a larger outer bag, boosting total usable space with minimal extra bulk.
High-capacity backpacks worth targeting (raw space)
If you want more space without tricks, these options deliver high slot counts. Penalties and notes included so you can decide where the trade-offs make sense.
| Name | Slots | Speed/Turn penalty | Ergonomics | Weight | Storage efficiency | Notes |
|---|---|---|---|---|---|---|
| 6Sh118 raid backpack (EMR) | 48 | -5% / -3% | -7% | 3.5 kg | 1.14 | Big space, noticeable movement hit |
| LBT-2670 Slim Field Med Pack (Black) | 48 | -4% / -1% | -6% | 1.92 kg | 2.4 | Only holds meds and medical supplies |
| 5.11 Tactical RUSH 100 (Black) | 45 | -5% / -3% | -7% | 2.6 kg | 1.07 | Near-maximum space with standard penalties |
| Mystery Ranch Blackjack 50 (MultiCam) | 42 | -4% / -2% | -6% | 3.265 kg | 1.2 | Solid balance of space and penalties |
| Eberlestock F4 Terminator (Tiger Stripe) | 40 | -5% / -1% | -4% | 4.194 kg | 1.14 | Heavy, but less turning penalty |
Increase effective capacity with backpack nesting
Nesting is simple: place a second backpack inside your main backpack to turn that inner bag into extra slots. If the inner pack fits the main bag’s grid (shape and size matter), you instantly gain its full storage on top of the outer bag’s remaining space. In practice, you can stack more than one smaller bag inside a larger one, as long as the grids allow it.
How to do it without slowing yourself into the ground:
- Start with a 35–48 slot outer bag that suits your route and extract plan.
- Use one or more high-efficiency smaller bags as inner liners to add space without burning too many cells of the outer grid.
- Be mindful of shape: a bag might have enough total slots, but still not fit if the layout doesn’t line up. Always check the fit before raid.
Result: a well-chosen outer bag plus one inner “liner” can add dozens of extra slots without the steep movement penalties you’d take moving up to the absolute largest packs.
Best inner bags to nest (high storage efficiency)
These bags punch above their weight as inner liners. They add useful space while occupying relatively few cells inside your main pack.
| Name | Slots | Storage efficiency | Speed/Turn penalty | Notes |
|---|---|---|---|---|
| LBT-2670 Slim Field Med Pack (Black) | 48 | 2.4 | -4% / -1% | Only meds/medical supplies; exceptional as a dedicated med liner |
| Partisan's bag | 20 | 1.67 | -5% / -2% | Great space-to-footprint; consider the penalties |
| Oakley Mechanism (Black) | 32 | 1.28 | -2% / -1% | Lightweight, efficient general-purpose liner |
| LBT-1476A 3Day Pack (Woodland/MultiCam Alpine) | 25 | 1.25 | -1% / +0% | Low penalties, easy to fit layouts |
| Hazard 4 Pillbox (Black) | 20 | 1.25 | -3% / -1% | Compact footprint, decent liner space |
Balance capacity against mobility (when space costs fights)
Every extra slot has a cost. Large raid backpacks can slow you down enough to lose fights or miss extraction windows. A few data points to calibrate your risk:
- Pilgrim tourist backpack: -7% movement, -4% turning, -8% ergonomics for 35 slots and 3.48 kg.
- 6Sh118 raid backpack: -5% movement, -3% turning, -7% ergonomics for 48 slots and 3.5 kg.
- Oakley Mechanism: a milder -2% movement and -1% turning for 32 slots at just 0.997 kg.
- Mystery Ranch NICE COMM 3 BVS frame: despite only 14 slots, it hits -6% movement and weighs 15 kg, which can be punishing.
If you plan to fight often in tight spaces, an agile base bag with one efficient inner liner is usually a better trade than maxing out capacity. For quieter routes where you can hug the map edge and avoid firefights, you can afford a bulkier setup.
Simple packing flow you can repeat
Here’s a repeatable approach that increases capacity without overcommitting to slow, high-penalty bags:
- Select a balanced outer bag in the 35–42 slot range with penalties you can live with.
- Add a high-efficiency inner bag that fits cleanly in the outer grid; verify the layout match before raid.
- Optionally bring the med-only LBT-2670 as a dedicated liner if your route rewards consistent medical loot.
- Leave yourself enough free grid cells for frequent, high-value shapes from your target area so you’re not rearranging mid-fight.
This setup typically yields a meaningful jump in usable space with manageable speed and handling costs — the sweet spot for most raids.
When to carry less
Capacity pays off only if you extract. If you’re learning spawns or running high-traffic zones, consider a lighter bag or even a mid-size outer with no liner. You’ll move faster, turn quicker, and burn less stamina — advantages that often outweigh a few extra slots, especially early on. Once your route is stable and you’re confident in your pathing, scale up with an efficient liner and reassess your penalties.
The bottom line: build your space in layers. Use a sensible outer bag, add one efficient inner liner that actually fits, and only step up to the heaviest packs when you’re confident you can protect the bulk. That’s how you turn limited grids into safe, spendable loot — without handing your raid over to movement penalties.