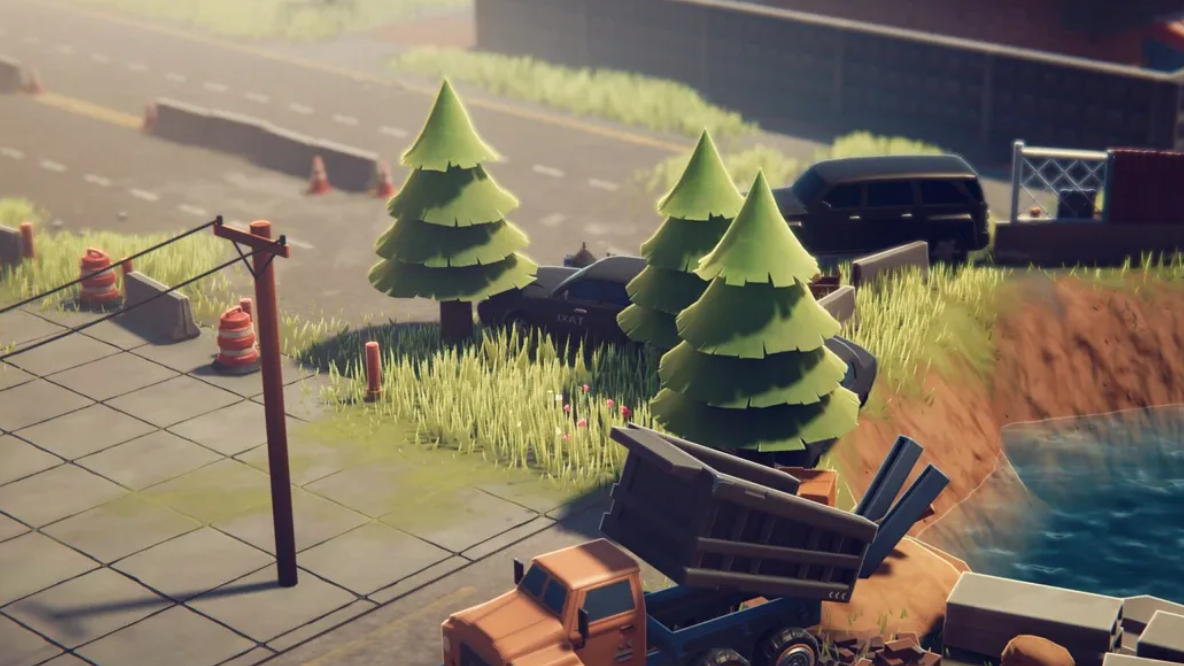
The Warehouse map opens directly off Ground Zero. From the bunker’s main entrance, take the left fork at the nearby crossroads and keep pushing north along the forest trail. Expect small skirmishes with hostile ducks as you pass through the trees. You’ll hit a small camp by a pond; continue a little farther to reach a large cracked wall. The Warehouse route continues beyond that breakable barrier.
Past the breach, the path climbs. Stay on the ascent, looting along the way, and you’ll reach a zipline that carries you into the Warehouse zone proper.
Destroy cracked walls (grenades and dynamite)
Cracked walls only go down to explosives. A hand grenade or a stick of dynamite will both do the job.
- Put the explosive in a quick slot.
- Hold the fire button to prime and aim your throw, then release to toss.
- Back up. The blast radius will easily down you if you’re too close.
If you don’t have explosives, you can buy a grenade from the base Vending Machine or from the Weapons NPC, Xavier (600 currency). Tactical, Weapon, and Ammo boxes in Ground Zero also have a chance to spawn explosives if you’d rather loot than spend.

Optional shortcut: wormhole near the hideout
To cut the walking time, use the wormhole just north of the hideout entrance. It deposits you close to the cracked wall location, but you’ll still need an explosive to break through.
Activate the Warehouse teleport beacon (Gas Station)
Teleportation between regions requires two things: a Teleporter built in your hideout and activation of each region’s beacon out in the world. In Warehouse, the beacon sits by the Gas Station on the east side of the map, positioned right next to an extraction point. Clear the area, interact with the beacon to bring it online, and you’ll be able to route future runs through your hideout Teleporter.
Early route and points of interest in Warehouse
Once you ride the zipline in, you’ll land near East Road Camp. From there, a straightforward path runs north along the highway toward the Gas Station—an easy way to combine beacon activation with early looting.
| Location | What to expect | Why it matters |
|---|---|---|
| East Road Camp | Mercenary patrols and multiple loot containers; chance for keys. | Good first clear to gear up before pushing north. |
| Gas Station (east side) | Exterior combat and loot; interior is locked without the right key. | Beacon sits to the right of the station, beside an extraction. |
| Western Factory approach | Heavier resistance along the route past the Gas Station. | Connects the eastern road to central/western objectives. |
| Lumber Mill | Dense firefights and a boss encounter: Lordon. | Reliable loot, an extraction point, and a challenging fight. |
Summary: reach Warehouse and unlock fast travel
| Step | Where | Action | Item needed | Outcome |
|---|---|---|---|---|
| 1 | Ground Zero (bunker entrance) | Take the left fork, head north through the forest trail. | — | Reach the pond camp and cracked wall. |
| 2 | Cracked wall | Throw an explosive at the breakable wall; back away from the blast. | Grenade or Dynamite | Wall destroyed; path opens. |
| 3 | Mountain path | Climb, loot containers, and take the zipline in. | — | Enter Warehouse via zipline. |
| 4 | Warehouse (east side) | Clear to the Gas Station and interact with the beacon. | — | Beacon activated for Warehouse. |
| Alt | Hideout (north wormhole) | Use the wormhole to reach the cracked-wall area faster. | Grenade/Dynamite still required | Shorter approach to Step 2. |
Quest progression after your first Warehouse run
After you explore the Warehouse area and bring its beacon online, you can turn in “Explore Warehouse Area” and “Unlock Beacon II” to Jeff back at the bunker. A follow-up objective, “Power Supply Maintenance” in the Warehouse, becomes available. If you’re investing in survivability between runs, Hydration Reserve research at the gym adds +5 to your hydration cap, and building a Medic Station advances the early base-building track.
Once the beacon is active, Warehouse becomes a practical hub for early midgame loot and combat. Use the teleporter workflow to skip the Ground Zero hike on follow-up raids, and route extractions through the Gas Station or Lumber Mill, depending on where you’re pushing next.

