
The Cargo Hold in The Lost Starship is a compact, multi-stage room about one thing: opening the alien sphere in the center. You’ll restore tools, decode lockers, move hazardous crates, bring a plasma cutter online, then use a lift to reach high welds and recover four small artifacts. Slot them into the sphere to trigger the final event.
Quick reference: all puzzles, requirements, outcomes
| Puzzle | Goal | Key items | Outcome |
|---|---|---|---|
| Form Extraction | Repair a damaged artifact using shape matching | Notepad, three Tablets, Damaged Artifact | One small artifact repaired |
| The Glitch | Decode locker number for the middle slot | — | Enter 459 to get a Keycard |
| Administrator’s Access | Open the Control Room | Keycard | Control Room unlocked |
| Cutting Edge | Align triangular cutters on weak points | Control Room console | Sphere’s outer shield cut |
| Hazardous Materials | Arrange cargo by posted safety rules | Protocols poster, Cargo Inspection Station | Case with Plasma Cutter and Manual revealed |
| Optical Conduit | Restore Plasma Cutter power by routing a line | Plasma Cutter, Manual | Cutter activated (can cut metal welds) |
| Surface Breach | Open the first weld on the sphere | Plasma Cutter | Reveals four artifact slots |
| United Fleet | Match fleet emblems to sector diagram | Trade Alliance Sector Manual | Elevator Key obtained |
| Elevation Gain | Unlock scissor lift bay | Elevator Key | Lift bay open |
| Roundabout Drive | Use lift to reach high welds | Scissor lift | Access to three high puzzles |
| Fly on the Wall | Find and return four drones | Scissor lift (for one drone) | Artifact gained |
| Circuit Switch | Toggle circuits so all circles light up | — | Artifact gained |
| Road Less Traveled | Route symbols using path rules | — | Artifact gained |
| Key Artifact | Slot all artifacts into the sphere | Four small artifacts | Sphere reacts and the room progresses |

Repair the small artifact (Form Extraction)
- Pick up the Notepad and a Tablet on the crate near the entry aisle, then grab two more Tablets and the Damaged Artifact at the tall locker alcove.
- Place the Damaged Artifact into the Repair Station. Start the scan and use the three slider panels (one per face) to match the silhouettes shown on the Tablets.
- Confirm to complete the repair. This yields your first small artifact.
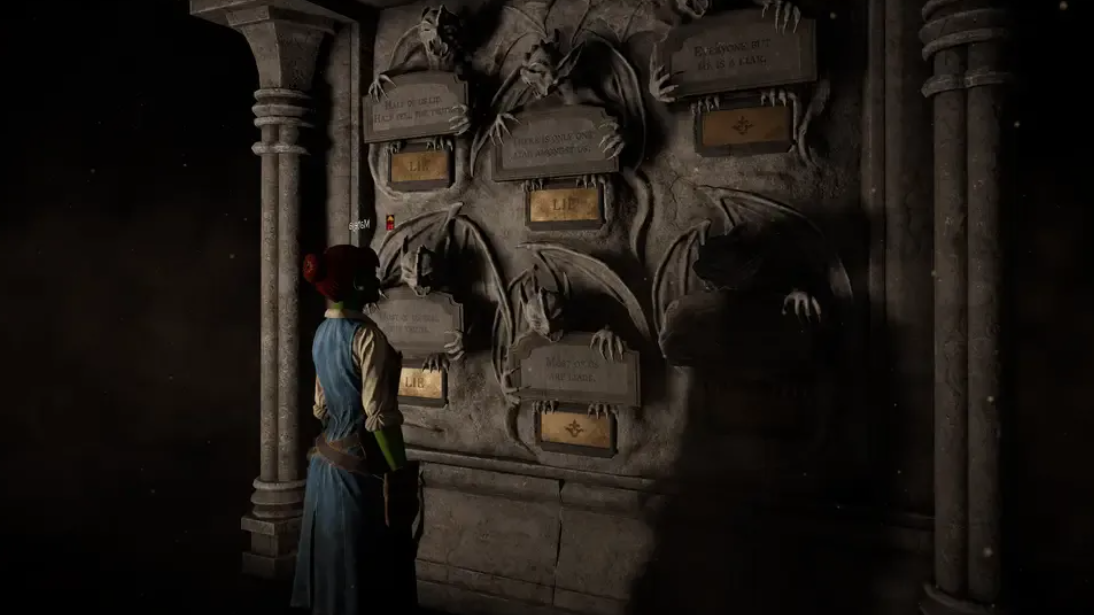
Decode the locker panel (The Glitch)
At the bank of small lockers opposite the Repair Station, the middle slot holds the next key. Use the symbol hints to infer the missing numbers, then enter the target code.
- Input 459 and submit with the triangle button.
- Take the Keycard from the opened locker.
Open the Control Room (Administrator’s Access)
Use the Keycard on the door beneath the locker display to enter the Control Room.
Cut the sphere’s shield from the console (Cutting Edge)
- Climb the ladder inside the Control Room and scan the object.
- There are three triangular cutters. Rotate and resize each triangle so its edges cross every circular weak point on the sphere’s scan.
- When all weak points are covered across the three triangles, fire the laser to slice the outer shield.
Arrange hazardous cargo correctly (Hazardous Materials)
- Enter Cargo Inspection from the Control Room area.
- Follow the Hazardous Cargo Handling Protocols posted on the wall. Move the colored cargo pieces so all placement rules are satisfied; do not assume pre-placed items are correct.
- When complete, a Case on the platform opens with a Plasma Cutter and its Manual.
Restore the Plasma Cutter (Optical Conduit)
- Inspect the Plasma Cutter to access an internal routing puzzle.
- Build an unbroken path for the signal from left to right by swapping the three wall tiles at the top and reordering the five line segments at the bottom.
- Once the route is continuous, the cutter powers up and can slice metal welds.
Open the sphere’s first weld (Surface Breach)
- Back in the bay, cut the circular weld on the sphere you reach when you descend from the Control Room.
- Inside is a panel with four empty circular slots for small artifacts. One repaired artifact is in hand; the remaining three come from high weld puzzles.
Solve the fleet sectors lockbox (United Fleet)
- Grab the Trade Alliance Sector Manual from inside a tall locker near the alcove.
- Find the Trade Alliance lockbox among the nearby crates. Slide each fleet emblem to the sector(s) where it operates, matching the Manual’s Venn-style diagram. Only one arrangement fits all fleets.
- Collect the Elevator Key.
Unlock the lift and reach higher welds (Elevation Gain, Roundabout Drive)
- Use the Elevator Key to open the large door to the scissor lift bay.
- Drive the lift to the sphere to access the three high welds that gate the remaining artifacts.
Find the drones (Fly on the Wall)
- Cut the weld facing the bay’s open wall. Four alien drones escape. The four buttons below the display switch between their camera feeds; rotate the top screen to scan each area.
- Drone locations to check:
- Behind a crate near the small locker bank.
- On the floor in front of crates by the ladder up to the Control Room.
- Inside the scissor lift garage.
- Floating high near the garage; use the lift to reach it.
- Return all four drones to their bay to receive an artifact.
Light every circle (Circuit Switch)
- Cut the high weld facing the Control Room. You’ll see circles connected to diamond slots.
- Placing a diamond toggles the state of its linked circle. Work through three rounds so that, at the end of each, all circles are lit. Efficiently place and remove diamonds to flip patterns into the “on” configuration.
- Claim the artifact when all rounds are complete.
Route the symbols (Road Less Traveled)
- Open the high weld facing the tall lockers. Watch the demo path at the bottom to learn the rules:
- Symbols immediately turn down the first available branch they encounter.
- Crossing a broken segment repairs it; some segments need multiple passes.
- Use this logic on the upper path. Start with the four-arrow symbol, then place the rest in sequence, ensuring each reaches its correct endpoint as paths are repaired.
- Take the artifact.
Slot the artifacts (Key Artifact)
- Return to the sphere and place all four small artifacts into the circular recesses.
- With all slots filled, the sphere activates, and the room advances.
That’s the Cargo Hold: a clean loop from tool recovery to high-weld puzzles, capped by the artifact panel inside the sphere. If you’re hunting collectibles, the bay hides separate tokens throughout, but they aren’t required to complete these fourteen steps.