
There are eight hidden Tokens scattered through the Pirate Ship room in Escape Simulator 2 (The Cursed Treasure). You can collect them in any order as you progress. Three Tokens only become reachable after you drive back the sea monster during The Beast’s Return puzzle, and the final Token appears after The Final Roar.
Pirate Ship tokens overview
All eight Tokens are fixed spots on the ship. Four are available the moment the room begins, three appear once the captain’s quarters open up after The Beast’s Return, and the last is on the upper deck after The Final Roar. Use the table below to plan your sweep.
Pirate Ship token locations at a glance
| # | Where to look | Nearby reference | Unlock requirement |
|---|---|---|---|
| 1 | High on the mast, just behind the runic symbol grid | Runes grid on the main deck | None |
| 2 | Among the cargo on the lower deck | Down the stairs, cargo area | None |
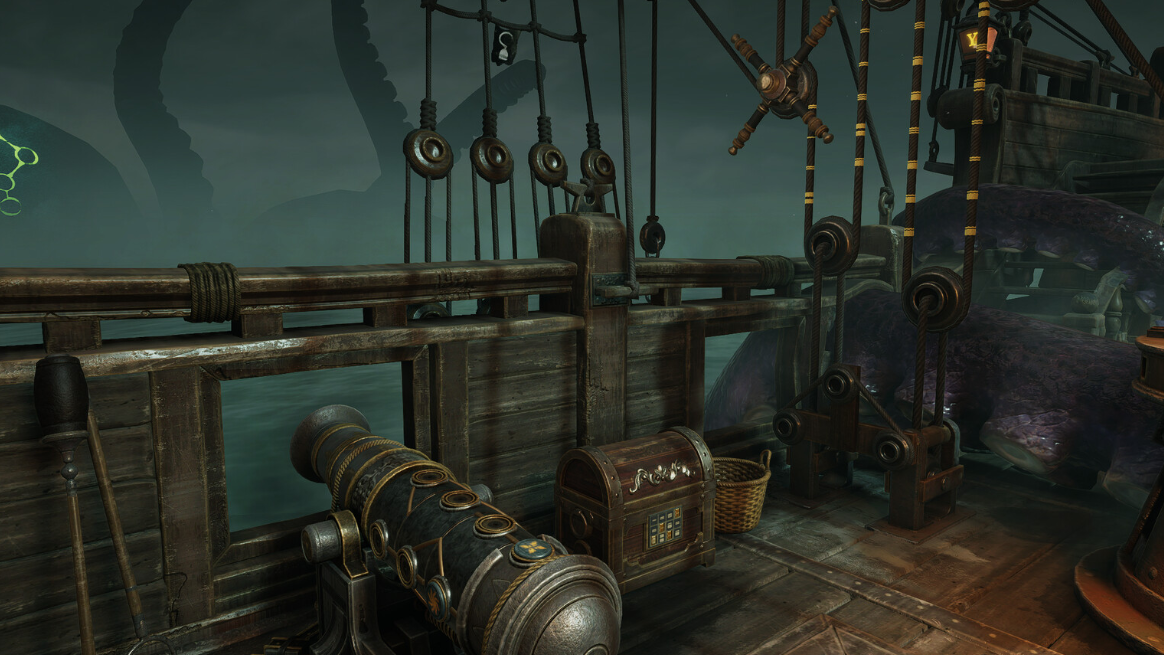
| 3 | On the outer rim of the gunport by the cannon | Letters and Loot puzzle area | None |
| 4 | In the mermaid carving’s tail | Left side of the runic symbol grid | None |
| 5 | Set in the captain’s quarters window | Window facing the main deck | The Beast’s Return |
| 6 | On the portrait of “Ricky the Worthy,” in the hook-hand | Inside the captain’s quarters | The Beast’s Return |
| 7 | On the side panel of the bottom‑left desk drawer (open) | Desk inside the captain’s quarters | The Beast’s Return |
| 8 | On a window on the upper deck | Accessible after the storm sequence | The Final Roar |

Unlock tokens gated by puzzles
These brief steps outline the two progression gates that determine when Tokens 5–8 become available.
- The Beast’s Return (unlocks Tokens 5–7): Place the Metal Rings on the symbol grid and rotate them so the etched icons line up with the grid beneath. Use the key on the cannon, rotate its segments to mirror the ring pattern, insert the required Runes, then load a Cannonball and fire. This drives the monster back and opens the captain’s quarters.
- The Final Roar (unlocks Token 8): Obtain the Runic Cannonball from the desk after solving the five‑keys map puzzle in the captain’s quarters. Load the Runic Cannonball and fire to banish the monster for good, allowing access to the upper deck.
Detailed locations and how to reach each token
Token 1: Stand by the runic symbol grid on the main deck, then look up the mast behind it. The Token sits high on the mast, slightly tucked behind the panel.
Token 2: Head below deck to the cargo hold. Search among the stacked crates and barrels; the Token is placed with the cargo.
Token 3: Go to the cannon near the Letters and Loot puzzle. Check the outside edge of the adjacent gunport; the Token is on the exterior rim.
Token 4: Face the runic symbol grid on the main deck and look to its left. Inspect the mermaid carving closely—this Token is tucked into the tail.
Token 5: After completing The Beast’s Return and gaining access to the captain’s quarters, look at the window that faces out to the deck. The Token is set into the window frame.
Token 6: Inside the captain’s quarters, find the portrait labeled “Ricky the Worthy.” The Token is positioned on the hook-hand within the painting.
Token 7: At the desk in the captain’s quarters, open the bottom‑left drawer. Check the outer side panel of that drawer (not the inside bottom). The Token is fixed to the drawer’s side once it is pulled out.
Token 8: After The Final Roar and moving to the upper deck, inspect the windows up top. One of them has the Token mounted on it.
Work through the cannon encounters to reveal the inner rooms and upper deck, then sweep each area against the list above. Because Tokens are static and don’t move, you can confidently clear them one by one as you progress.