
Etchspace Salvage is an extraction-style mode in Arknights: Endfield that trades safety for high-yield materials. You enter a distorted space, push deeper as enemies and hazards ramp up, then extract before the zone collapses under rising Derangement Acceleration. Each successful run feeds a long-term reward track called Operations Metrics.
How to unlock Etchspace Salvage
Etchspace Salvage is not available from the start. It is tied to both your account progression and the main storyline.
Step 1: Raise your Authority Level to 25. Fast ways to do this include clearing Daily Tasks, spending Sanity in Protocol Spaces, and progressing Regional Development projects. All three feed experience into the same Authority bar, so rotate between them rather than overcommitting to one track.
Step 2: Advance the Main Quest to Chapter 1 – Process 3. The mode sits behind early story progression, so rushing only Authority without clearing main missions will not unlock it.
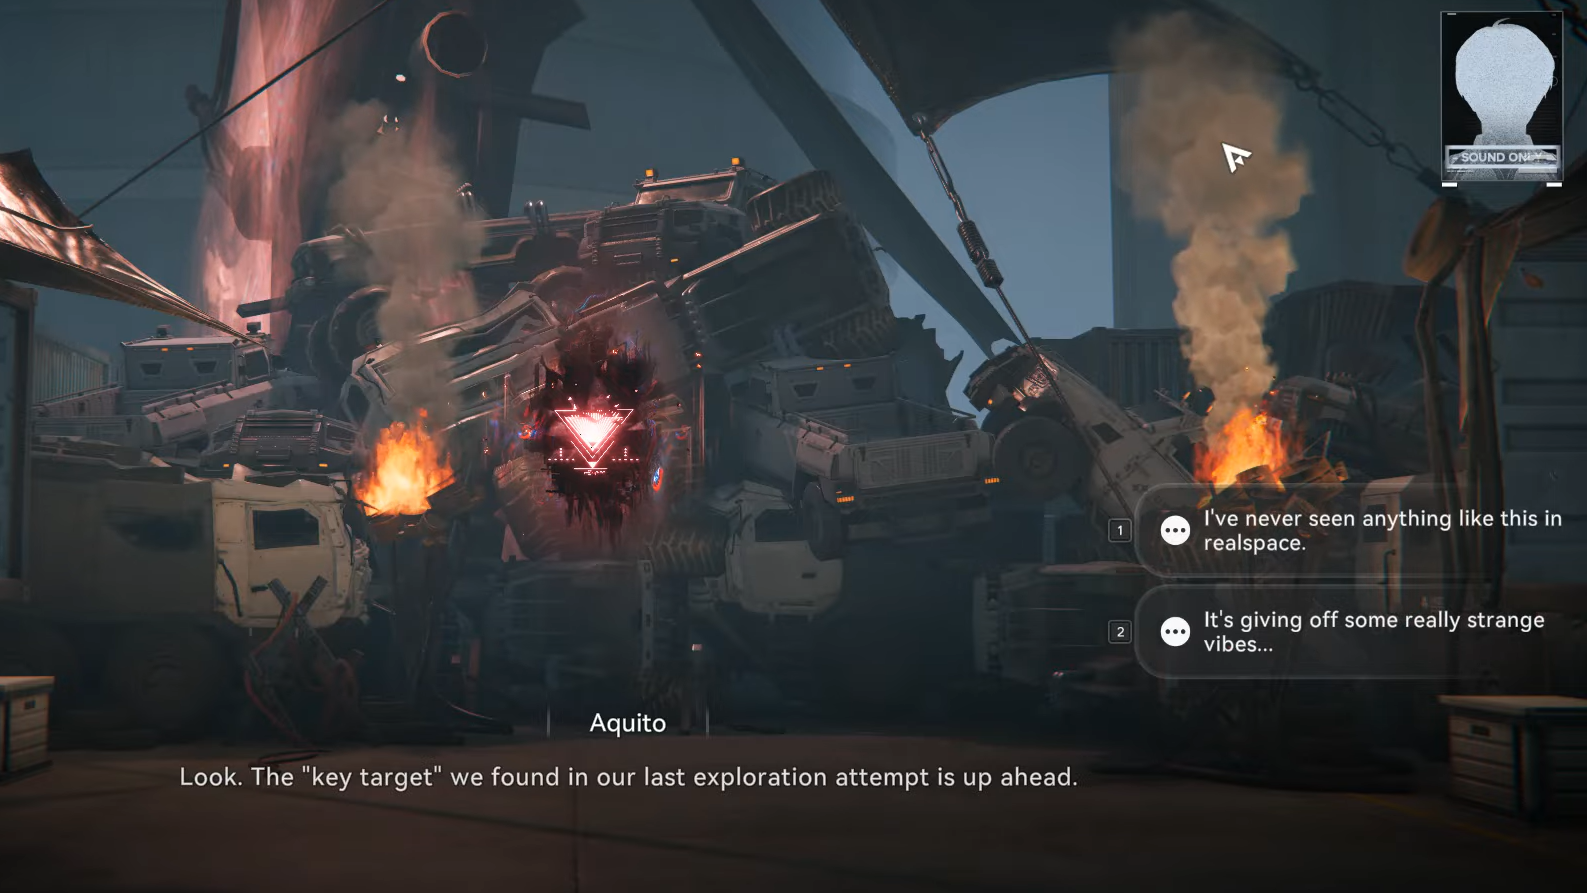
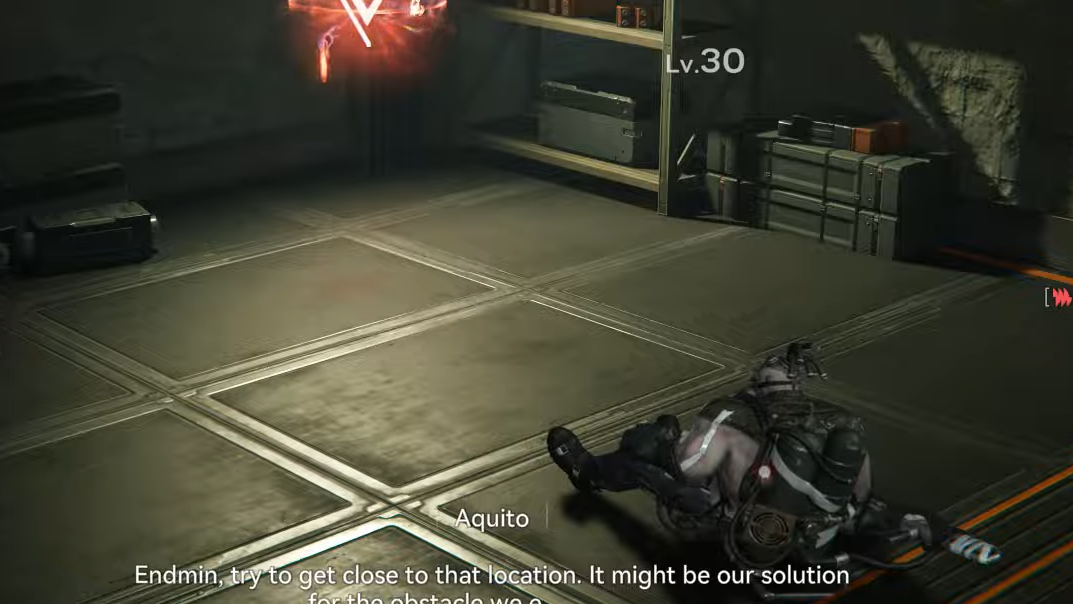
Step 3: Complete the dedicated Etchspace Salvage priority mission. Once the previous requirements are met, a priority quest labeled for Etchspace Salvage appears in the mission list. Starting it sends you back to OMV Dijiang and introduces Aquito, who controls access to the Etchspace portal.
After finishing this introductory quest, Etchspace Salvage becomes a standing activity that you can repeat from OMV Dijiang.
Where to start Etchspace Salvage runs
All later runs are launched from a specific room on OMV Dijiang.
Step 1: Travel to OMV Dijiang. Once you have the area unlocked, you can route there directly from the world map.
Step 2: Enter the Etchspace Salvage Room. Inside OMV Dijiang, move to the dedicated Etchspace area and interact with Aquito. This NPC is the entry point for everything related to the mode.
Step 3: Choose how to continue. Aquito offers several options:
- Explore starts or resumes an Etchspace run.
- Operations Metrics shows your current Metrics total and the next reward milestones.
Once you know the layout, starting a run is effectively a short detour through OMV Dijiang between other activities.
How Etchspace Salvage runs are structured
Every Etchspace Salvage attempt follows a consistent loop: define a commission, enter the distorted valley, loot and clear as much as you can, then extract before Derangement Acceleration forces you out.
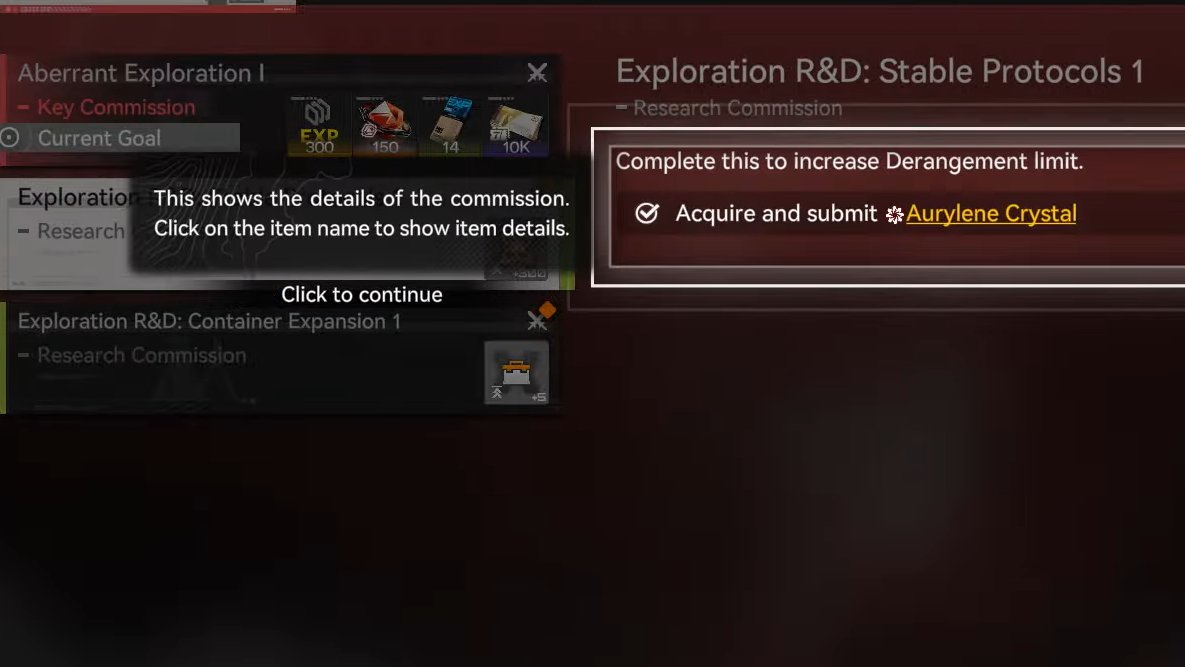
Setting your mission goal (Exploration Commission)
Runs are framed by commissions that specify what you should collect inside the Etchspace.
Step 1: Talk to Aquito and open the Exploration Commission menu. You will see a list of available commissions, each with different resource and difficulty profiles.
Step 2: Pick a commission that matches your current team and needs. Some will push you toward more dangerous zones for rarer materials; others favor safer, more routine farming.
Step 3: Confirm the mission goal. Once selected, that commission defines the key items you must gather during the run. You are not asked to clear the entire map, only to “get in, secure the specified loot, and get out.”
Commissions are the main structure that keeps the mode focused. Treat them as clear objectives rather than suggestions; wandering for side loot while ignoring commission items usually wastes the rising Derangement budget.
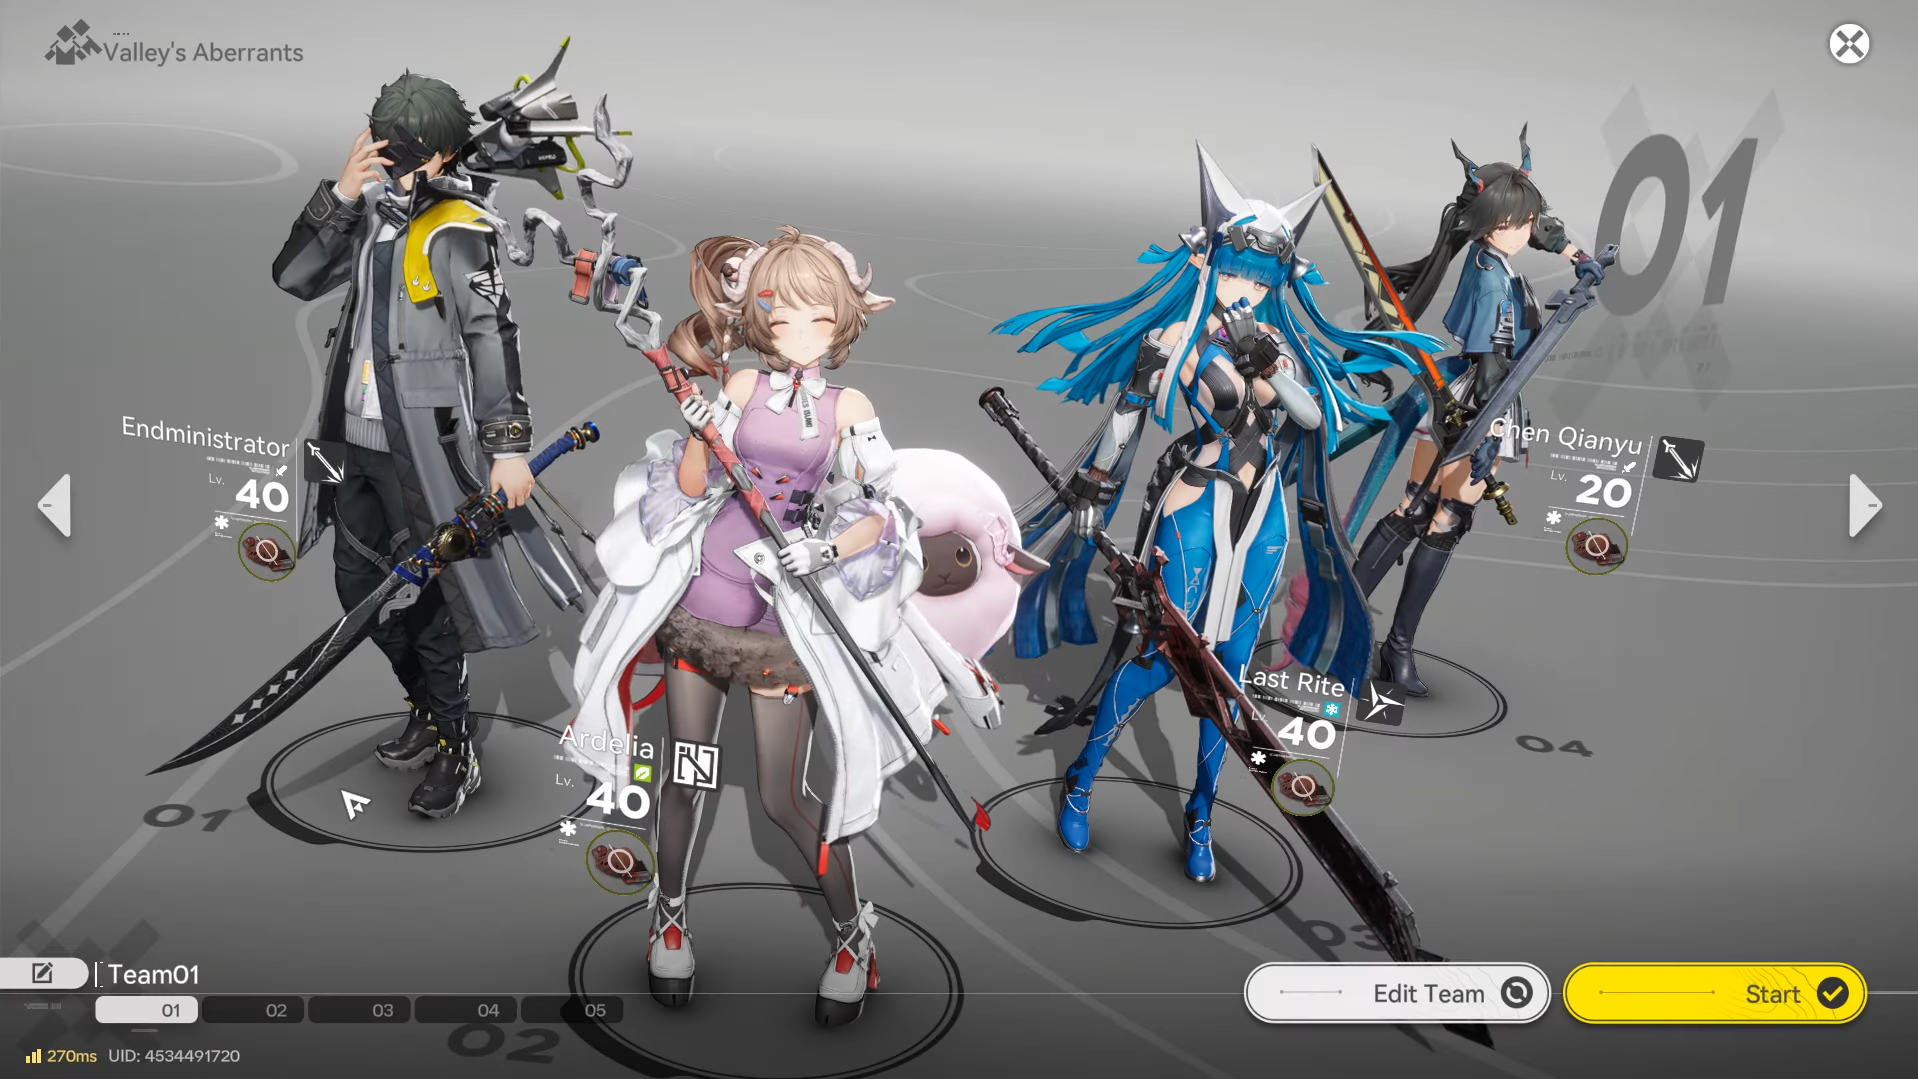
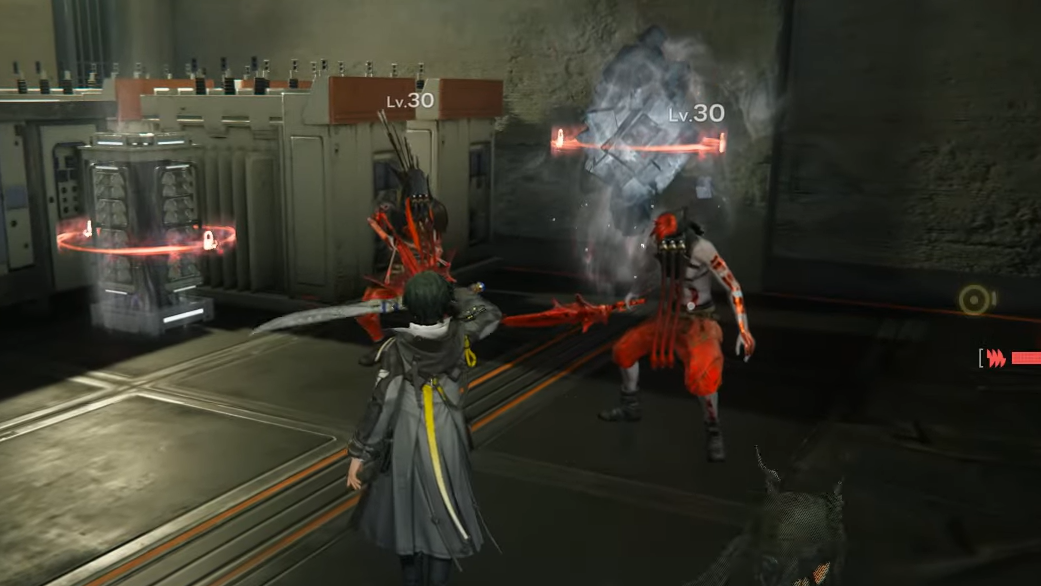
Starting the run and entering Valley’s aberrant space
The Etchspace itself is a warped slice of Valley IV with stronger enemies and additional puzzles.
Step 1: Return to Aquito and select the Explore option. This launches the current commission and drops your squad into the Etchspace instance.
Step 2: Enter with a prepared team. Enemies here are tuned a bit higher than standard overworld encounters, so underleveled operators or poor elemental coverage will slow you down and cost you precious Derangement time.
Once inside, the run is live. From this point, every fight taken and every detour adds pressure to the Derangement Acceleration meter.
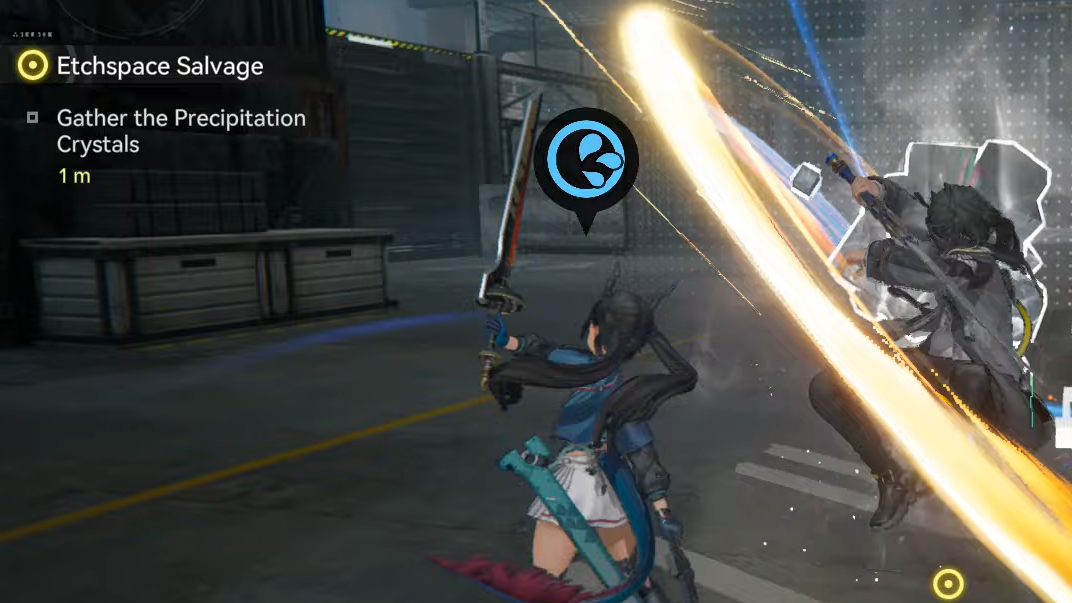
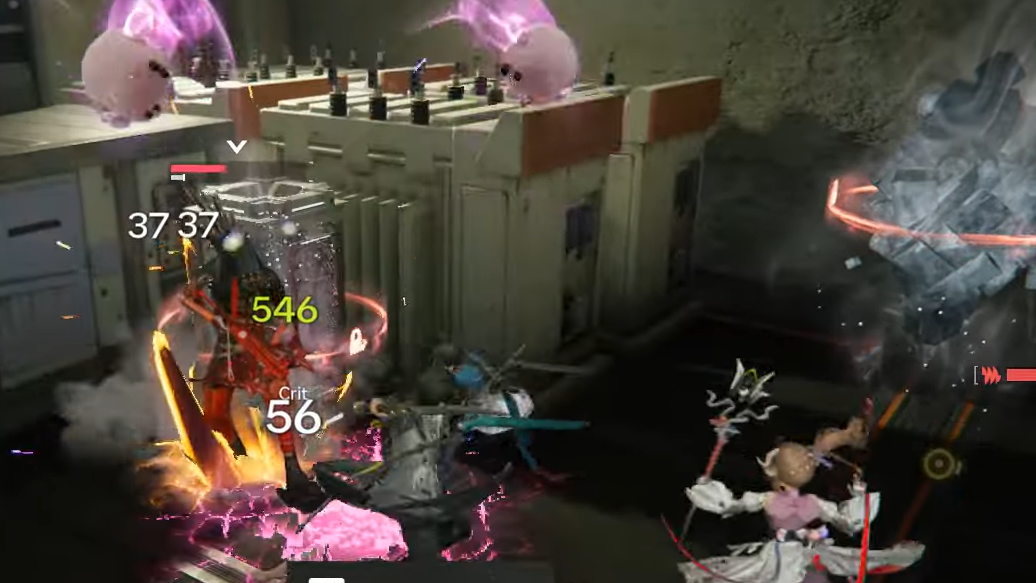
Exploring, fighting, and prioritizing objectives
Inside the Etchspace, you move through a sequence of combat zones, interactable objects, and puzzles.
Step 1: Navigate toward commission targets first. The UI highlights the materials or objects tied to your active commission. Make a line toward those, using shortcuts and direct routes whenever possible.
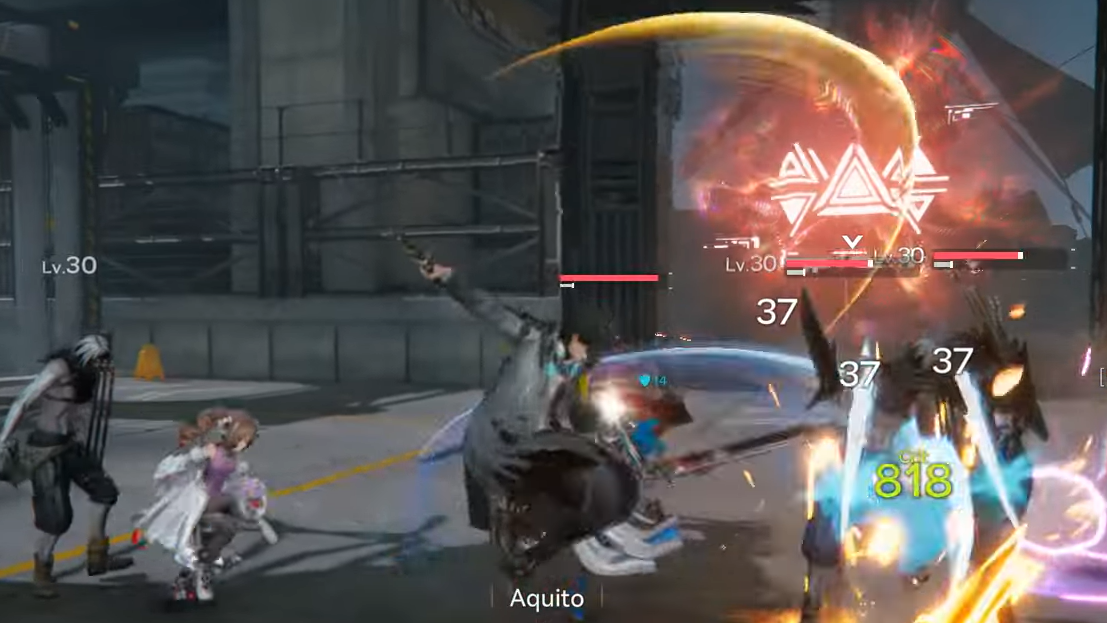
Step 2: Clear enemies quickly. Combat still uses Endfield’s normal systems, but time matters more here. Slow fights increase Derangement, and late-wave mistakes can cost you both the loot and the entire run.
Step 3: Solve puzzles only when they support your goal. Some puzzles unlock side chests, others open routes toward commission objectives. Favor anything that shortens your path or directly yields the items you need; skip low-value distractions.
Etchspace Salvage rewards aggressive but disciplined play. The most efficient runs hit the commission requirement early, then opportunistically scoop extra loot while monitoring Derangement.
Derangement Acceleration and when to extract
Derangement Acceleration is the central risk mechanic. It constantly climbs as you move, fight, and linger in the Etchspace.
What Derangement Acceleration does
- Acts as a soft timer that rises over the duration of your run.
- Signals how hostile the space has become: the higher the meter, the more dangerous the exploration.
- Triggers an automatic ejection when it reaches maximum, immediately ending the run.
Step 1: Keep the Derangement meter in your field of view. Treat it like a shared resource with your HP bars — everything you do spends a bit of it.
Step 2: Once commission objectives are complete, reassess your position. If Derangement is already high, start working toward a safe exit instead of pushing deeper for marginal gains.
Step 3: Extract before the meter caps. If you stay until Derangement hits its maximum, you are forcibly ejected, and the run ends on the mode’s terms, not yours. Voluntary extraction after completing your commission is the ideal scenario, trading some leftover time for guaranteed rewards.
How Operations Metrics and rewards work
Every successful extraction grants Operations Metrics, which fill a long-term progression bar tied specifically to Etchspace Salvage.
How you earn Operations Metrics
- Completing commissions and extracting safely awards Metrics at the end of the run.
- Cleaner, more efficient explorations generally translate into more Metrics.
- Being ejected at max Derangement cuts a run short, limiting what you can earn.
Operations Metrics unlock staged rewards when you pass certain milestones. These include currency, growth materials, and gacha resources that support both character progression and account-wide pulls.
| Metrics milestone | Key rewards |
|---|---|
| 50 | Oroberyl ×400, Advanced Combat Record ×10, T-Creds ×10,000 |
| 300 | Basic HH Permit ×2, Arms INSP Kit ×10, T-Creds ×10,000 |
| 1200 | Oroberyl ×400, Protoprism ×50, T-Creds ×10,000 |
| 2500 | Basic HH Permit ×2, Protodisk ×25, T-Creds ×10,000 |
| 5000 | Oroberyl ×400, Cast Die ×30, T-Creds ×10,000 |
| 10,000 | Basic HH Permit ×2, Advanced Cognitive Carrier ×6, T-Creds ×10,000 |
| 20,000 | Oroberyl ×400, Arms INSP Kit ×15, T-Creds ×10,000 |
| 30,000 (first) | Basic HH Permit ×2, Protohedron ×15, T-Creds ×10,000 |
| 30,000 (second) | Oroberyl ×400, Protoset ×12, T-Creds ×10,000 |
| 40,000 | Basic HH Permit ×2, Heavy Cast Die ×12, T-Creds ×10,000 |
This structure makes Etchspace Salvage a long-horizon activity. Even moderate, repeatable runs contribute to significant benchmarks such as Basic HH Permits, high-end progression items like Advanced Cognitive Carrier, and large bundles of Oroberyl.
Why Etchspace Salvage matters for account progression
Etchspace Salvage sits at the intersection of several systems: combat power, resource income, and gacha planning.
- Resource density is high for players who can consistently clear commissions without hitting max Derangement. Arms INSP Kits, Protoprism, Protohedron, Protoset, and Cast Die all fuel weapon and gear development.
- T-Creds inflow is steady through the milestone track, easing pressure on routine purchases and upgrades.
- Oroberyl and Basic HH Permits add a slow but reliable trickle of premium pulls on top of events and sign-in rewards.
Because the mode is fully replayable, it also doubles as a testing ground for new builds. The increasing enemy pressure and Derangement clock expose weak links in your teams faster than standard overworld fights, giving a clear signal of when it is time to improve weapons, swap gear, or adjust elemental coverage.
Once unlocked, Etchspace Salvage is worth folding into your regular routine. Use commissions to focus your farming, watch the Derangement Acceleration bar like a second health pool, and let Operations Metrics accumulate in the background. Over time, those runs convert into a substantial mix of upgrade materials, currency, and pulls that support everything else you do in Arknights: Endfield.