
Cards in Bridger Western are not minor stat tweaks. They function as a mini-build system layered on top of your weapons, Stand, and playstyle. You can equip a maximum of three at any time, and you cannot store extras — meaning every slot matters, and every swap is permanent until you visit the Mud Witch again. The goal is not simply to grab three powerful cards but to stack passives that sharpen whatever your loadout already does well.
Quick answer: The strongest all-around Cards right now are Time Heals All Wounds (passive HP regen), Too Tired to Fall (damage reduction below 50% stamina), and Free Runner (+20 stamina, combat roll replaced with a slide). These three fit virtually any build and deliver consistent value without requiring a specific weapon or matchup.
S-Tier Cards
S-tier Cards provide broad, reliable power that works across Outlaw, Inlaw, and Vampire builds. They don't ask you to commit to a niche weapon or hope for a specific scenario — they just make you harder to kill or more dangerous in every fight.
| Card | Passive Effect | Why It's S Tier |
|---|---|---|
| Show Me A Good Time | +10% Blade DMG; ability to parry bullets | Bullet parry is one of the strongest anti-gun tools in the game. Turns blade builds from risky into oppressive at close range. |
| Quick Draw | Equipping your primary weapon triggers Quickdraw state | Drawing first often decides a trade in Bridger Western's gun-heavy sandbox. Clean, high-value pick for nearly all firearm loadouts. |
| Free Runner | +20 Stamina; combat roll becomes a slide | Extra stamina is always relevant, and the slide improves both aggressive pushes and disengages. Easy value every match. |
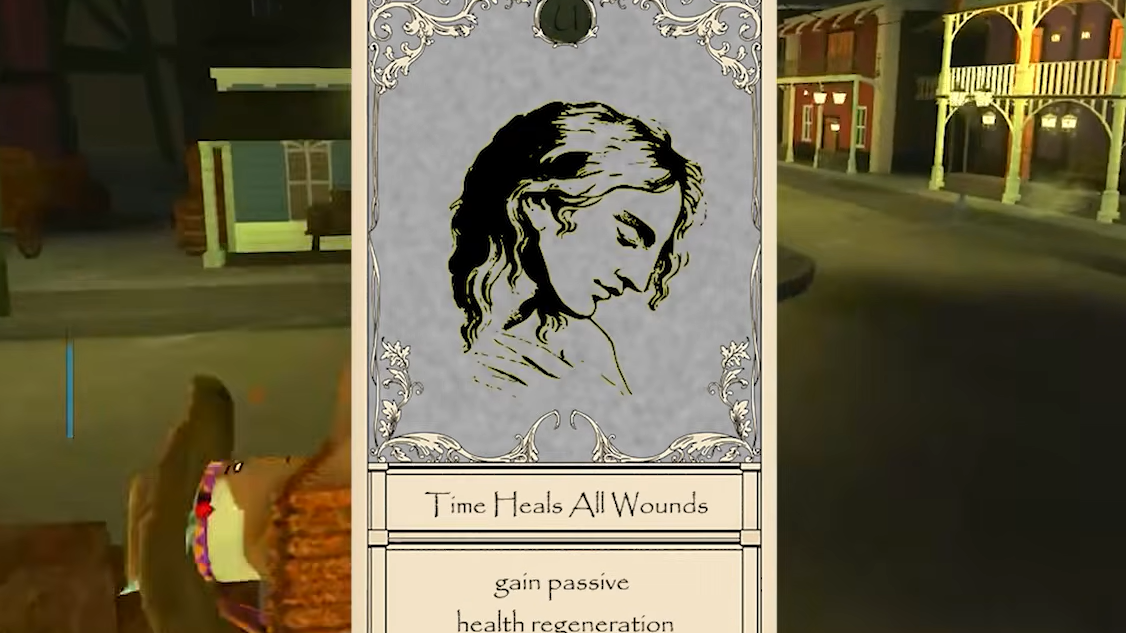
| Time Heals All Wounds | Passive health regeneration | Works with every build. Premium sustain in drawn-out duels and chaotic third-party fights. |
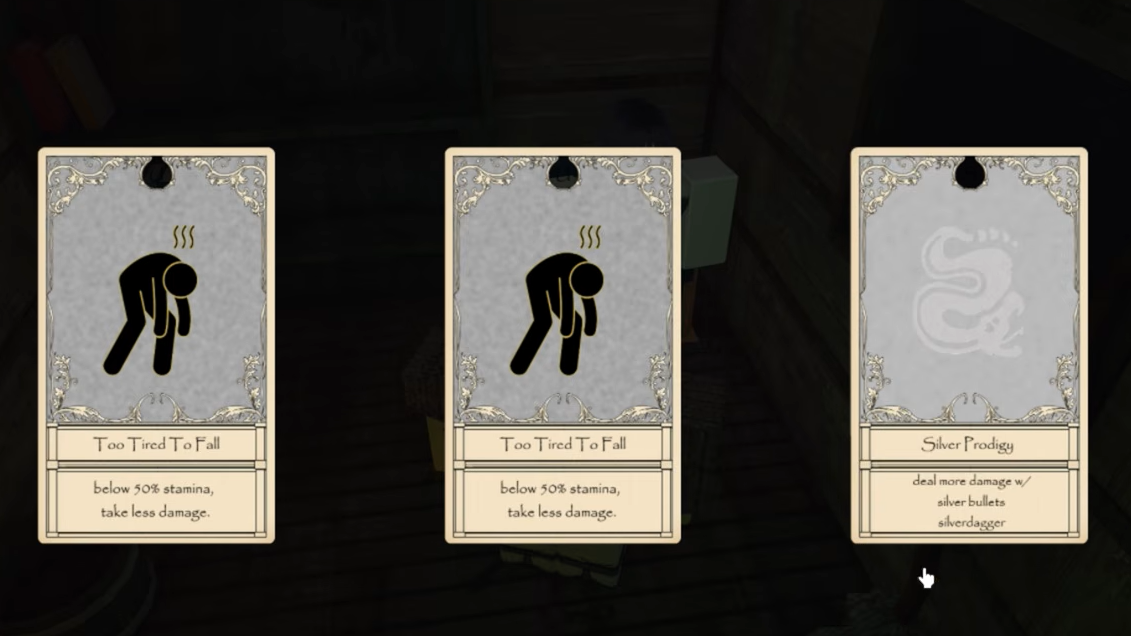
| Too Tired to Fall | Below 50% Stamina, take less damage | Low stamina is common in real fights, so the condition triggers constantly. Excellent on brawler and chase builds that burn stamina fast. |
A-Tier Cards
A-tier Cards are strong picks that either reward a specific weapon commitment or provide slightly more conditional value than the S tier. Several of these can feel S-tier inside their niche, but they don't offer the same universal plug-and-play flexibility.
| Card | Passive Effect | Best For |
|---|---|---|
| Tonicmaster | Spawn with 3 Tonics; Tonics heal 15% more | Any build. Free economy plus stronger healing is a genuine two-for-one bonus. |
| STURDY | Increased maximum health | Universal. Simple, dependable, and easy to justify in competitive loadouts. |
| Desperado | Lower HP = more gun damage | Gun users comfortable fighting on the edge. Creates serious kill pressure in clutch moments. |
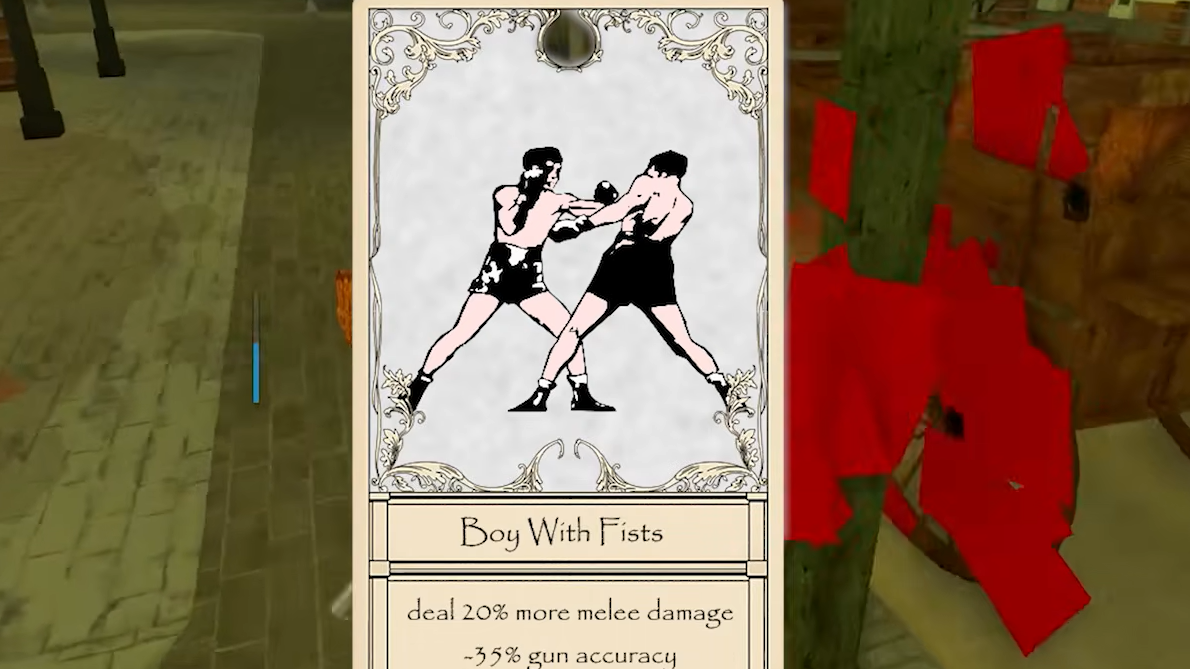
| Boy With Fists | +20% Melee DMG; −35% Gun Accuracy | Dedicated melee players. The gun accuracy penalty is irrelevant if you're already committed to close range. |
| Demolitions Expert | Own explosions hurt you less; hurt enemies more | Dynamite-heavy builds. Boosts damage and reduces self-punishment simultaneously. |
| Lung-shot | Hitting someone drains their stamina | Any aggressive loadout. Stamina pressure snowballs a clean hit into momentum. |
| Archer's Child | 1.5× bow draw speed; 2× bow fire rate | Bow-centered builds. Both buffs are massive, but the card is weapon-specific. |
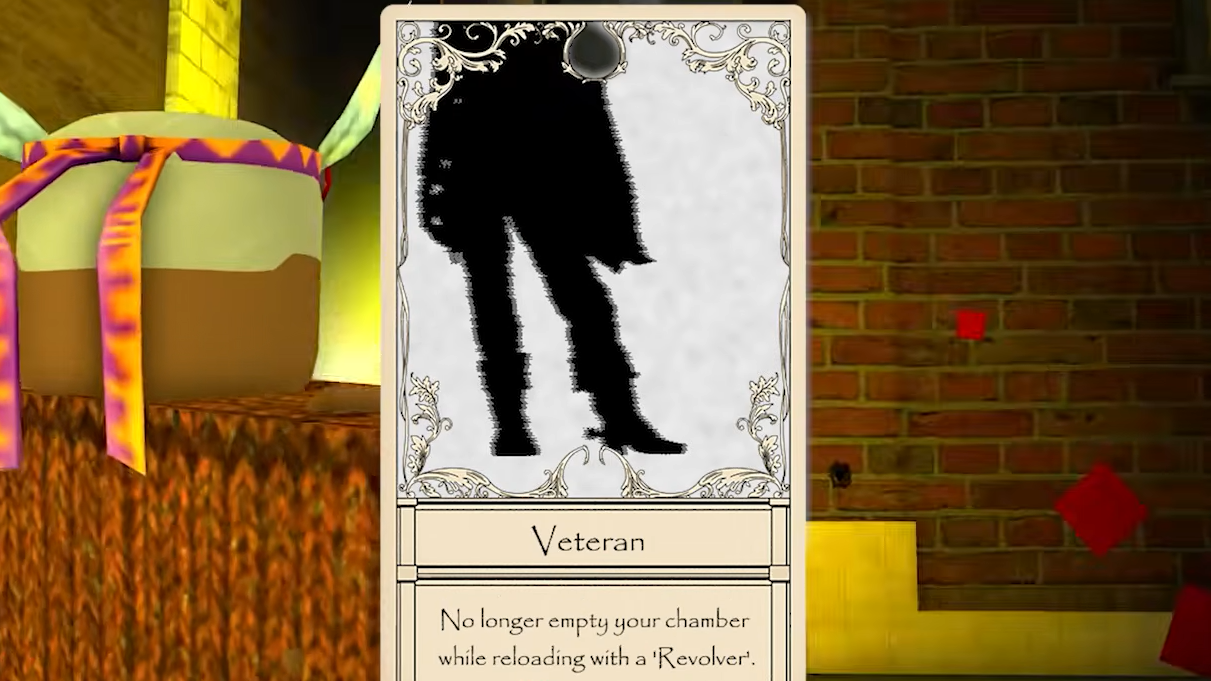
| Veteran | Reloading a Revolver no longer empties the chamber | Revolver users. Keeps pressure during reload sequences. |
| High Noon | −10 Max HP; at noon, bullets auto-aim for 5 seconds | Timed burst builds. The auto-aim window is a huge threat if you plan around it. |
| Poltergeist | Nearly invisible and intangible during combat roll; roll costs 80% more stamina | High-skill defensive play. The stamina tax is steep, but survivability upside is real. |
B-Tier Cards
B-tier Cards occupy the middle ground. They have genuine uses, but they tend to be situationally niche — you'll either love them because they fit your exact playstyle, or you'll rarely equip them. None of these are bad, but they aren't one-size-fits-all.
| Card | Passive Effect | Notes |
|---|---|---|
| Evil Eye | Ocular Prowess duration +50%; cooldown +50% | Straightforward tradeoff. Good if you make each activation count. |
| FAUX: High Noon | −10 Max HP; with High Noon equipped, gain auto-aim during Ocular Prowess | Strong combo piece, weak standalone. Requires another card to function. |
| A True Cowboy | Lasso aims at players on horseback; +17.5 Gun DMG on horseback | Excellent for mounted combat builds, too narrow for general use. |
| Belmont Family Crest | +25% Melee DMG to Vampires | Useful in vampire-heavy lobbies. Too matchup-specific for broad ranking. |
| Can't Lay Off the Tonic | Stronger with more Tonics consumed; DOT if you stop | High ceiling, high risk. The drawback punishes sloppy tonic management. |
| Seasoned Hunter | Spawn with a stake; Vampires gain less blood from you; less health | Solid anti-vampire utility. The health penalty limits it outside that matchup. |
| Silver Wireset | Steel Wireset deals silver damage, burning Vampires | Good conversion card for wire users. Pairs with Twenty Meter Radius Steel. |
| Twenty Meter Radius Steel | Right-clicking Silver Wireset deploys all at once as a web | Control-oriented. Creates anti-rush zones but needs the right utility package. |
| Small Cuts | Reduced damage from rapid repeated gunfire | Anti-burst tech. Narrower than raw health or regen cards but solves a real problem. |
| Total Checkmate | Throw knives in volleys | Knife-focused specialist pick. Natural synergy with knife-heavy Stand builds. |
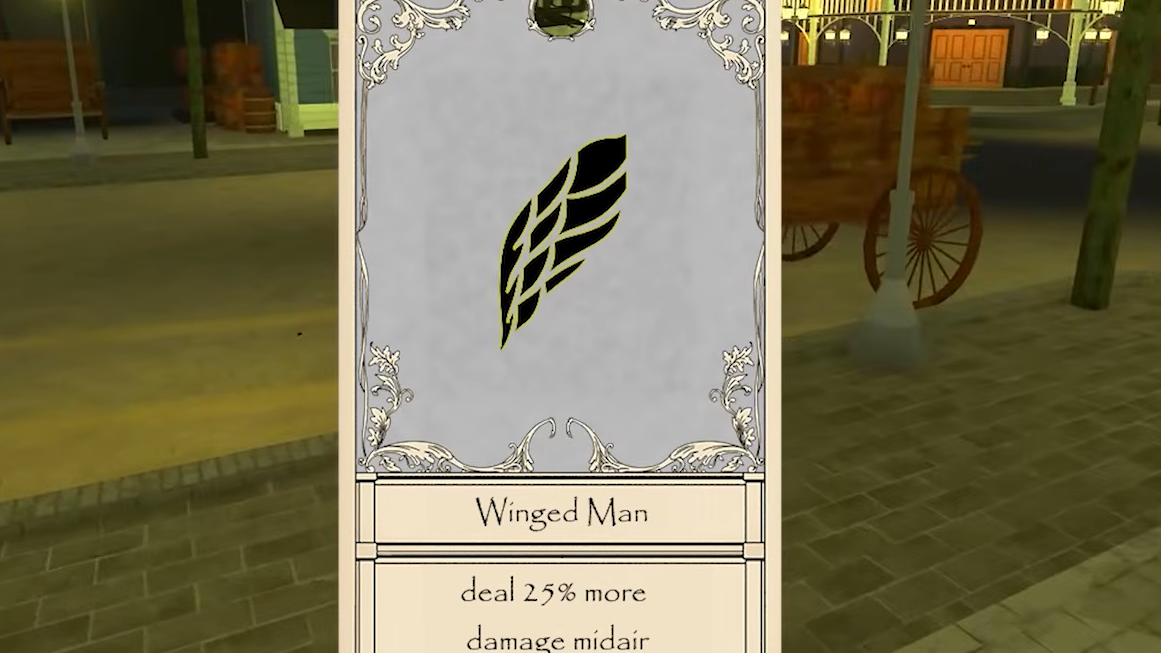
| Winged Man | +25% DMG while midair | Big boost for aerial-heavy movement styles. Still style-specific. |
| Sneaky Lowlife | Players using Ocular Prowess cannot highlight you | Great for ambush and rogue play. Only matters when that interaction is relevant. |
C-Tier Cards
C-tier Cards are the weakest options in the current pool. They either have unclear payoffs, overly narrow conditions, or effects that simply don't compete with the direct buffs offered by higher-tier picks. You can use them, but they're the first to cut from any serious build.
| Card | Passive Effect | Why It's Low |
|---|---|---|
| Silver Prodigy | More damage with Silver Bullets | Both ammo-specific and matchup-specific. Too narrow for most builds. |
| EXECUTIONER | 40+ headshot damage that downs/kills triggers decapitation | Stylish but too conditional. More flair than consistency. |
| Secret Technique | Below 40% HP, activate Secret Technique | The payoff is vague. Hard to justify over cards with cleaner, guaranteed value. |
| Snake Eater | Standing still 5 seconds turns you partially invisible; stamina regen | Built for ambush play, but too specialized and awkward for normal fights. |
| Danger Sense | Awareness-style danger detection | Doesn't bring enough tangible value compared to direct buffs like regen or damage. |
| Coin Roller | Changes coin behavior | Gimmicky and unreliable. One of the easiest cards to leave out. |
| Flesh Automaton | Flesh-automaton passive effect | Poorly communicated effect. Low-confidence pick compared to the rest of the roster. |
Best Card Combos
Because you only get three slots, pairing cards that amplify the same mechanic is where real build identity emerges. Two combos stand out right now.
High Noon + FAUX: High Noon turns Ocular Prowess into a lethal window by granting auto-aim during its activation. The combined −20 Max HP tax is significant, but the burst potential is enormous if you time your engagements around it. Fill the third slot with a sustain card like Time Heals All Wounds to offset the health penalty.
Silver Wireset + Twenty Meter Radius Steel converts your Steel Wireset into a silver-damage trap system. Right-clicking deploys all wires at once, creating a web that burns Vampires on contact. This combo is specifically designed for anti-vampire control and pairs well with a general defensive card in the third slot.
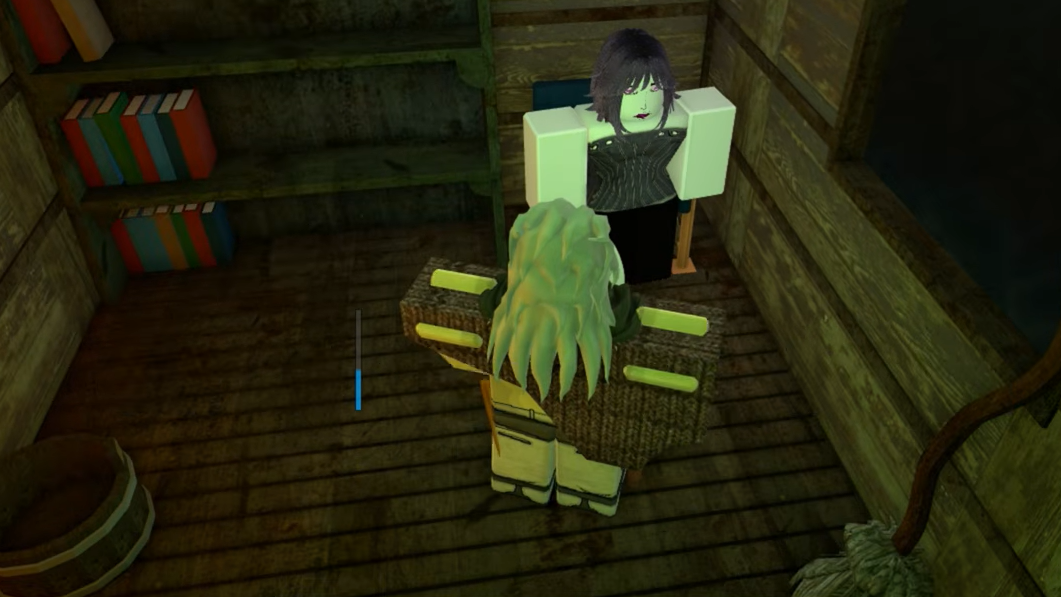
How to Get Cards from the Mud Witch
Cards are obtained exclusively from the Mud Witch, an NPC located in the Swamp area at the lower-left corner of the map. You'll need to travel through the Forest and cross the river to reach her hut.
Step 1: Head to the Swamp and find the Mud Witch's Hut.
Step 2: Pay her 150 Moola for a fortune reading. She will present three face-down cards.
Step 3: Flip one card for free. If you want it, assign it to any of your three card slots.
Step 4: If you don't like the first card, you can pay 50 Moola to flip a second hidden card, and another 50 Moola to flip the third.
Recommended Loadouts by Build Type
| Build | Recommended Cards |
|---|---|
| Universal / Safe | Time Heals All Wounds, Free Runner, Too Tired to Fall |
| Gun / Firearm | Quick Draw, Veteran, High Noon |
| Melee / Blade | Show Me A Good Time, Boy With Fists, Free Runner |
| Bow | Archer's Child, Free Runner, Time Heals All Wounds |
| Anti-Vampire | Belmont Family Crest, Seasoned Hunter, Silver Wireset |
| Explosive | Demolitions Expert, STURDY, Tonicmaster |
Bridger Western is still in early alpha, and card balance will almost certainly shift as the developers push updates. For now, prioritizing universal sustain and mobility cards gives you the safest foundation, while specialist picks like Archer's Child or Show Me A Good Time can push a focused build into genuinely dominant territory. Spend your Moola wisely at the Mud Witch — three slots go fast.