
Bridger Western gives you more than 15 Utilities to choose from, but your loadout can only hold three at a time. That hard cap turns utility selection into one of the most important buildcraft decisions in the game. Most utilities lean toward combat, so the ones that reliably boost your survivability or add kill pressure will almost always outperform niche or situational picks.
Quick answer: Equip Knives (or Silver Dagger if you have one), Tonic, and Poncho for the most consistent value across PvE and PvP fights.
Bridger Western Utilities Tier List — Full Rankings
| Tier | Utilities |
|---|---|
| S | Silver Dagger, Knives, Tonic, Poncho |
| A | Silver Ammo, Dynamite, Cowboy Hat |
| B | Ammo Box, Lasso, Molotov, Coin |
| C | Lantern, Steel Wire Set, Smoke Bomb, Arrow Pack |
S Tier — The Utilities You Should Always Consider
Silver Dagger
The Silver Dagger effectively adds a third weapon to your build. It has two moves — Swing and Grab — that both deal excellent damage, and it inflicts 2x damage against Vampires. It also synergizes naturally with silver-focused builds that pair it with Silver Ammo or silver-related Cards. The catch is availability: the Silver Dagger only drops from Chests at an unknown (and seemingly rare) drop rate, so you can't simply buy one.
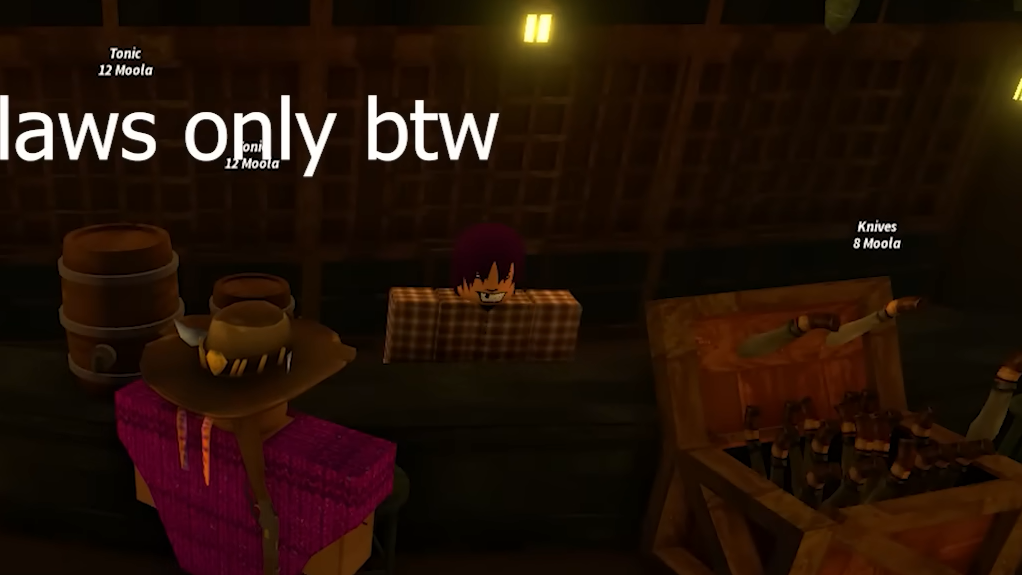
Knives
Knives serve as a more accessible alternative to the Silver Dagger. You can purchase them from multiple NPC vendors across the map for Moola. They double as both a melee and mid-range weapon, and pairing them with the Total Checkmate Card lets you throw knives at enemies for ranged pressure. The trade-off is lower raw damage compared to the Silver Dagger, but the ease of acquisition and versatility more than make up for it in most loadouts.
Tonic
Tonic restores small amounts of HP over time, and that passive healing can be the difference between winning and losing a drawn-out fight. It massively improves survivability in both PvE encounters and PvP duels. One thing to watch out for: consuming too many Tonics at once will knock your character unconscious, so pace yourself.
Poncho
The Poncho applies a flat damage reduction buff, specifically reducing damage taken to the torso. It costs 250 Moola at the Coyote General Store in Ridge B. County. The downside is that hits landing on your limbs — arms and legs — will actually deal extra damage while the Poncho is equipped. Despite that weakness, the overall survivability gain in both PvP and PvE makes it one of the strongest defensive utilities in the game.
A Tier — Strong Picks With Narrower Use Cases
| Utility | Where to Get | Key Strengths | Weaknesses |
|---|---|---|---|
| Silver Ammo | Multiple NPC vendors (Moola) | Works with all weapons; deals extra damage to Vampires | More expensive than normal ammo; no benefit against human enemies |
| Dynamite | Jim/Old Man NPC at the Outlaw Hideout | AoE explosion deals massive damage; Outlaws can throw up to three at once depending on tier; long-throw range is solid | Players can dodge the AoE in PvP, limiting its effectiveness against human opponents |
| Cowboy Hat | Coyote General Store, Ridge B. County (125 Moola) | Tanks one headshot; cheap at only 125 Moola; looks great | Only blocks a single headshot, so the protection is very limited compared to the Poncho |
Silver Ammo is a natural pick if you're fighting Vampires regularly, but it doesn't do anything special against human targets, which limits its universal appeal. Dynamite is fantastic for clearing PvE hordes and can chunk grouped enemies, but experienced PvP opponents will simply walk out of the blast radius. The Cowboy Hat is the cheapest survivability option in the game, and absorbing one headshot can absolutely save your life — but the Poncho's broader damage reduction is strictly better if you have to choose between the two.
B Tier — Situational but Functional
| Utility | Where to Get | Key Strengths | Weaknesses |
|---|---|---|---|
| Ammo Box | Multiple NPC vendors (Moola) | Replenishes ammo for all weapons; cheaper than Silver Ammo | No bonus damage against Vampires |
| Lasso | Coyote General Store, Ridge B. County (150 Moola) | Hooks and grabs enemies from a distance; can also hook items like Dynamite; good for finishing runners in PvP | Highly situational; mostly benefits Inlaw Alignment players |
| Molotov | Jim/Old Man NPC at the Outlaw Hideout | Creates a fire zone that damages anyone walking through it; decent against enemy groups | Damage output is low and the fire area is small |
| Coin | Learned from the Flint/Can Quest NPC | Bullets ricochet off the coin to hit dodging enemies; stylish Coin Trick animation | Costs 10 Moola per use; needs the Coin Roller Card to reach its full potential |
The Ammo Box is a budget-friendly way to keep your guns loaded, but if you're facing Vampires at all, Silver Ammo is the better investment. The Lasso fills a niche role — it's great for pulling fleeing players back into range, but that scenario doesn't come up often enough to justify a permanent slot for most builds. Molotov's area denial sounds useful on paper, but the small fire zone and underwhelming damage make it hard to recommend over higher-tier options. The Coin has one of the coolest mechanics in the game, yet the per-use Moola cost and Card dependency drag it down.
C Tier — Skip These Unless You Have a Specific Reason
| Utility | Where to Get | Why It's Low |
|---|---|---|
| Lantern | Coyote General Store, Ridge B. County (80 Moola) | Only useful at night, and visibility is already decent in the dark without it |
| Steel Wire Set | Jim/Old Man NPC at the Outlaw Hideout | Can only be placed between buildings and walls; costs a steep 350 Moola; too restrictive for general use despite the Silver Burn debuff against Vampires |
| Smoke Bomb | Jim/Old Man NPC at the Outlaw Hideout | Very easy to dodge; smoke clouds have transparency, reducing their effectiveness at blocking vision |
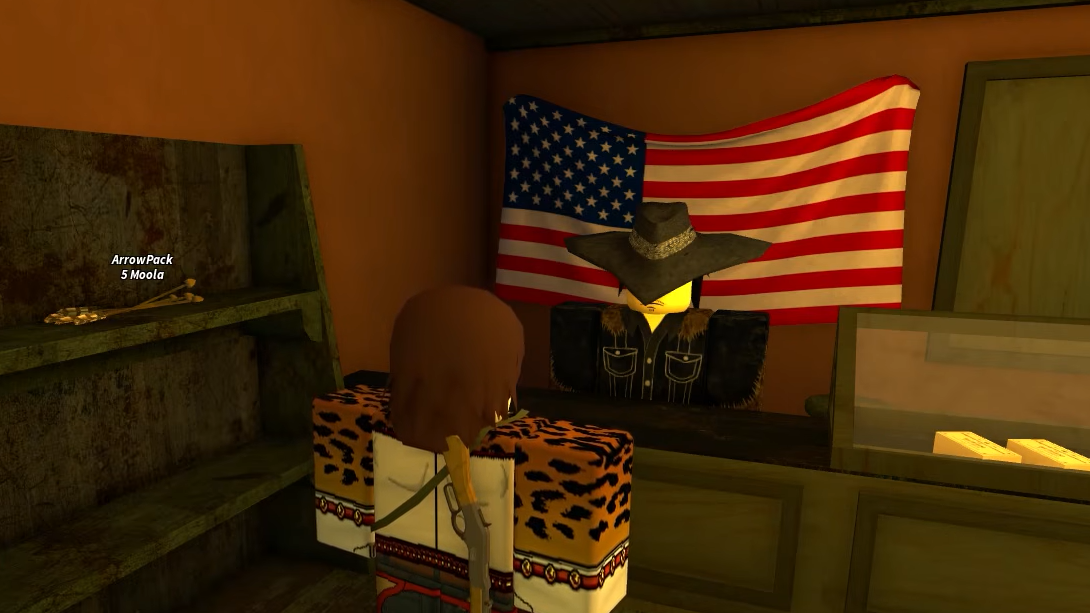
| Arrow Pack | Multiple NPC vendors (Moola) | Only works with the Bow, and guns outperform the Bow in nearly every scenario; better to invest in Ammo Boxes instead |
None of these utilities is worth a slot in a competitive build. The Lantern solves a problem that barely exists; the Steel Wire Set is too expensive and placement-dependent, the Smoke Bomb's impaired vision effect is undermined by its own transparency, and the Arrow Pack only supports a weapon class that guns outclass across the board.
Poncho vs. Cowboy Hat — Which Defensive Utility Wins?
This is one of the most common loadout questions in Bridger Western, and the answer is straightforward. The Poncho provides ongoing damage reduction to your torso for every hit you take, while the Cowboy Hat absorbs exactly one headshot before it's gone. In any fight that lasts more than a couple of exchanges, the Poncho's cumulative damage reduction will save you far more HP. The Cowboy Hat is cheaper (125 Moola vs. 250 Moola) and can clutch-save you from a single sniper shot, but the Poncho is the stronger pick if you can only choose one.
If you have the slot space and Moola to spare, running both is a valid defensive setup — the Cowboy Hat blocks the first headshot while the Poncho softens everything else hitting your torso. Just keep in mind that doubling up on defense means sacrificing an offensive utility like Knives or Dynamite.
Where to Buy Each Utility
Most utilities are sold by NPCs scattered across the map, but a few are locked to specific vendors or obtained through other means.
| Utility | Location / Method | Cost |
|---|---|---|
| Silver Dagger | Chest drop only | N/A (random drop) |
| Knives | Multiple NPC vendors | Moola (varies) |
| Tonic | Multiple NPC vendors | Moola (varies) |
| Poncho | Coyote General Store, Ridge B. County | 250 Moola |
| Silver Ammo | Multiple NPC vendors | Moola (varies, more than normal ammo) |
| Dynamite | Jim/Old Man NPC, Outlaw Hideout | Moola (varies) |
| Cowboy Hat | Coyote General Store, Ridge B. County | 125 Moola |
| Ammo Box | Multiple NPC vendors | Moola (varies) |
| Lasso | Coyote General Store, Ridge B. County | 150 Moola |
| Molotov | Jim/Old Man NPC, Outlaw Hideout | Moola (varies) |
| Coin | Flint/Can Quest NPC (learn the trick) | Free to obtain; 10 Moola per use |
| Lantern | Coyote General Store, Ridge B. County | 80 Moola |
| Steel Wire Set | Jim/Old Man NPC, Outlaw Hideout | 350 Moola |
| Smoke Bomb | Jim/Old Man NPC, Outlaw Hideout | Moola (varies) |
| Arrow Pack | Multiple NPC vendors | Moola (varies) |
Frequently Asked Questions
How many utilities can you equip at once?
Three. The Fishing Rod counts as one of those three if you have it, leaving you with only two open slots.
How do you get the Silver Dagger?
It only drops from Chests. The exact drop chance is unknown, but it appears to be rare.
Is the Fishing Rod worth a utility slot?
Yes. It helps with progression, can yield Food, Arrow Shards, and a Secondary Weapon. Treat it as a must-have despite the slot cost.
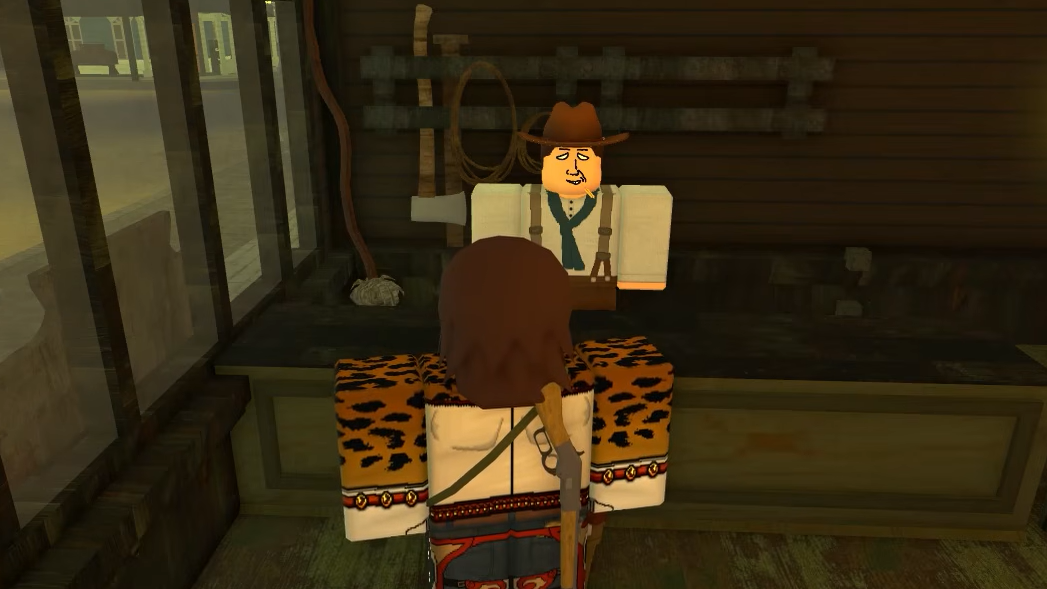
Where is the Outlaw Hideout?
Look for the Jim/Old Man NPC sitting on a wooden log inside the hideout. He sells Dynamite, Molotov, Steel Wire Set, and Smoke Bomb.
Utility slots in Bridger Western are too scarce to waste on gimmicks. Stick with the S-tier picks — Knives or Silver Dagger, Tonic, and Poncho — and you'll have a loadout that holds up in virtually every fight the game throws at you. Swap in Silver Ammo or Dynamite when the situation calls for it, but avoid burning a slot on anything in C tier unless you're experimenting for fun.