
Survive the Apocalypse on Roblox is a zombie survival game where your class choice matters far more than your crafting skills or reflexes. If you want to push past day 100, picking the right class — and investing Emeralds into its perk levels — is the single biggest decision you'll make. Every class comes with unique starter tools, a three-level perk tree, and distinct trade-offs between cost, damage output, and utility.
Quick answer: The Necromancer, Soldier, and Assassin are the three strongest classes due to their raw damage potential and powerful late-game perks, though all three are expensive to unlock.
How Classes and Perks Work
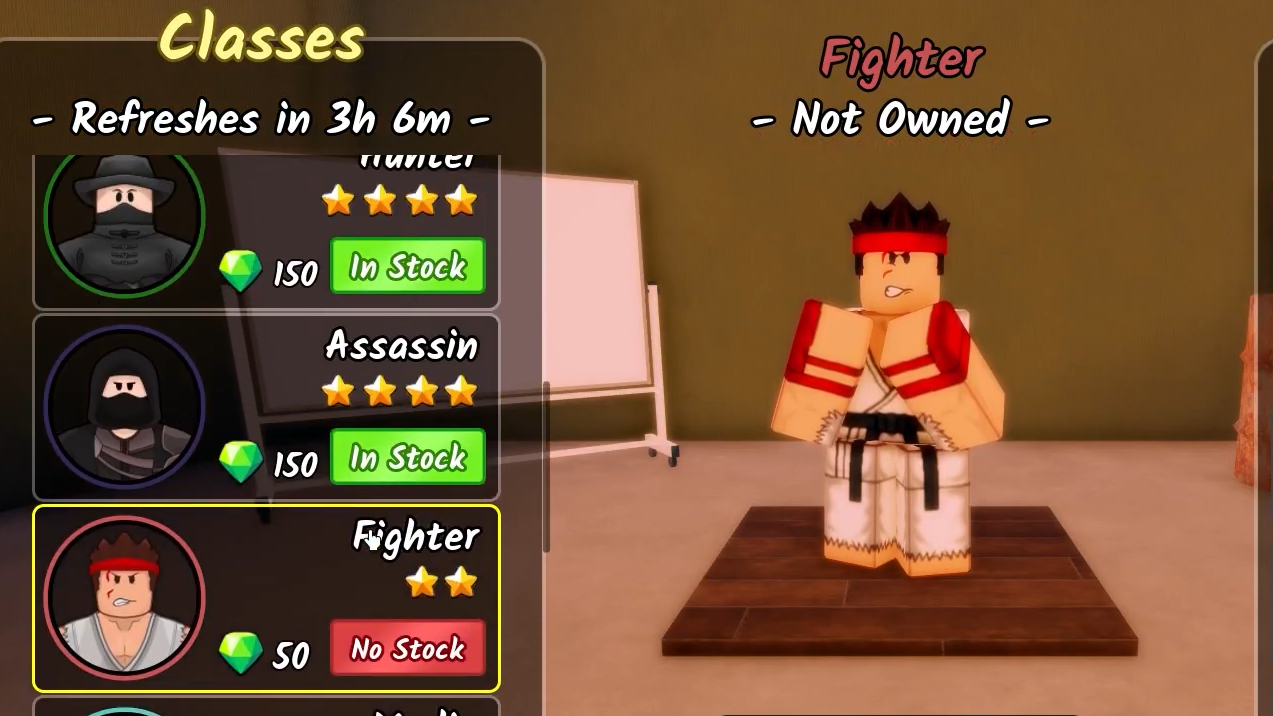
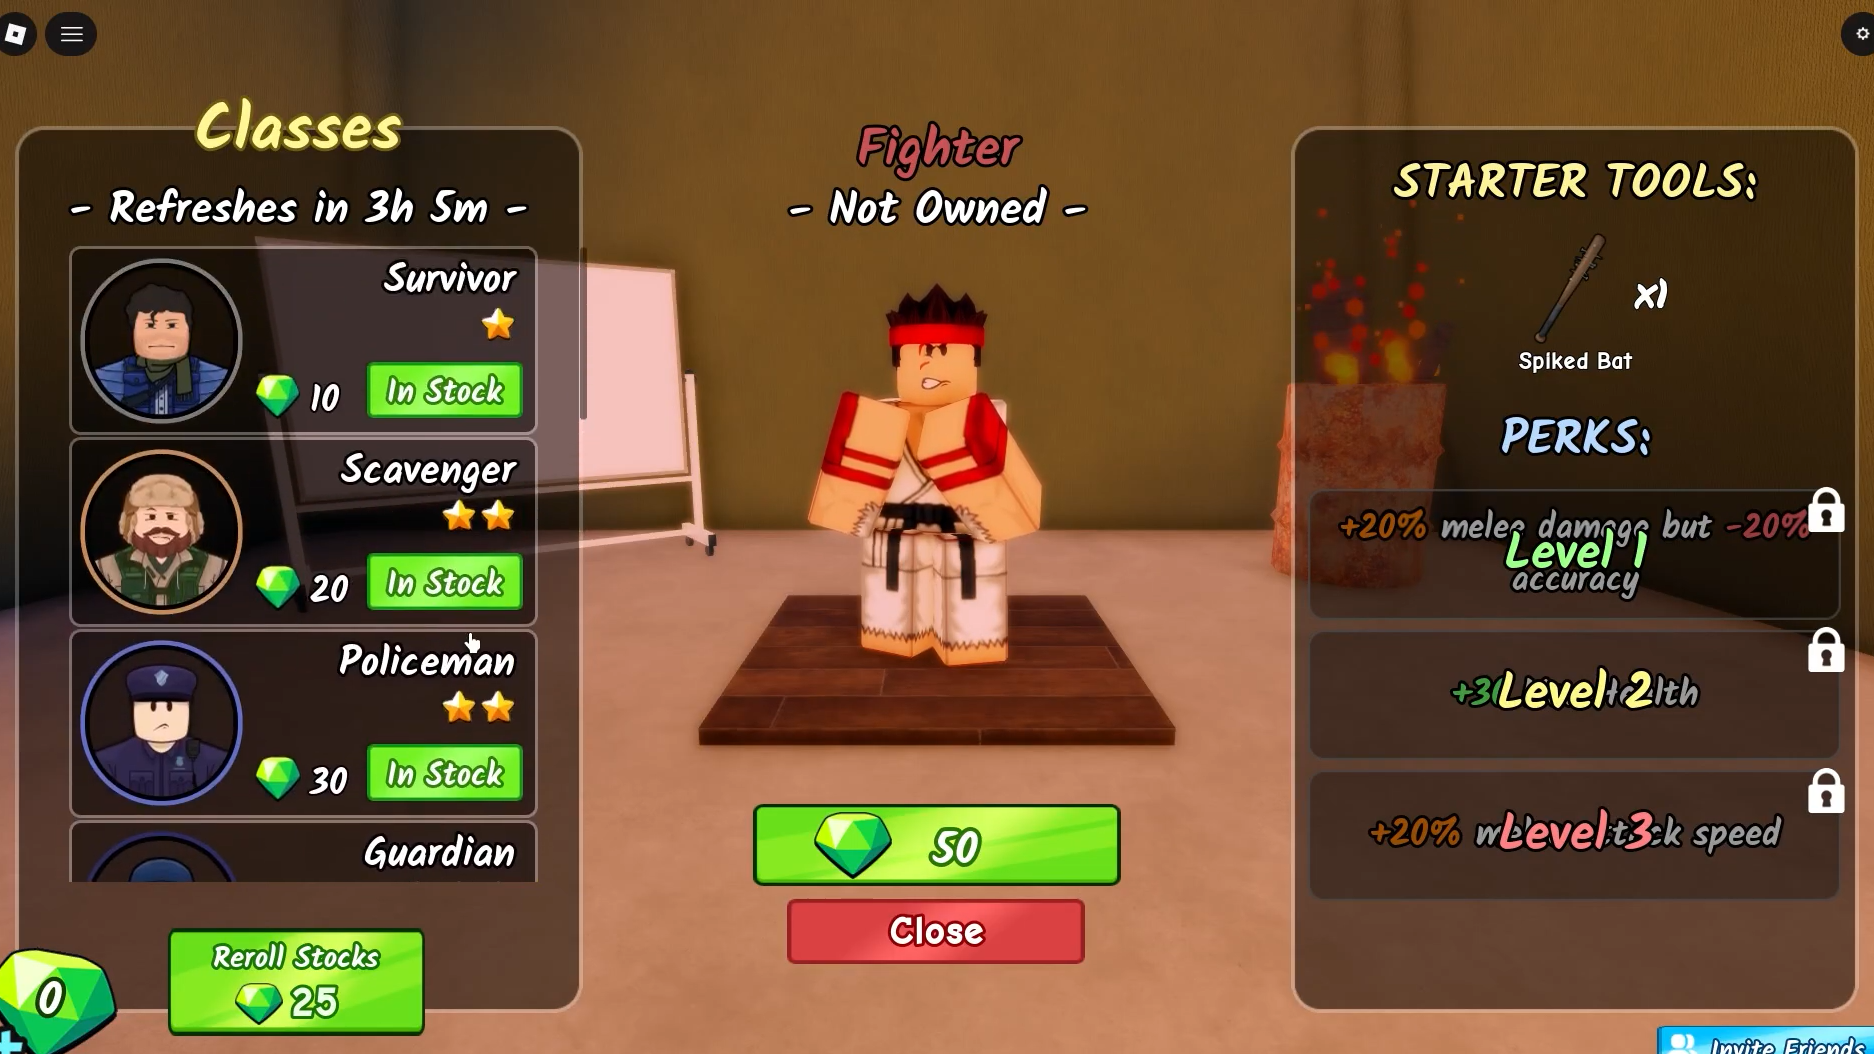
You purchase classes permanently by visiting the tent marked "Classes" at your base and speaking to the soldier NPC inside. Each class costs a set amount of Emeralds, and you can unlock additional perk levels (Level 1 through Level 3) by paying more Emeralds. The cost scales with the class's power — S-tier picks like Necromancer demand a significant Emerald investment, while lower-tier options like Survivor and Policeman are budget-friendly.
Emeralds come from a few sources. You can claim daily Emeralds by joining the Rubicon Community and collecting them in-game each day. Completing one-time badge tasks (listed in the Badges section of the UI) also rewards gems. Signing up for update notifications grants a small bonus. And, of course, Robux can be spent directly in the Emeralds section of the UI.
S-Tier — Best Classes
| Class | Starter Tools | Level 1 | Level 2 | Level 3 |
|---|---|---|---|---|
| Necromancer | None | 10% chance to convert slain non-boss zombies into allies for 60s | Summoned zombies gain +50% health and damage | Call of the Dead: Revive up to 10 nearby dead zombies (2-minute cooldown) |
| Soldier | x1 AK-47, x100 Medium Ammo | +25% Reload Speed | +25% Accuracy | +10% Firerate |
| Assassin | x1 Rifle, x3 Suppressor, x20 Long Ammo | -30% Aggro Range, +10% Sprint Speed | +10% Damage, +20 Max Health | +30% Headshot Damage |
The Necromancer sits at the top because its perk tree effectively turns the game's biggest threat into your personal army. Every zombie you kill has a passive chance to fight alongside you for a full minute, and at Level 3, you can raise up to 10 dead zombies on demand with a two-minute cooldown. That means nearly every night wave gives you a fresh batch of allies — all without spending ammo or resources. The catch is that the Necromancer is the most expensive class in the game, and it starts with no gear at all.
The Soldier is the most straightforward damage dealer. Starting with an AK-47 and 100 rounds of Medium Ammo gives you immediate firepower from day one, and the perk tree stacks reload speed, accuracy, and fire rate bonuses that compound into serious sustained DPS. It's still a pricey unlock, but less so than the Necromancer.
The Assassin trades raw fire rate for precision and mobility. A +10% sprint speed bonus at Level 1 makes repositioning much safer, and the +30% headshot damage at Level 3 rewards skilled aim with devastating burst damage. The reduced aggro range is a double-edged sword — it keeps you safer, but if you're farming kills, you may find zombies ignoring you when you actually want their attention.
A-Tier — Great Classes
| Class | Starter Tools | Level 1 | Level 2 | Level 3 |
|---|---|---|---|---|
| Hunter | x1 Rifle, x5 Bear Trap, x30 Long Ammo | Bear traps deal 50% more damage, last 50% longer | Bear traps auto re-arm after 15s | Shooting zombies slows them 30% for 2s |
| Engineer | x2 Turret | Repair 2x more with repair hammers | Buildings gain +25% health | Buildings deal 20% more damage |
| Scavenger | x1 Knife | +10% sprint speed at full health | +2 random ammo on direct kill | Nearby items highlighted through walls |
The Hunter leans into area denial. Bear traps are cheap to craft, and the Hunter's perks make them dramatically more effective — they deal 50% more damage, last longer, and automatically re-arm themselves every 15 seconds at Level 2. The Level 3 slow effect on shot zombies (30% for two seconds) adds excellent crowd control. The main weakness is the lack of any direct damage buff to your weapons.
The Engineer is the designated builder. Starting with two turrets is a huge early advantage since turrets are normally capped at eight and take time to unlock. The perk tree buffs all buildings with extra health and damage, making the Engineer essential in group play. In a team, one Engineer should always be handling base construction and repairs. Solo, the lack of personal combat bonuses holds it back slightly.
The Scavenger is the best budget option in the game. It's cheap to unlock, and its perks are immediately useful: free ammo on every direct kill helps sustain you through the early days when resources are thin, and the ability to see items through walls at Level 3 makes looting runs dramatically faster. The sprint speed bonus only applies at full health, which limits its reliability in combat.

B-Tier — Decent Classes
| Class | Starter Tools | Level 1 | Level 2 | Level 3 |
|---|---|---|---|---|
| Medic | x1 MediGun, x3 Bandage, x24 Pistol Ammo | Use medical items 2x faster | Revive players 2x faster | Healing players grants various buffs for 15s |
| Guardian | x1 Riot Shield | +10% Defense, +10% Damage | +30 Max Health, +0.25 Health Regen | Taunt: Force nearby zombies to attack you (30s cooldown) |
The Medic shines in group play but struggles solo. Starting with a MediGun is valuable, and the Level 3 buff that triggers when healing teammates can swing fights in your favor. The problem is that the entire perk tree revolves around other players taking damage and needing your help — if you're playing alone, most of these perks go to waste. In a coordinated squad, though, the Medic is a strong pick.
The Guardian is the tankiest class available. A Riot Shield, flat defense and damage bonuses, extra max health, health regen, and a Taunt ability that forces nearby zombies to target you every 30 seconds make the Guardian extremely durable. The Taunt is particularly useful for pulling zombie hordes away from the generator or into grenades. The trade-off is mediocre damage output — you'll survive, but you won't be topping the kill leaderboard.
C-Tier — Mid Classes
| Class | Starter Tools | Level 1 | Level 2 | Level 3 |
|---|---|---|---|---|
| Fighter | x1 Spiked Bat | +20% melee damage, -20% accuracy | +30 Max Health | +20% melee attack speed |
| Policeman | x1 Pistol, x64 Pistol Ammo | Reload 20% faster with pistols | +25% accuracy with pistols | +20% damage with pistols |
The Fighter has a strong early game thanks to the melee damage buff and Spiked Bat starter weapon. The problem is the -20% accuracy penalty at Level 1, which actively hurts your ranged damage. As the game progresses and ranged combat becomes essential for survival, that accuracy penalty becomes a real liability. The extra max health at Level 2 helps, but it doesn't offset the long-term disadvantage.
The Policeman is cheap and effective in the opening days. Starting with a pistol and 64 rounds of ammo gives you immediate ranged capability, and the perk tree stacks reload speed, accuracy, and damage bonuses for pistols specifically. The issue is that every single buff only applies to pistols, which are far from the strongest weapon category in the game. Once you acquire better guns, the Policeman's perks become increasingly irrelevant.
D-Tier — Weakest Class
| Class | Starter Tools | Level 1 | Level 2 | Level 3 |
|---|---|---|---|---|
| Survivor | None | Hunger drains 30% slower | +0.25 Health Regen | Survive 1 lethal hit every 5 minutes |
The Survivor is the cheapest class to unlock, and its perks reflect that. Slower hunger drain and a small health regen bonus are nice quality-of-life improvements, but they don't help you kill anything. The Level 3 perk — surviving one lethal hit every five minutes — can create dramatic clutch moments, but it's a safety net rather than a strategy. With no starter tools and zero damage bonuses, the Survivor relies entirely on scavenged gear and raw player skill to compete.
Solo vs. Group Considerations
Class value shifts depending on whether you're playing alone or in a squad. The Medic drops significantly in solo play since its healing perks require teammates to function. The Engineer, on the other hand, gains value in groups where one player can focus on base building while others handle combat. The Necromancer and Soldier remain dominant in both contexts because their damage output is self-contained and doesn't depend on team composition.
Survive the Apocalypse rewards long-term investment in the right class far more than it rewards moment-to-moment mechanical skill. The Necromancer, Soldier, and Assassin will carry you the farthest, but they demand serious Emerald spending. If you're still building your currency reserves, the Scavenger and Policeman offer solid stepping stones at a fraction of the cost — just know that you'll eventually want to upgrade once you can afford the top tier.