The Forge looks like a cozy mining RPG until something in the dark cave takes half your health bar in a single swing. Every ore run is also a combat encounter, and knowing what each enemy can do is the difference between efficient farming and a costly death.
The enemies in The Forge fall into three broad families as you move from Stonewake’s Cross into the Forgotten Kingdom: zombies, skeletons, and slimes, plus the Reaper as a mid‑game spike. Each has clear level ranges, health and damage bands, and predictable behavior. That makes them readable – and exploitable – once you understand their patterns.
Zombie enemies in Stonewake’s Cross (early game)
Stonewake’s Cross is the starting combat zone. You’ll mostly fight zombies here while you’re still learning the rhythm of mining and questing. They’re slow and readable but punish carelessness in groups, and they’re your main source of early Essence for upgrades.
| Enemy | Level range | HP | Damage | Gold / EXP | Role / threat |
|---|---|---|---|---|---|
| Zombie | 1–5 | 20–52 | 6–11.2 | 5–10 / 10–20 | Baseline melee, dangerous only in packs |
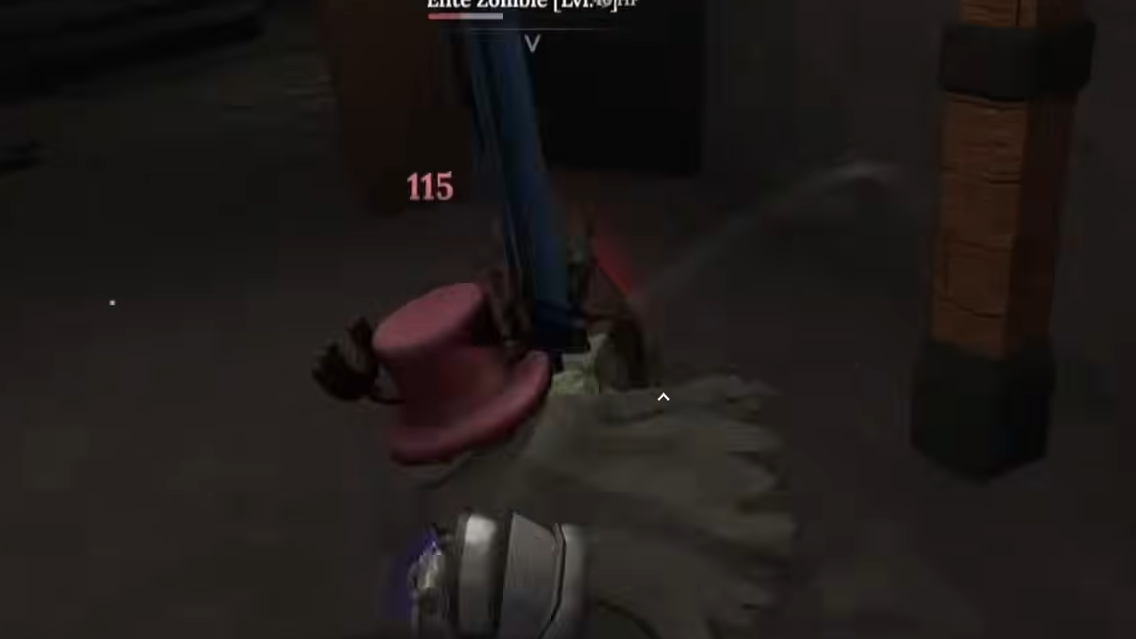
| Elite Zombie | 1–10 | 70–295 | 20 | 5–10 / 10–20 | Slow, tanky frontline with a sword |
| Delver Zombie | 1–10 | 40–175 | 12–30.4 | 10–20 / 20–40 | Fast miner, strong early Essence and rune drops |
| Brute Zombie | 5–10 | 220–370 | 28–47.5 | 32.5–45 / 43.33–60 | High-HP, hard‑hitting bruiser |
How to fight zombies efficiently
Control the angle and the crowd. Zombies are slow enough that the main risk is being surrounded or taking overlapping hits.
- Circle around their weapon side. Strafe around a zombie while keeping just outside melee range. Their swings are slow; you can walk behind them between attacks and land hits while their animation completes.
- Thin the pack first. When multiple zombies aggro, kite them backward until they line up, then target the one at the front. Avoid standing in the middle of a cluster where three or four swings can connect at once.
- Prioritize Delver Zombies for progression. Delvers move faster, hit harder than basic zombies, and can drop valuable Essence and the Minor Shard rune. Take them out first so they don’t flank you while you’re focused on a Brute.
- Respect Brute Zombies’ reach. Brutes have the health pool and damage to delete low‑level players in a few hits. Keep your distance, bait a swing, step in for 1–2 attacks, then back out before the next wind‑up.
Early quests that ask you to kill zombies are more than busywork: they feed you Essence for enhancing gear, and repeatable EXP and gold. Running these while practicing safe positioning sets up your later runs in the Forgotten Kingdom.

Skeleton enemies in the Forgotten Kingdom (mid game)
Once you unlock the portal to the Forgotten Kingdom, the difficulty jumps. Skeletons trade zombie sluggishness for higher damage, better reach, and more burst potential. They’re also tied to stronger loot: more gold and more EXP per kill, plus access to higher‑tier Essence.
| Enemy | Level range | HP | Damage | Gold / EXP | Role / threat |
|---|---|---|---|---|---|
| Bomber | 1–5 | 60–120 | 70 | 5–10 / 10–20 | Explosive, punishes clumping and greed |
| Skeleton Rogue | 1–10 | 150–195 | 30–76 | 17.5–35 / 37.5–75 | Fast melee assassin |
| Axe Skeleton | 1–10 | 125–215 | 15–38 | 25–50 / 48.5–97 | Standard melee, solid farm target |
| Deathaxe Skeleton | 1–10 | 150–420 | 35–76 | 40–80 / 58.5–117 | Heavy hitter with dark‑magic damage |
| Elite Skeleton Rogue | 1–10 | 250–295 | 45–114 | 45–90 / 67.5–135 | High‑damage dagger elite |
| Elite Deathaxe Skeleton | 1–10 | 300–570 | 50–123.5 | 60–120 / 90–180 | End‑game elite bruiser |
How to deal with skeletons
Bomber
- Keep mid‑range. Bomber damage spikes come from thrown bombs and its death explosion. Stay far enough away to read the throw animation, then move laterally, not straight backward, to avoid the impact zone.
- Don’t face‑tank the death blast. Once its health is low, back off and let the final explosion go off before closing in for drops. Rushing to “finish quickly” is the most common way to lose half your health needlessly.
Skeleton Rogue / Elite Skeleton Rogue
- Watch the dash. Rogues close gaps quickly and can chain high damage if you’re cornered. When it starts a fast lunge, sidestep rather than trying to outrun it in a straight line.
- Limit its angles. Fight in corridors or against walls where the Rogue can’t fully circle behind you. This cuts down on off‑screen hits and makes its pathing more predictable.
- Against elites, trade safely. Elite Skeleton Rogues can hit extremely hard. Aim for one hit, then immediately move; don’t commit to long combos unless you’re confident in your parries.
Axe Skeleton / Deathaxe Skeleton / Elite Deathaxe Skeleton
- Respect their swing arc. Axe skeletons telegraph wide attacks that can catch you even slightly off‑angle. Stand just outside their swing radius and punish the recovery window.
- Space around elite swings. Deathaxe and Elite Deathaxe Skeletons combine big health pools with punishing damage. If you’re under‑geared, treat them like mini‑bosses: 1–2 hits, then roll or move out, instead of staying in melee for extended trades.
- Use environment breaks. Skeletons can be pulled around rocks, boulders, and level geometry. Kite them into positions where their pathing forces them into single‑file instead of surrounding you.
Elite skeletons are also among the best gold and EXP per kill in their ranges, and they’re key targets if you’re farming Essence tiers for late‑game enhancement.

Slime enemies and the Reaper (mid–late game)
Beyond the undead, caves and Forgotten Kingdom zones introduce slimes and the Reaper, which mix high health with consistent damage. They’re built to punish players who try to brute‑force their way through without upgraded weapons, armor, races, and runes.
| Enemy | Level range | HP | Damage | Gold / EXP | Role / threat |
|---|---|---|---|---|---|
| Reaper | 12 | 340 | 60 | 55 / 80 | Mid‑game spike enemy with strong hits |
| Slime | 1–10 | 300–570 | 30 | 43–86 / 43–86 | High‑HP, steady damage brawler |
| Blazing Slime | 1–10 | 600–870 | 45 | 65–130 / 43–86 (110–255 EXP noted in some data) | Late‑game tank with big payouts |
How to fight slimes and the Reaper
Slime / Blazing Slime
- Play the long game. Slimes don’t usually one‑shot you, but they have massive HP pools. Go in expecting extended fights where stamina management and clean dodging matter more than burst damage.
- Use vertical terrain. Standing on rocks, ledges, or boulders can force slimes into awkward pathing where their melee attacks whiff. From there, you can safely chip away with your weapon.
- Target Blazing Slimes when you’re geared. Their health and damage can overwhelm weaker builds, but their gold and EXP rewards make them excellent late‑game farming targets once you have strong weapons and armor.
Reaper
- Show up prepared. At level 12, Reaper hits hard enough that under‑leveled or poorly armored players melt in a few swings. Upgrade your armor and forge a high‑rarity weapon before committing to this fight.
- Stay mobile. Reaper’s attacks hit for 60 damage, so trading blows is rarely worth it. Stay in constant motion, bait an attack, then dash in for a single hit before moving out again.
- Keep the arena clean. Fighting Reaper while other enemies are alive nearby is a fast track to death. Clear surrounding mobs first so you can focus entirely on its patterns.
Positioning tricks that work on every enemy
The Forge’s combat system is simple on paper: melee swings, stamina, and a parry button. The real power comes from how you use space and terrain. A few habits work across almost every enemy type:
- Circle, don’t backpedal. Walking straight backward keeps you in line with enemy swings. Circling around them forces attacks to miss and gives you flank or back hits, which are safer windows to deal damage.
- Fight from high ground. Rocks, boulders, and small ledges are more than scenery. Standing on them often causes melee enemies to misjudge distance or swing into the geometry. Use this to effectively “turn off” some attacks while you chip away.
- Use chokepoints. Narrow tunnels and cave mouths limit how many enemies can hit you at once. Pull packs back into these spaces to convert chaotic brawls into manageable single‑target fights.
- Keep stamina in reserve. Over‑swinging leaves you without stamina for a dash or parry. Always hold back enough for at least one emergency dodge – especially when fighting elites and Reaper‑level threats.

Build choices that make combat easier
Enemy stats don’t exist in a vacuum. Races, weapons, armor, and runes strongly influence how forgiving your fights will be, especially in the Forgotten Kingdom.
- Pick strong races for combat. Angel and Demon races are standout options. Demon leans into raw physical and fire damage with attack‑speed boosts and offensive auras, while Angel pushes mobility and luck, making it easier to dodge attacks and roll better loot when mining and forging.
- Forge heavy weapons for elite hunting. Colossal swords like Dragon Slayer and Skull Crusher scale well with late‑game content: high base damage, solid attack speed, and good synergy with heavy‑weapon‑focused races such as Golem or Minotaur.
- Invest in armor, not just weapons. Skeleton elites and Blazing Slimes hit numerically hard enough that even small improvements in damage reduction translate to surviving one more swing. Upgraded armor gives you more time to react and reposition when fights go wrong.
- Attach the right runes. Runes such as Rot Stitch, Ward Patch, or Rage Mark add extra sustain, defense, or damage to your attacks. Apply your best combat runes to your strongest weapons rather than wasting them on early‑game gear you’ll replace quickly.
Quick threat ranking and what to focus on
Not every enemy deserves equal respect. If you’re trying to plan your progression or choose where to grind, it helps to know which fights are genuinely dangerous and which are just time‑consuming.
- Highest threat: Elite Deathaxe Skeleton, Reaper, Blazing Slime. These combine high damage and big HP, and they punish any mistake.
- Medium threat: Deathaxe Skeleton, Elite Skeleton Rogue, Brute Zombie, Bomber. Each has a specific pattern – wide swings, fast lunges, explosions – that will punish you if ignored.
- Low–moderate threat: Standard Zombie, Elite Zombie, Delver Zombie, Skeleton Rogue, Axe Skeleton, Slime. Still dangerous in numbers or when under‑geared, but manageable once you’re familiar with their ranges.
Handled correctly, enemies in The Forge stop being surprises and start becoming moving loot containers that gate your next gear upgrade. Learn their stats, lean on terrain, and build into strong races and weapons, and even the Forgotten Kingdom’s worst threats become reliable – and lucrative – targets.

