
John Carpenter's Toxic Commando fills every mission with waves of mutated undead, and the difference between a clean run and a total wipe often comes down to recognizing what's charging at you. The game features eight distinct enemy types, each with unique behaviors and vulnerabilities. Some drop to a single headshot; others require coordinated team fire and heavy ordnance. Knowing the full roster — and exactly where to aim — keeps you alive when the horde starts stacking up.
Quick answer: The eight enemy types are Roamer, Skunk, Nuker, Fire Nuker, Stalker, Snare, Goon, and Slob. Prioritize Nukers and Fire Nukers at range, target red weak spots on Stalkers and Goons, and save heavy weapons for Slobs.
Toxic Commando Enemy Roster — Threat Levels and Weak Points
| Enemy | Threat Level | Behavior | Weak Point / Kill Method |
|---|---|---|---|
| Roamer | Low | Rushes in large hordes, swipes at close range | One headshot kills it. Use rapid-fire weapons for crowd control. |
| Skunk | Medium | Faster and tougher than Roamers; buffs nearby zombies with a lightning aura | Shoot the tank on its back. Destroying it strips the lightning buff from surrounding enemies. |
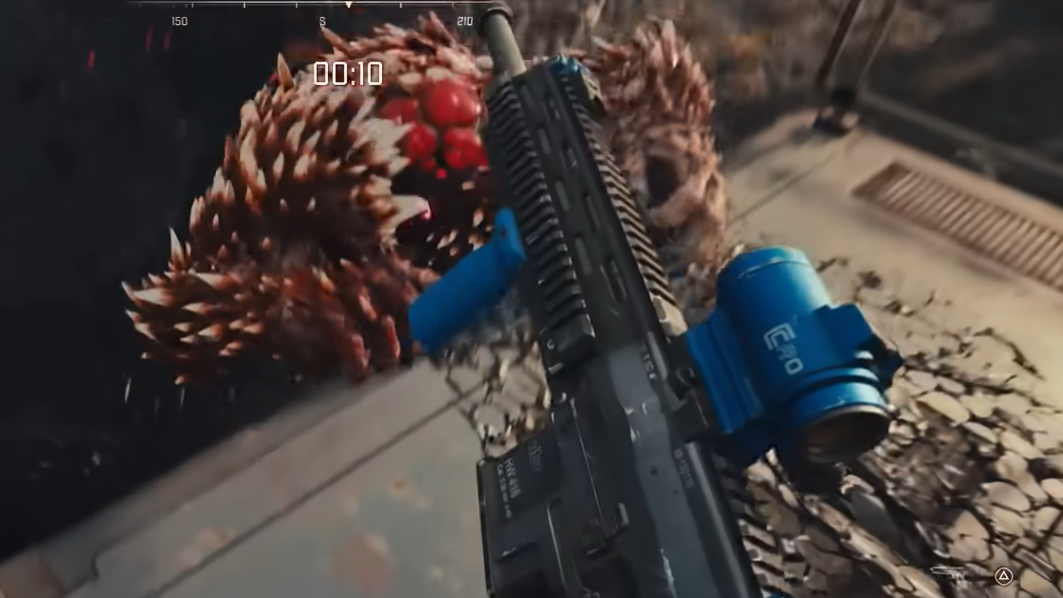
| Nuker | High | Charges at players and detonates on death, dealing massive close-range damage | Shoot the glowing red torso from a safe distance. Can be used as a makeshift grenade against hordes. |
| Fire Nuker | High | Flame-infused Nuker variant with a larger, more lethal blast radius | Engage at long range only. Never fight one in a tight corridor. |
| Stalker | High | Hangs back at map edges and fires laser beams and rockets | Aim for the large, glowing red eye. A scoped rifle eliminates them quickly. |
| Snare | Medium | Slowly approaches and grabs players, locking them in place | Shoot the glowing vine sections. No breakable armor — sustained fire is the only option. |
| Goon | Severe | Charges fast, pins players to the ground, massive health pool | Focus fire on the head to pop its armor, then hit the exposed weak point. |
| Slob | Severe | Towering tank that throws area-of-effect bombs and has extreme health | Requires heavy weapons or concentrated team fire. Flank it while it targets a teammate. |
Swarm Enemies — Roamers and Skunks
Roamers
Roamers are the most common enemy in Toxic Commando. They have almost no health individually, but they spawn in enormous waves designed to overwhelm your reload speed and physically block your movement. A single headshot drops one, so the real challenge is maintaining accuracy under pressure while dozens rush you from multiple angles.
Avoid wasting explosives on small groups of Roamers. Rapid-fire weapons handle them efficiently. Keep backing up to prevent encirclement, and if you find yourself in a tight corridor with a swarm closing in, retreat to an open area before engaging. Choke points turn their numbers into a death sentence for you, not them.
Skunks
Skunks wear hazmat suits and move significantly faster than Roamers. They also have more health, but their real danger is a support ability that buffs nearby zombies with a lightning aura. If you see a cluster of Roamers glowing with electricity, a Skunk is somewhere in the crowd powering them up.
The fastest way to deal with a Skunk is to shoot the large tank mounted on its back. Destroying the tank causes the Skunk to stumble and frequently explode, which instantly removes the lightning buff from every zombie in the area. Prioritize Skunks the moment you spot a hazmat suit — leaving them alive makes every other enemy around them harder to kill.
Explosive Enemies — Nukers and Fire Nukers
Nukers
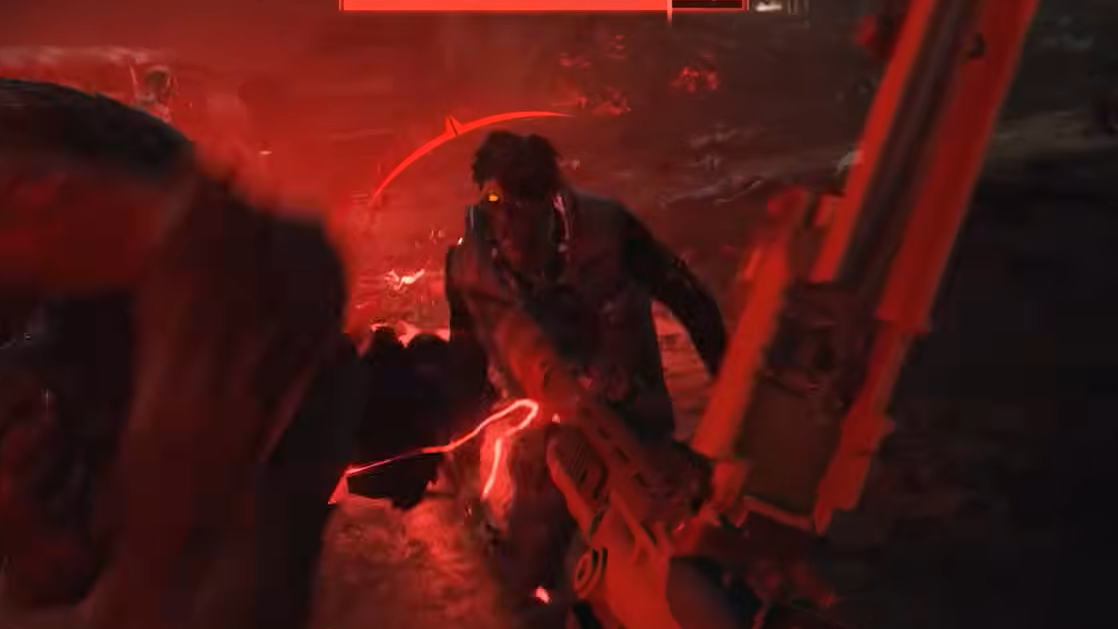
Nukers are walking bombs covered in glowing red pustules. They scream as they charge, giving you an audio cue before they reach you. If one detonates at close range, it can instantly kill you. The only safe approach is shooting the glowing red torso from as far away as possible.
Smart players can weaponize Nukers against the horde. Shoot a Nuker's legs to drop it in the middle of a pack of Roamers, then pop the torso to trigger the explosion and wipe out everything nearby. Always prioritize Nukers the instant they appear — letting one close the gap while you're distracted by lesser enemies is one of the most common ways to die in Toxic Commando.
Fire Nukers
Fire Nukers follow the same logic as standard Nukers but produce a significantly larger and more lethal fiery blast. You need even more distance before engaging one. Getting caught reloading in a confined space when a Fire Nuker is nearby will end your run. Treat them as the highest-priority target in any wave where they appear.
Ranged and Trapping Enemies — Stalkers and Snares
Stalkers
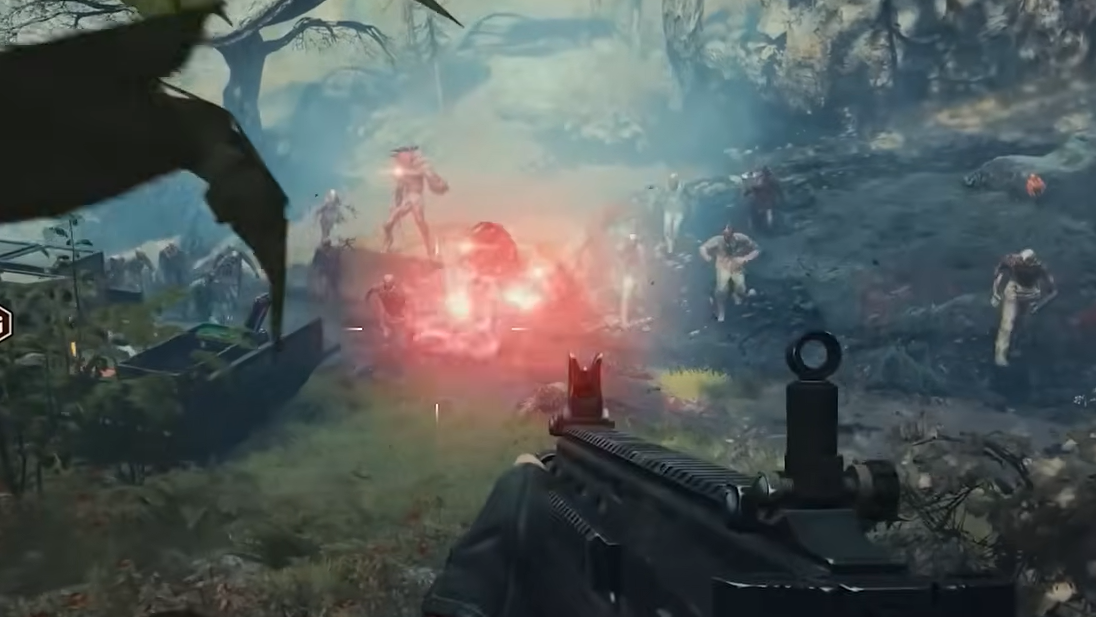
Stalkers stay at the edges of the map and attack from range with laser beams and rockets. They avoid direct confrontation, which makes them easy to ignore — and that's exactly what gets you killed. Their splash damage chips away at your health while you're focused on the melee horde, and over time, that attrition adds up fast.
Look for the massive, glowing red eye on their body. A scoped rifle or any precision weapon makes short work of them with a few clean shots to the eye. Shield abilities can block their projectiles, but eliminating them quickly is always the better option. Do not let Stalkers linger.
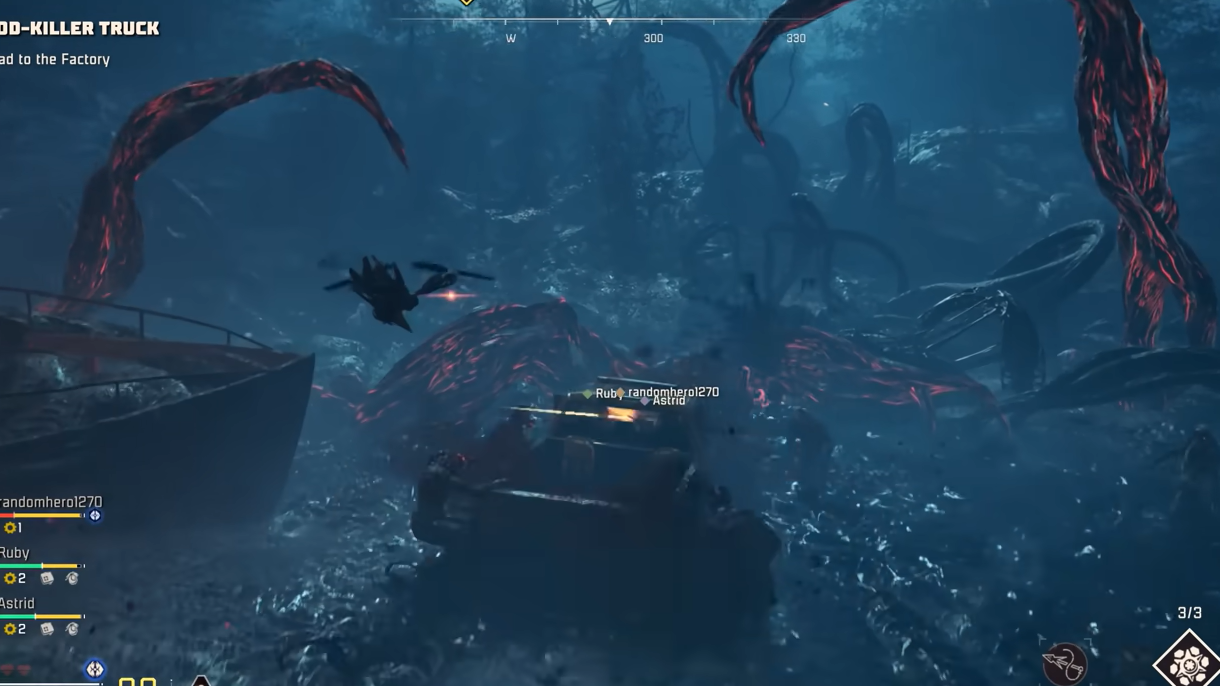
Snares
Snares resemble vine-covered versions of Goons. They function as trappers, slowly closing the distance before grabbing a player and locking them in place. Once grabbed, you're completely immobile and vulnerable to everything else on the map.
There's no breakable armor or obvious weak point on a Snare. They're bullet sponges that require sustained fire into the glowing sections of their vines until they collapse. If a teammate gets snatched, drop whatever you're doing and focus fire on the Snare immediately — every second they're pinned is a second the rest of the horde can pile on.
Heavy Enemies — Goons and Slobs
Goons
Goons are the bruisers of Toxic Commando's enemy roster. They have a massive health pool, move deceptively fast, and will charge directly at a player to grab and pin them to the ground. Getting pinned by a Goon while playing with AI companions is essentially a death sentence, since the bots rarely respond fast enough to save you.
To kill a Goon, aim for the head with sustained fire. Enough damage pops the armor off its skull, revealing a glowing weak point underneath. Solo players can exploit Goon pathing by kiting them around solid objects like cars or large trees — Goons cannot grab you through physical obstacles. Circle the object, keep landing headshots with a high-damage weapon, and they'll eventually go down.
Slobs
The Slob is the tankiest enemy in the game. It's a towering mass of flesh with lanky arms, an absurd health pool, and the ability to throw area-of-effect bombs that force you out of cover. Fighting a Slob is essentially a gear check — you need heavy weapons or concentrated fire from multiple teammates to bring one down in a reasonable time.
The good news is that the Slob's melee attack has a surprisingly narrow hitbox. If it's focused on a teammate, you can safely approach from the side or rear and dump your entire magazine into it. In solo play, keep moving and use the environment to create distance while unloading your heaviest firepower.
Environmental Hazards — Laser Plants and Tendrils
Beyond the main enemy roster, you'll occasionally encounter mutated flora. Laser Plants have a visible mane or ring around their beak — shoot the mane, or aim directly into the mouth to deal damage. Tendrils are even simpler: if your crosshair registers a hit marker, you're damaging it. Keep firing at the fleshy sections until the plant stops moving. Neither of these threats requires special tactics, but ignoring them while fighting a horde can lead to unnecessary damage.
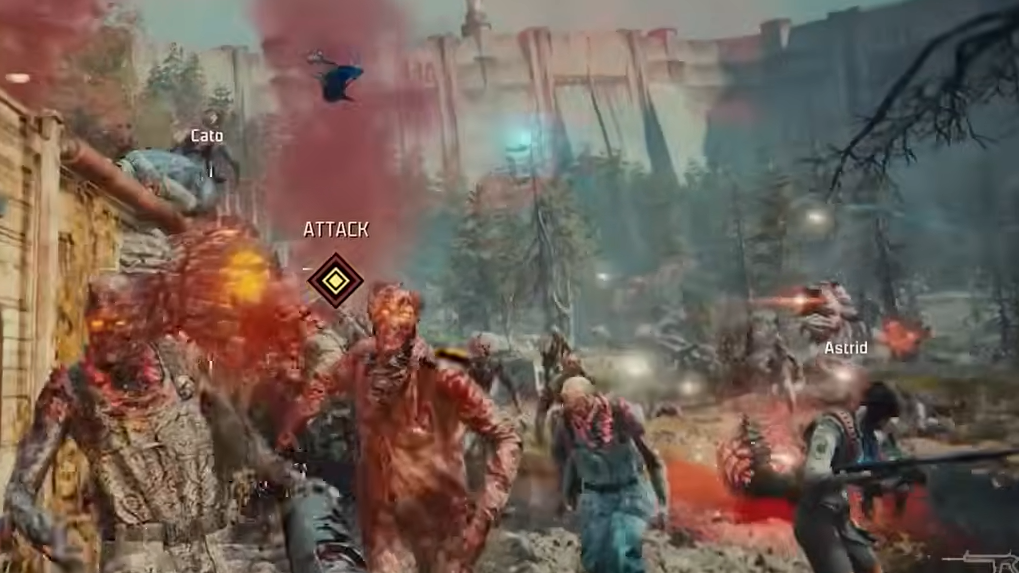
Red Weak Spot System
One of the most important combat mechanics in Toxic Commando is the red weak spot system. Stronger enemies display glowing red areas on their bodies that function as critical hit zones. Hitting these spots dramatically increases your damage output and is often the only efficient way to bring down elite or armored targets.
Precision weapons like scoped rifles and semi-auto guns are far more effective at consistently landing weak spot hits than automatic fire. In co-op, designating one player to handle weak spot targeting on elites while the rest manage crowd control is one of the most effective squad strategies available. Keep in mind that weak spots are not always stationary — some enemies shift or cover their vulnerable areas as they take damage, so you'll need to stay adaptive with your aim.
General Combat Priorities
Threat assessment matters more than proximity. A common mistake is always shooting the nearest enemy rather than the most dangerous one. Nukers, Fire Nukers, and Goons should jump to the top of your kill list the moment they appear, regardless of how far away they are. Train yourself to scan each incoming wave and identify high-priority targets before defaulting to the nearest Roamer.
Movement is equally critical. Standing still while enemies converge on your position is the fastest way to get overwhelmed. Strafe between cover, reposition after each burst of fire, and never let multiple enemy groups close in on the same spot simultaneously. Toxic Commando rewards players who stay mobile and punishes those who plant their feet.
Matching your weapon to the enemy type also makes a significant difference. High-rate-of-fire weapons clear Roamer swarms efficiently, while precision weapons are essential for hitting weak spots on Stalkers, Goons, and armored variants. No single loadout handles everything equally well, so building a versatile kit — or coordinating weapon roles with your squad — pays off across every mission.