
Accessories in Kaizen are equippable items that passively boost your stats — Cursed Energy, Melee, Defense, Weapon, Stamina, and, in some cases, Jump Height or Black Flash Chance. You can wear up to four at a time across the head/face, torso (front and back), and hands/arms slots, which means the right combination can dramatically shape your build.
Quick answer: Every accessory drops from a specific boss, raid, the Season 1 PvP Ranked Battlepass, or Silas's Accessory Shop. Higher tiers (Tier 2 and Tier 3) are obtained by fusing duplicate copies of the same accessory in the Accessories tab — there is no other upgrade path.
Silas's Accessory Shop — Purchasable Accessories
Six accessories can be bought directly from Silas's Accessory Shop without fighting anything. All six share identical stat lines, granting pure Defense at every tier.
| Accessory | Tier 1 | Tier 2 | Tier 3 |
|---|---|---|---|
| Hood | +1 Defense | +2 Defense | +4 Defense |
| Mask | +1 Defense | +2 Defense | +4 Defense |
| Scarf | +1 Defense | +2 Defense | +4 Defense |
| Collar | +1 Defense | +2 Defense | +4 Defense |
| Ski Mask | +1 Defense | +2 Defense | +4 Defense |
| Vampire Wings | +2 CE, +2 Melee, +2 Weapon | +2 CE, +3 Melee, +2 Weapon | +4 CE, +3 Melee, +2 Weapon |
Vampire Wings is the standout here because it spreads stats across three categories instead of just Defense. The other five are interchangeable filler pieces useful early on.

Story Boss Drops
Story Bosses respawn within one to five minutes and have fixed spawn locations, making them the most farmable accessory sources. Drop chances range from a generous 70% down to a punishing 4.5%.
| Accessory | Boss | Drop % | Tier 3 Perks |
|---|---|---|---|
| Brace Knuckles | Raiken | 70% | +4 Melee |
| Furr Coat | Cathy | 30% | +4 Cursed Energy |
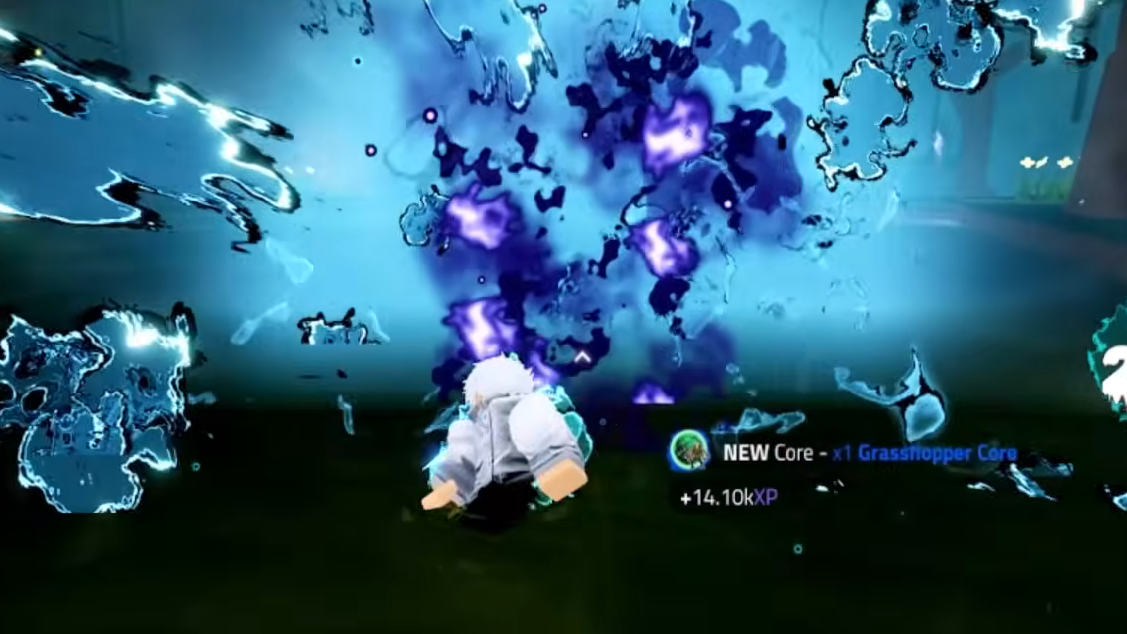
| Grasshopper Wings | Grasshopper | 10% | +3 Stamina, +10% Jump Height, +5 Defense |
| Mushroom Gauntlets | Shroom Chief | 10% | +5 Stamina, +3 Melee |
| Frost Pauldron | Frostbound Titan | 10% | +5 Defense, +6 Melee |
| Frog Crown | Frog King | 9.2% | +3 CE, +4 Melee, +3 Defense |
| Jaw Mask | Toxic Waste Curse | 8.4% | +5 Defense, +6 Weapon |
| Eye Pendant | Cyclops | 8% | +5 CE, +5 Defense |
| Red Claws | Finger Bearer | 6.2% | +4 CE, +7 Weapon |
| Prayer's Beads | Grin Curse | 5.3% | +7 CE, +4 Melee |
| Ironclad Gauntlets | Ironclad Gnasher | 4.5% | +11 Defense |
Ironclad Gauntlets deserve special mention. At Tier 3, they provide +11 Defense — the single highest single-stat bonus on any accessory in the game —, but the 4.5% drop rate from the Ironclad Gnasher in Shibuya means you will be farming for a while.
World Boss Drops
World Bosses are rarer, tougher, and follow different spawn rules. They respawn ten minutes after defeat, some have low spawn chances requiring server-hopping, and you must deal at least 15% of a World Boss's max HP to qualify for any loot at all.
| Accessory | World Boss | Drop % | Tier 3 Perks |
|---|---|---|---|
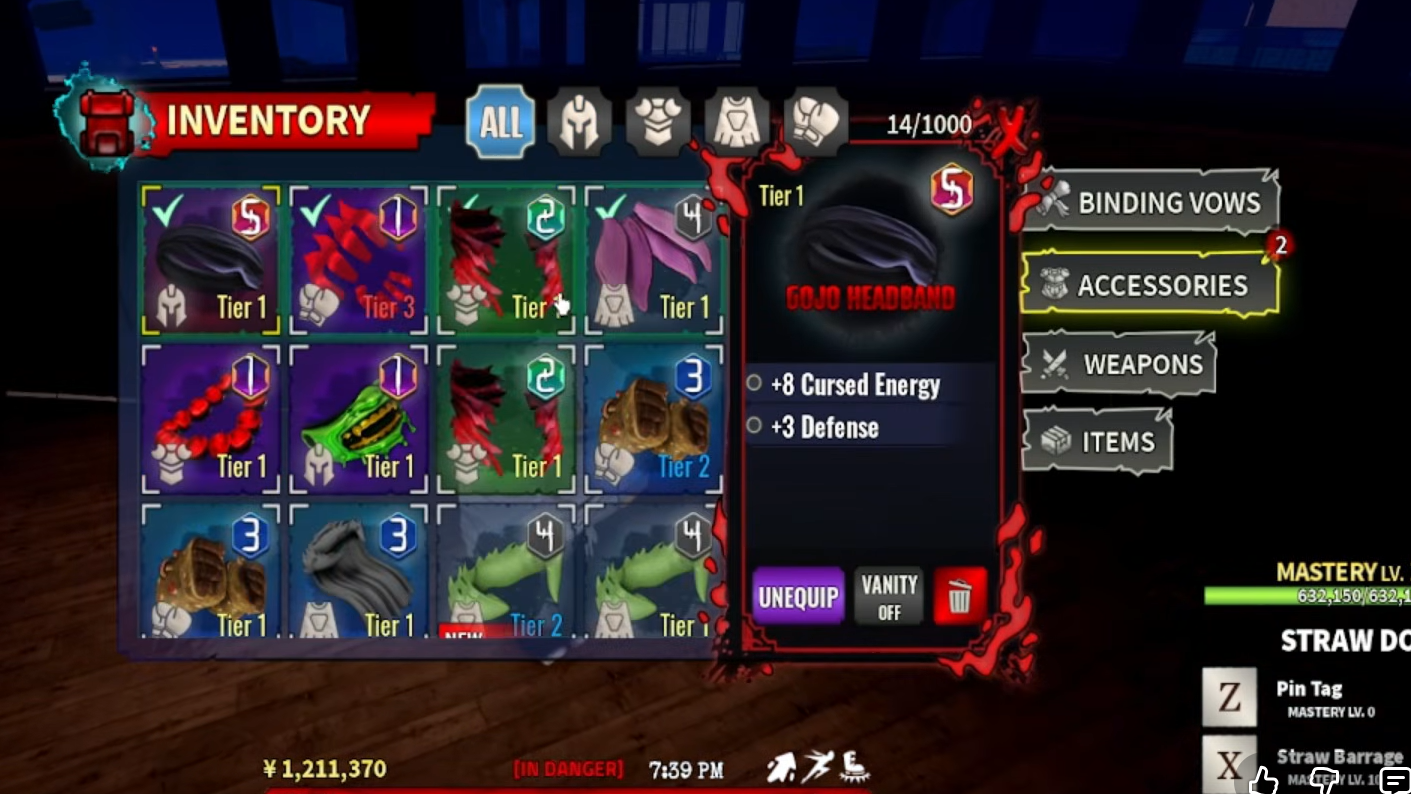
| Gojo Headband | Gojo | 5.3% | +10 CE, +4 Defense |
| Eso Bandages | Eso | 5.1% | +3 Melee, +3 CE |
| Demon Arms | Itadori | 5% | +7 Melee, +7 Stamina, +5% Black Flash Chance |
| Malevolent Flame Pauldron | Sukuna | — | +7 CE, +7 Defense |
Demon Arms is one of the strongest physical-build accessories in Kaizen. The +5% Black Flash Chance stacks with other Black Flash accessories, and the raw Melee and Stamina numbers at Tier 3 are among the highest available. The catch is that Itadori has a notoriously low spawn rate, so expect to hop servers repeatedly.
The Gojo Headband offers the highest single-accessory Cursed Energy bonus at Tier 3 (+10 CE), making it the top pick for CE-focused builds.
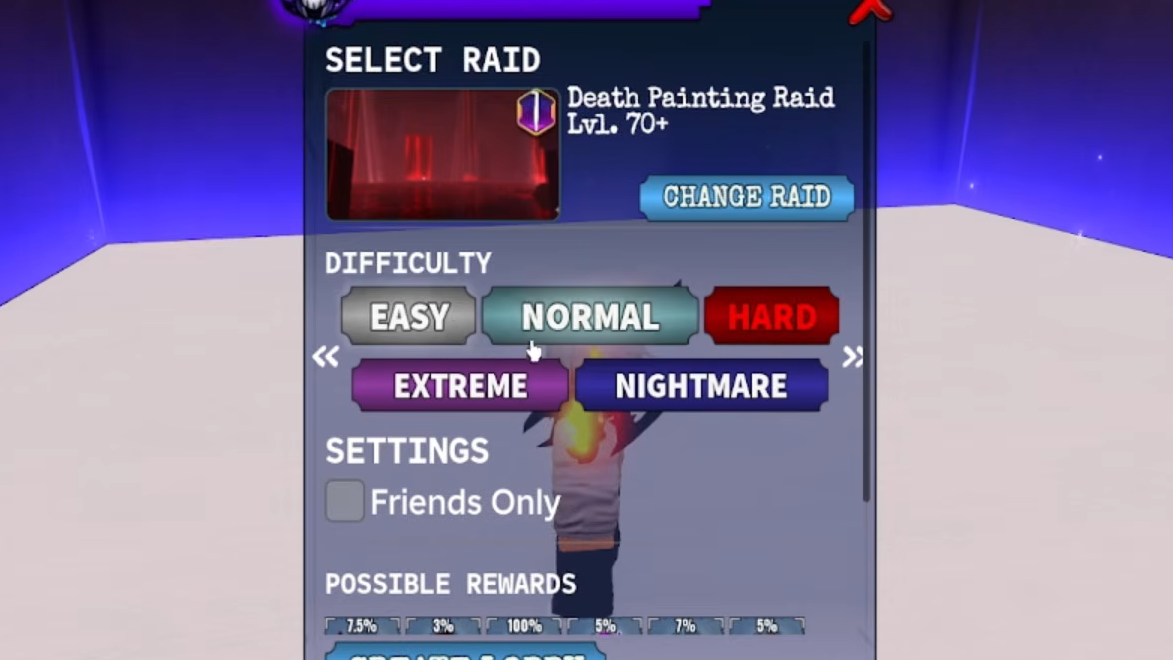
Raid Drops — Mahito, Maki, and Death Painting
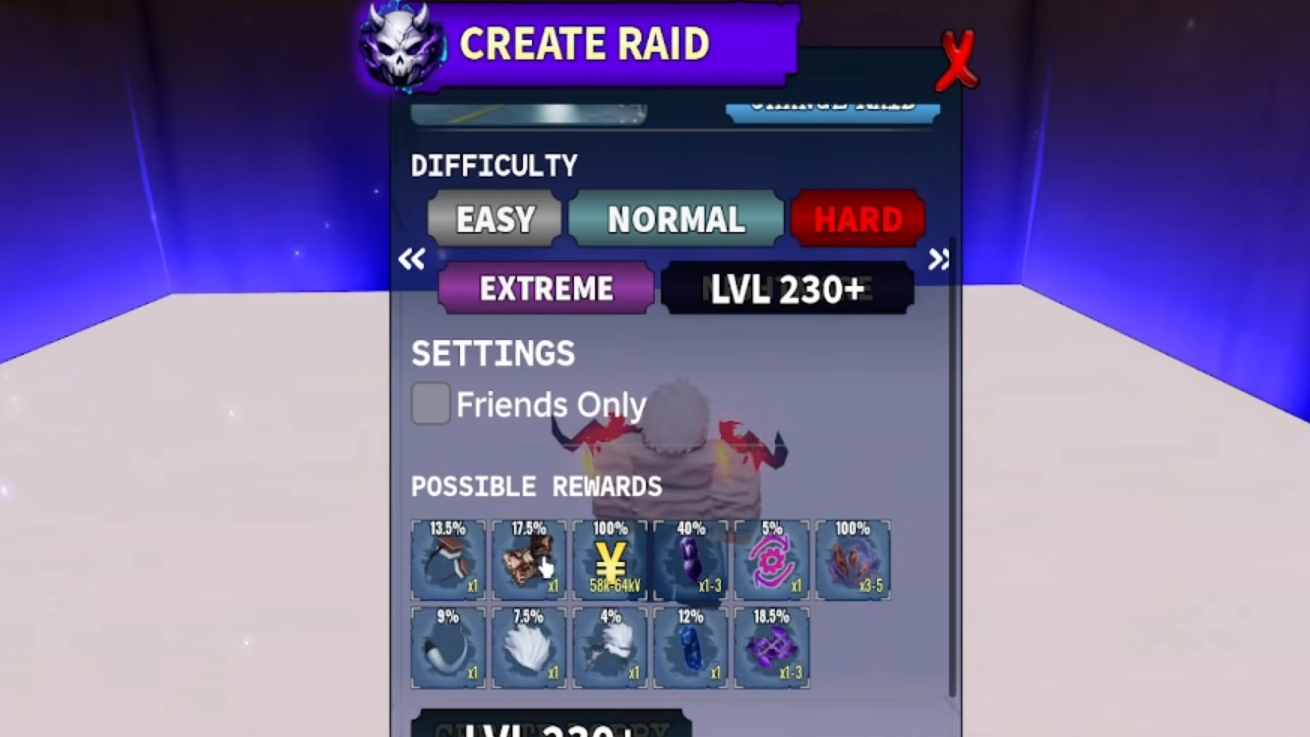
Raids offer the densest concentration of high-stat accessories, but drop rates scale with difficulty. Running higher difficulties is always worth it if your build can handle it.
Mahito Raid Accessories
| Accessory | Difficulties | Drop Range | Tier 3 Perks |
|---|---|---|---|
| Polymorphic Gauntlets | Easy–Nightmare | 5%–17.5% | +7 CE, +5 Melee, +5% Black Flash |
| Mahito's Gauntlet | Easy–Nightmare | 2%–13.5% | +7 Defense, +7 CE, +5% Black Flash |
| Mahito's Tail | Extreme–Nightmare | 7.5%–9% | +4 Stamina, +6 Defense, +4 CE |
| Mahito's Broken Mask | Extreme–Nightmare | 6%–7.5% | +6 Weapon, +4 Stamina, +2 Melee |
| Mahito's Mask | Nightmare only | 4% | +5 CE, +6 Defense, +3 Melee |
The Mahito Raid is the only place to get accessories with +5% Black Flash Chance outside of the Itadori World Boss. Both the Polymorphic Gauntlets and Mahito's Gauntlet carry this perk at every tier, making the raid essential for Black Flash builds. Mahito's Mask is the rarest of the set, dropping only on Nightmare difficulty at a 4% rate.
Maki Raid Accessories
| Accessory | Difficulties | Drop Range | Tier 3 Perks |
|---|---|---|---|
| Arm Bandages | Easy–Nightmare | 5%–16.5% | +3 CE, +2 Defense, +5 Melee |
| Cursed Bandages | Easy–Nightmare | 3%–10% | +4 CE, +4 Defense, +1 Melee |
| Cursed Mask | Easy–Nightmare | 2%–9.5% | +6 Weapon, +3 Defense, +2 Stamina |
| Maki Bandages | Easy–Nightmare | 0.5%–7.5% | +5 Melee, +7 Weapon, +2 Defense |
| Maki Cloak | Easy–Nightmare | 0.2%–5% | +4 Stamina, +5 Weapon, +5 Melee |
The Maki Cloak has the lowest base drop rate of any raid accessory — just 0.2% on Easy. Even on Nightmare, it only climbs to 5%. Its Tier 3 stats make it one of the strongest melee/weapon hybrid pieces, but collecting enough duplicates to fuse it to Tier 3 requires serious dedication.
Death Painting Raid Accessories
| Accessory | Difficulties | Drop Range | Tier 3 Perks |
|---|---|---|---|
| Crimson Guard | Easy–Nightmare | 7.5%–18% | +7 Defense, +3 CE |
| Crimson Fists | Easy–Nightmare | 3%–12% | +5 CE, +6 Melee |
| Wing King | Normal–Nightmare | 3%–7% | +5 Defense, +7 CE, +13.5 Jump Height |
| Blood Tendrils | Normal–Nightmare | 0.8%–4% | +4 Defense, +8 CE, +1 Melee |
Wing King is unique because it provides a flat +13.5 Jump Height bonus at all tiers, which no other accessory offers at that magnitude. Combined with solid CE and Defense, it fills a niche for mobility-focused builds. Blood Tendrils, meanwhile, packs the highest raw Cursed Energy of any raid drop (+8 CE at Tier 3) but has an extremely low drop floor of 0.8% on Normal.
Season 1 PvP Ranked Battlepass Accessories
Six accessories are locked behind specific tiers of the Season 1 Ranked Battlepass. These cannot be farmed from bosses or raids — the only way to get them is by climbing PvP Ranked.
| Accessory | Battlepass Tier | Tier 3 Perks |
|---|---|---|
| Todo Necklace | Tier 6 | +3 Melee, +5 CE, +3 Stamina |
| Nanami Tie | Tier 10 | +8 CE, +6 Melee |
| Gojo Sunglasses | Tier 20 | +7 CE, +5 Melee, +2 Defense |
| Kitsune Mask | Tier 30 | +7 Weapon, +4 Stamina, +3 Melee |
| Talisman Gauntlets | Tier 35 | +8 CE, +6 Melee |
| Oni Mask | Tier 40 | +5 Weapon, +3 Stamina, +6 CE |
The Nanami Tie and Talisman Gauntlets share identical Tier 3 stats (+8 CE, +6 Melee), making them interchangeable for CE/Melee hybrid builds. Reaching Tier 40 for the Oni Mask requires significant PvP investment, but the triple-stat spread across Weapon, Stamina, and Cursed Energy makes it versatile.
How to Upgrade Accessories to Tier 2 and Tier 3
There is no crafting recipe or currency cost for upgrading accessories. The only method is fusing duplicates. Open the Accessories tab in your inventory, select the accessory you want to upgrade, and fuse a second copy of the same accessory into it. Doing this once produces Tier 2; repeating the process with another duplicate produces Tier 3. This means you need a minimum of three total copies of any accessory to reach its maximum potential.
For accessories with very low drop rates — Blood Tendrils at 0.8% on Normal, or Maki Cloak at 0.2% on Easy — reaching Tier 3 represents a massive time investment. Running higher raid difficulties significantly improves your odds and should always be the priority once your build can handle it.
Recommended Loadouts by Build Type
Since you can equip four accessories simultaneously, choosing the right combination matters more than any single piece.
For a melee build, the strongest four-piece set is Talisman Gauntlets, Arm Bandages, Maki Cloak, and Nanami Tie. At Tier 3, this combination delivers massive Melee alongside meaningful Stamina, Weapon, Cursed Energy, and Defense bonuses.
For a Black Flash build, stack Demon Arms with either Polymorphic Gauntlets or Mahito's Gauntlet. CE-focused players should lean toward the gauntlets, while physical builds benefit more from Demon Arms' raw Melee and Stamina. Fill the remaining slots with high-CE pieces like Gojo Headband or Prayer's Beads.
For a pure defense build, Ironclad Gauntlets (+11 Defense at Tier 3), Crimson Guard (+7 Defense, +3 CE), Malevolent Flame Pauldron (+7 CE, +7 Defense), and Mahito's Tail (+4 Stamina, +6 Defense, +4 CE) create an extremely tanky loadout with enough Cursed Energy to still use techniques effectively.
Kaizen's accessory system rewards targeted farming. Knowing exactly which boss, raid, or Battlepass tier drops the piece you need — and at what percentage — saves hours of aimless grinding. Focus on the accessories that complement your build, run the highest difficulty you can survive, and fuse duplicates the moment you have them.