
Quick answer: Poppy Playtime Chapter 5 contains 35 collectible notes spread across the Harvest Processing Center, Recycling & Reclamation, Giblet's Hideout, Biodiversity Labs, Engineering Workshop, the path to Reanimation, Lily's Mansion, the Reanimation labs, and the final Data Center. All of them can be picked up during a single playthrough if you know where to look.
Harvest Processing Center — Notes 1 through 3
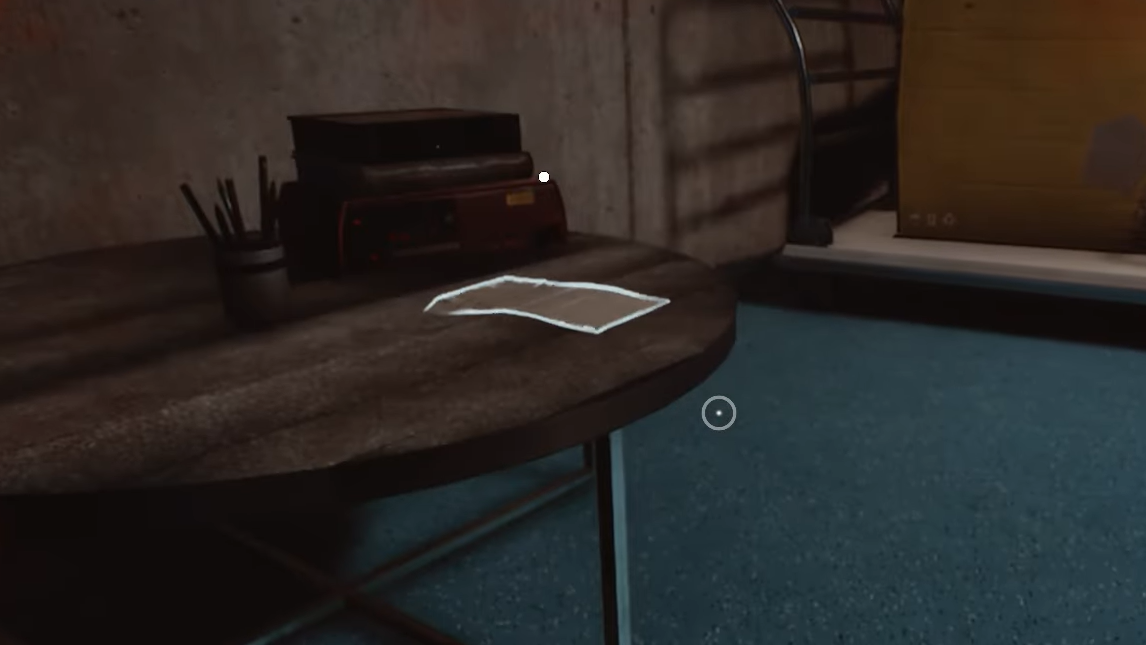
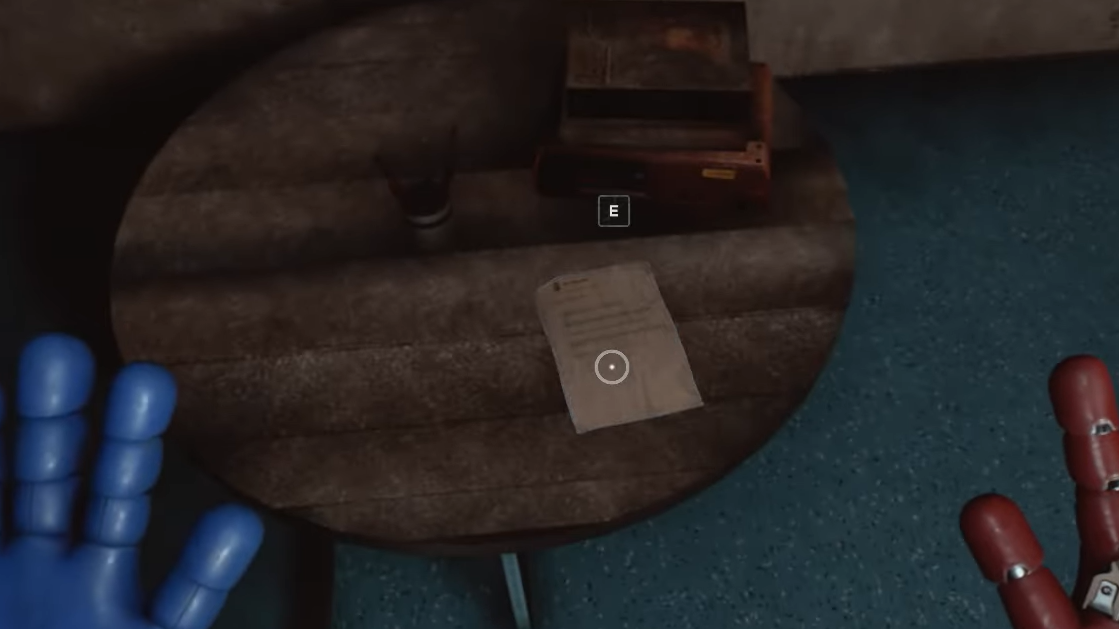
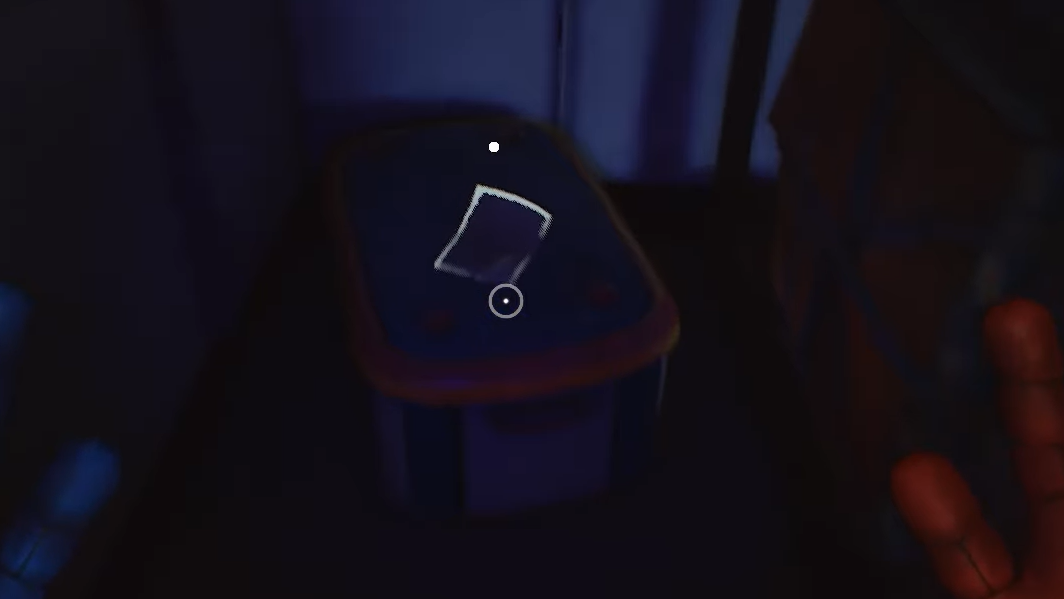
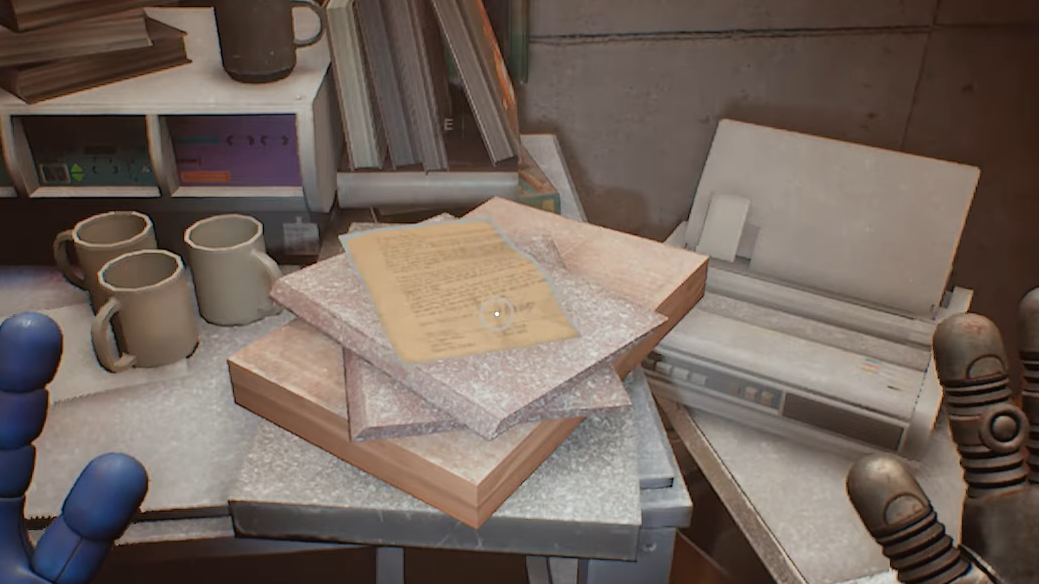
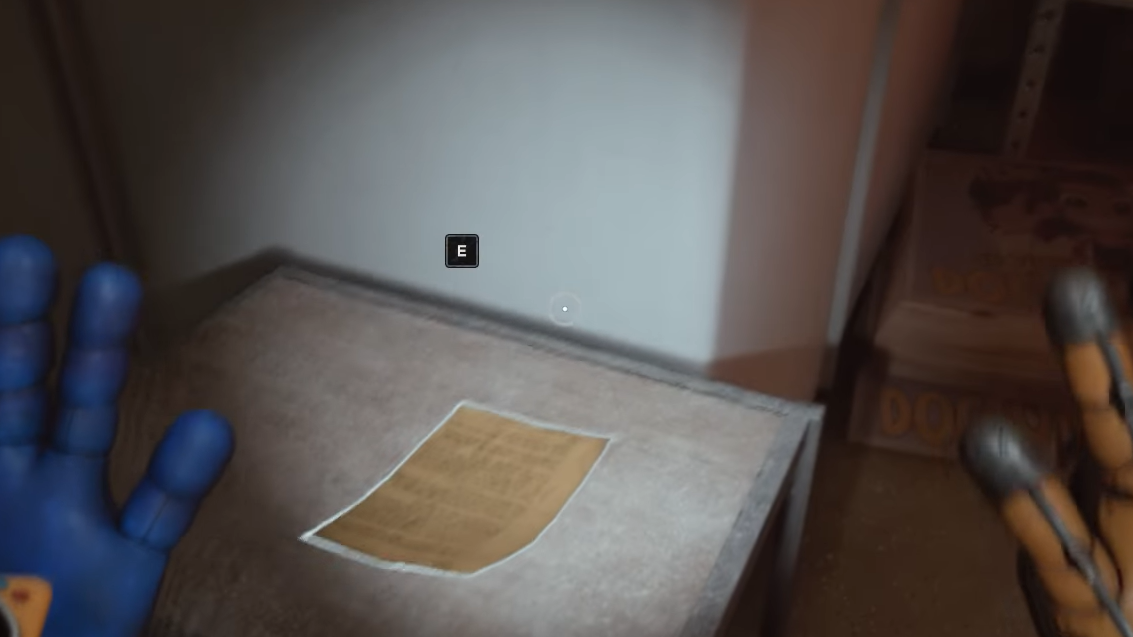
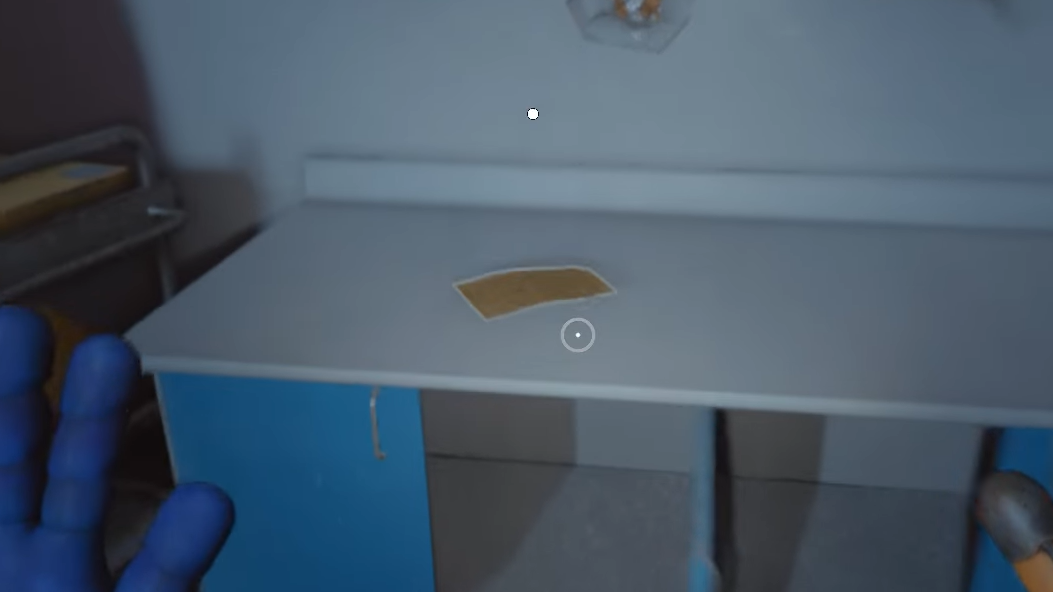
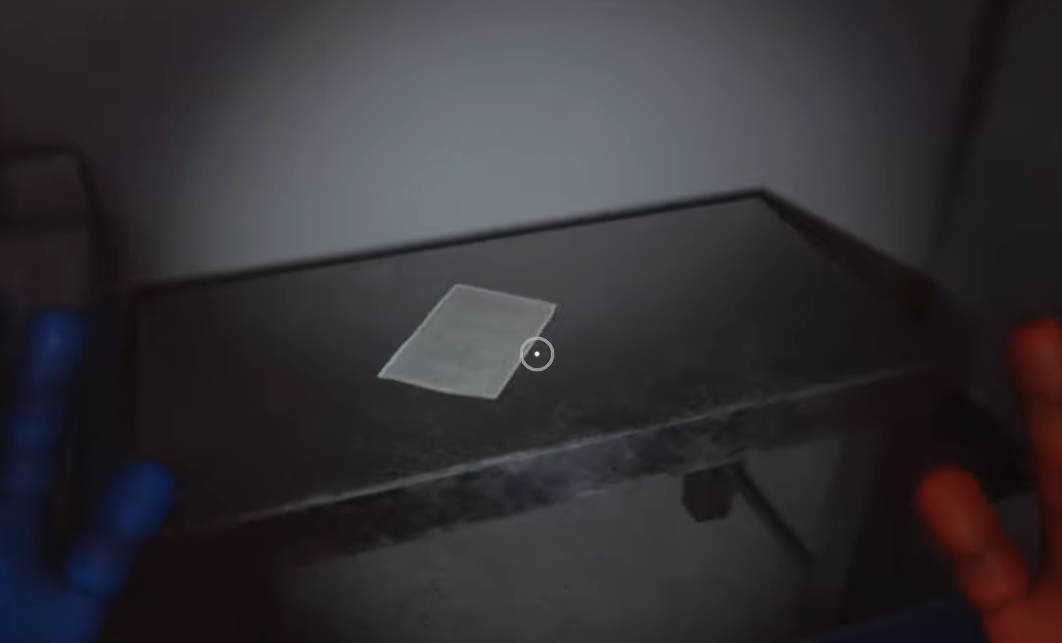
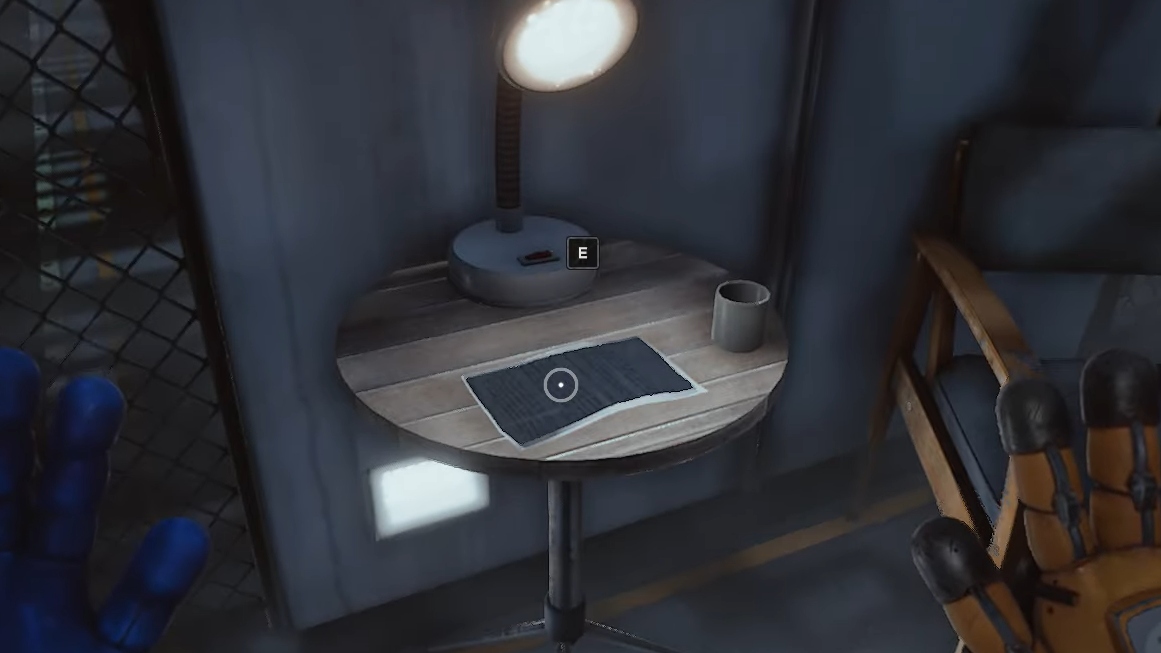
Note 1 — An Intercepted Communique. Immediately after surviving the opening Huggy Wuggy chase and dropping out of the ventilation shaft, turn around. The note is sitting on a small table in the corner behind you.
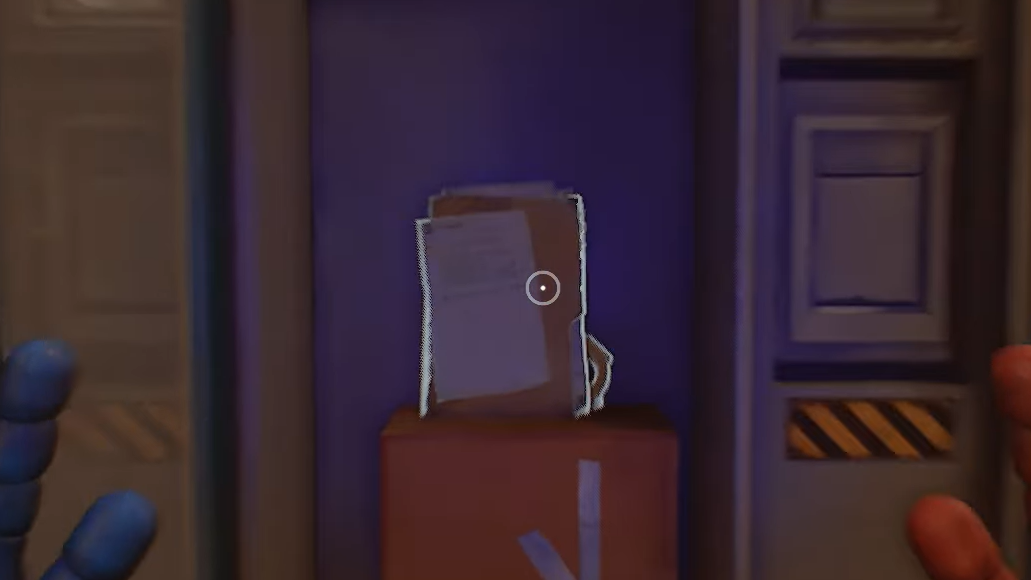
Note 2 — Shipping Manifest – July '95. Once you grapple across the first walkway, you'll enter a room packed with shipping containers and crates. Move the boxes on the left side to squeeze into a tight gap between the containers. The manifest is tucked inside.
Note 3 — Inventory – September '95. This note is in the same container room, but up high. Stack the movable boxes — start with the large yellow crate, then pile smaller boxes on top of it near the corner — until you can jump to an elevated alcove. The document is around the corner once you make it up.
Recycling & Reclamation — Notes 4 through 6
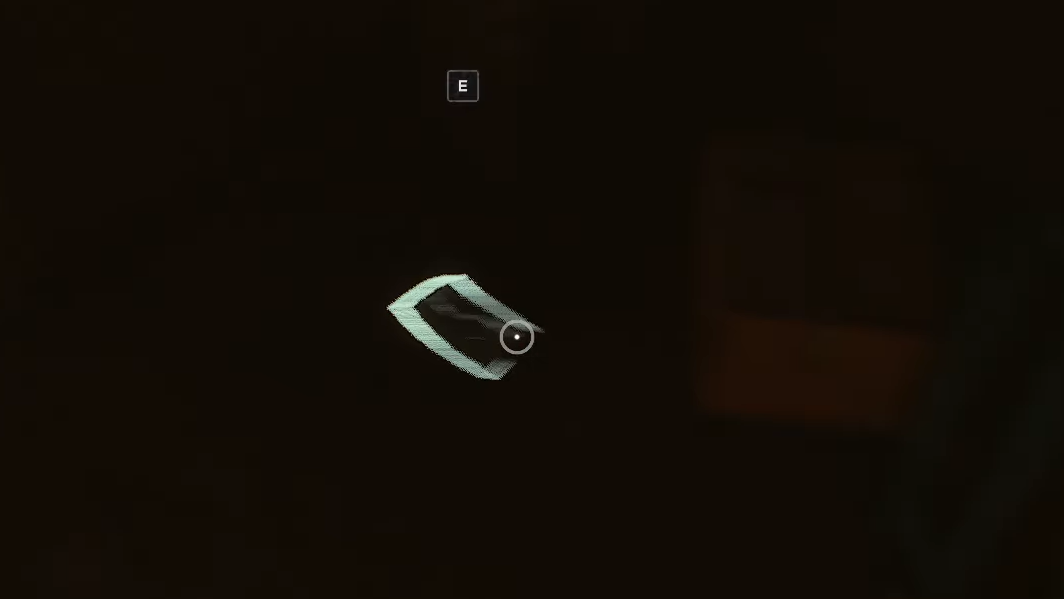
Note 4 — Wrongside Outimal Branding Note. While following the small creature and flipping power switches, you'll pass a cardboard house labeled "Home" and then reach a door. Go through the door, close it behind you, and the note is right there on the back side.
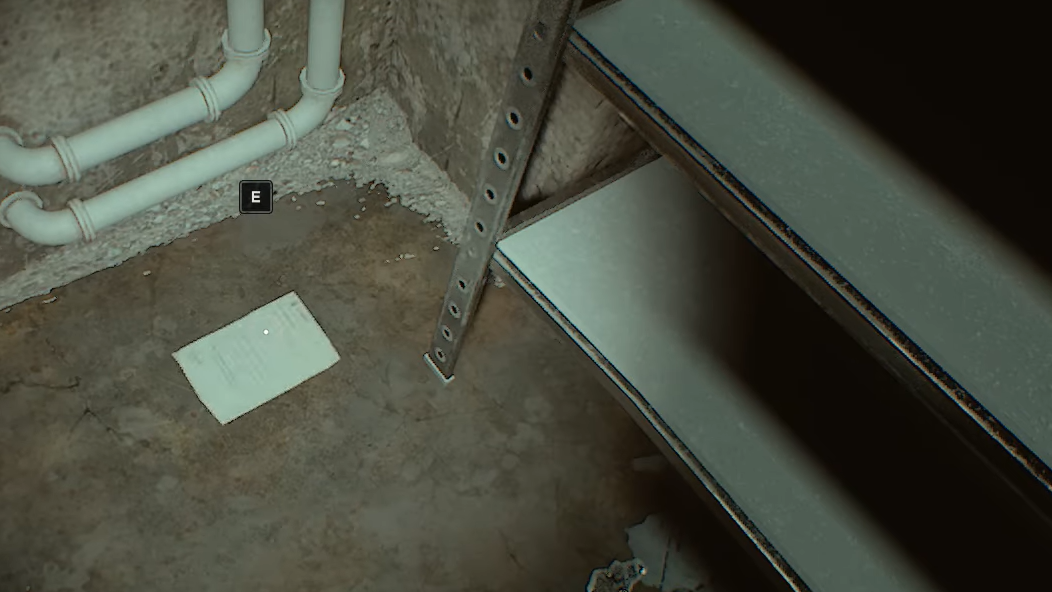
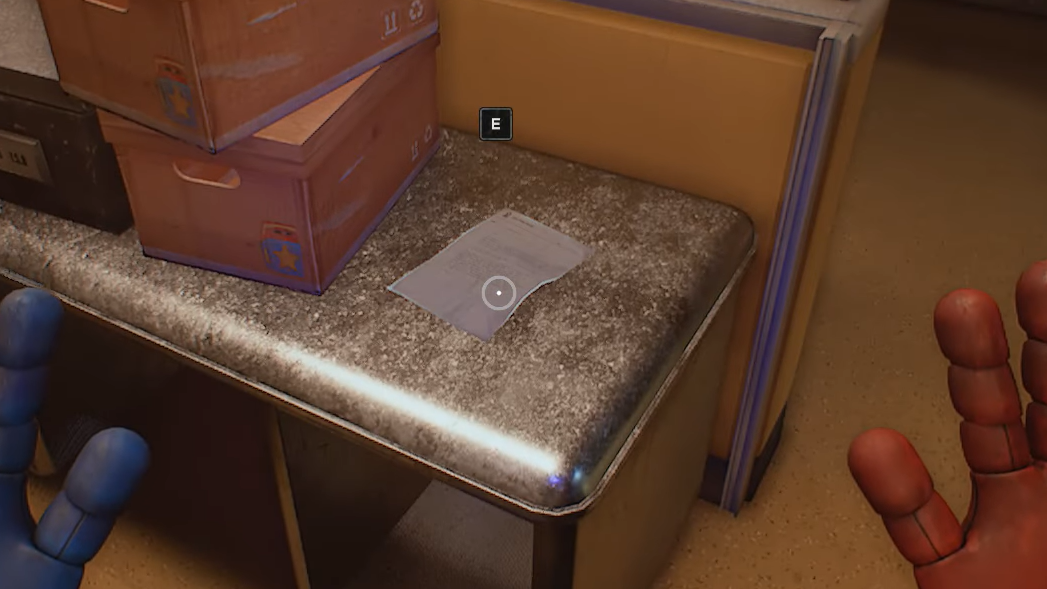
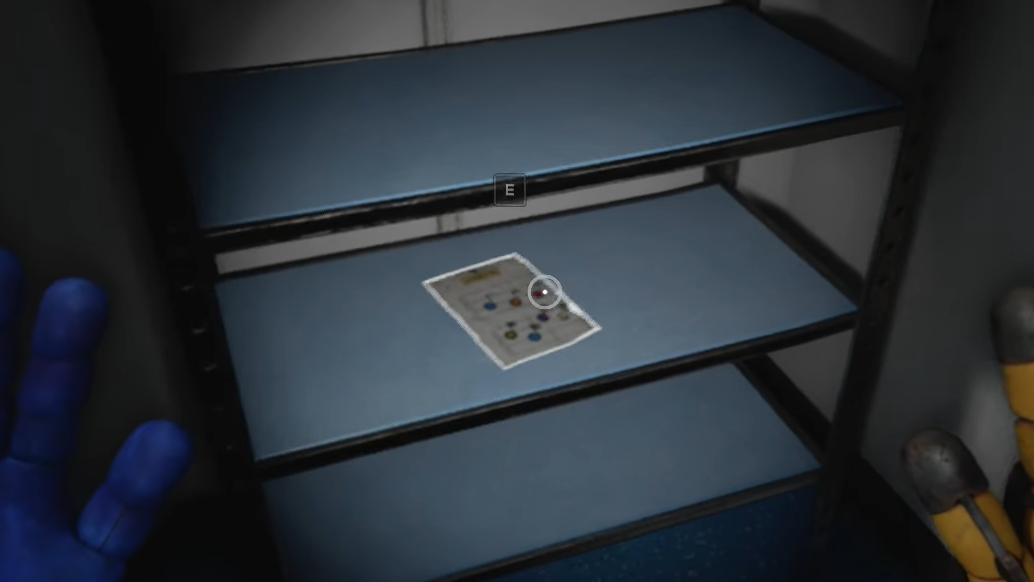
Note 5 — Work Procedures: Recycling and Reclamation. After obtaining the flashlight (Starlight), head left out of the building and use the light to keep Outimals at bay. Check the far right corner of the room with the metal shelves near the conveyor belt. The note is on the floor.
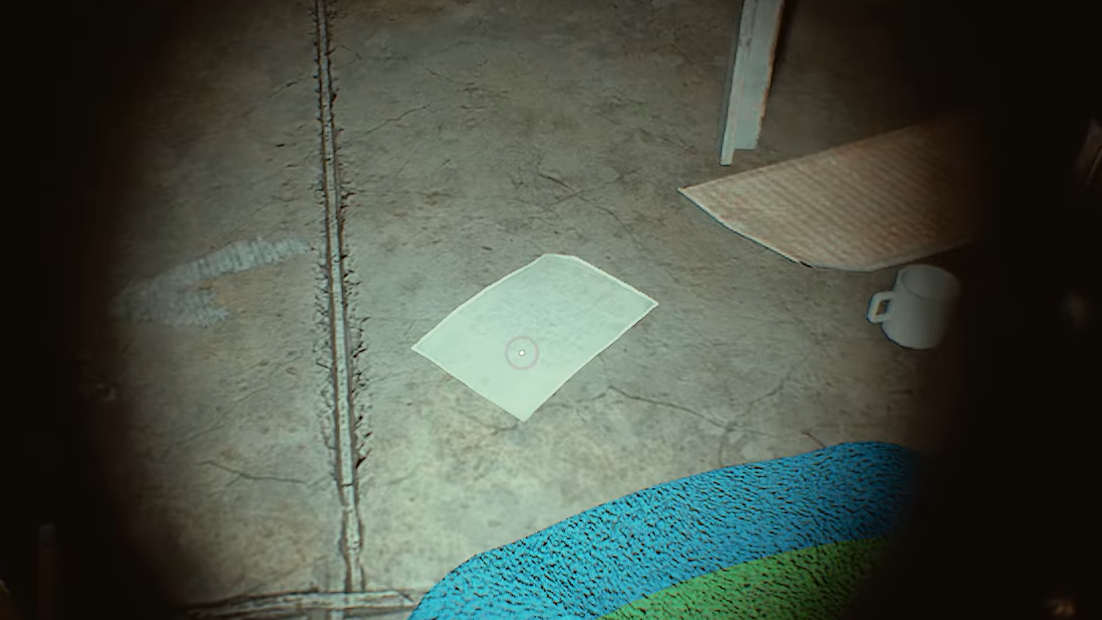
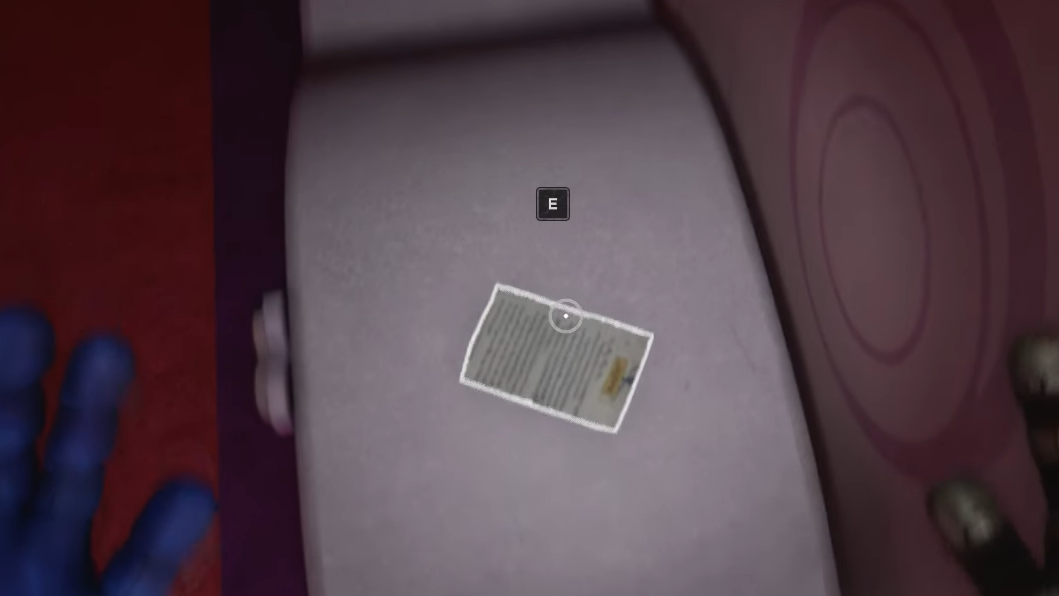
Note 6 — Outimal Note. Backtrack toward the main area, keeping your flashlight trained on any Outimals. When you reach a room with a glass window looking into another space, go through the broken window using a board, then enter the door on the right. It leads to a bathroom where the note is hiding under a makeshift tent.
Giblet's Hideout — Notes 7 and 8
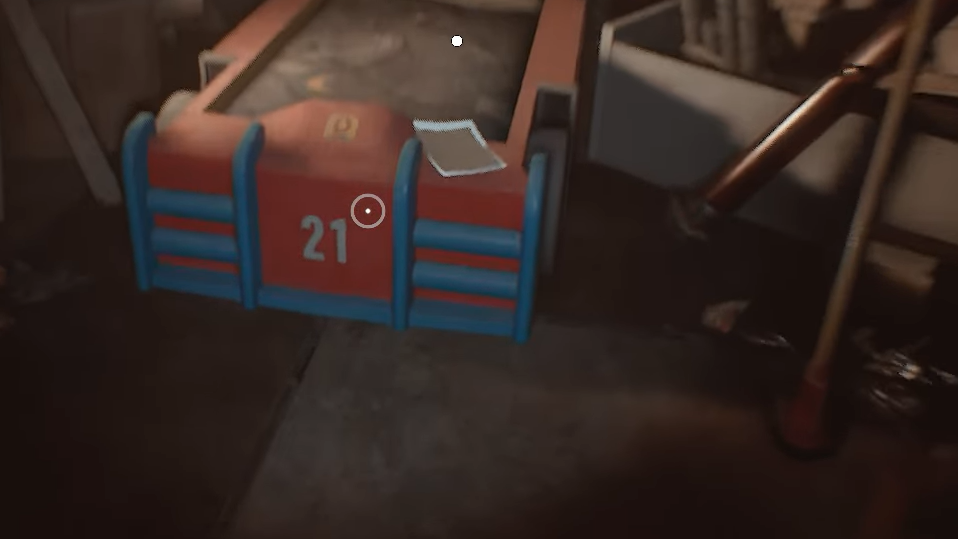
Note 7 — Giblet's Checklist. After speaking with Giblet, turn around. The checklist is lying on his racecar bed, marked with the number "21."
Note 8 — The Better Press, Issue 14. Still in Giblet's room, walk to the opposite side and check his workbench near the Doey the Doughman rug.
Biodiversity Labs — Notes 9 through 11
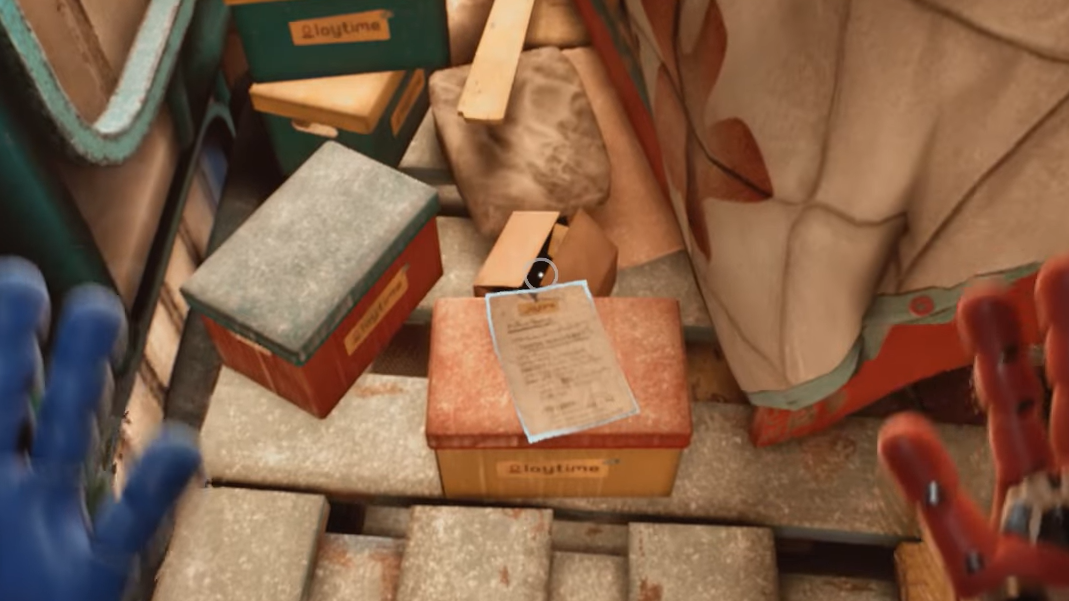
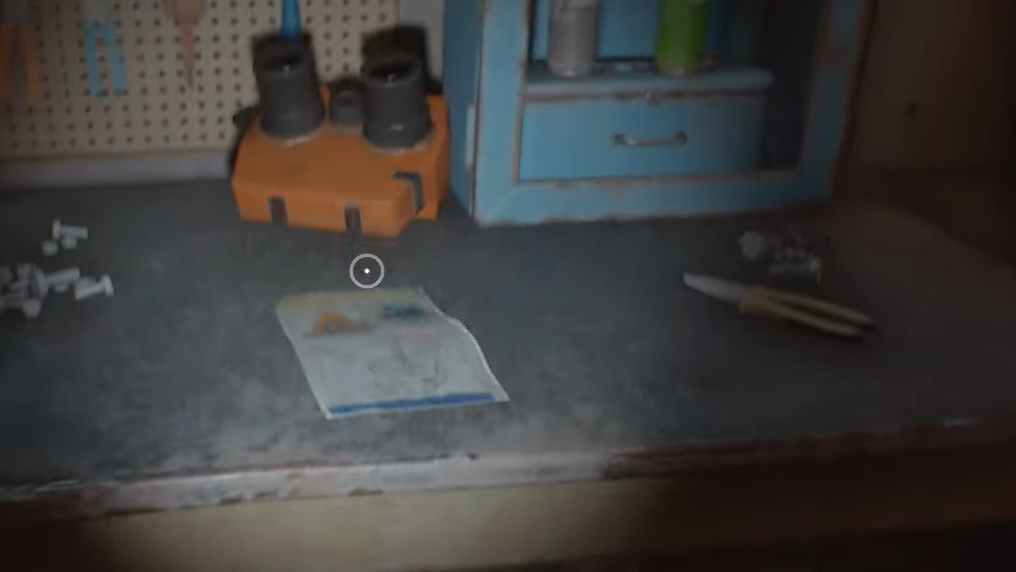
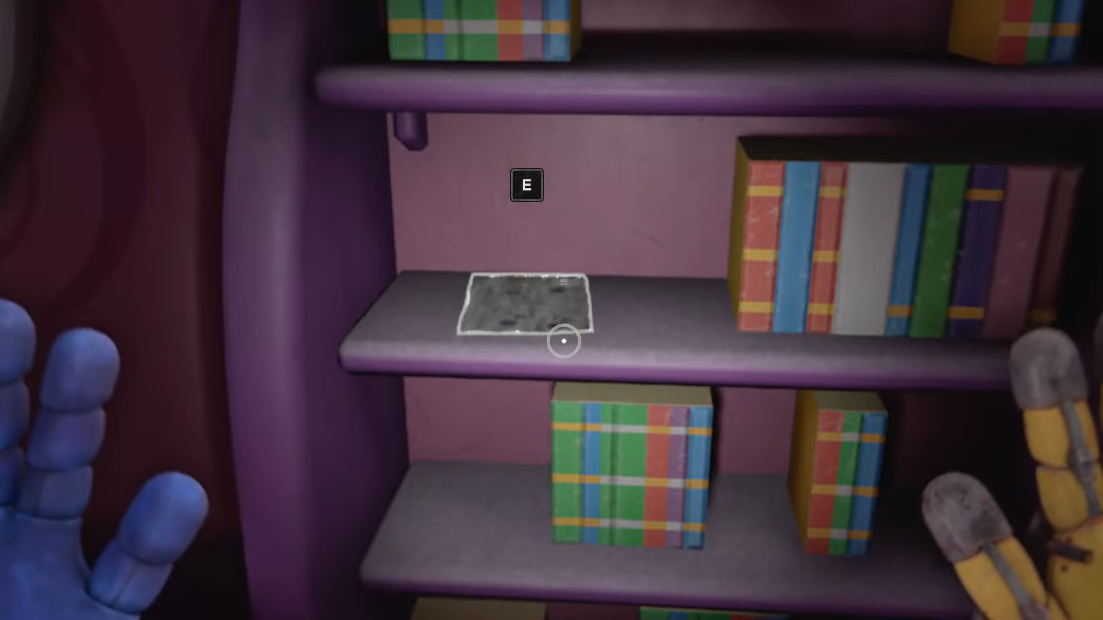
Note 9 — Lab Report: Medium Growth and Plantlife. When you first enter the Biodiversity Lab, turn left. The note is resting on a pile of colored boxes just inside the entrance. It's easy to walk right past if you head straight for the main path.
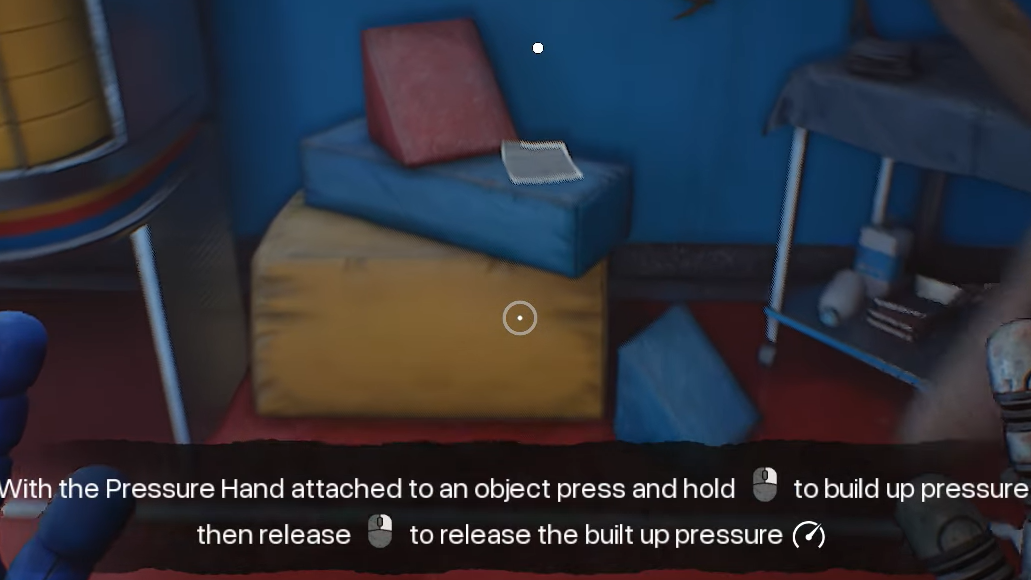
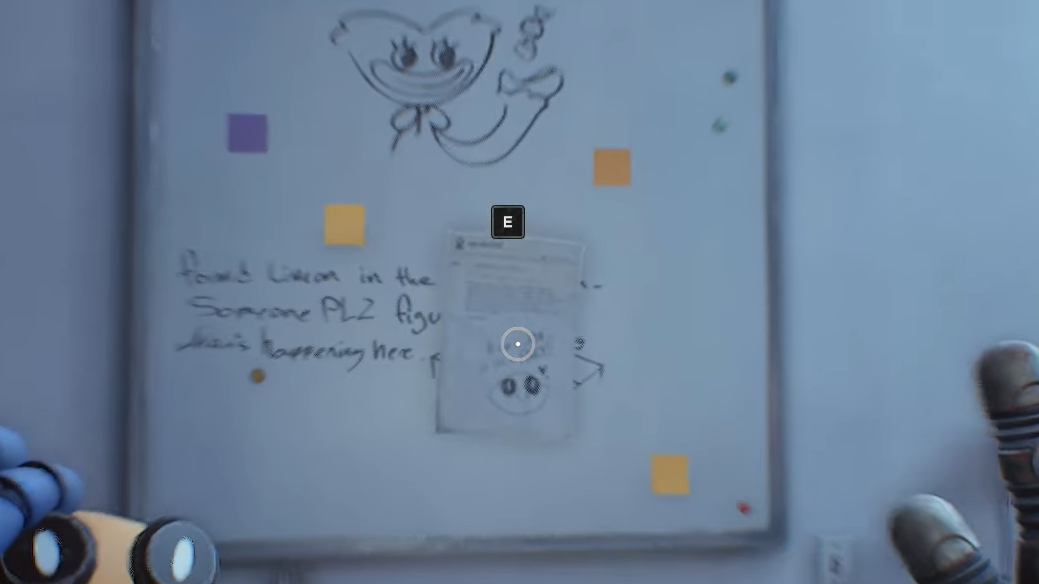
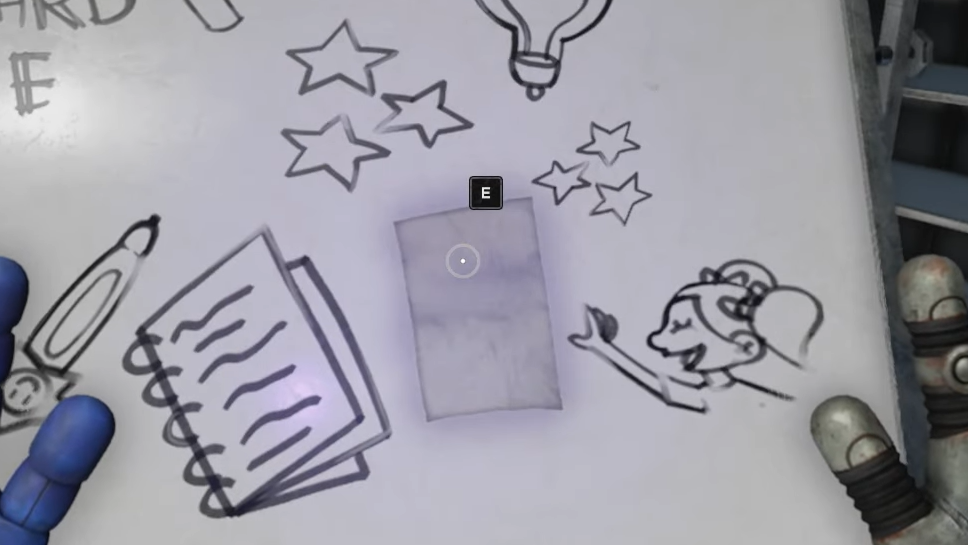
Note 10 — Reminder. You'll spot a locked office through glass with a whiteboard inside. To reach it, look for a broken vent you can bust open with the Pressure Hand. Crawl through, then use the grab mechanic to pull yourself across a gap to the office. The Reminder note is on the whiteboard. While you're in there, you can also reunite Limon with his family if you found him earlier.
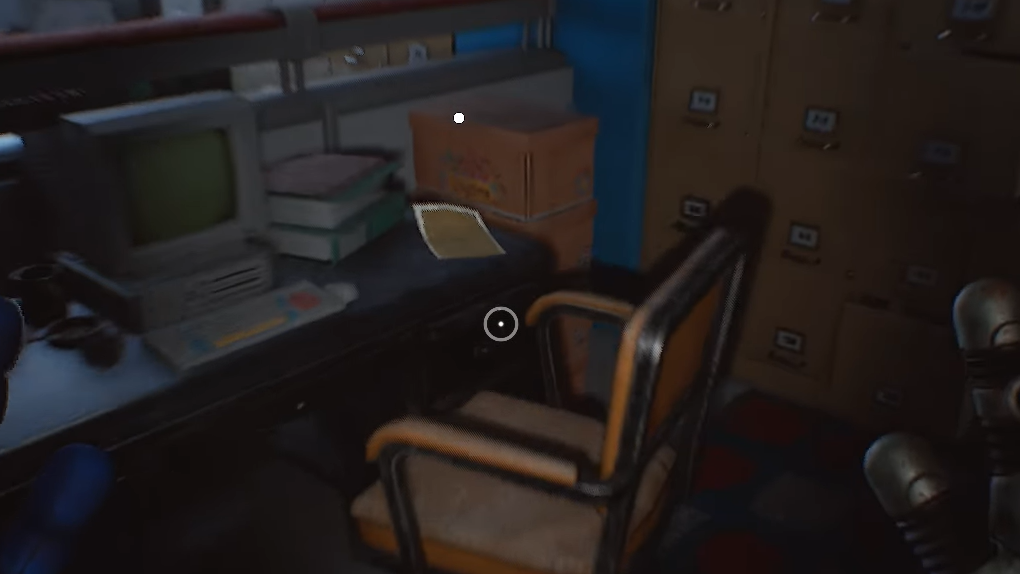
Note 11 — Dr. Arkin's Personal Letter 1. After passing through the large tree room in the Biodiversity Labs, you'll enter a new section with desks. The letter is sitting on top of one of them in plain sight.
Engineering Workshop — Notes 12 through 19
Note 12 — GrabPack Hands Rejection. Right after the decontamination sequence following the walkway puzzle with Giblet, go straight to the far wall and turn right. The note is tucked behind shelving in the back right corner of the Engineering Room.
Notes 13–19 — Master Backup? and Negation Compound Presentation (1–6). These seven documents all come from a single locked locker. Flip the whiteboard in the Engineering Workshop and use your UV light on the back to reveal a circled number and letter code. This code is randomized on every playthrough, so yours will differ from anyone else's. Find the matching box on the shelves, read the digits, and enter them into the nearby keypad. Opening the locker yields the "Master Backup?" note plus all six pages of the Negation Compound research.
Engineering Wing — Notes 20 through 22
Note 20 — Letter to Leith #1. After unlocking the magnet ability, use it to pull yourself across the bridge into the next area. The letter is on a desk right before the doorway leading deeper into the wing.
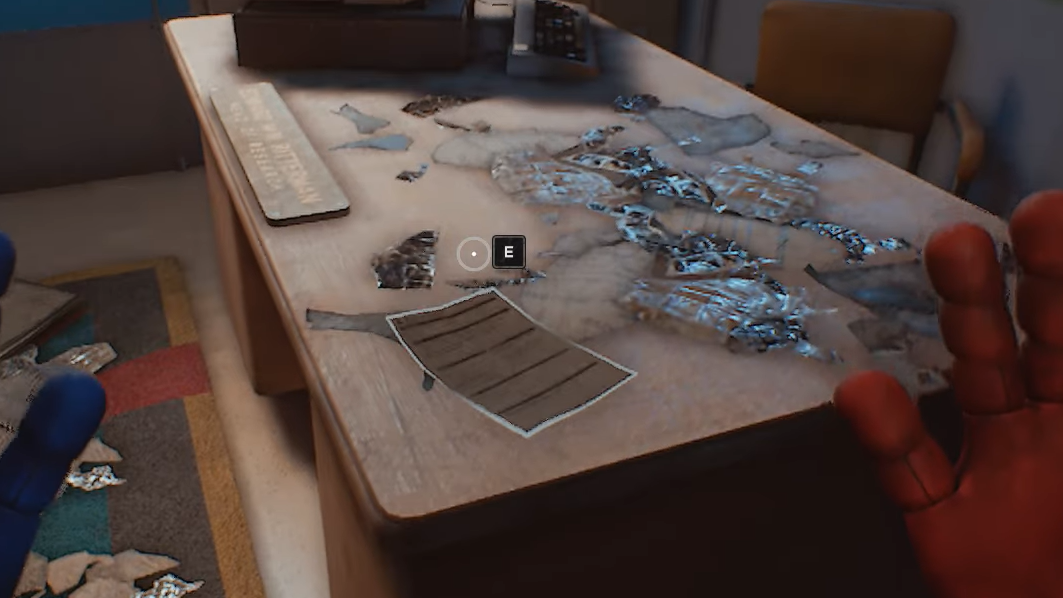
Note 21 — Medical Report: Edward M.N. Ritterman. In the destroyed-looking section where you navigate via magnetic surfaces, look for a red valve on the right side that shuts off a gas flame. After turning the valve, face it, then go right, left, and left again. You'll find a blue hand scanner that opens a hidden office containing the medical report.
Note 22 — To Whomever Finds This. In the room with the battery puzzle and elevator shafts, jump down onto the top of the left elevator. Crouch to find a hidden battery underneath. Grab it with the GrabPack, pull yourself back up with the magnets, and carry the battery to a receiver in the hallway behind the glass tube. Inserting it unlocks a secret office with the note inside.
Path to Reanimation — Notes 23 through 26
Note 23 — Conditioning Observations. While navigating the testing rooms on the way to Reanimation, enter the kids' room with a castle decoration on the wall. The note is on the ground in front of the desk.
Note 24 — Observation: Lily. After restoring power to the labs, use your blue hand to open the room containing the large Memory machine. Walk behind the machine to find this note on the floor.
Note 25 — Letter to Leith #2. In the reconditioning labs with the projectors, power all of them to unlock a fire charge from the middle room's fire receiver. Use the fire to burn away Lily's hair blocking a door on the upper left. Go through, pass the desk, and the note is behind the chair.
Note 26 — Dr. Arkin's Personal Letter 2. During the second Huggy Wuggy chase in the projector area, you need Huggy to break a wall for you. Grab a green charge, move a box out of the way, and power up the projector in the back room. When Huggy arrives, and the projector shuts off, he'll smash through the wall. After he leaves, enter through the hole to find the letter on a shelf.
Lily's Mansion (Dollhouse) — Notes 27 through 32
A critical warning before exploring the mansion: do not enter any room while Lily Lovebraids is still talking. If you move into a new room before she finishes, she begins a five-second countdown and kills you instantly at zero. Wait for your new objective to appear before moving.
Note 27 — Experiment 1468 Proposal. On the ground floor, go to the hallway behind the stairs and open the vent. Crawl through both sections to reach a hidden room. The note is on the back of the whiteboard.
Note 28 — Music Sheet – Novice. On the second floor, enter the music/piano room. The sheet is on a bookshelf inside.
Note 29 — Observation Log: Sweet Street. In the room adjacent to the piano room, check the desk. You'll need a battery from the garage to power the door mechanism first — place it in the slot behind a painting upstairs, then use the hand scanner to access the area.
Note 30 — Nursery Damage. Upstairs in the mansion, go to the room to the left of the piano area (or right of the double doors blocked by hair). Follow the corridor to the dead end, where the note sits on a table.
Note 31 — Music Sheet – Expert. Also on the second floor, place a battery into the slot hidden behind a painting to unlock a door. The expert sheet is inside the room beyond. Be aware that the actual musical notes on this sheet are randomized each playthrough, and there's a known bug where you may need to examine it rather than read it normally.
Note 32 — Lily Journal. After obtaining the key and hiding in the closet in Lily's bedroom, use the magnets to lift yourself up before heading to the vent. The journal is on top of the wardrobe. Grab it with your GrabPack from below.
Reanimation Labs — Notes 33 and 34
No notes appear between the mansion and Reanimation, so you can focus on progressing the story until you drop into the Reanimation lab.
Note 33 — Dr. Arkin's Personal Letter 3. As soon as you drop into the lab, turn around or look to your left. The letter is on a counter right behind your landing spot, near a fire panel.
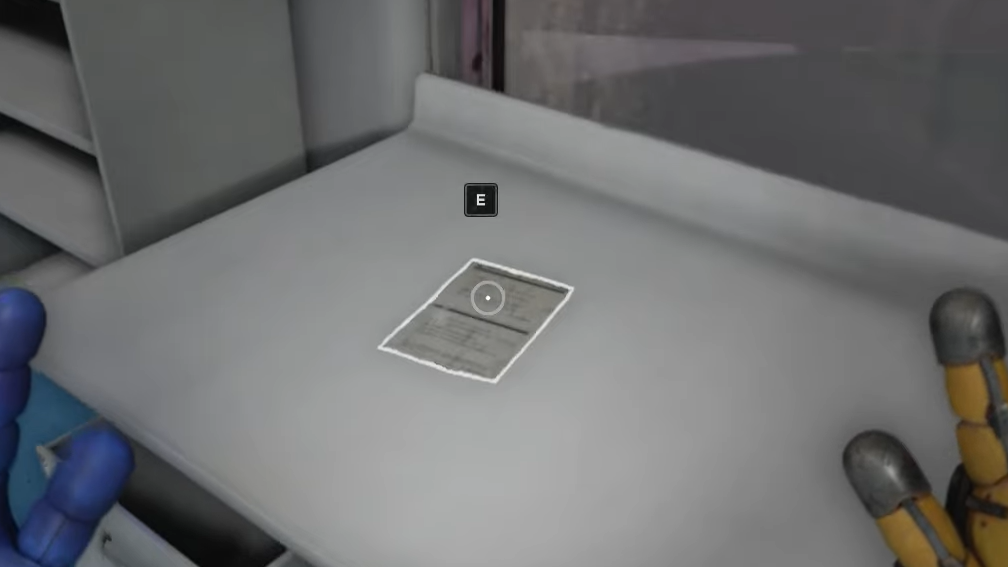
Note 34 — Experiment Notes. From the same lab, walk straight across to the side with the sinks. The note is on a metal surface near one of them, in the back-left corner of the room. You'll need a four-digit code to leave this room, so grab both notes before solving the keypad.
Data Center — Note 35
Note 35 — L.P. Journal Entry. The final note doesn't appear until the very end of the game. When you enter the server room with Giblet, resist the urge to go straight to the computer. Instead, head to the left side and walk all the way to the back, where a doorway is open. Turn right, and the last note is on a small table.
Collecting all 35 notes in a single run is entirely possible, but several of them — particularly the ones requiring box stacking, hidden batteries, or Huggy Wuggy wall breaks — are easy to miss if you're rushing through chase sequences. The Engineering Workshop keypad code and the Music Sheet – Expert are both randomized per playthrough, so there's no universal code to memorize. Take your time in each area, and keep your UV light and flashlight handy throughout.