
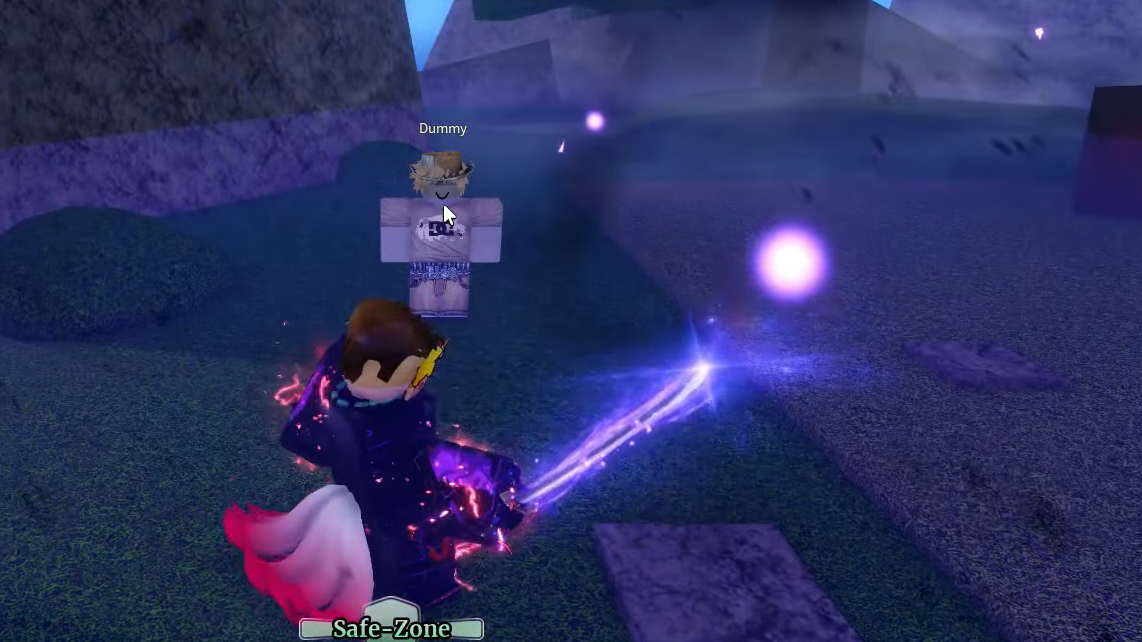
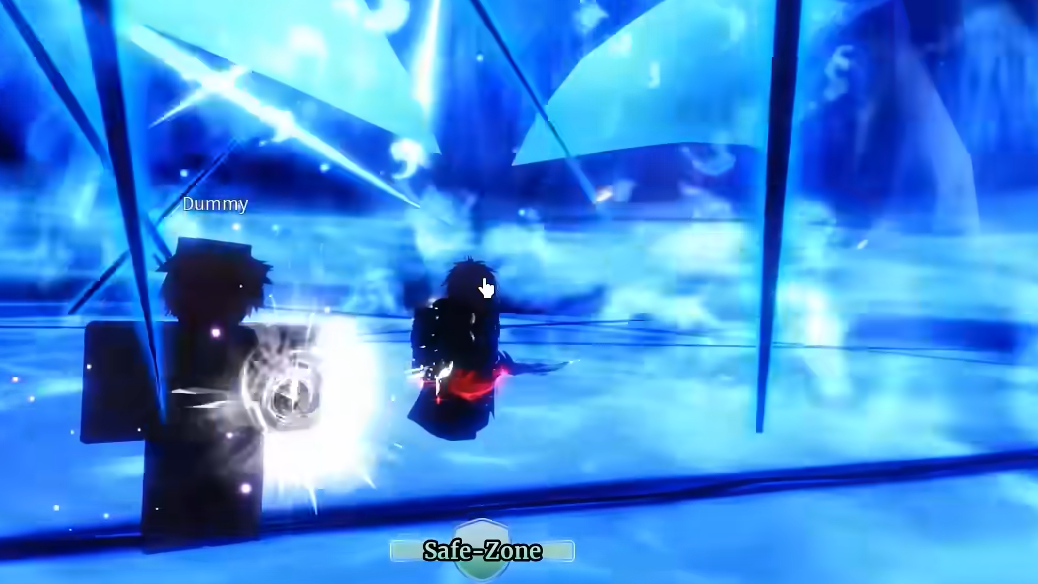
Sailor Piece on Roblox stands apart from most One Piece–inspired experiences by spreading its build system across multiple item categories rather than leaning entirely on Devil Fruits. Your character's power comes from a combination of swords, melee combat specs, fruits, races, traits, clans, accessories, runes, artifacts, auras, and titles — and knowing what to chase at each stage of the game makes a significant difference in how quickly you progress.
Quick answer: The strongest overall loadout currently revolves around the True Aizen or Yamato sword, the Blessed Maiden melee spec, the Swordblessed or Galevorn race, the Celestial trait, the Pride or Espada clan, the Havoc or Wrath rune, and the Celestial Rupture artifact set.
Devil Fruits
Only five Devil Fruits exist in Sailor Piece right now, and you spin for them at two Fruit Dealers on Sailor Island using either Coins or Gems. Fruits are not mandatory — many endgame builds ignore them entirely — but the right one adds meaningful mobility or AoE damage.
| Fruit | Strength | Notes |
|---|---|---|
| Light | S-tier | High damage plus flight, making it the best fruit for late-game traversal and combat |
| Quake | A-tier | Strong AoE damage; great for mob grinding on Shibuya Station |
| Flame | A-tier | Reliable AoE early and mid-game but falls off later |
| Bomb | B-tier | Decent burst damage but limited skill variety |
| Invisible | D-tier | Stealth only; almost no combat value |

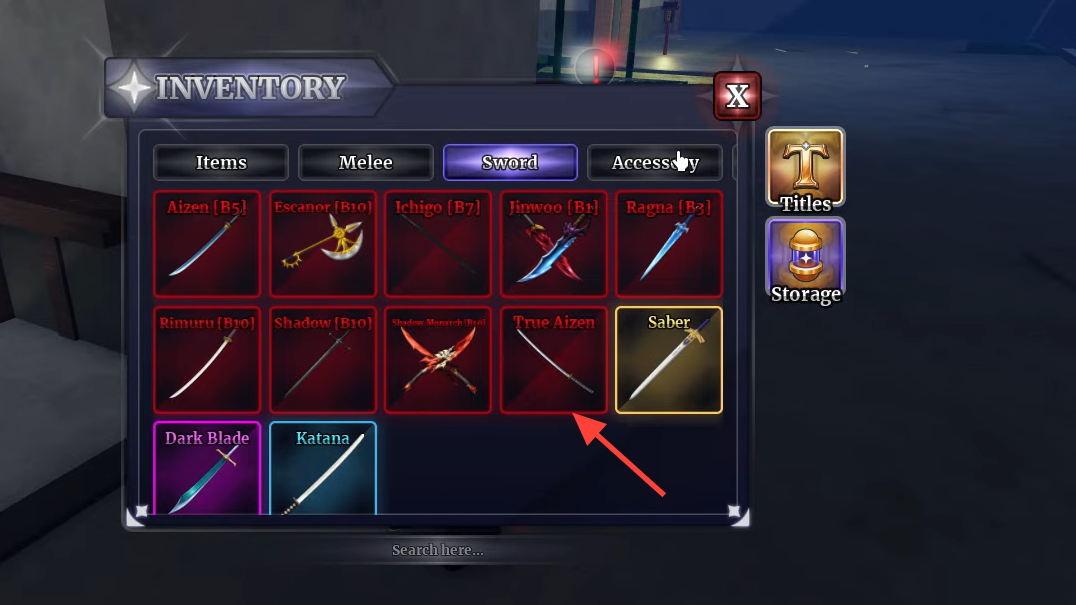
Swords — Every Weapon and Where to Find It
Swords are one of the three core combat paths. Most are purchased from Trainer NPCs scattered across islands after meeting specific material, title, and currency requirements. Some swords unlock a Mastery questline that grants bonus damage and an additional move slot (the F skill) upon completion.
| Sword | Tier | Location | Key Requirements |
|---|---|---|---|
| True Aizen | S | Judgement Island | "Transcendent Being" title, Aizen Sword, 1× Evolution Fragment, 3× Transcendent Core, 8× Divinity Essence, 15× Fusion Ring, 75× Chrysalis Sigil |
| Yamato | S | Judgement Island | "Blade Sovereign" title, Swordblessed race, 1× Azure Heart, 3× Silent Storm, 7× Yamato Essence, 14× Frozen Will |
| Shadow Monarch | S | Dungeon Island | "King of Shadows" title, Jinwoo Sword, 10× Monarch Core, 5× Monarch Essence, 2× Kamish Dagger, 1× Shadow Crystal |
| Escanor | S | Boss Rush drop | Drop rates: 0.6% (Easy) to 1.85% (Extreme) |
| Rimuru | A | Slime Island | "Demon Lord" title, 30M Cash, 20K Gems, 9× Sage Pulse, 6× Tempest Seal, 3× Slime Remnant, 1× Slime Core |
| Shadow | A | Dungeon Island | 10M Cash, 15K Gems, 1× Atomic Core, 4× Shadow Essence, 8× Void Seed, 20× Umbral Capsule |
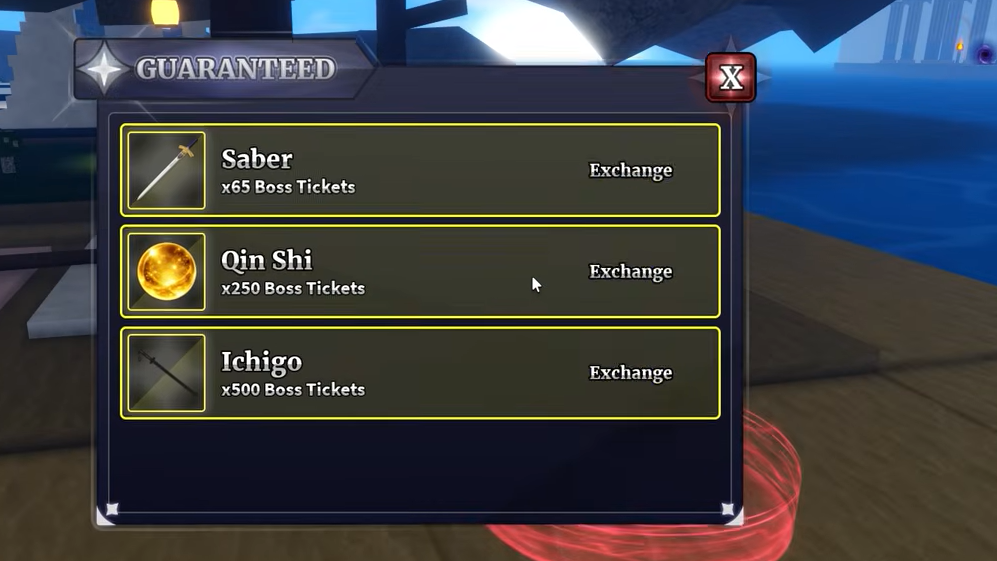
| Ichigo | B | Hueco Mundo | 500 Boss Tickets or 5M Cash, 8.5K Gems, 2× Soul Flame, 4× Spiritual Core, 8× Soul Fragment |
| Aizen | B | Hueco Mundo | 6M Cash, 10K Gems, 1× Hogyoku Fragment, 3× Reiatsu Core, 6× Illusion Prism, 10× Mirage Pendant (quest required) |
| Ragna | B | Snow Island | 1M Cash, 4.5K Gems, 7× Wyrm Brand, 3× Black Frost, 1× Silver Requiem (currently unobtainable) |
| Jinwoo | C | Sailor Island | 2.5M Cash, 7.5K Gems, 6× Abyss Edge, 3× Dark Ring, 1× Shadow Heart (quest required) |
| Saber | C | Boss Island | 65 Boss Tickets or 2% drop from Saber Boss |
| Dark Blade | D | Snow Island | 250K Cash, 150 Gems |
| Katana | D | Starter Island | 2,500 Cash |
True Aizen is the strongest sword overall thanks to extremely high damage and fast skill animations. Yamato offers excellent range on M1 attacks and short cooldowns. Shadow Monarch has the highest raw damage of any sword, but requires the Jinwoo sword as a prerequisite. Escanor drops exclusively from Boss Rush and has massive AoE on every skill.
Melee Combat Specs
Melee specs function as your hand-to-hand combat style. Like swords, they are unlocked through Trainer NPCs using Cash, Gems, and specific materials. The default "Combat" spec is replaced almost immediately once you can afford the Katana.
| Spec | Tier | Location | Standout Trait |
|---|---|---|---|
| Blessed Maiden | S | Boss Island | Best melee spec; fast M1 attacks and fast animations across all moves |
| Anos | A | Academy Island | Extremely high burst damage on V and F skills with large AoE |
| Strongest of Today | A | Shinjuku Island | Huge AoE and many iFrames; excellent for dungeon grinding |
| Strongest in History | A | Valentine Island | Highest M1 damage of all melee specs; all skills deal multi-hit damage |
| Gilgamesh | B | Boss Island | Fast animations and strong burst; narrow AoE on Z/X/C skills |
| Madoka | B | Shinjuku Island | Good range and burst; no Mastery questline |
| Alucard | C | Sailor Island | Requires Vampire race; decent mid-game option |
| Qin Shi | C | Boss Island | Very cheap and easy to obtain early; falls off hard later |
| Sukuna | C | Shibuya Station | Good early damage; useless in late game |
| Gojo | C | Shibuya Station | Easy to obtain; worst mythical melee spec |
| Yuji | C | Shibuya Station | Short M1 range; no V skill |
| Combat | D | Default | Starter spec; replace immediately |
Races and Their Stat Bonuses
Races are rerolled using Race Reroll items that drop from mobs and bosses. The top three races each serve a different build archetype: Swordblessed boosts sword damage, Galevorn boosts melee damage, and Kitsune provides a 25% Luck multiplier that makes it the premier grinding race.
| Race | Tier | Key Bonuses |
|---|---|---|
| Swordblessed | S | +80% HP, +75% Damage, +20% Sword Damage, +3% Lifesteal, +10% DMG Reduction |
| Galevorn | S | +80% HP, +75% Damage, +20% Melee Damage, +3% Lifesteal, +10% DMG Reduction |
| Kitsune | S | +60% HP, +50% Damage, +25% Luck, +10% Sword Damage, +10% Melee Damage |
| Sunborn | A | +80% HP, +70% Damage, +20% Sword Damage, +3% Lifesteal, +10% DMG Reduction |
| Servant | A | +75% HP, +67% Damage, +17% Melee Damage, +4% Lifesteal, +10% DMG Reduction |
| Slime | A | +70% HP, +65% Damage, +17% Sword Damage, +3% Lifesteal, +10% DMG Reduction |
| Leviathan | A | +65% HP, +60% Damage, +17% Sword Damage, +5% Lifesteal |
| Oni | A | +65% HP, +55% Damage, +20% Melee Damage, +10% DMG Reduction |
| Hollow | A | +60% HP, +50% Damage, +20% Ichigo Sword Damage |
| Shinigami | B | +50% HP, +45% Damage, +20% Aizen Sword Damage |
| Shadowborn | B | +55% HP, +50% Damage, +20% Shadow Sword Damage |
| Player | B | +45% HP, +40% Damage, +20% Jinwoo Sword Damage |
| Vessel | B | +40% HP, +35% Damage, +20% Sukuna Melee Damage |
| Limitless | B | +40% HP, +30% Damage, +25% Gojo Melee Damage |
| Vampire | B | +30% HP, +25% Damage, +5% Lifesteal |
| Demon | C | +35% HP, +30% Damage, +20% Sprint Speed |
| Orc | C | +15% HP, +15% Damage |
| Fishman | C | +15% Money Gain, +15% XP Gain |
| Mink | C | +20% Jump Height, +20% Sprint Speed |
| Skypea | D | +2 Extra Jumps |
| Human | D | No bonuses — reroll immediately |
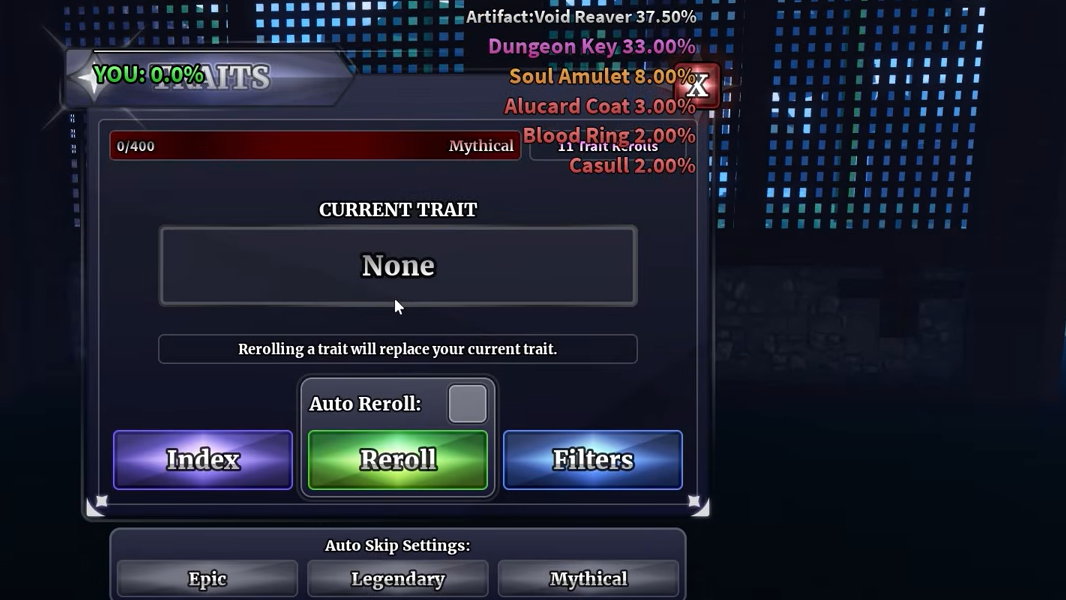
Traits
Traits multiply your damage, defense, and cooldown reduction. You change them with Trait Reroll items dropped by enemies and bosses. The five S-tier traits all provide 20–30% cooldown reduction alongside significant damage and defense multipliers, making them dramatically stronger than anything below them.
| Trait | Tier | Defense | Damage | Cooldown Reduction |
|---|---|---|---|---|
| Celestial | S | 1.65× | 2.20× | 30% |
| Singularity | S | 1.75× | 2.10× | 30% |
| Cataclysm | S | 1.70× | 2.00× | 30% |
| Overlord | S | 2.00× | 1.90× | 25% |
| Malevolent | S | 1.50× | 1.80× | 20% |
| Transcendent | A | 1.65× | 1.75× | 20% |
| Infinity | A | 1.60× | 1.70× | 20% |
| Godspeed | A | 1.50× | 1.55× | 25% |
| Sovereign | A | 1.85× | 1.65× | 15% |
| Genesis | A | 1.40× | 1.40× | 15% |
B-tier traits (Dominator, Unstoppable, Overdrive, Ascended) and below provide noticeably weaker multipliers. D-tier options like Balanced, Steady, Agile, Strong, and Tough offer minimal stat gains and should be rerolled as soon as possible.
Clans
Clan Reroll items drop from most mobs. Clans provide passive bonuses to damage, HP, and sometimes farming-related stats like Luck or Gem gain. The three strongest clans each have a unique mechanic on top of their flat stat bonuses.
| Clan | Tier | Notable Bonuses |
|---|---|---|
| Espada | S | +32% Damage, +50% HP, +10% Sword Damage, +10% Luck; every 10 abilities grants +20% DMG for 6s |
| Pride | S | +30% Damage, +45% HP, +10% Sword Damage, +10% Luck; consecutive hits stack damage up to 1.2× |
| Monarch | S | +27% Damage, +40% HP, +7% Sword Damage, +10% Luck; 20% chance for +1 drop |
| Voldigoat | A | +25% Damage, +35% HP, +7% Melee Damage, +10% DMG Reduction, +25% Damage to NPCs below 50% HP |
| Mugetsu | A | +20% Damage, +25% HP, +5% DMG Reduction, +2% Lifesteal |
| Yamato | A | +17% Damage, +27% HP, +5% Melee Damage, +20% Gems Gain |
| Zoldyck | A | +15% Damage, +20% HP, +20% Sprint Speed, +15% Gems Gain |
| Raikage | B | +10% Damage, +15% HP, +10% Jump Height, +10% Money/Gems Gain |
| Sasaki | C | +7% Damage, +10% HP, +10% XP Gain |
Accessories
Accessories drop from bosses at low rates, each with a pity system that guarantees a drop after a set number of kills. At max enhancement (E5), the top accessories provide over 100% Defense and Damage bonuses. The Manipulator Outfit, Maiden Outfit, and Imperial Outfit currently sit at the top, all dropping from endgame bosses at sub-1% rates.
| Accessory | Damage (E5) | Defense (E5) | Source |
|---|---|---|---|
| Manipulator Outfit | +105% | +135% | True Aizen Boss (0.75%, pity 140) |
| Maiden Outfit | +100% | +130% | Blessed Maiden Boss (0.8%, pity 140) |
| Imperial Outfit | +95% | +125% | Yamato Boss (1%, pity 125) |
| Sun Armor | +90% | +120% | Escanor Boss (0.85%, pity 125) or Boss Rush Shop (300 Coins) |
| Monarch Armor | +85% | +115% | Shadow Monarch Boss (0.75%, pity 140) |
Lower-tier accessories like Saber Armor (+40% Damage), Yuji Hair (+42% Damage), and Santa Hat (+40% Damage) are much easier to obtain and serve as solid placeholders while you farm endgame bosses.
Runes
Runes drop from Rune Dungeons, with higher difficulties yielding better drop rates. They provide a modest but meaningful boost to round out a build. The Havoc Rune is the single strongest rune with a flat +82% Damage bonus.
| Rune | Tier | Effect |
|---|---|---|
| Havoc Rune | S | +82% Damage |
| Wrath Rune | S | +40–59% Damage |
| Fortune Rune | S | +10–15% Luck |
| Destruction Rune | A | +25–37% Damage |
| Inferno Rune | B | Burn for 70–104% of damage over 4s |
| Blood Rune | B | Bleed for 65–97% of damage over 5s |
| Frost Rune | C | Freeze 2–3s, +30–44% bonus damage |
| Guardian Rune | C | +39–59% Maximum HP |
| Suppression Rune | C | +10–15% DMG Reduction |
Artifact Sets
Equipping two or four pieces from the same artifact set activates set bonuses. The Celestial Rupture set is the endgame standard thanks to its combination of damage, critical stats, and lifesteal. The Void Reaver set works well as an early alternative since it drops from most bosses.
| Set | 2-Piece Bonus | 4-Piece Bonus | Drops From |
|---|---|---|---|
| Celestial Rupture | +15% Damage, +12.5% Crit Damage | +15% Crit Chance, +1.5% Lifesteal | Shinjuku, Valentine, Slime, Academy Islands |
| Void Reaver | +6.5% Damage, +1% Lifesteal | +12.5% Crit Chance, +15% Crit Damage | Bosses |
| Black Horizon | +7.5% Damage, +5% HP | +10% Crit Chance, +20% Crit Damage | Hueco Mundo |
| Crownless Regalia | +12% HP, +5% DMG Reduction | +10% Crit Chance, +15% Damage | Desert, Snow, Shibuya Islands |
| Ashen Chronicles | +5% Damage, +15% Crit Damage | +7.5% DMG Reduction, +15% HP | Jungle Island |

Auras and Titles
Both auras and titles follow a mostly linear progression where stronger versions simply provide higher damage or utility multipliers. Because of this straightforward scaling, there is no complex tier ranking to worry about — you just equip the best one you have.
Auras are obtained from Aura Crates (or limited events like the Valentine Event). The three strongest — Fallen, Winged, and Hellfire — each grant a 1.15× damage multiplier. Commander and Ultra Instinct provide 1.125×, while Gambler, Singer, and Valentine sit at 1.1×.
Titles fall into several categories. Boss drop titles provide the largest damage bonuses, scaling from +15% (Blade Master, from Saber Boss) all the way up to +72.5% (Transcendent Being, from True Aizen Boss at a 0.75% drop rate with 140 pity). Boss kill milestone titles grant Luck bonuses ranging from +10% (10 boss kills) to +40% (2,500 boss kills). Level titles and collection titles primarily boost Cash, Gems, and XP gain rather than combat stats.
Sailor Piece rewards players who invest across all item categories rather than focusing on just one. The most efficient progression path is to grab an early sword like Ichigo or Saber, reroll for a strong race and trait as soon as possible, and then work toward endgame weapons and accessories by farming bosses for materials, titles, and drops. Currency and materials flow primarily from opening chests dropped by enemies, so consistent grinding across multiple islands keeps every part of your build moving forward.