
Bridger Western blends Wild West gunplay with JoJo-style supernatural abilities in a Roblox sandbox that rewards both sharp aim and smart Stand selection. Stands are the game's primary combat system — powerful entities that grant abilities like time-stopping, dimension hopping, and area-control attacks, all layered on top of revolver duels and horseback chases. While skill and positioning matter enormously, some Stands simply have a higher ceiling than others.
Quick answer: The World, TWAU, and D4C are the strongest Stands in Bridger Western right now, offering dominant time-stop pressure or unmatched versatility that outperforms every other option in most PVP scenarios.
Bridger Western Stand Tier List — Full Rankings
Almost every Stand in Bridger Western features high-damage barrages and stun moves, which means the floor is relatively high across the roster. The rankings below reflect each Stand's raw power potential and flexibility rather than a single "best" pick. A skilled player can make lower-tier Stands work, but the top-tier options demand less setup and punish harder when they connect.
| Tier | Stands | What Defines This Tier |
|---|---|---|
| S Tier | The World, TWAU, D4C | Time-stop dominance or equivalent versatility; reliable kill pressure in nearly every matchup |
| A Tier | Star Platinum | The World, Star Platinum, Silver Chariot, Gold Experience, Killer Queen, Mandom, Tusk Acts 1–3 | Strong kits that require more skill or setup to reach their peak; can outplay S-tier with proper combos |
| B Tier | Hierophant Green, Magicians Red, Crazy Diamond, Purple Haze, 20th Century Boy, Hermit Purple, Tubular Bells | Situationally powerful but carry more weaknesses; often need specific gun or utility pairings to shine |
| C Tier | Hey Ya | Lowest individual power; struggles to justify the base gun-damage penalty that comes with running a Stand |
S-Tier Stands Explained
The World
The World's time-stop ability is the single most impactful mechanic in Bridger Western PVP. Freezing all opponents in place lets you line up free damage with both your Stand barrage and your gun, creating kill windows that no other ability type can replicate. It demands relatively little mechanical skill to extract value from, which is why it sits at the top.
TWAU (The World Alternate Universe)
TWAU shares the time-stop archetype but trades some raw barrage power for ranged knife pressure and better neutral-game tools. The combination of time-stop with strong mid-range poke makes it extremely flexible — you can play aggressively or zone opponents out depending on the situation.
D4C
D4C is the premier skill-based S-tier Stand. Its dimension-traveling mechanics create unique escape routes and mixup opportunities that no other Stand can match. Notably, D4C is a quest-locked Stand, meaning you cannot obtain it through the normal Corpse Part or Arrow Shard methods. You need to complete its dedicated quest chain to unlock it.

A-Tier Stands Breakdown
The A-tier roster is deep and varied. These Stands all have the tools to compete with S-tier picks, but they ask more from the player in terms of execution, timing, or build synergy.
| Stand | Key Strength |
|---|---|
| Star Platinum | The World | Time-stop access plus strong close-range barrages; slightly harder to use than The World itself |
| Star Platinum | Excellent barrage damage and stun moves; lacks time-stop but compensates with raw pressure |
| Silver Chariot | Fast, precise attacks with good combo potential; rewards aggressive play |
| Gold Experience | Versatile kit with healing and damage; strong in extended fights |
| Killer Queen | Trap-based gameplay that punishes careless opponents; requires setup |
| Mandom | Time-manipulation utility that creates reset opportunities mid-fight |
| Tusk Acts 1–3 | Scaling power across acts with strong ranged options; rewards investment |
Silver Chariot and Star Platinum reward players who like to stay in close range and chain attacks together. Gold Experience and Killer Queen lean more toward utility and control. Mandom occupies a unique niche with its time-rewind mechanic, which can undo bad trades and create second chances in duels. Tusk scales across its three acts, growing stronger as you progress.
B-Tier and C-Tier Stands
B-tier Stands are not weak — they just carry more exploitable gaps. Hierophant Green and Hermit Purple offer zoning and mobility respectively, but they struggle when opponents close the distance. Magicians Red deals solid area damage but lacks the burst needed to finish fights quickly. Crazy Diamond has healing utility that extends fights in your favor, though it rarely creates the kind of kill pressure the higher tiers deliver. Purple Haze hits hard but is risky to use, and 20th Century Boy provides strong defense at the cost of offensive output. Tubular Bells rounds out the tier with creative but niche trap-style play.
Hey Ya sits alone in C-tier. Its kit simply does not generate enough fight-winning value to justify the base gun-damage reduction that all Stand users take. If you roll Hey Ya, rerolling is the recommended path forward.
How to Get Stands in Bridger Western
There are two primary methods for obtaining a Stand, plus a special quest path for certain locked Stands. Once you have a Stand, use the Stand Tool from your inventory to summon it.
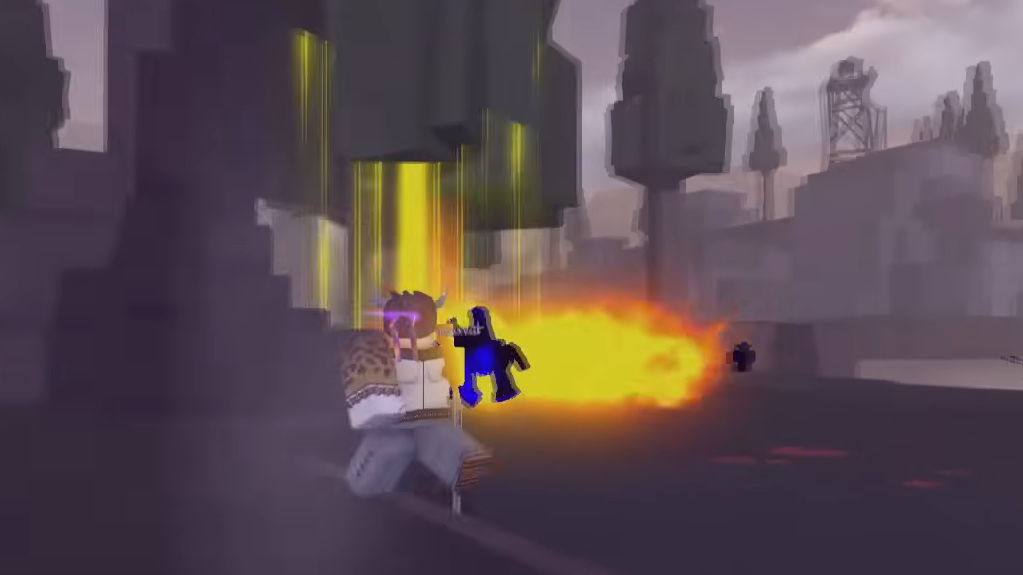
Step 1: Look for a Corpse Part on the map. Corpse Parts announce themselves with a loud audio cue and a yellow beam of light. They only spawn when at least 3 players are on the server, and the spawn rate increases with player count up to a maximum of 1/40 chance at 25 players.
Step 2: Pick up the Corpse Part and hold onto it for several seconds to absorb it. Be aware that other players will likely try to attack you during this window, so find a defensible position before you start.
Alternative method — Stand Arrow Shards: Arrow Shards drop at a 0.5% rate from fishing. You can buy a fishing rod and bait for 150 Moola at the Tackle Bait/Fishing Goods NPC. Arrow Shards are lost if you die or leave the server, so use them immediately. You cannot hold two Stands at once.

How to Reroll Stands
If you rolled a Stand you don't want — particularly Hey Ya or a B-tier option that doesn't fit your playstyle — you can wipe it and try again.
Step 1: Obtain a Dogbane Herb. This item has a 4% drop chance from chests that appear after encounters.
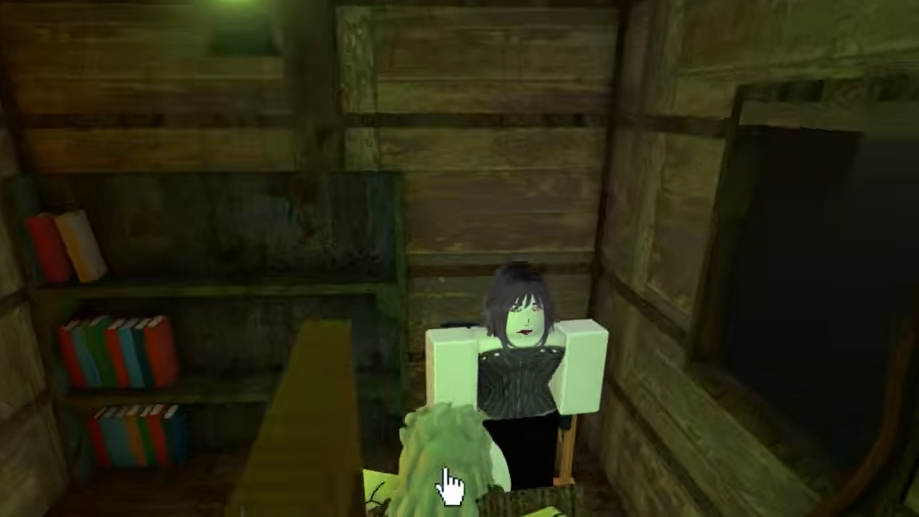
Step 2: Travel to the Mud Witch's Hut in the Swamp area. Bring the Dogbane Herb to the Mud Witch and request a Stand wipe.
Step 3: After your Stand is wiped, find a new Corpse Part or Arrow Shard to roll a fresh Stand.
The Dogbane Herb is also useful for two other purposes at the Mud Witch's Hut: you can exchange it for 2,500 Moola or use it to reduce your character's age by 20 years. Age matters because at 75+ your character can no longer run, and at 85+ there is a chance of instant death from a heart attack whenever you spawn.
Stand and Weapon Synergy
Equipping a Stand generally lowers your base gun damage, which means you need to be deliberate about weapon pairing. Stands that lack strong barrages — particularly those in B-tier — benefit the most from pairing with top-tier weapons. The current best weapons in Bridger Western are the Maverick 88, Malcom.70, Tommy Gun, and Mare's Leg, all of which deliver consistent damage in real combat scenarios.
Some Stands synergize well with specific utility items, too. Knife, Tonic, and Poncho are the three strongest utility picks across the board, and since you only get three utility slots, defaulting to that trio is a safe bet regardless of which Stand you run. Stands that play around zoning — like Hierophant Green or Tusk — can benefit from swapping one utility for Silver Ammo or Dynamite, depending on the matchup.
At Tier 3 progression, you unlock the ability to carry one primary and one secondary gun simultaneously, which opens up hybrid gunplay builds. Stand users are expected to lean on their Stand toolkit, but having a reliable secondary weapon as a finisher can make a significant difference in close fights.
The Stand meta in Bridger Western rewards flexibility. Time-stop Stands dominate at the top, but the gap between S-tier and A-tier narrows quickly in the hands of a skilled player. If you're just starting out, aim for The World or TWAU through Corpse Parts. If you're chasing something more mechanically demanding, D4C's quest chain is worth the effort — it's one of the few Stands that can consistently outmaneuver time-stop users through sheer movement and dimensional tricks.