
Graphia Academy is one of five explorable areas in Honkai: Star Rail's Version 4.0 Planarcadia region. The multi-floor school building contains 45 total collectibles — 42 regular treasure chests and 3 Furbobo Treasures — many of which are locked behind Interplanar Jump platforming puzzles and Shiftmation puzzles. You'll need to complete the No Aha at Full Moon Trailblaze Mission before the area becomes accessible.
Quick answer: Graphia Academy spans three floors (F1, F2, F3, plus a rooftop). Roughly half the chests sit in the overworld, while the rest require completing Interplanar Jump puzzles of varying difficulty (I through V) or solving Shiftmation puzzles scattered throughout the hallways and rooms.
F1 Main Building Foyer and West Wing Chests (1–8)
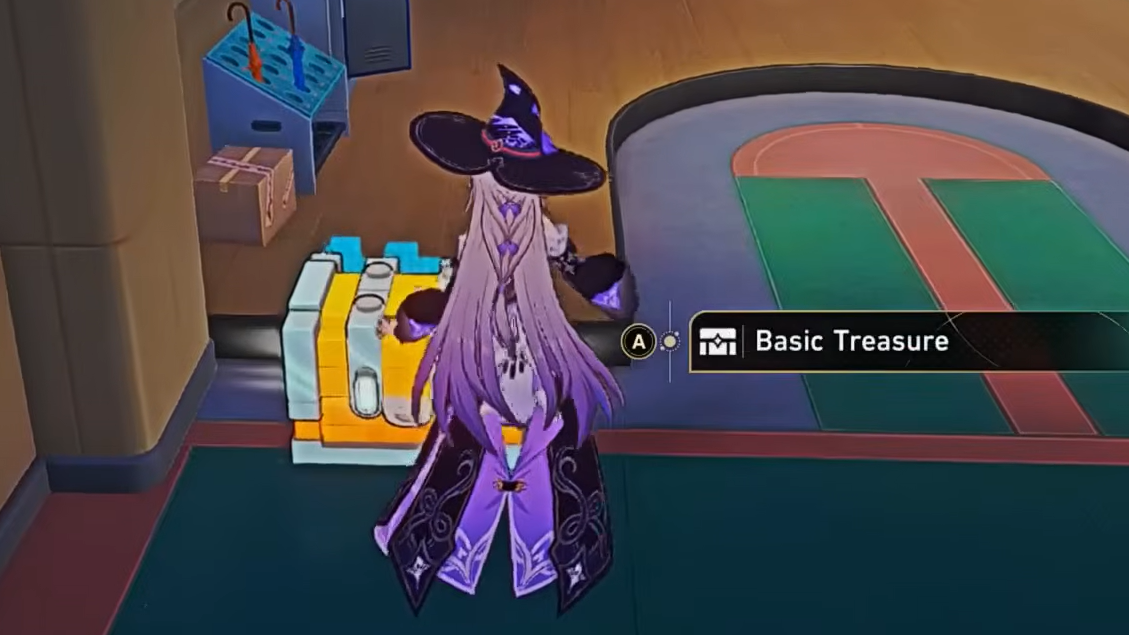
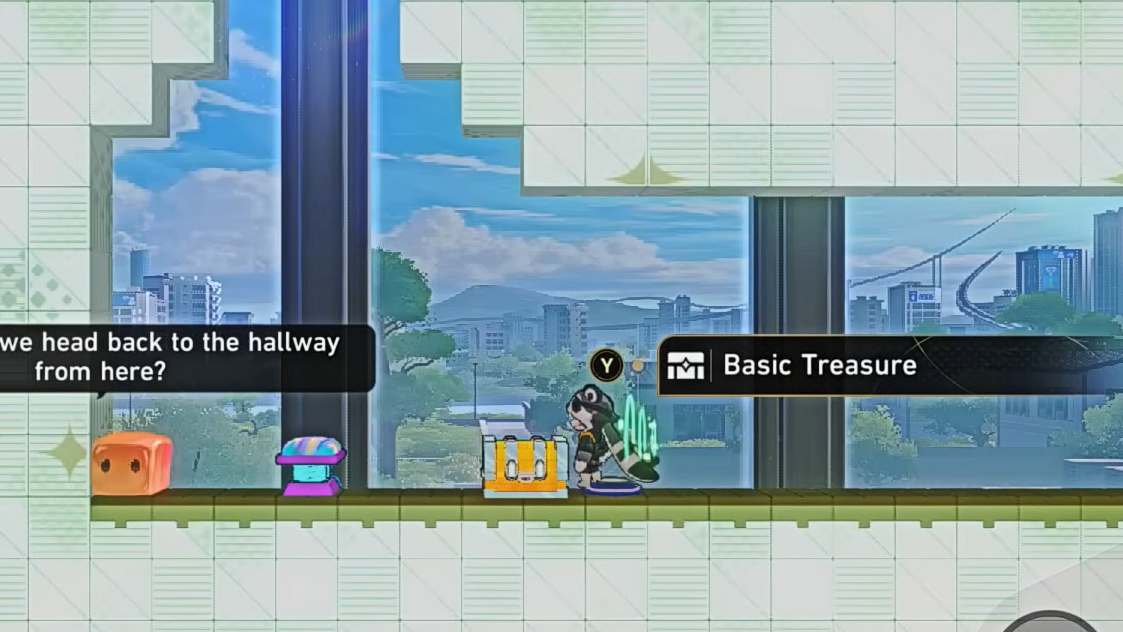
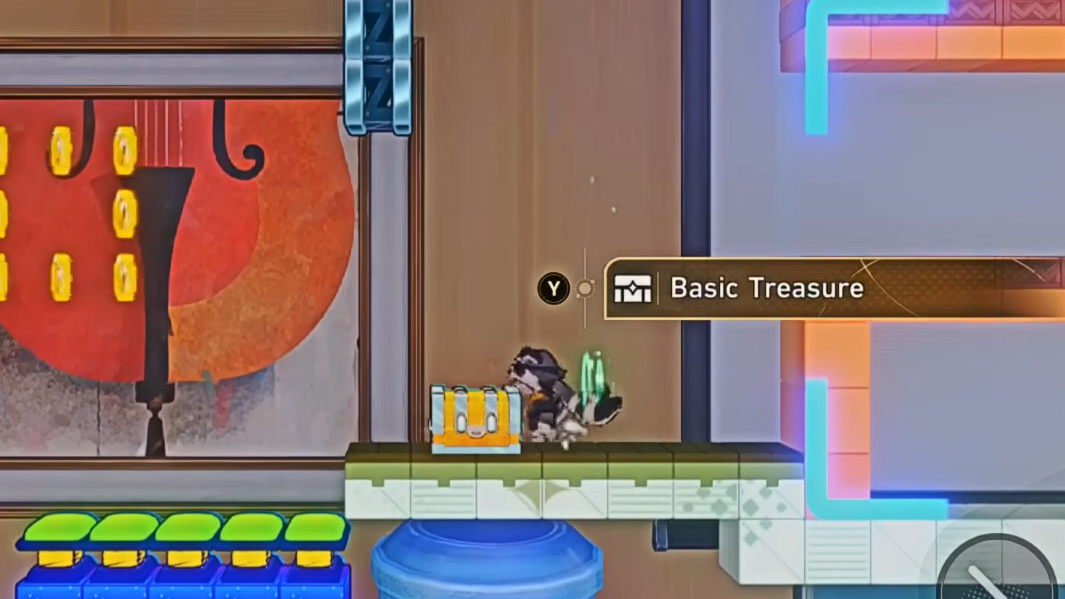
Chest 1 is immediately west of the Main Building Foyer Space Anchor, sitting next to the umbrella rack. Chest 2 is in the east hallway — turn left into a nook filled with boxes. For Chest 3, enter the west hallway's first room and check the south-east corner between a bed and the wall.
Chest 4 requires entering the Interplanar Jump puzzle inside the Comic Art classroom, which is the room adjacent to Chest 3's location. The chest sits on top of a pipe at the end of the fourth level. Chest 5 comes from solving the Shiftmation puzzle at the far end of the west hallway.
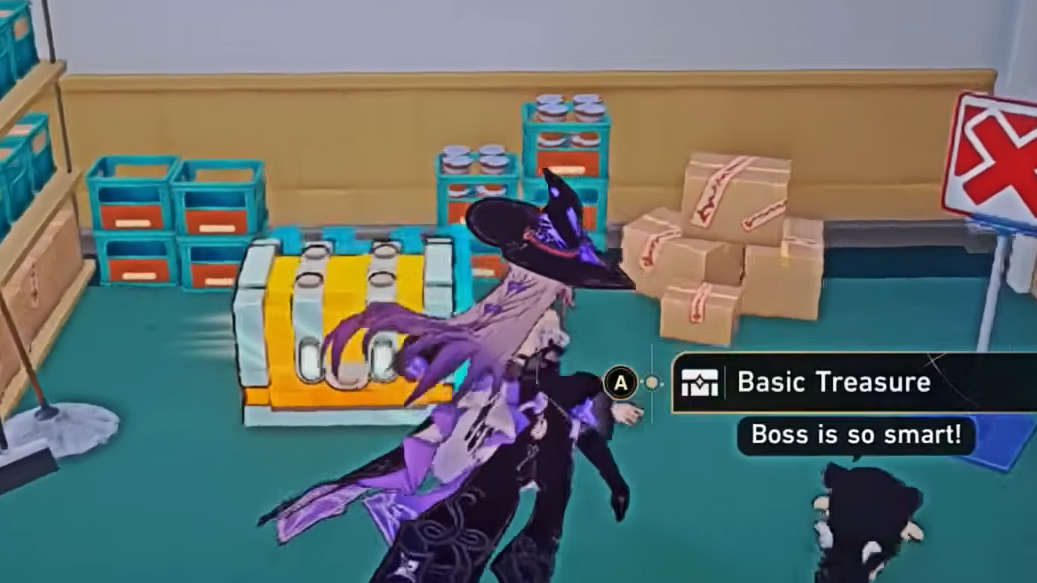
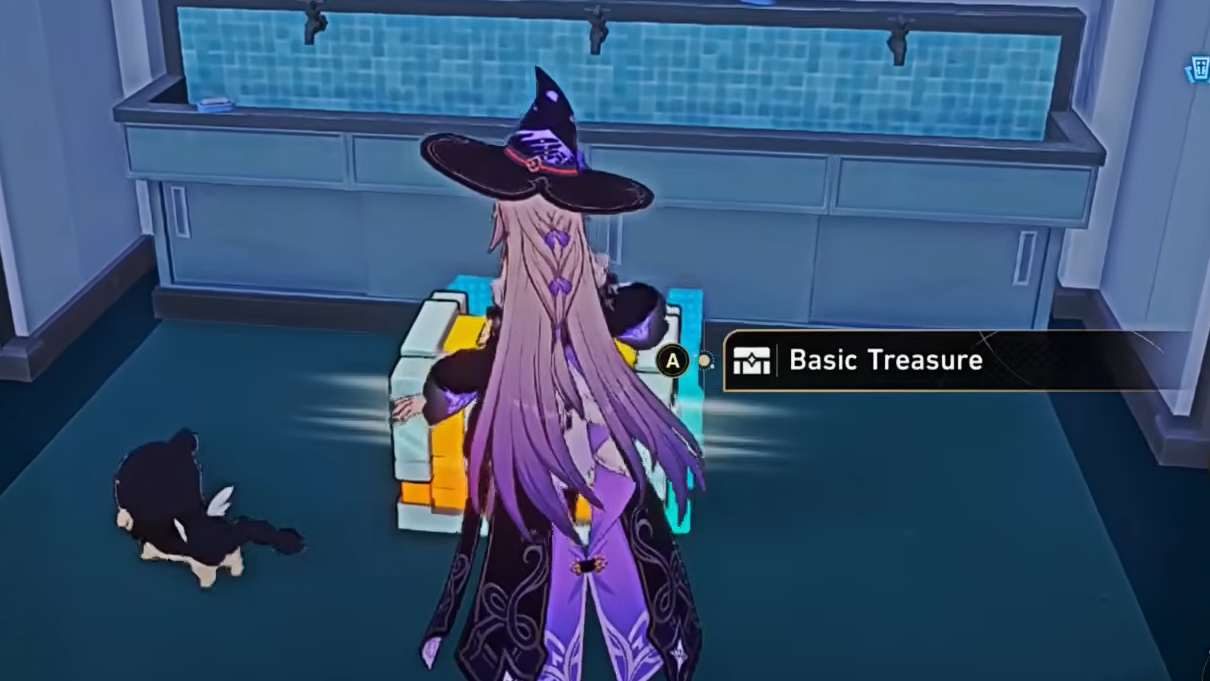
Chest 6 is inside the Dean's office near the file cabinets. Chest 7 is in the teacher's lounge on the north side of the room by the lockers. Chest 8 sits near the north bleachers inside the gym in the west wing.
Gym Interplanar Jump Puzzles — Chests 9 Through 16
The gym houses two separate Interplanar Jump puzzles that contain a dense cluster of chests. The Difficulty IV puzzle alone holds six of them.
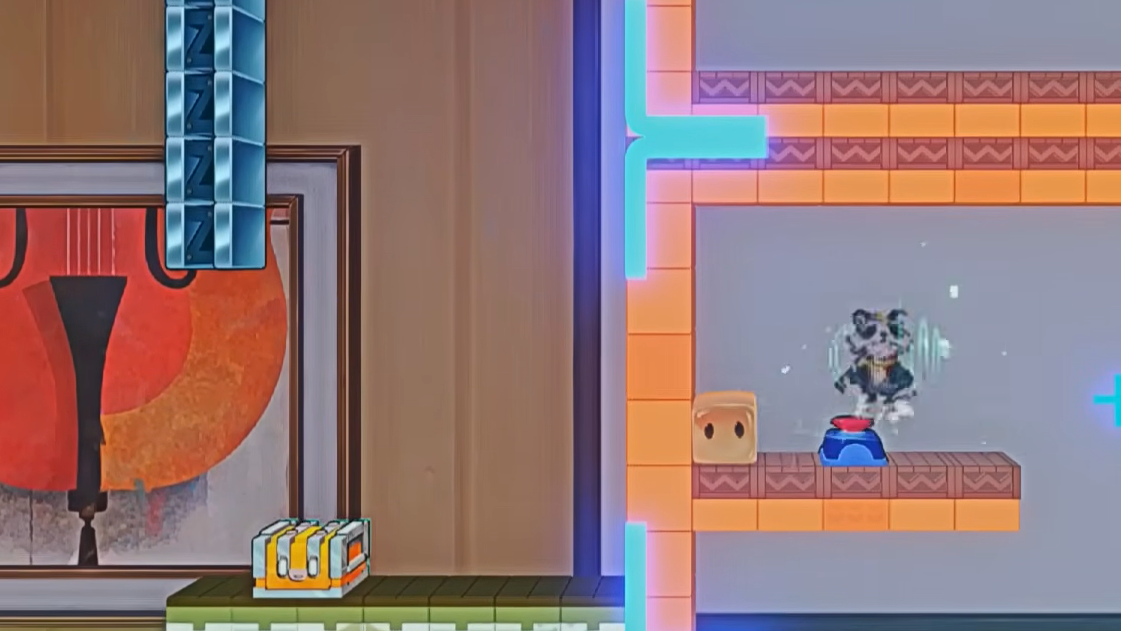
Chest 9 is in the first level of the Difficulty IV puzzle. Use the hidden passage in the second level to go up and ride the moving cloud back to it. Chest 10 requires pulling the left lever on the second level to lower the middle wall, then jumping into the lowered section from above — this is actually the sixth level, and the chest hides behind a spiked wall.
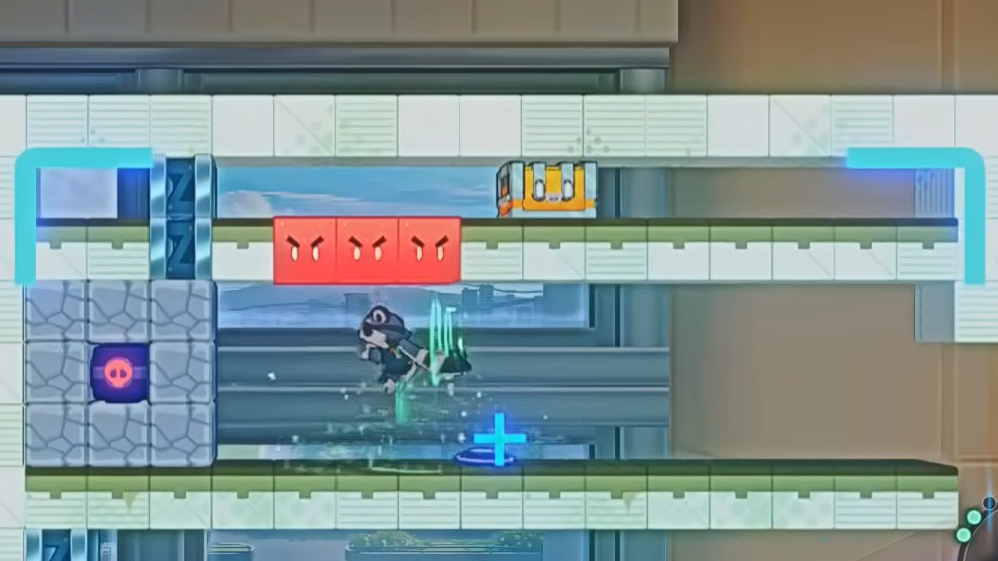
Chest 11 is reached by proceeding normally through the second level and triple-jumping from the ledge beside the purple wispae to land on a cloud. Chest 12 involves heading to the third level, immediately jumping back toward the second level, climbing the second ledge, then re-entering the third level to ride a moving cloud. Jump across the angry wispaes to reach the ice wispaes above, and slide across them to find the chest.
Chest 13 is on the fourth level. Use the spring to launch left and land on a ledge. Chest 14 is on the fifth level — jump left instead of dropping onto the hoop. This is the final chest in this particular puzzle.
The nearby Difficulty V puzzle contains Chest 15 in its first level. Climb the ladder and jump across spike traps to reach it. Completing this puzzle also activates a lever that unlocks the gym storage room, where Chest 16 waits.
Archive Room, Classrooms, and North Wing — Chests 17 Through 23
Chest 17 is the reward for solving the Shiftmation puzzle near the Archive room. Chest 18 is inside the Archive room's Difficulty III Interplanar Jump puzzle, located in the middle of the fourth level.
Chest 19 sits near the chalkboard in the north-west classroom — no puzzle required. Chest 20 is inside the Difficulty I Interplanar Jump puzzle outside Dollie's classroom, tucked in the upper right corner of the level.
The north-east classroom holds a Difficulty V Interplanar Jump puzzle. Chest 21 appears when you swap the aesthetic windows to form the equation 4 + 5 = 9. Continue to the second level of the same puzzle to find Chest 22 blocking the exit pipe.
Chest 23 comes from the Shiftmation puzzle at the end of the north-east hallway.
Courtyard and F2 Art Classroom Area — Chests 24 Through 28
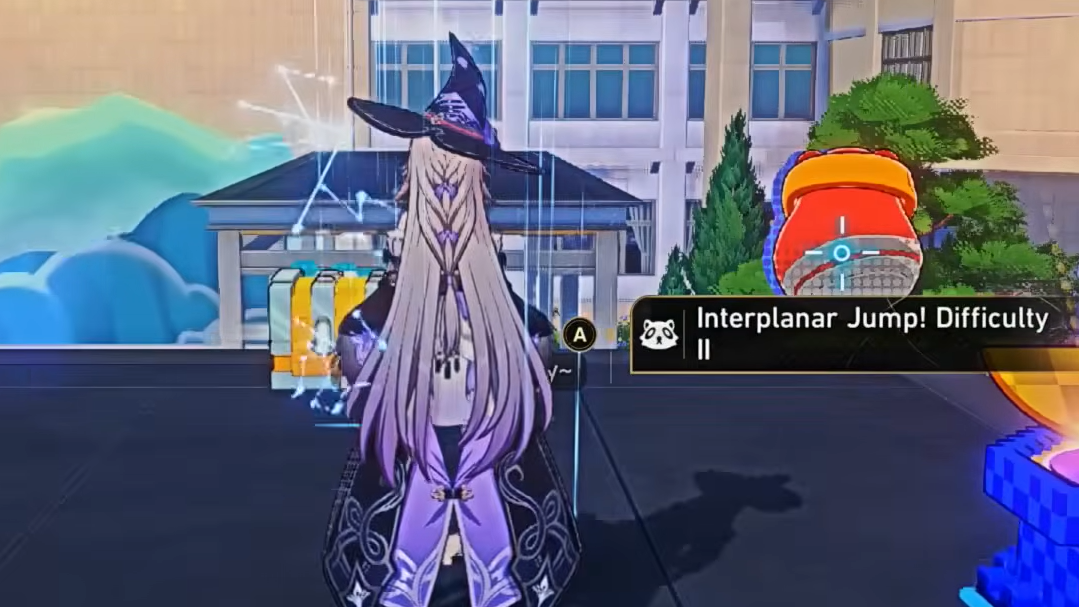
Chest 24 is in the courtyard near the stairs at the south-west corner. Chest 25 requires entering the Difficulty II Interplanar Jump puzzle in the courtyard's south-east corner and jumping off a platform on one of the aesthetic windows.
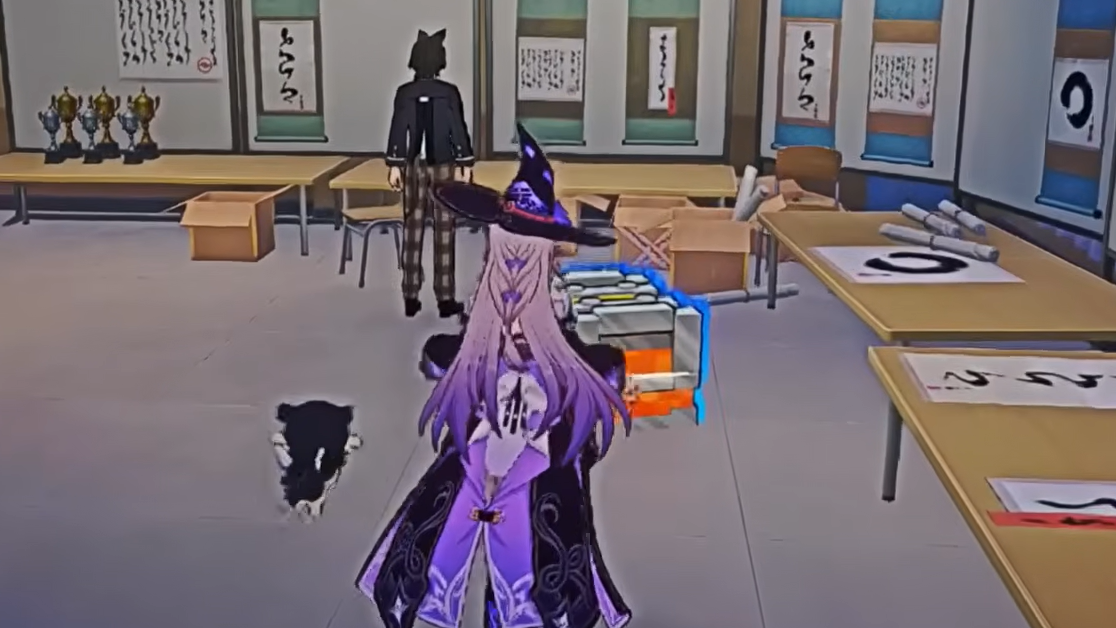
To reach Chest 26, either clear the puzzle from Chest 25 or teleport to the Art Classroom Space Anchor on the second floor, then head west to the upper-left corner of the area. The nearby Difficulty IV Interplanar Jump puzzle contains Chest 27 — use the Shapeshifting Furbo to open a path to the second aesthetic window controller, then swap the windows. Chest 28 is further along in the same puzzle, near the spring that leads to the exit after you pass the spike traps.
Music Room, East Hallway, and Corridor — Chests 29 Through 32
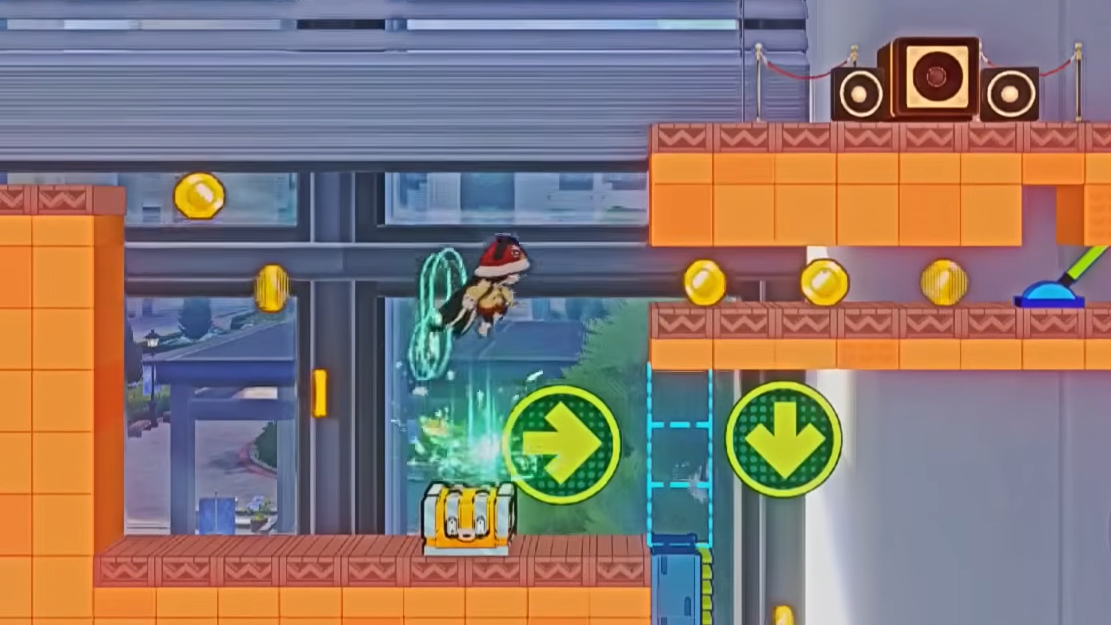
The music room in the east hallway has a Difficulty IV Interplanar Jump puzzle. Chest 29 is near the start — swap the aesthetic frames to detonate a bomb and clear the path. Chest 30 appears on the third level of the same puzzle, right next to the exit.
Chest 31 needs no puzzle at all. It sits near the end of the east hallway between the toilet rooms. Chest 32 is inside the Difficulty III Interplanar Jump puzzle in the long corridor, located just before the drop to the exit.
Student Dining Area and Library — Chests 33 Through 39
Chest 33 is near the bread rack in the student dining area. From the Student Dining Area Space Anchor, head west to find Chest 34 near a pair of closed-off doors. Chest 35 is on the opposite side of the dining area, earned by solving another Shiftmation puzzle.
Head east into the library for Chest 36, which is on the west side of the room near the wall. The library's Difficulty V Interplanar Jump puzzle holds three more. Chest 37 is reached by heading left from the starting point, even when books seem to block the path. Chest 38 requires going right after the first teleporter and dropping down the bridge — look for it beside a spring and some pixcoins. Chest 39 is on the second level of the same puzzle, right before the exit.
Outdoor and Rooftop Chests — 40 Through 42
Chest 40 is near the Golden Calyx: Bud of Memories and the Old Campus at Twilight Space Anchor. Chest 41 is on the rooftop — teleport to the Art Classroom Space Anchor, go up the stairs, then climb the rooftop stairs to find it.
Chest 42 is inside the Difficulty II Interplanar Jump puzzle near the Main Building Foyer Space Anchor. It blocks the teleporter to the next level, so you can't miss it.
All 3 Furbobo Treasure Locations
Furbobo Treasures are special collectibles that disguise themselves and require a bit of extra interaction beyond simply opening a chest.
| Furbobo | Floor | Location | Behavior |
|---|---|---|---|
| Furbobo 1 | F1 | Courtyard, near some wispaes | Disguises itself as a tree in the middle of the courtyard |
| Furbobo 2 | F2 | Interplanar Jump puzzle on the south side | Runs away from you — direct it to run toward you to catch it |
| Furbobo 3 | F2 | North-west part of the floor | Disguised as the Trailblazer — triggers a combat encounter when interacted with |
Defeat the third Furbobo in combat to receive its rewards. All three count toward the area's total of 45 collectibles.
Treasure chests in Honkai: Star Rail do not respawn, so each one is a one-time reward. The Stellar Jade payouts vary by chest rarity — Basic Treasure gives 5, Bountiful Treasure gives 20, and Precious Treasure gives 30. Clearing all 45 collectibles in Graphia Academy is a meaningful chunk of the 133 total chests available across Planarcadia in Version 4.0, so it's worth sweeping the building floor by floor before moving on to the other areas.