
Wands in YapYap aren't interchangeable spell sticks. Each one carries unique passive effects and spell kits that reshape how you move, fight, and survive across floors. Picking the wrong wand early doesn't just slow you down — it limits what loot you can reach and how reliably you escape dangerous encounters. The current meta rewards vision control, crowd management, and survivability far more than raw damage output.
Quick answer: The Astral Wand and Wand of Telekinesis are the two strongest wands in YapYap right now, excelling at wall vision, repositioning, and crowd control from early floors through endgame.
YapYap Wands Tier List — All Eight Wands Ranked
| Tier | Wands |
|---|---|
| S | Astral Wand, Wand of Telekinesis |
| A | Wand of Illusions, Blessed Wand |
| B | Wand of Fire, Wand of Winds |
| C | Wand of Minor Arcanes, Grotesque Wand |
S-tier wands provide vision and space control that stay relevant in virtually every encounter. A-tier picks are powerful but lean toward specific playstyles — solo aggro manipulation or group support. B-tier wands perform well on early floors but lose effectiveness as difficulty climbs. C-tier wands have narrow utility windows and fall off fast once enemies become more threatening.
S Tier — Astral Wand and Wand of Telekinesis
Astral Wand
The Astral Wand solves YapYap's most punishing problem: lack of information. Its signature spell, Astral Eyes, lets you see through walls, completely removing the risk of walking into an ambush. That alone would make it strong, but the rest of the kit pushes it over the top. Blink provides instant repositioning when you're cornered, and Swap combined with Offer/Trade opens up clutch rescue plays — teleporting a teammate out of danger or creating emergency save points mid-run. It works equally well solo or in a coordinated group.
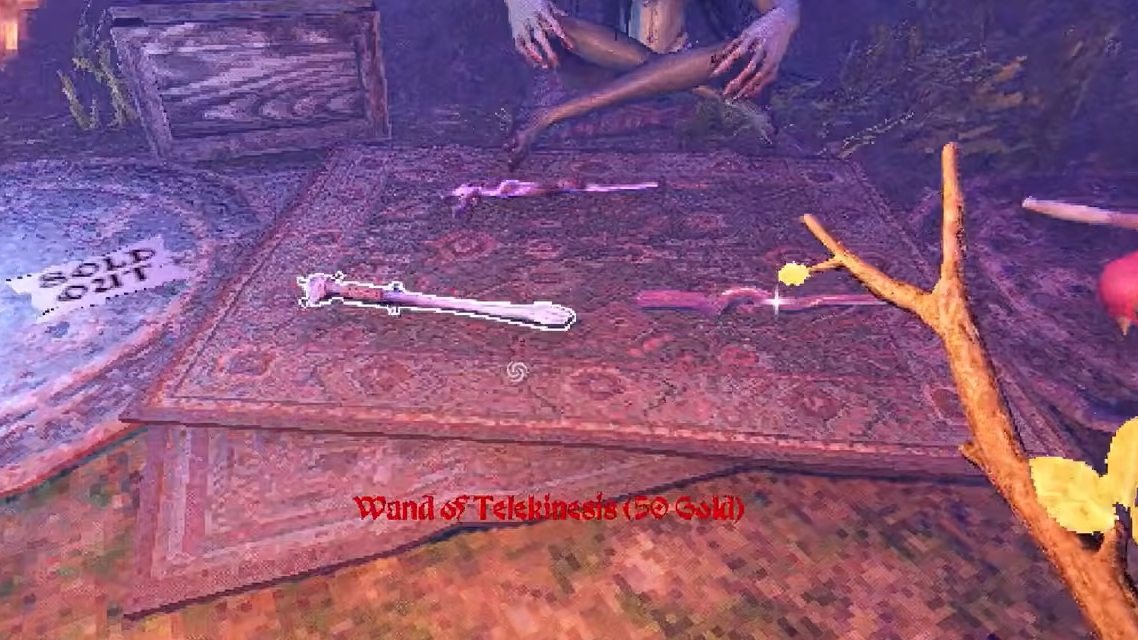
Wand of Telekinesis
Where the Astral Wand wins on information, Telekinesis wins on space denial. Telelock temporarily seals doors and escape routes, which can shut down enemy pathing or buy your team critical seconds. Teleblast delivers consistent knockback and damage, and the broader object manipulation toolkit lets you build improvised safe zones during chaotic fights. The defensive spells scale well into late-game floors, keeping this wand relevant long after cheaper options stop pulling their weight.
A Tier — Wand of Illusions and Blessed Wand
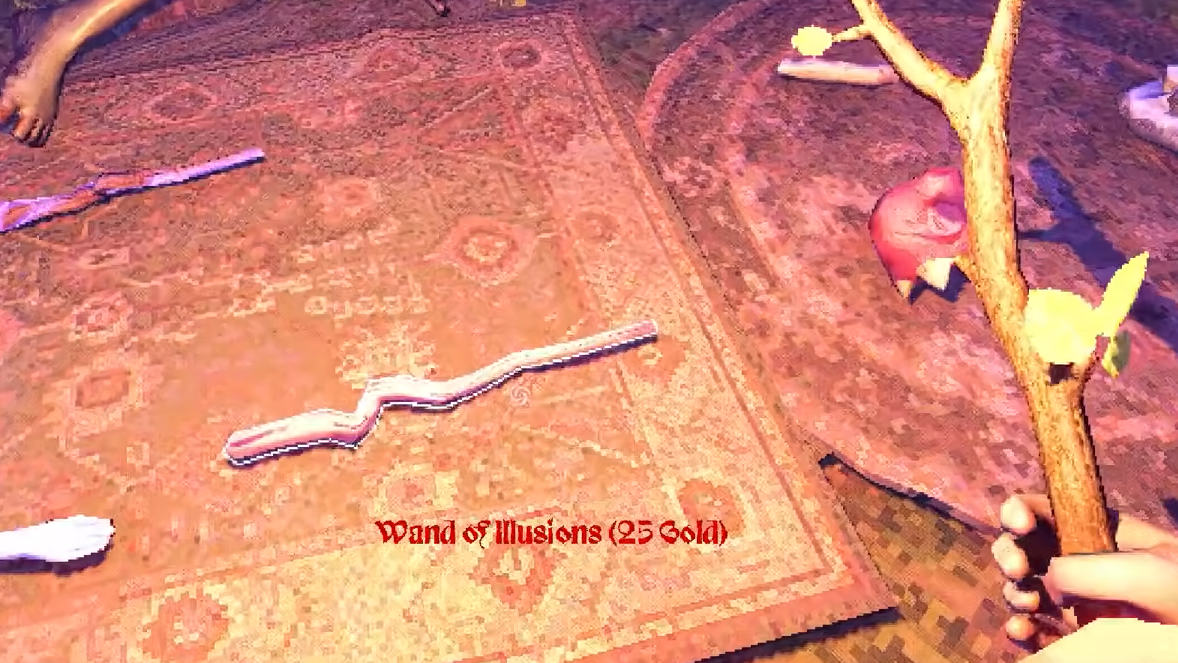
Wand of Illusions
Illusion clones generated by Dub-ill-oo pull enemy aggro away from you and your allies, creating breathing room in tight situations. Mimicry takes this further by letting you avoid most threats outright. For solo players, this wand is exceptionally strong — it essentially gives you a decoy system that buys time to reposition or escape. The main drawback is cooldown management. You can't spam clones endlessly, so timing matters.
Blessed Wand
The Blessed Wand is a pure support tool. It provides healing, shielding through Custodia, and the ability to revive downed teammates. Mercy Dash lets you close distance to an ally in danger quickly, making it invaluable during longer group runs where attrition becomes the real threat. The trade-off is significant, though — offensive capability is nearly nonexistent. Running this wand solo leaves you with almost no way to deal with enemies directly.
B Tier — Wand of Fire and Wand of Winds
Wand of Fire
Fire spells deliver strong damage-over-time effects and area denial through mine placement, which can block off corridors and funnel enemies into disadvantageous positions. Ignis Legs grants a burst of movement speed for escaping bad situations. The problem is self-inflicted chaos. Friendly fire and self-damage are real risks, especially in tight spaces where your own mines can punish your team as much as the enemies. Careless placement turns a solid wand into a liability.
Wand of Winds
Every player starts with the Wand of Winds since it's free and immediately available. Up Dog chains provide excellent vertical mobility, teaching you the core movement mechanics that matter throughout the game. Tempest offers basic crowd control for clearing space. The issue is longevity — damage output and control options don't scale into later floors, so you'll want to transition to something stronger once you can afford it. Still, it's the best learning tool in the game.
C Tier — Wand of Minor Arcanes and Grotesque Wand
Wand of Minor Arcanes
Teleportana helps you skip ahead to higher floors quickly, and Luxana provides temporary lighting in dark areas. Beyond that, the kit is thin. Grabana has almost no meaningful effect in combat, and the wand struggles to contribute anything useful once encounters become genuinely dangerous. It's a utility pick with a very narrow window of relevance.
Grotesque Wand
Transformation spells can briefly disrupt enemies and create momentary chaos in confined spaces, which sounds fun on paper. In practice, the damage and control effects are inconsistent, and the wand's usefulness drops sharply after the first few floors. It can catch enemies off guard early, but there's no scaling to carry it into mid or late game.
Best Spells Across All Wand Builds
Certain spells remain effective regardless of which wand you're running. These are the ones worth building around or prioritizing access to:
- Blink gives you an emergency escape and instant repositioning, useful in nearly every dangerous situation.
- Up Dog provides vertical movement and fall safety, critical for navigating multi-level floors.
- Tempest clears space and controls crowds when enemies cluster together.
- Dub-ill-oo generates clones that redirect enemy aggro away from you and your team.
- Custodia shields allies during high-pressure moments where a single hit could end a run.
- Telelock temporarily shuts down doors and enemy pathing routes, buying time when you need it most.
Dual-Wielding Setups and Hand Swapping
YapYap supports dual-wielding, letting you equip two different wands at the same time. Your main hand generally handles offensive or control spells, while the off-hand is best reserved for mobility or utility. Press F to swap between hands during gameplay.
The strongest dual-wield pairings combine complementary strengths:
| Combination | Strength |
|---|---|
| Astral + Telekinesis | Wall vision paired with crowd control — the most well-rounded setup |
| Illusions + Blessed | Solo survivability with healing backup for extended runs |
| Fire + Winds | Area damage with reliable escape mobility |
How to Switch Wands in YapYap
You can change wands directly from your inventory at any time. Open the inventory menu, select the wand slot, and pick from your available options. The important thing is planning your loadout before entering a dangerous floor — switching mid-combat leaves you exposed and vulnerable for a brief window. If you're running dual-wield, make sure both slots are set before you commit to a floor.
Wand choice in YapYap matters more than most players realize early on. Vision and control consistently outperform raw damage, which is why the Astral Wand and Wand of Telekinesis sit at the top. If you're just starting out, the Wand of Winds teaches you the movement fundamentals you'll need regardless of what you switch to later. And once you're comfortable with the basics, pairing a control wand with a mobility wand through dual-wielding is one of the most reliable ways to push deeper into late-game floors.