
Use Windows 11’s built‑in reset or the device’s BIOS recovery to return the Xbox Ally X to factory defaults. Both approaches remove apps and games; one can optionally keep personal files, and the other restores the original factory image.
Factory reset Xbox Ally X in Windows 11 (Reset this PC)
This method runs from Windows and is the quickest way to refresh the system. You can choose to keep personal files or wipe the device entirely. In all cases, installed apps and games are removed.
Step 1: Switch to the Windows desktop. From the Ally’s launcher, open the menu and choose Windows desktop, or press Windows + Tab to exit the gaming shell.
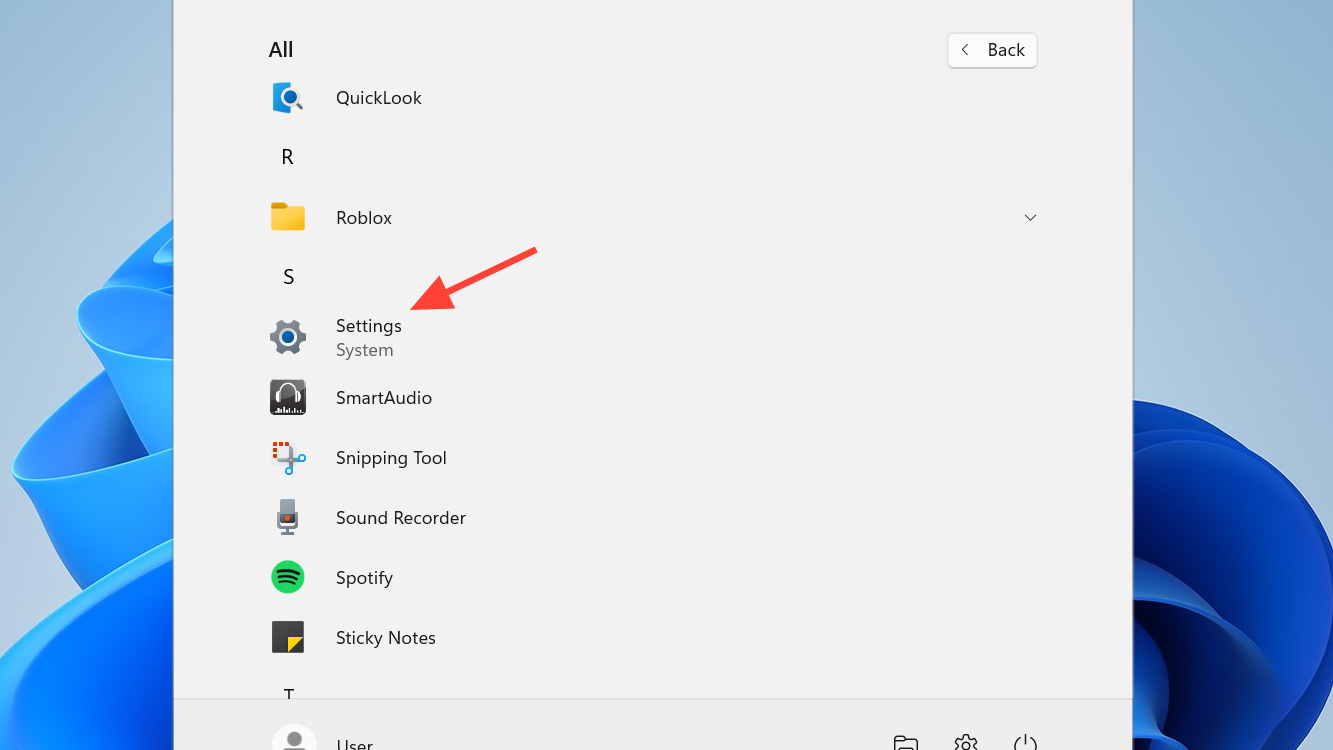
Step 2: Open Settings. Use Start to select Settings, or press Windows + I to open it directly.
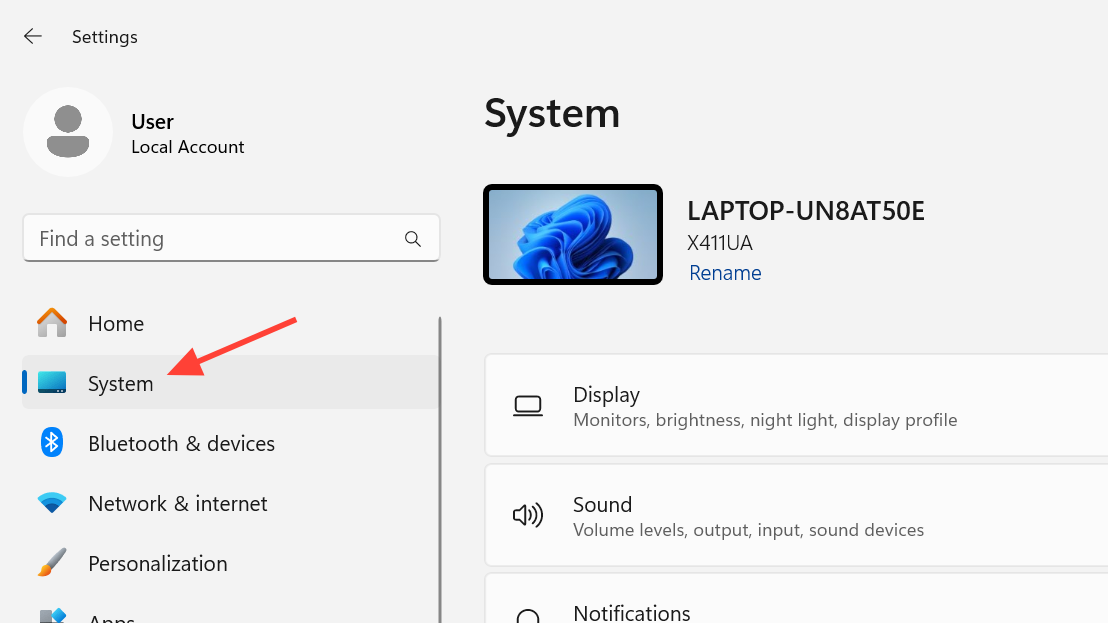
Step 3: Go to System. This page groups core controls that affect device behavior and recovery.
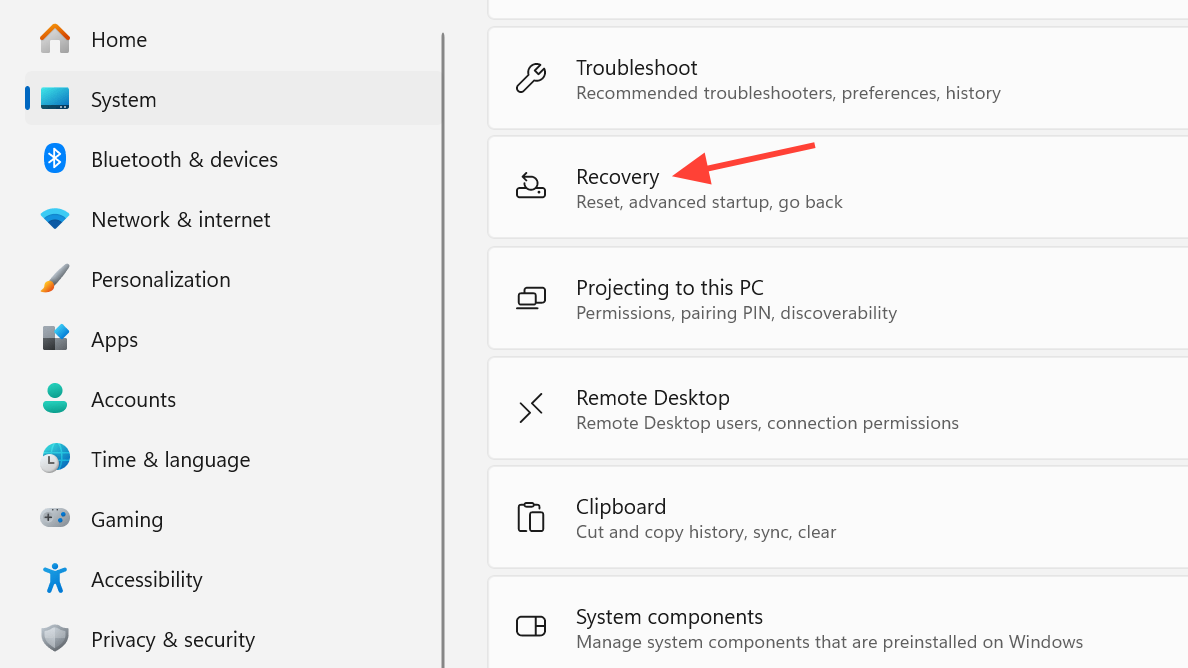
Step 4: Select Recovery. This section houses options for repairing Windows and resetting the device.
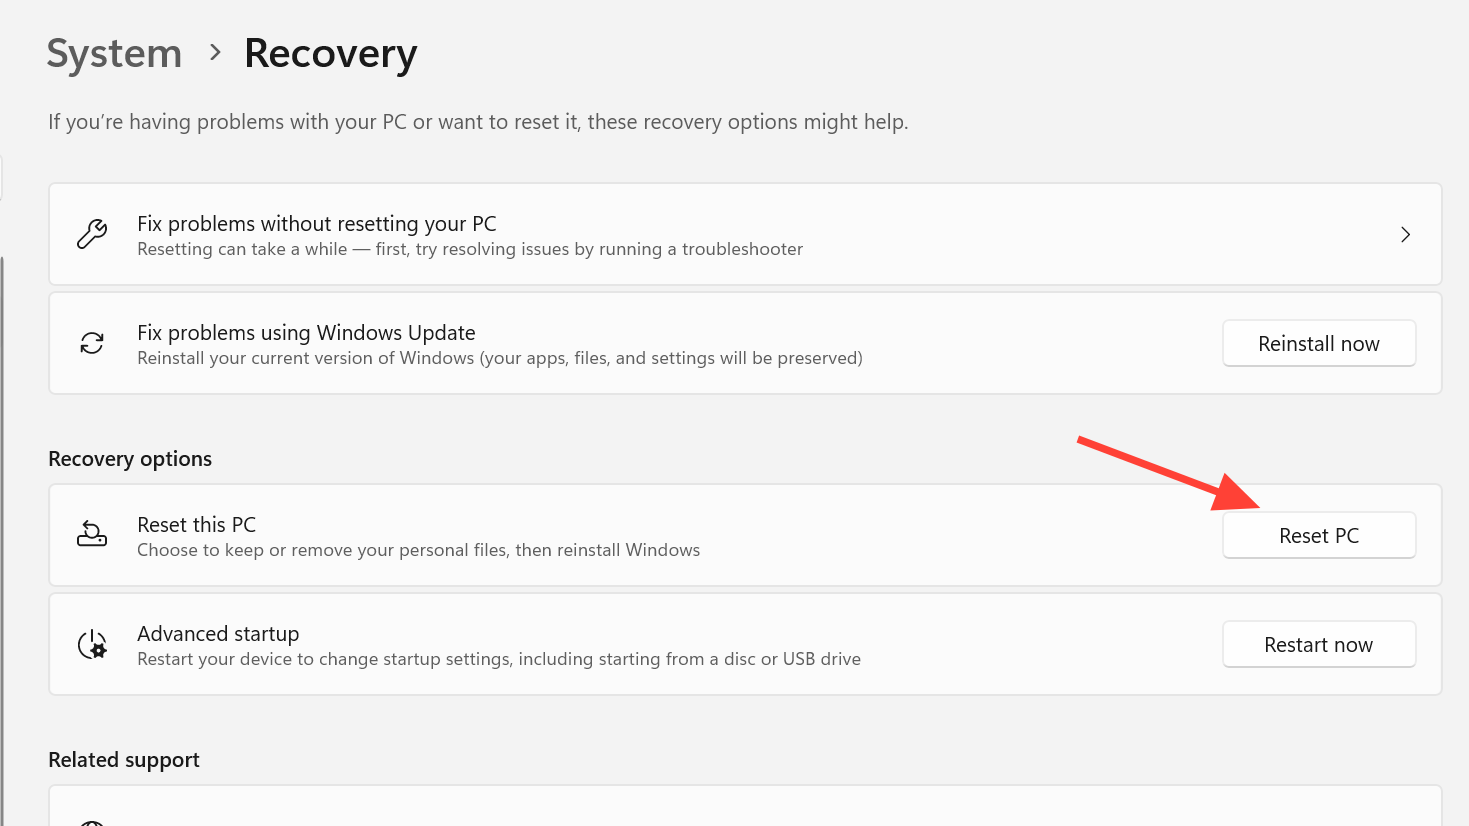
Step 5: Click Reset PC under “Reset this PC.” This launches the reset workflow that rebuilds Windows.
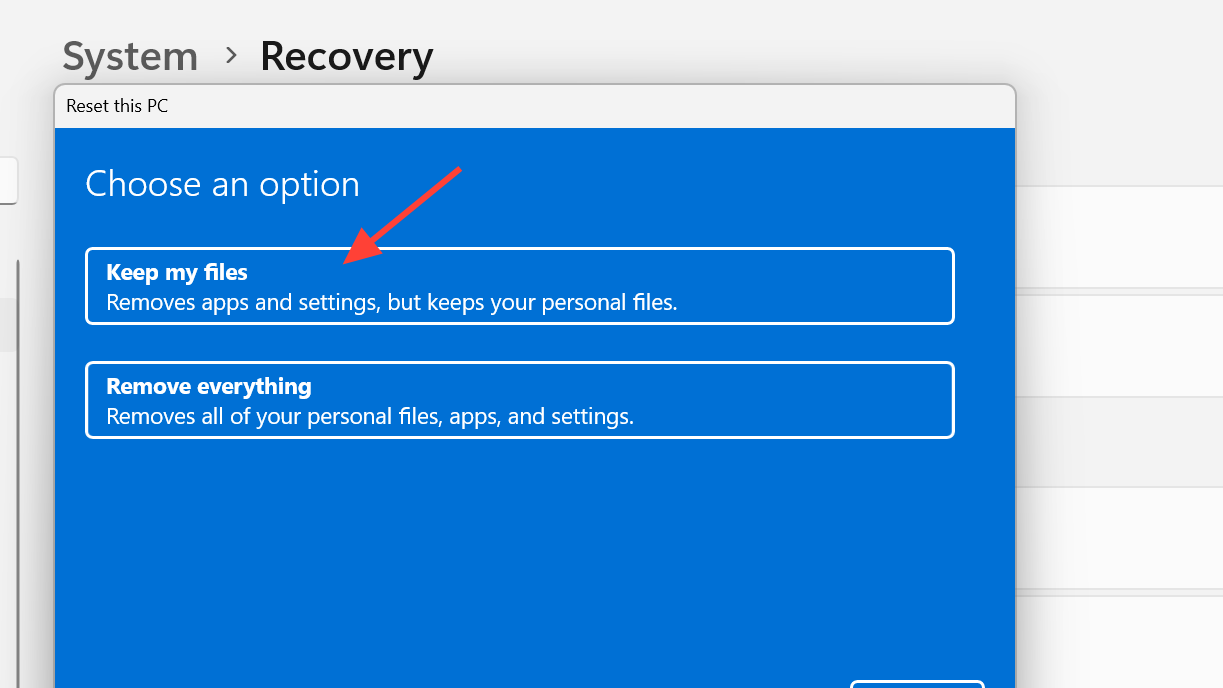
Step 6: Choose what to remove. Select “Keep my files” to retain personal folders in your profile, or “Remove everything” to wipe all user data. Apps and games are removed in both cases.
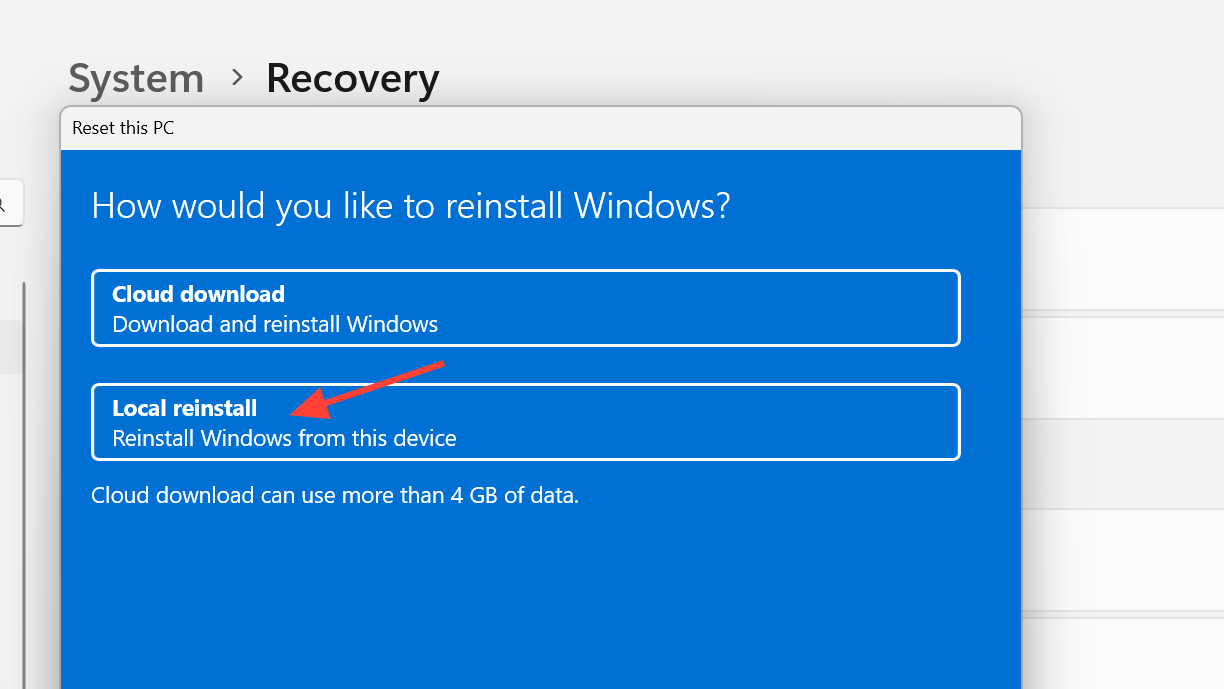
Step 7: Pick the reinstall source. Choose “Local reinstall” to use the image already on the device, or “Cloud download” to fetch a fresh copy of Windows 11. Cloud download replaces the current image and removes manufacturer customizations, drivers, and bundled utilities; you can reinstall vendor drivers later if needed.
Step 8: Confirm and start. Review the summary, then select Reset. The device will reboot and complete the process. Local reinstalls typically finish in about 20 minutes; cloud downloads take longer depending on network speed.
Factory reset Xbox Ally X using ASUS Cloud Recovery (BIOS)
This method runs before Windows loads and restores the factory software image. It’s ideal if you want the device exactly as it shipped, including the original drivers and tools.
Step 1: Power off the Ally X completely. Wait a few seconds to ensure it’s fully shut down.
Step 2: Enter the BIOS/UEFI. Hold Volume Up and press the Power button to start the device into firmware settings.
Step 3: Select ASUS Cloud Recovery. In the BIOS interface, choose the cloud recovery option and follow on‑screen prompts.
Step 4: Approve the reset. Confirm erasing the internal drive and proceed. This reinstalls the factory image and removes all personal files, apps, and games.
Step 5: Let the process complete. The Ally X will download the image, reinstall, and reboot multiple times. When finished, you’ll land on Windows setup as if the device were new.
What gets removed during a reset
Apps and games are always removed by Windows reset. If you choose “Keep my files,” personal files in your user profile remain; “Remove everything” deletes all user data. Cloud download rebuilds Windows with a clean image and does not keep manufacturer drivers and utilities. After resetting, sign in and re‑download games via the Xbox full‑screen experience, and reinstall any needed drivers or tools.
If you’re selling your Ally X (recommended wipe)
Use Reset this PC and select “Remove everything” to clear personal data, or run ASUS Cloud Recovery to restore the factory image. Either path returns the device to a clean state for the next owner.
After the reset, check Windows Update to install the latest patches, then sign in and reinstall your games and apps. You’ll be back to a clean, performant handheld with minimal setup.