Souls are the secondary currency in Far Far West, used to gamble for Joker cards at the Saloon and to fund permanent perks that compound across every run. Unlike Gold, which you mostly mine and loot, Souls drop from kills and from a small set of map features that exist specifically to feed soul-focused runs. Farming them efficiently is less about raw enemy count and more about routing through those features before the boss flips the map into endless waves.
Quick answer: Pick a soul-focused contract, sweep every haunted hut, soul camp, and grave set on the map, equip Soul Siphon for pickup range, and only then engage the boss so the post-boss infinite spawns become a kill-farming bonus rather than an obstacle.
How Souls work in Far Far West
Souls appear as small orbs that drop from defeated enemies and from destroyed structures like ghost houses. They float briefly and despawn, so pickup range matters as much as the drop rate itself. Souls are paid out at extraction along with mission rewards, which means a failed run forfeits most of what you gathered. Clean extracts on a stable difficulty produce more Souls per hour than ambitious runs that collapse before the bell.
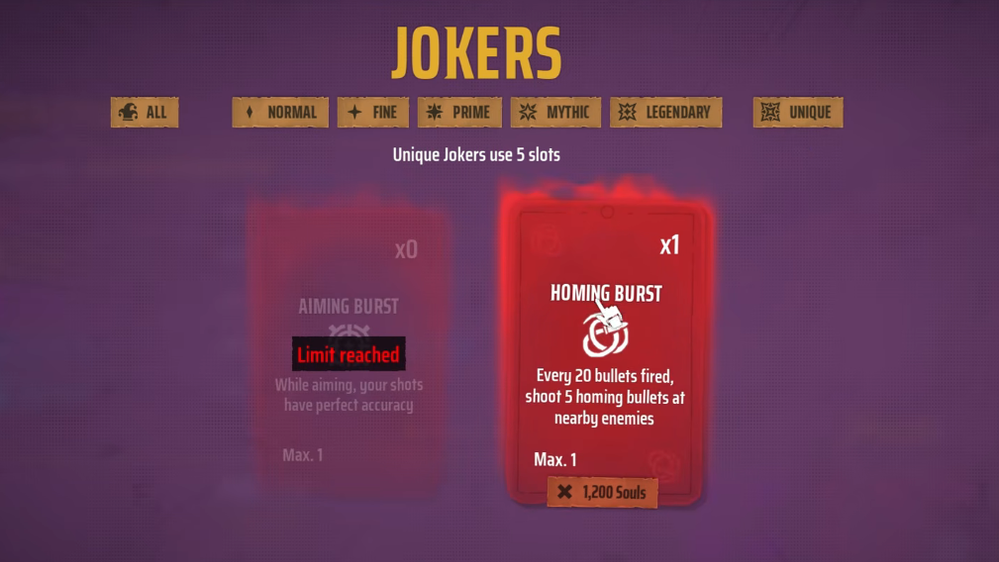
The two main sinks for Souls are the Soul Gambler, which charges 250 Souls for a random Joker roll, and various permanent character upgrades at the Saloon. The Gambler pulls from the full rarity pool with these confirmed odds, which is why a steady Soul income matters more than a single big payout.
| Rarity | Roll chance |
|---|---|
| Normal | 25% |
| Fine | 35% |
| Prime | 20% |
| Mythic | 16% |
| Legendary | 4% |
Set the run goal before you drop
A soul run is a routing decision. The map has gold-themed objectives, blueprint paths, and soul-themed objectives, and trying to clear all three at once stretches your time too thin to reliably extract. Lock the goal at the Saloon, fit the loadout to it, and ignore markers that do not pay Souls.
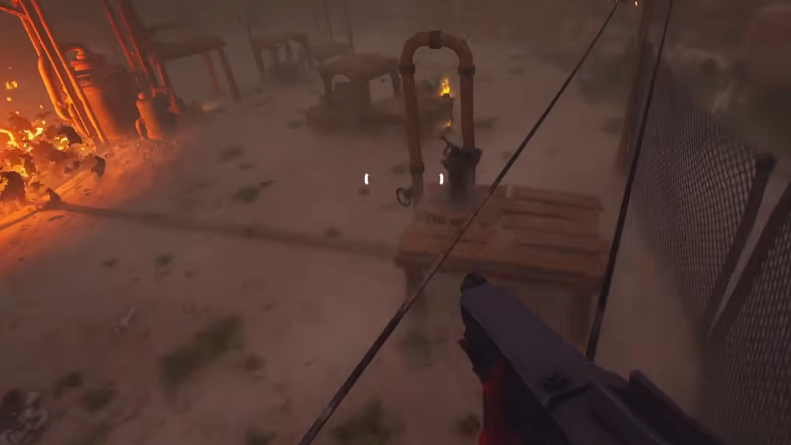
Side objectives that pay Souls
Three map features deliver the bulk of Soul income beyond enemy kills. They appear on most contracts and should be cleared before the boss because the post-boss infinite wave makes leisurely exploration impractical.
| Feature | What it does | Priority |
|---|---|---|
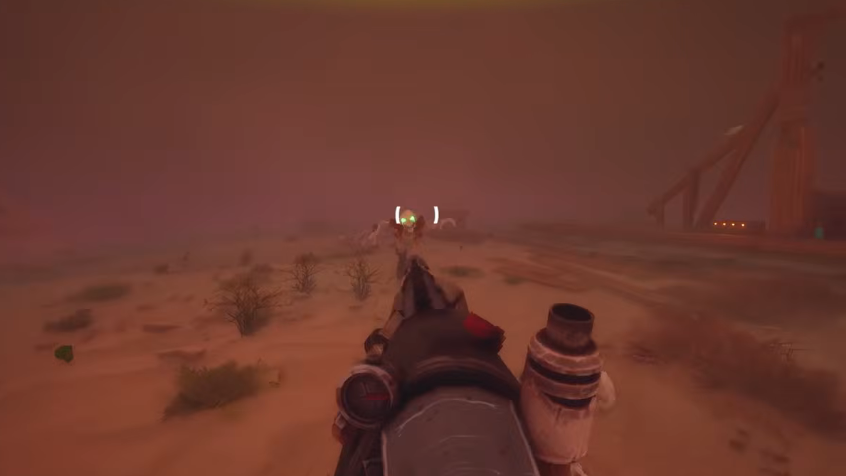
| Haunted huts (ghost houses) | Destroying the structure yields a chunk of Souls and often a Joker drop. | Highest on soul runs |
| Soul camps | Clusters of enemies dedicated to dropping Souls when cleared. | High |
| Grave sets | Each map has 10 graves. Finding all 10 (across one or more runs) awards 1,000 Souls as a one-time challenge reward. | Medium, completion-based |
| White question-mark markers | Mixed bonus rewards that frequently include Souls and temporary perks. | Take en route |
Joker setup for soul farming
The right Joker stack changes a soul run from a slow grind into a reliable income loop. Two cards anchor every soul-focused build, and a few more amplify the Joker drops that the run produces along the way.
| Joker | Tier | Effect on soul runs |
|---|---|---|
| Soul Siphon | Fine, 2 pts | Larger pickup radius and 2 HP per soul. Stack two copies for 4 HP per soul. |
| STONKS | Prime, 3 pts | +15% chance for chests to contain a Joker, increasing the value of every map sweep. |
| HOARDER | Mythic, 4 pts | +15% chance that picking up a Joker spawns another, snowballing soul-camp clears. |
| CHAD | Fine, 2 pts | Reveals the Wandering Trader and applies a 20% discount on his stock. |
| Bell Shot | Fine, 2 pts | 5% chance on precision hits to spawn a healing bell. Pairs with Soul Siphon for self-sustain on long sweeps. |
Soul Siphon is the non-negotiable piece. The pickup range matters more than the healing because Souls despawn, and missed orbs are missed currency.
The route: clean the map, then farm the boss spawn
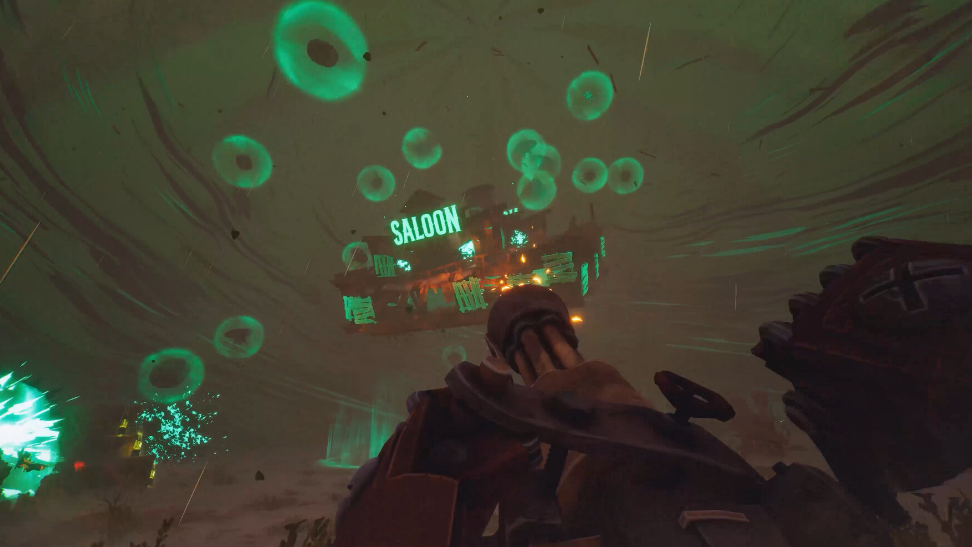
Storms as a supplemental Soul source
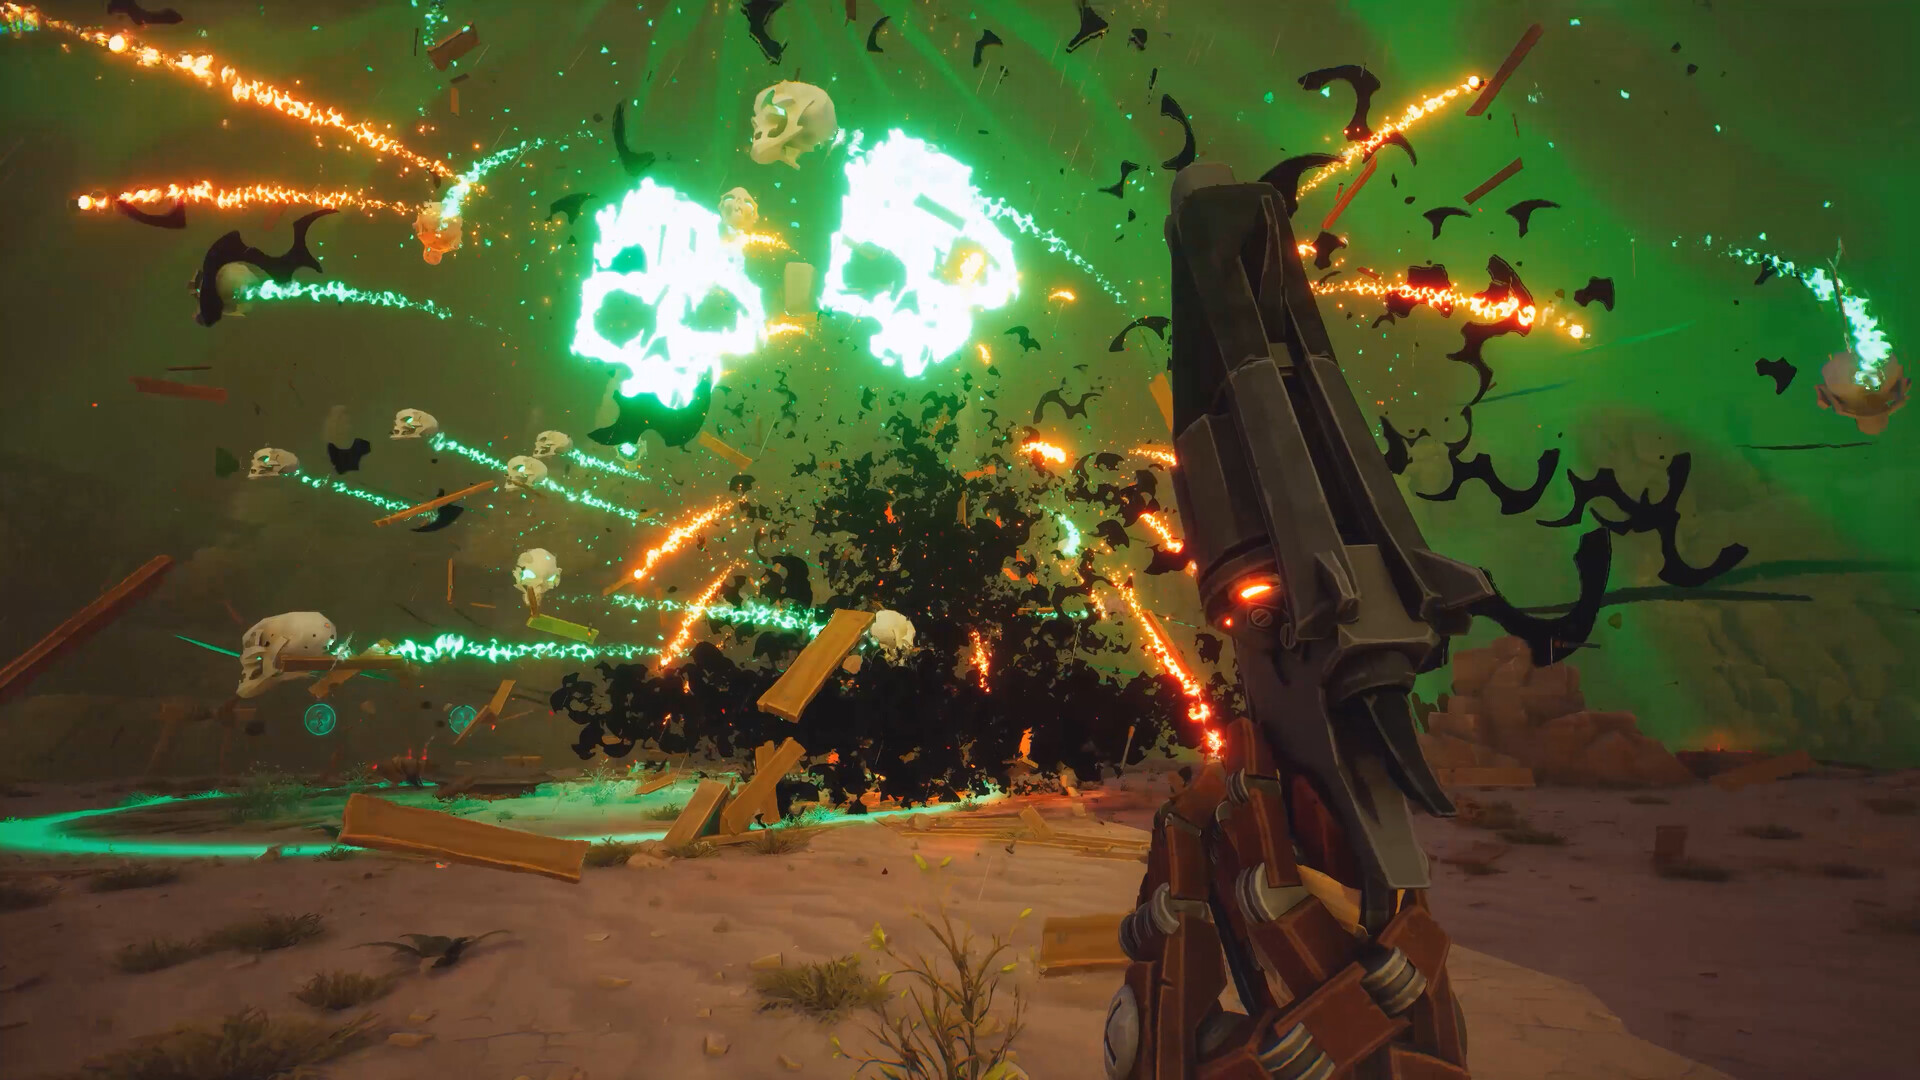
Storms spawn regular and elite enemies that drop Gold, Souls, and Jokers. They trigger from objectives, the final boss, environmental traps, and the spotlights cast by the floating soul-eye creatures in the sky. On a soul-focused run, deliberately walking into a spotlight or trap to spawn a storm in a safe area is a valid way to add a dense kill window without burning extra map time. Keep ammo and health potions stocked before triggering one on Hard or higher.
Difficulty and consistency
Higher difficulty raises Soul drops per kill, but only when extracts stay clean. A failed Hard+ run pays less than a completed Normal run because most Souls are awarded at the bell, not in the field. Treat difficulty as a dial that follows your build, not a flex. Move up only after meeting all of these conditions.
- You can complete Hard or Hard+ extracts consistently on the chosen map.
- You have at least one copy of Soul Siphon equipped, ideally two.
- Your character has a survivability Joker, such as Second Wind or Hit Me to absorb the heavier hits that higher difficulties throw out.
- Your weapon is leveled enough to clear soul camps and ghost houses without burning a full ammo reserve.
How you know it worked
Soul totals appear on the post-extraction summary screen alongside Gold and XP. A productive solo soul run on Normal typically completes the map sweep with a four- to five-figure Soul gain depending on grave progress and Joker drops. If a run finishes with fewer Souls than the cost of a single Gambler roll, the route skipped haunted huts, or the boss was triggered before the map was clean. Adjust the route, not the difficulty.
The Saloon updates instantly after extraction, so you can roll the Gambler, equip any new Joker, and queue the next run without leaving the hub. Keeping a small Soul reserve between runs is what turns the system from a one-off grind into a feedback loop where each session funds a slightly stronger build for the next.