
The Tidemourner is one of the new fishing rods added with Fisch’s Tidefall update (version 1.67). It trades raw stats for a set of crowd-control passives that repeatedly stun fish and speed up progress, making high-resilience catches much more manageable once you build around it.
Where to get the Tidemourner rod in Fisch
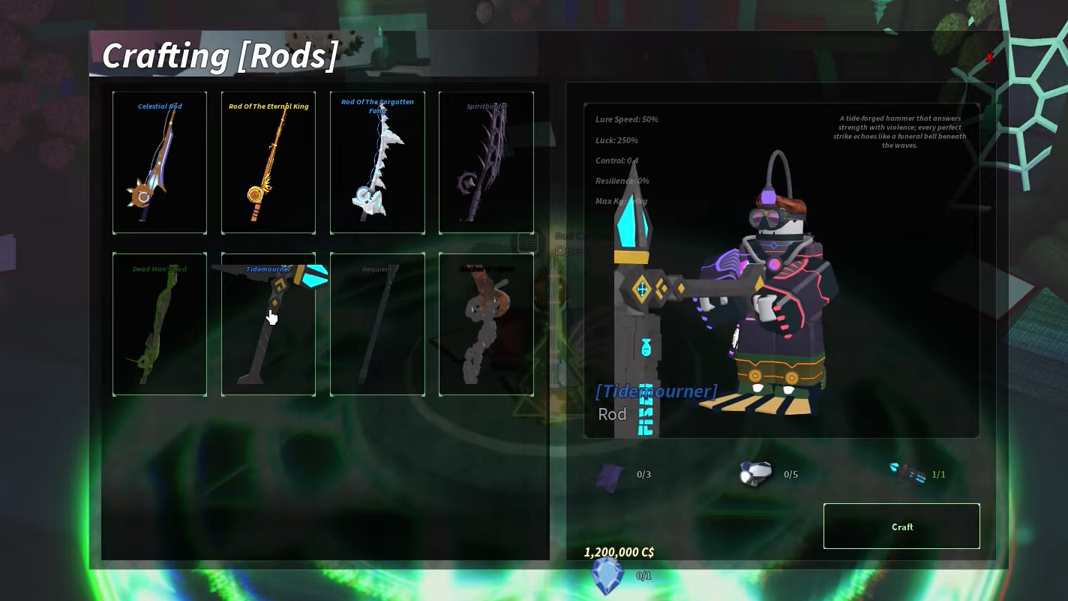
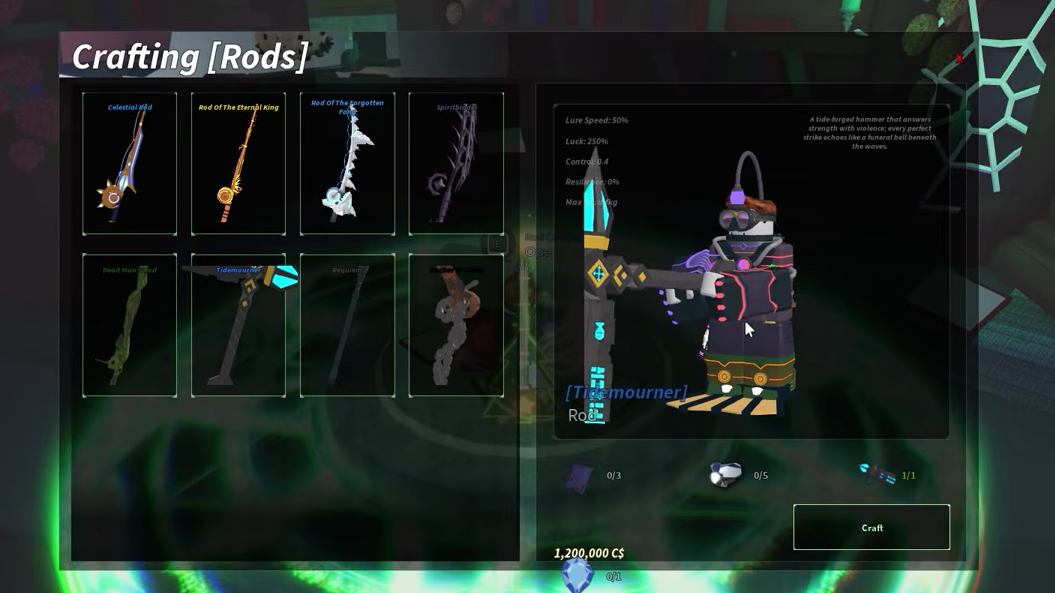
Tidemourner is a craftable rod built at the Crafting anvil in the Ancient Archives, a location inside Ancient Isle. There is no level requirement, but you need specific rare materials plus a chunk of in-game cash.
Step 1: Travel to the Ancient Isle and head to the waterfall that hides the entrance to the Ancient Archives. Enter the cave behind the waterfall to reach the Archives interior.

Step 2: Walk to the Crafting anvil at the far end of the Archives room. Approach it and hold the E key to open the rod crafting menu.
Step 3: Select the Tidemourner rod from the list of craftable rods. Confirm that you have all the required materials and enough C$, then press the Craft button to create the rod.
There is a discrepancy between the menus and the item listings for the exact cash requirement. Expect to pay a high five‑figure to low six‑figure amount of C$ on top of the material cost, so plan your money grind accordingly.
Tidemourner crafting materials and where to farm them
You need four different items to craft the Tidemourner rod, all obtainable in the Tidefall update’s locations and existing islands.
| Material | Amount | How to get it |
|---|---|---|
| Tide Essence | 3 | Mine Dripstone rocks in Tidefall during a Dripstone Collapse event. |
| Iron Chunk | 5 | Catch in the Mineshaft, where it appears as a common item. |
| Tidemourner Head | 1 | Buy from the Tidefall entry shop for 750,000 C$. |
| Moonstone | 1 | Low‑chance drop from Meteors in Ancient Isle, or buy from Daily Shop, or very rarely from the Personal Aquarium. |
Tide Essence. Tide Essence drops when you break Dripstone rocks in Tidefall. To spawn these rocks, you first trigger a Dripstone Collapse using a Dripstone Collapse Totem, then mine the Dripstone formations with a pickaxe. Essence is rare, so expect to clear a lot of rocks before you have all three.

Iron Chunk. Iron Chunk is comparatively painless. Head to the Mineshaft and fish there; Iron Chunk shows up frequently as a catch, so five pieces come quickly as you grind money or XP.
Tidemourner Head. This is a pure money gate. At the Tidefall entry point, a shop sells the Tidemourner Head for 750,000 C$. Until you buy it, you cannot craft the rod, so budget this purchase into your Tidefall progression.
Moonstone. Moonstone is the true bottleneck for many players. It has a 4 percent chance to appear inside a Meteor on Ancient Isle, where you then break the meteor for the drop. Alternatively, Moonstone can rotate into the Daily Shop for 200,000 C$ or appear from the Personal Aquarium at a tiny 0.1 percent chance. If you’re short on time and have the cash, grabbing it from the Daily Shop is the most reliable route.
How to reach the Ancient Archives crafting anvil
If you have not used the Ancient Archives before, it is easy to miss the entrance.
Step 1: Sail or travel to Ancient Isle.
Step 2: Locate the large waterfall on the island. Behind this waterfall is a cave entrance.
Step 3: Walk through the waterfall into the cave to enter the Ancient Archives. The main hall contains the Crafting anvil you use for Tidemourner and other craftable rods.

You can also rely on the in‑game GPS system and set a waypoint to the coordinates 5870, 160, 415 to land close to the Archives entrance.
Tidemourner rod stats and passives
On paper, Tidemourner’s base stats are serviceable rather than top tier. Its real strength comes from its three passives that repeatedly stun fish and add progress, letting you brute‑force through tough reeling segments once a fish is locked onto the bar.
| Stat | Value | Impact |
|---|---|---|
| Lure Speed | 50% | Moderate time to bite; not focused on ultra-fast hooking. |
| Luck | 250% | Strong luck scaling for higher‑rarity catches and better rolls. |
| Control | 0.4 | Gives a control bar that spans about 70 percent of the reeling minigame. |
| Resilience | 0% | No built‑in resistance to line strain or fish escape. |
| Max Kg | infkg | No weight cap; can theoretically land any fish weight. |
| Line Distance | 100 m | Standard casting range for long‑distance throws. |
The rod’s three passives are where its identity lives:
- Harder Slam from higher Cast Power. Stronger casts cause a heavy “slam” effect at the start of the fight that grants an immediate chunk of progress on the bar. This effectively front‑loads part of the reeling work if you consistently hit strong casts.
- Perfect cast stun chance. A perfect cast has a 50 percent chance to stun the hooked fish for five seconds. While stunned, the fish’s movement is heavily constrained, so you can gather free progress with much less bar management.
- Hammer stun after 5 seconds on the bar. When a fish stays on your control bar for more than five seconds without falling off, a hammer slams down, stunning the fish and adding more progress. This rewards stable tracking rather than risky, jittery movements.
The net effect is a rod that amplifies consistent play. If you can keep fish on the bar and land perfect casts, the fight rhythm becomes a cycle of stuns and big progress spikes, which is especially useful against high‑resilience or high‑weight fish that would otherwise drag out reeling for a long time.
Best enchantments for the Tidemourner rod
Because Tidemourner ships with zero resilience and only mid‑level lure speed, it benefits more than most rods from a targeted enchant setup. The goal is to patch survivability and control while pushing progress speed so that stuns translate into quick finishes.
The following enchantments are the standouts for this rod.
- Herculean. This enchant adds +25,000 Max Kg, +0.2 Control, and +10 percent progress speed. On Tidemourner, that extra control can push your control bar toward roughly 80 percent of the minigame width, making it significantly harder to drop fish off the bar. Combined with the hammer stun and Harder Slam, the extra progress speed makes even tanky, 200‑resilience secret fish far more manageable.
- Mystical. Mystical grants +25 percent Luck, +45 percent Resilience, +15 percent Lure Speed, and +10 percent progress speed. This is the cleanest fix for Tidemourner’s 0 percent base resilience, while also stacking more luck onto an already luck‑heavy rod. It also tightens up bite times through higher lure speed and adds more progress speed.
- Controlled. Controlled simply boosts Control by +0.15. On a rod defined by its control‑driven passives, this is an efficient way to stretch the bar even further and stabilize the five‑second requirement for the hammer stun. It is less flashy than the big packages above, but synergizes directly with how Tidemourner wants to play.
- Piercing. Piercing lets you stab fish while reeling and adds +15 percent progress speed. For Tidemourner, this creates a feedback loop where stuns from the rod’s passives and extra progress from stabs compress most fights into much shorter windows, especially on stubborn high‑resilience targets.
In practice, most players treat Herculean and Mystical as the core options, then layer on additional control or progress from Controlled or Piercing depending on playstyle and available slots. If your main issue is fish slipping off the bar, prioritize control‑boosting enchants first. If you are already comfortable with tracking, lean harder into progress speed to end fights quickly during stun windows.
Once crafted and properly enchanted, the Tidemourner rod becomes a specialized tool for locking down difficult fish rather than a generalist “best‑in‑slot” option. If you enjoy the reeling minigame and want a setup that rewards precise casts and patient bar control, it is one of the more interesting additions to Fisch’s Tidefall update.