
Blue screen errors (BSOD) that occur when connecting to Ethernet or WiFi on Windows 11 often point to underlying driver conflicts or corrupted network components. These crashes can disrupt your ability to access the internet, causing workflow interruptions and potential data loss. Addressing the root cause—usually outdated or incompatible network drivers—restores stable connectivity and system reliability.
Update Network Drivers
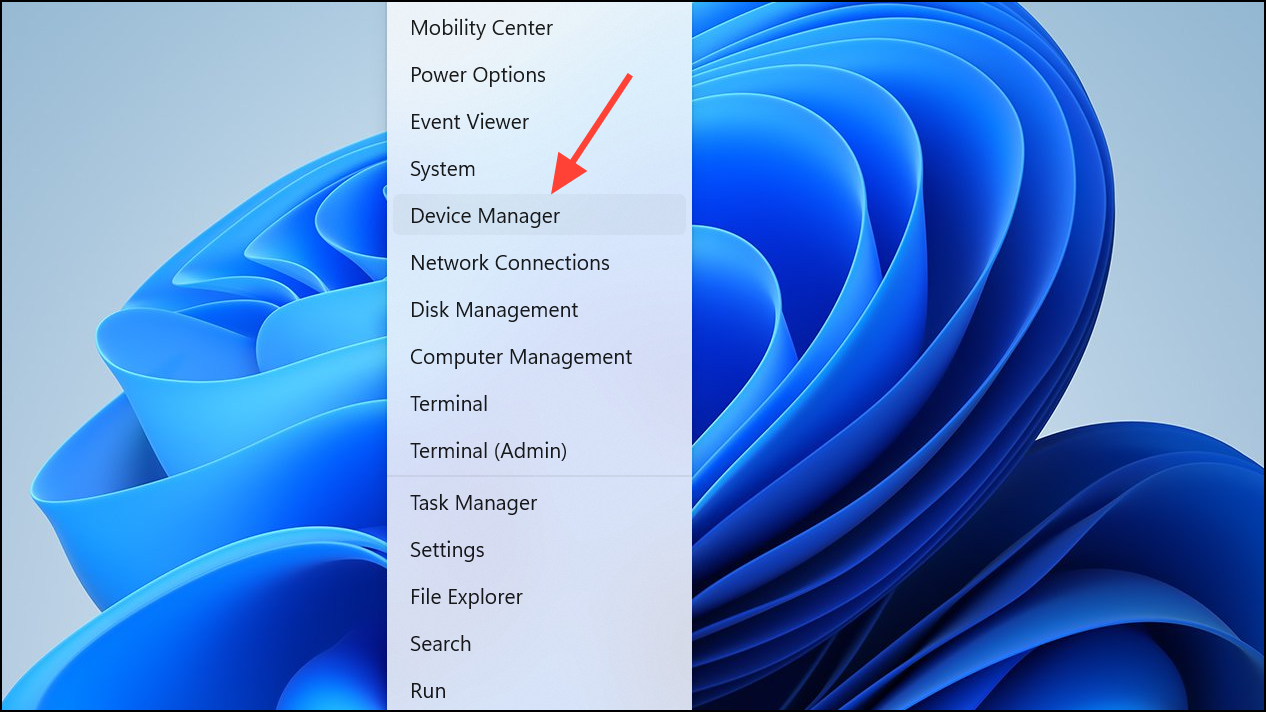
Step 1: Identify your network adapter manufacturer and model. Press Windows + X and select Device Manager.
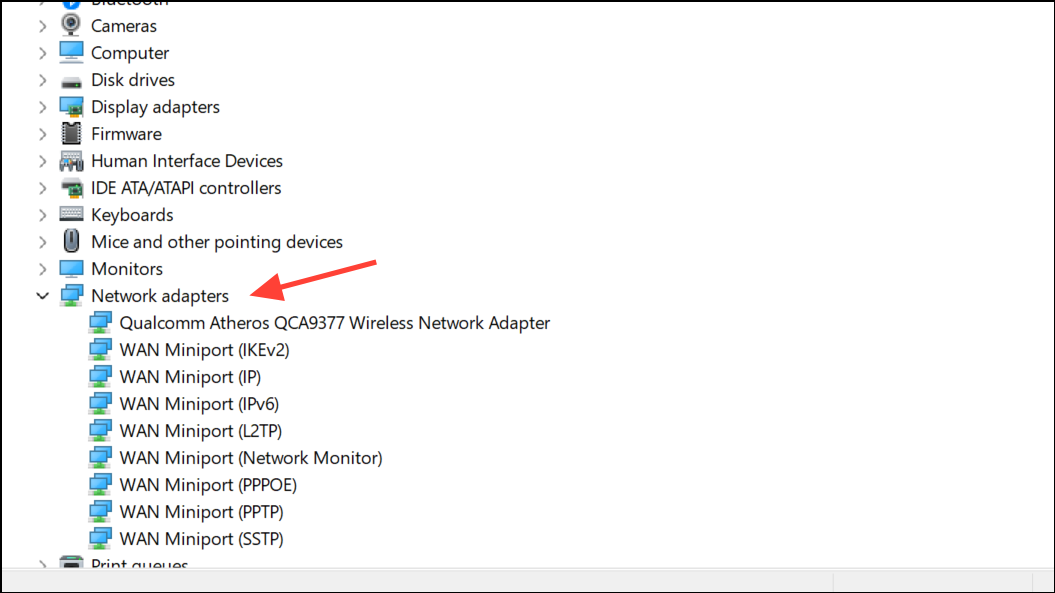
Step 2: Expand Network adapters to see your Ethernet and WiFi devices. Note the names, such as Realtek, Intel, or Broadcom.
Step 3: Visit the official website of your network adapter’s manufacturer (for example, Realtek or Intel) from another device if your PC cannot connect to the internet. Download the latest Windows 11-compatible driver for your specific hardware model.
Step 4: Transfer the downloaded driver to your affected PC using a USB drive.
Step 5: Unplug the Ethernet cable or disconnect from WiFi before installing the new driver. This prevents Windows from automatically reinstalling the problematic version.
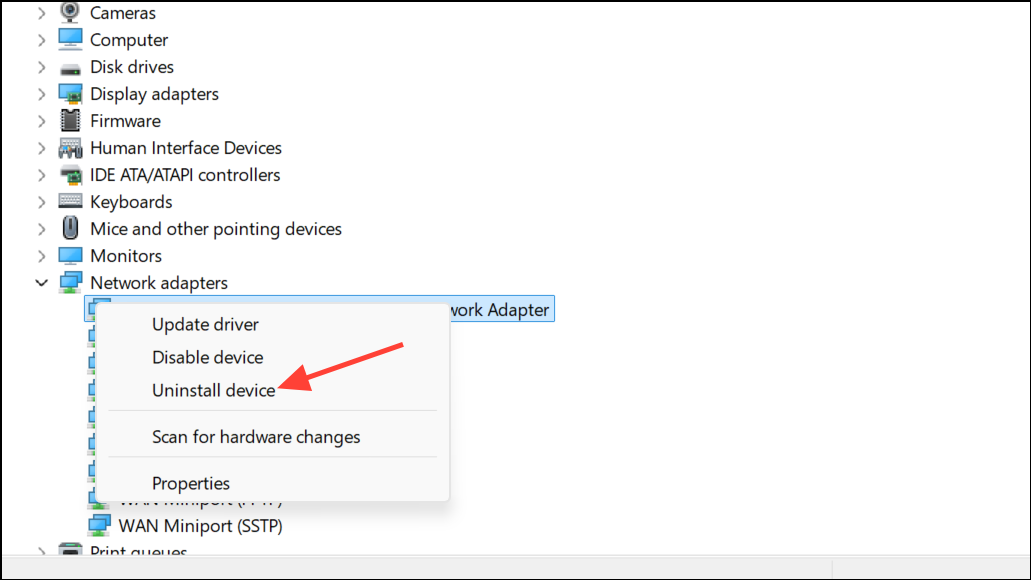
Step 6: Open Device Manager again, right-click the network adapter, and choose Uninstall device. Check the box to remove the driver software if prompted. Restart your computer.
Step 7: After restart, run the downloaded driver installer from your USB drive. Follow on-screen instructions to complete installation. Once finished, reconnect your Ethernet cable or WiFi and check for stability.
Roll Back to a Previous Driver
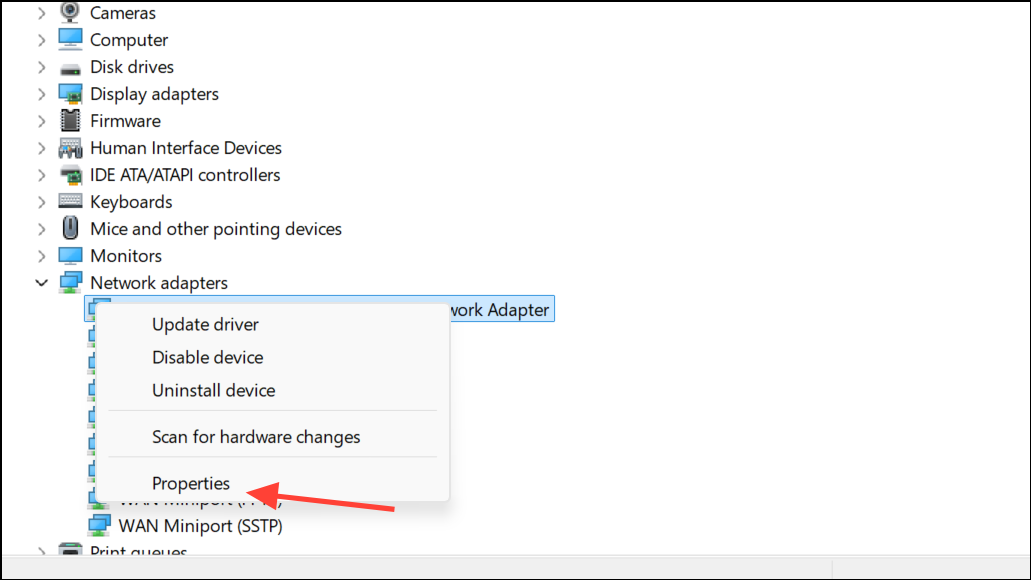
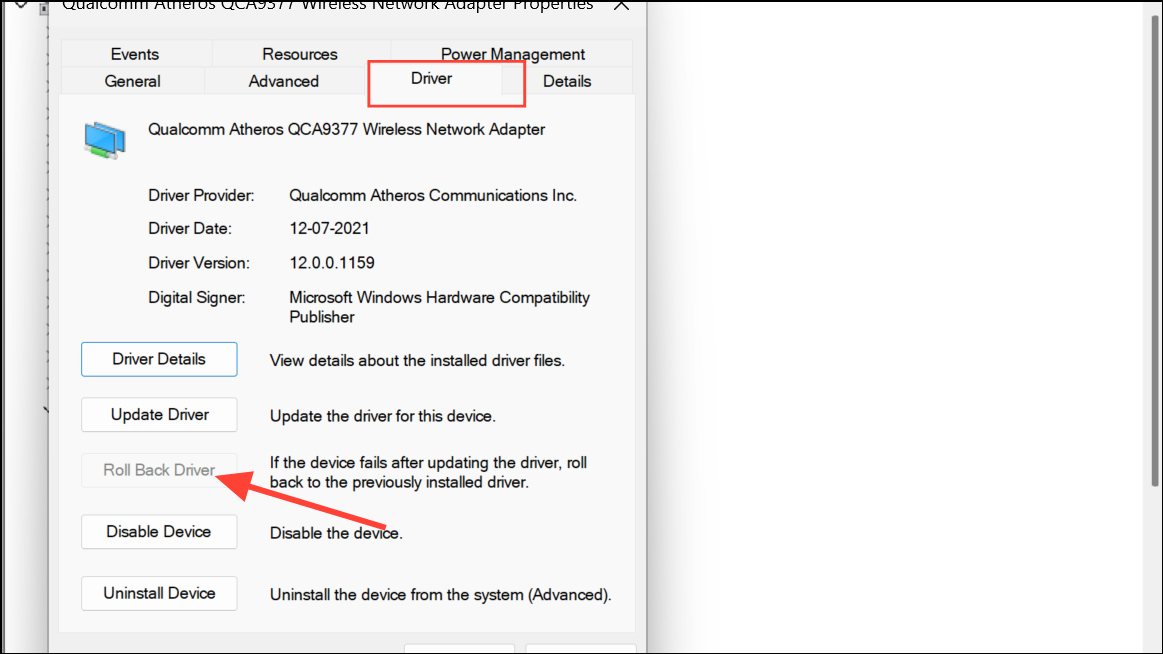
Step 1: In Device Manager, right-click the network adapter and select Properties.
Step 2: Go to the Driver tab and click Roll Back Driver if available. This option reinstalls the previous version that may have worked without causing blue screens.
Step 3: Restart your computer and test the connection. If the issue persists or the option is unavailable, proceed to the next method.
Use System Restore
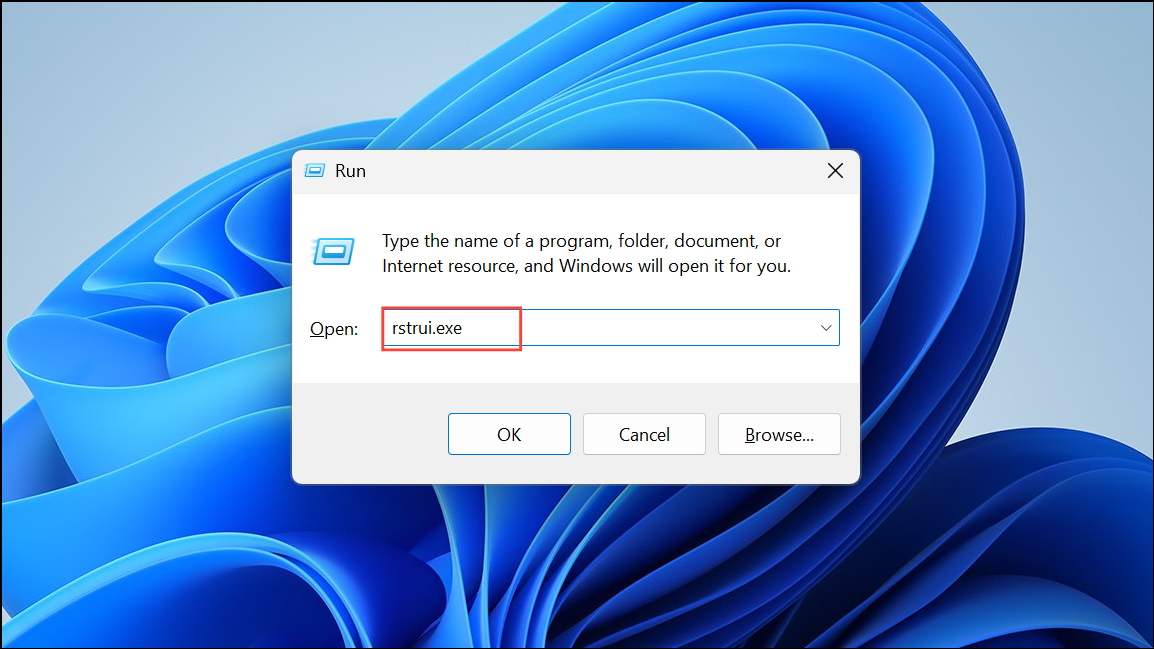
Step 1: Press Windows + R, type rstrui.exe, and press Enter. Follow prompts to restore your system to a point before the blue screen issue began. This reverts system files and drivers to a previous, stable state.
Step 2: Allow the process to complete and check if your Ethernet or WiFi connection now works without errors.
Remove Conflicting Software
VPN clients, firewall tools, or security applications can interfere with network drivers. Uninstall any recently added VPN or network-related software using Settings > Apps > Installed apps. After removal, restart your computer and check network stability.
Reset Network Settings
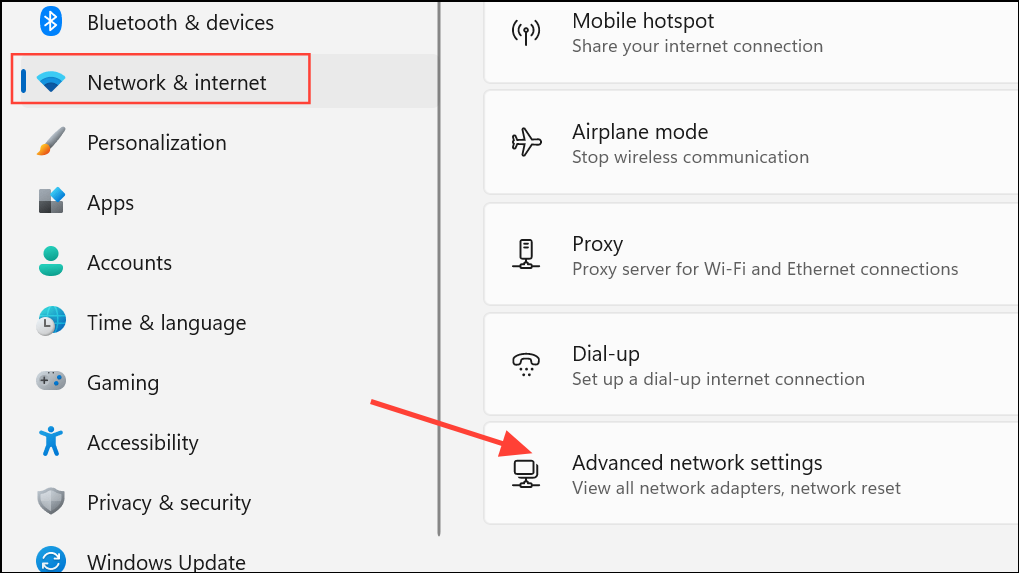
Step 1: Open Settings and go to Network & Internet. Scroll down and select Advanced network settings.
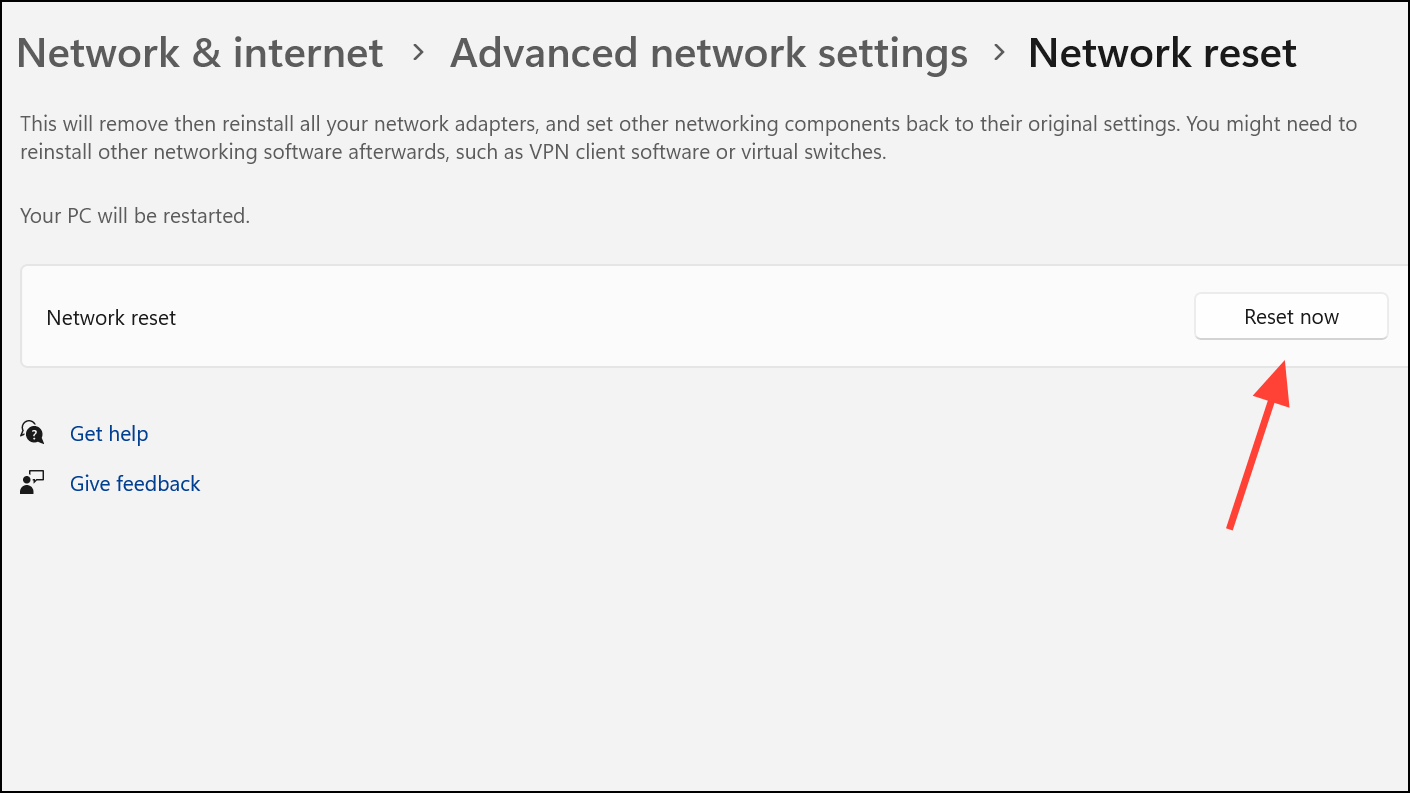
Step 2: Click Network reset and then Reset Now. Confirm the reset. Your PC will restart and reinstall the default network adapters and settings. Reconnect to your network and test for blue screens.
Try an Alternative Network Adapter
If updating or rolling back drivers does not resolve the issue, use a USB WiFi dongle or USB Ethernet adapter. Plug in the external adapter, allow Windows to install its drivers, and connect to your network. This bypasses potential hardware faults in the built-in adapter and often restores reliable connectivity.
Advanced: Manually Install Drivers in Safe Mode
Step 1: Boot into Safe Mode by holding Shift while clicking Restart from the Power menu. Choose Troubleshoot > Advanced options > Startup Settings > Restart, then select Enable Safe Mode.

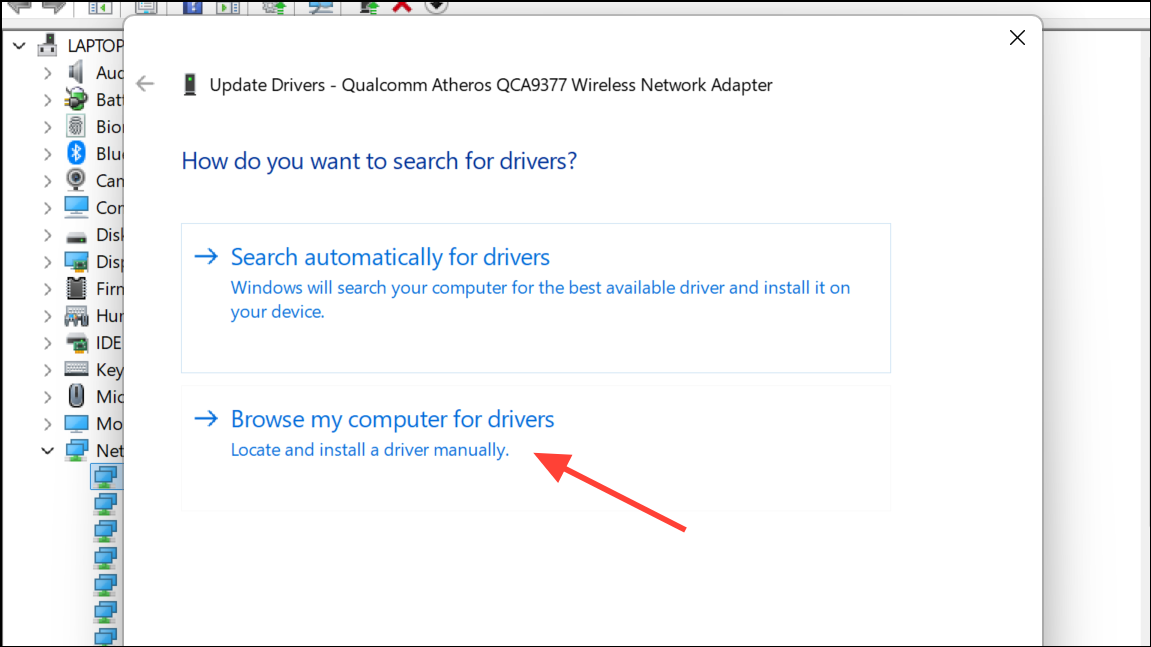
Step 2: In Safe Mode, open Device Manager, uninstall the problematic network adapter, and install the correct driver manually by right-clicking the adapter and selecting Update driver > Browse my computer for drivers. Point to the folder containing your downloaded driver files.
Step 3: Restart normally and check if the blue screen error is resolved.
Regularly checking for driver updates and avoiding unnecessary network-related software keeps Windows 11 running smoothly with stable Ethernet and WiFi connections.