
Windows 11 update error 0x80244018 signals a breakdown in communication between your device and Microsoft’s update servers. This issue often appears when proxy settings, network misconfigurations, or corrupted system files interrupt the update process. Addressing these underlying causes restores your ability to download and install critical updates, keeping your system secure and current.
Adjust Proxy and Network Settings
Step 1: Open the Windows Settings menu by pressing Windows key + I. Select Network & Internet from the left sidebar.

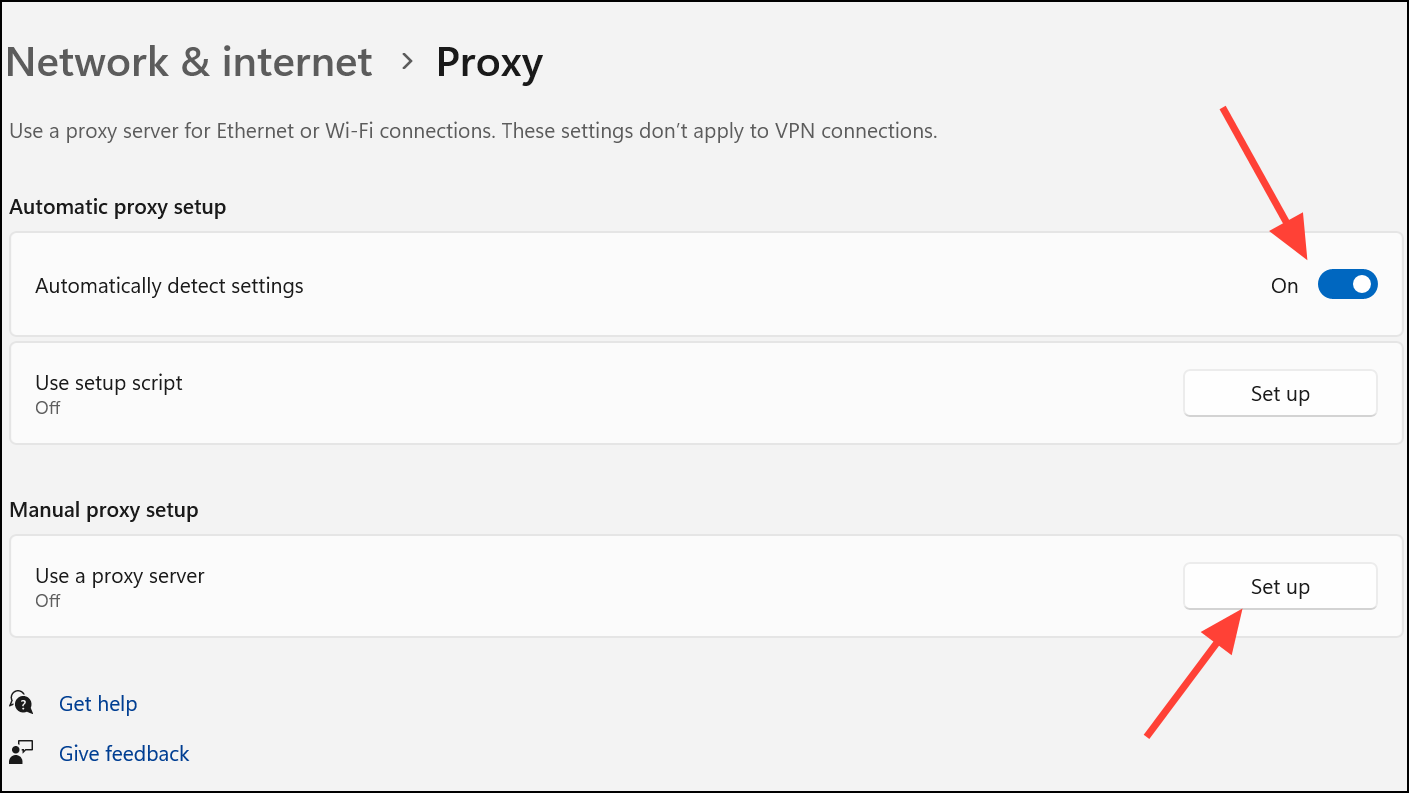
Step 2: Click Proxy on the right. Under Manual proxy setup, click Set up and toggle off Use a proxy server. If your organization requires a proxy, ensure Automatically detect settings is enabled instead.
Step 3: If you use a VPN or third-party firewall, temporarily disable them. These tools can block update traffic or interfere with server communication. After disabling, attempt the update process again.
Step 4: Confirm your internet connection is stable. Switch to a wired Ethernet connection if possible, or restart your router and modem to resolve intermittent connectivity.
Run the Windows Update Troubleshooter
Step 1: Open Settings with Windows key + I. Go to System and select Troubleshoot.

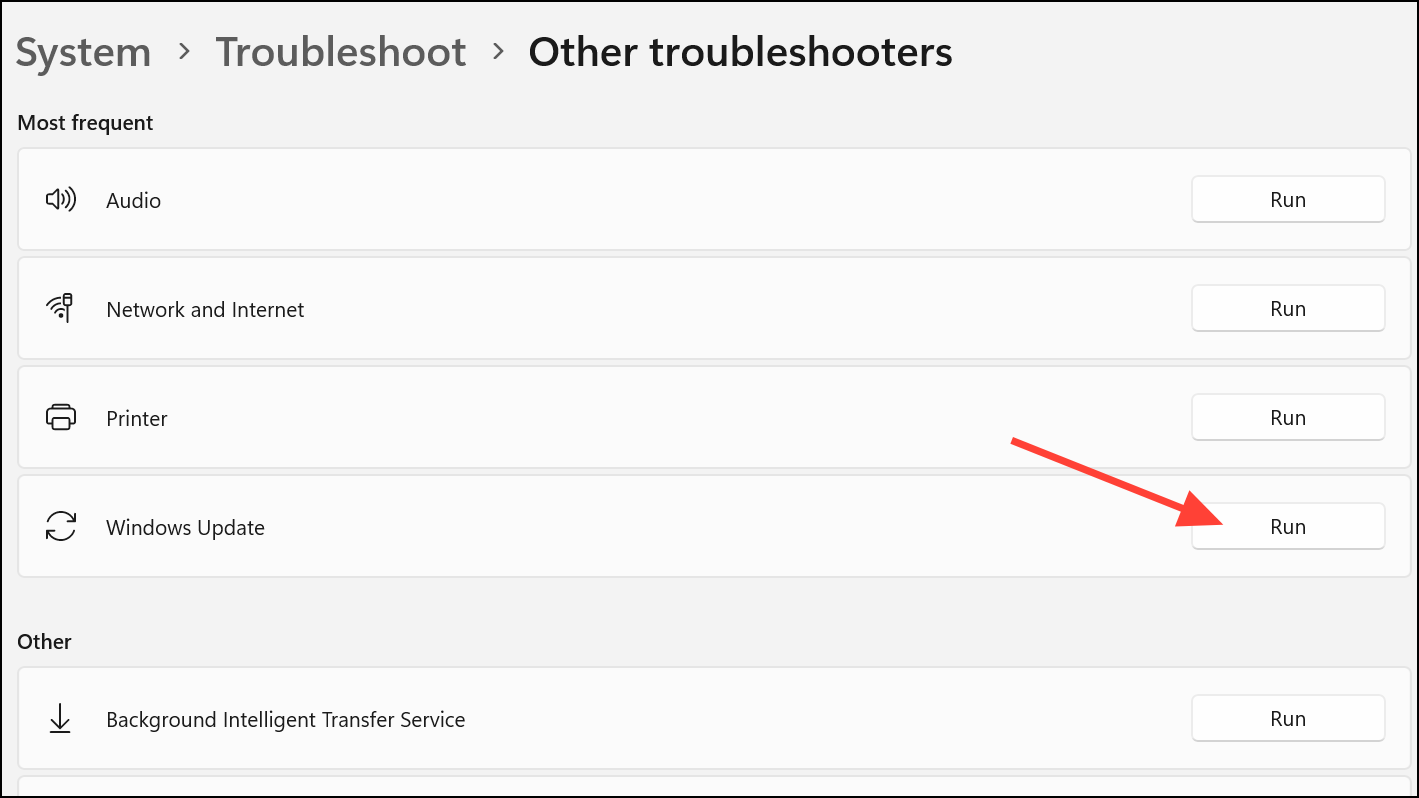
Step 2: Click Other troubleshooters. Find Windows Update and click Run next to it. The troubleshooter will scan for common update issues and suggest or apply fixes automatically.
Step 3: Restart your computer after the troubleshooter completes and check for updates again.
Restart Update Services and Refresh Update Cache
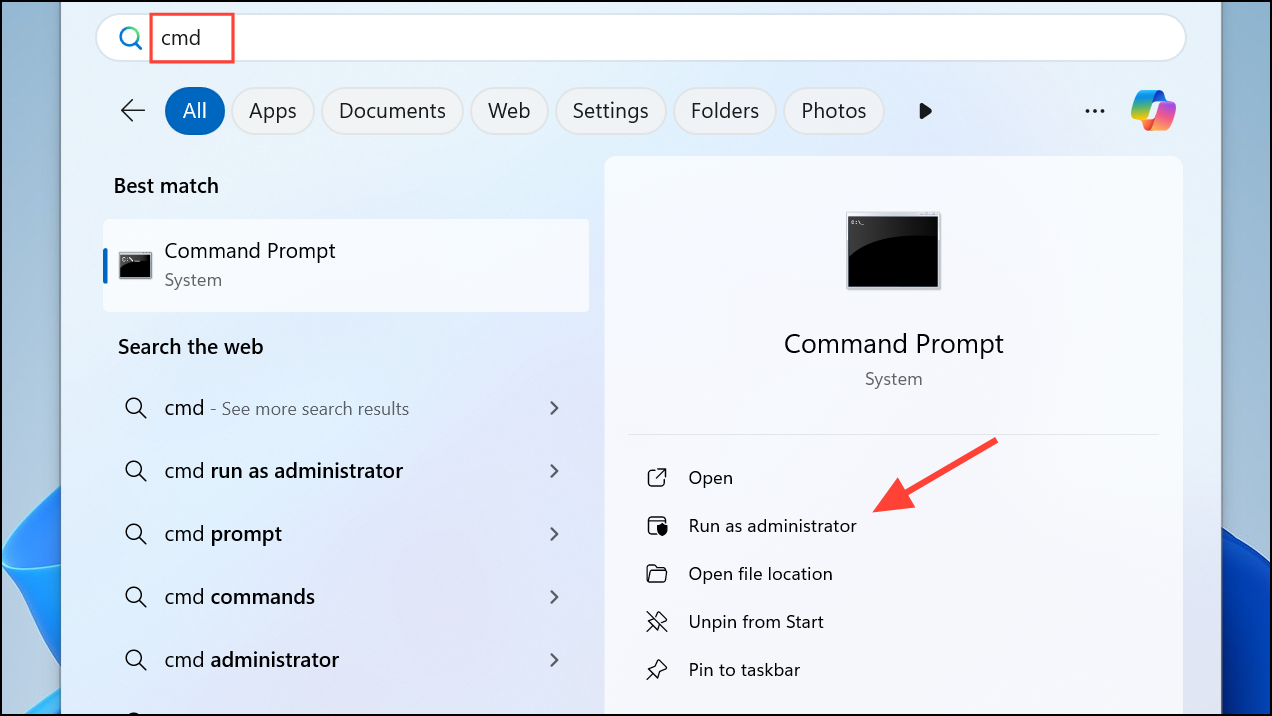
Step 1: Open the Start menu, type cmd, right-click Command Prompt, and select Run as administrator.
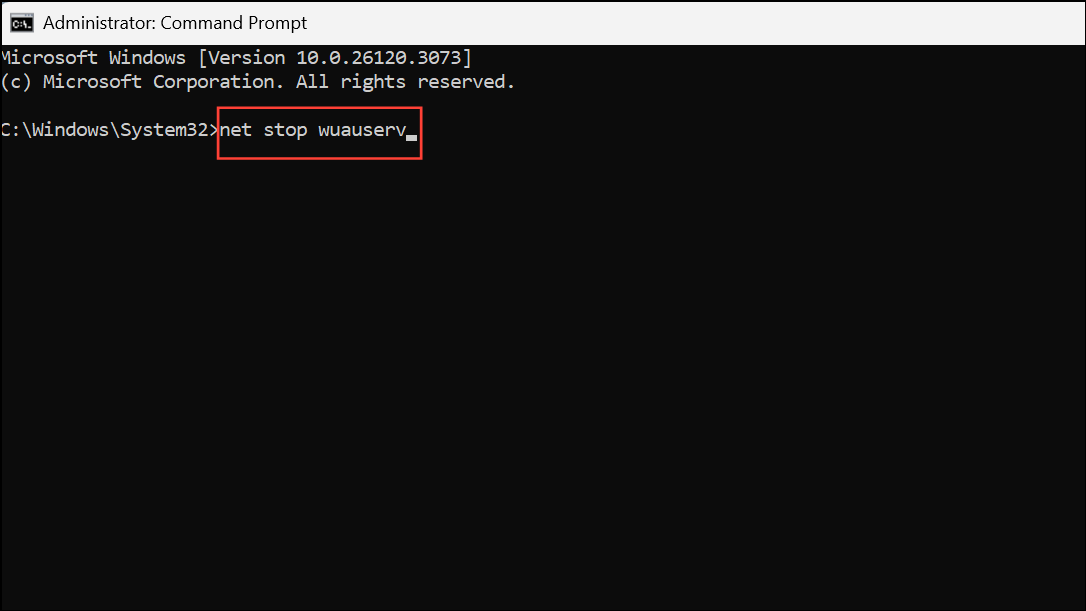
Step 2: Enter the following commands one by one, pressing Enter after each:
net stop wuauserv
net stop cryptSvc
net stop bits
net stop msiserver
ren C:\Windows\SoftwareDistribution SoftwareDistribution.old
ren C:\Windows\System32\catroot2 catroot2.old
net start wuauserv
net start cryptSvc
net start bits
net start msiserver
This sequence stops update-related services, renames the folders that store temporary update files (causing Windows to generate new ones), and restarts the services. This process removes corrupted or stuck files that may block updates.
Step 3: Restart your computer and try updating again.
Repair System Files with SFC and DISM
Corrupted Windows system files can prevent updates from installing properly. Use built-in repair tools to check and fix these files.
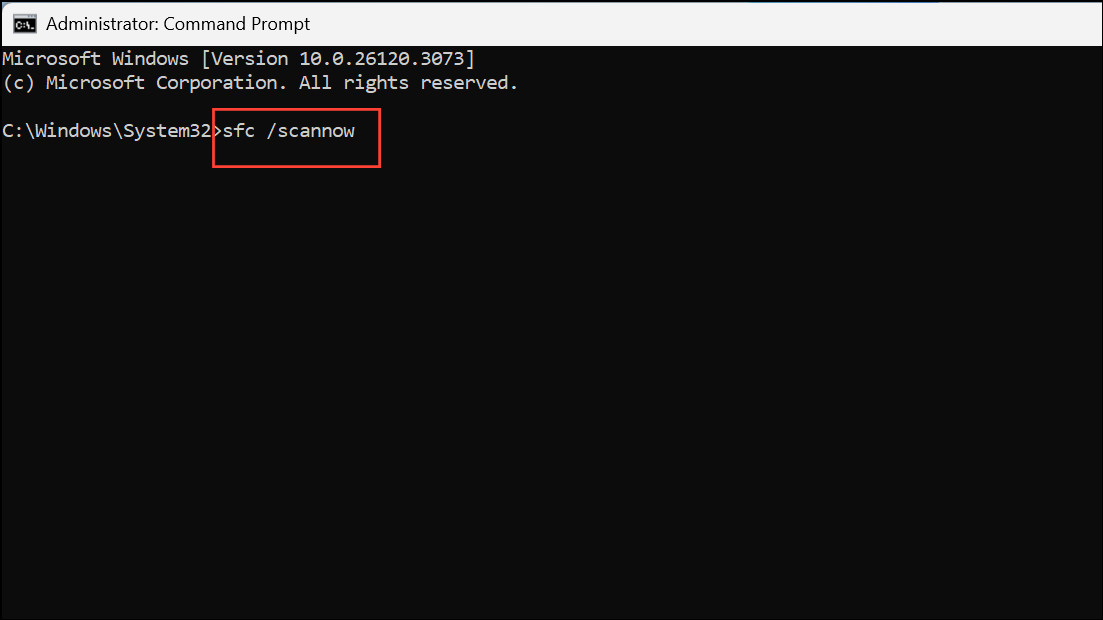
Step 1: Open Command Prompt as administrator as described above.
Step 2: Type sfc /scannow and press Enter. Wait for the scan to finish. This tool checks for and repairs damaged system files.
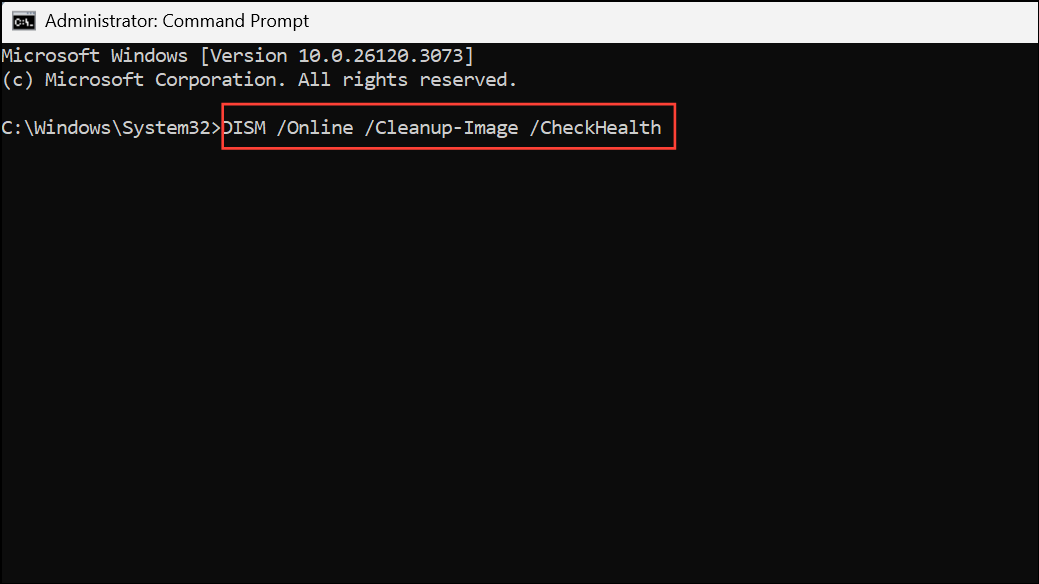
Step 3: After SFC completes, run the following commands to use the DISM tool for deeper repairs:
Dism /Online /Cleanup-Image /CheckHealth
Dism /Online /Cleanup-Image /RestoreHealth
Each command may take several minutes. Once finished, restart your system and check for updates again.
Check and Start Essential Update Services
Background Intelligent Transfer Service (BITS) and Windows Update services must be running for updates to work.
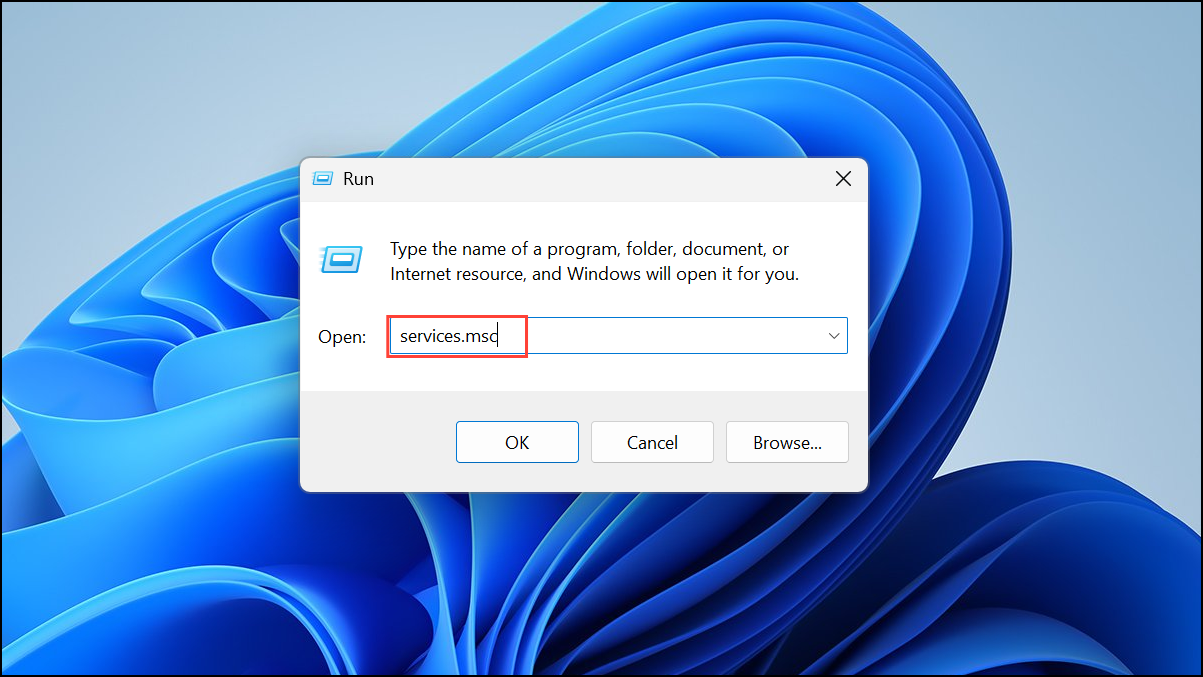
Step 1: Press Windows key + R, type services.msc, and press Enter.
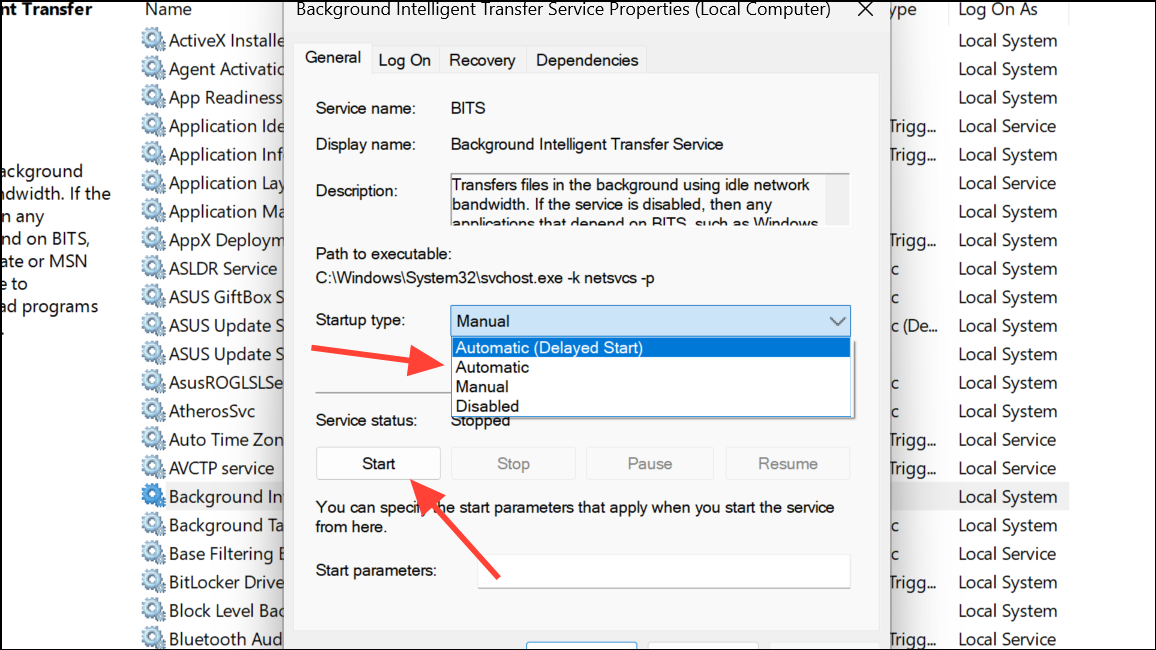
Step 2: In the Services window, find Background Intelligent Transfer Service. Double-click it and set Startup type to Automatic. Click Start if the service is not running. Repeat this process for the Windows Update service.
Step 3: Close the Services window and attempt the update process again.
Remove Corrupt Registry Entries
Some failed updates leave behind registry entries that block future updates. Removing specific entries may resolve persistent errors.
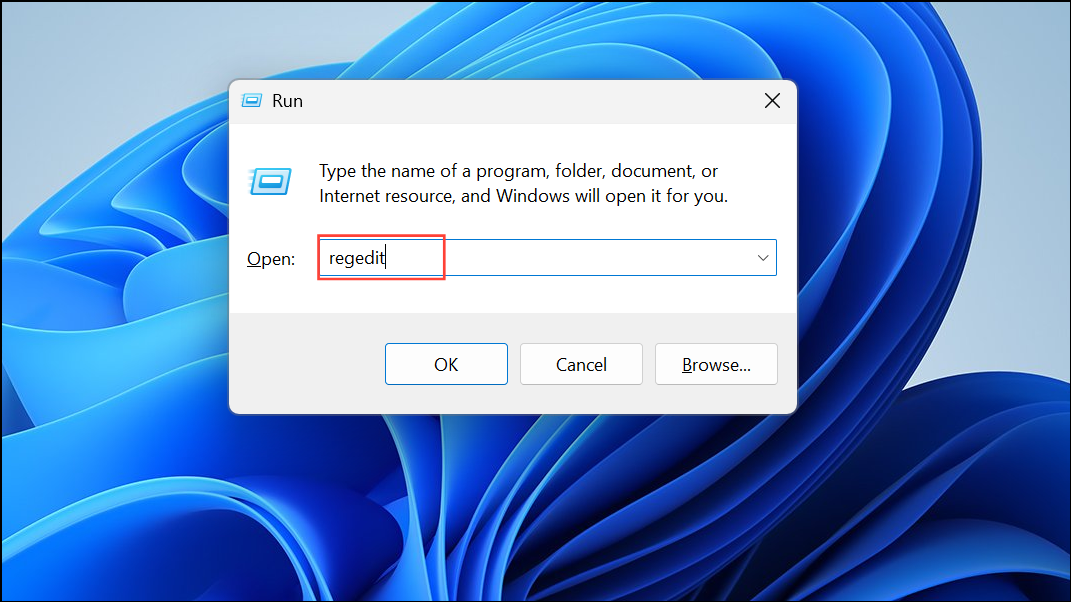
Step 1: Press Windows key + R, type regedit, and press Enter to open the Registry Editor.
Step 2: Navigate to HKEY_LOCAL_MACHINE\SOFTWARE\Microsoft\WindowsSelfHost\Applicability.
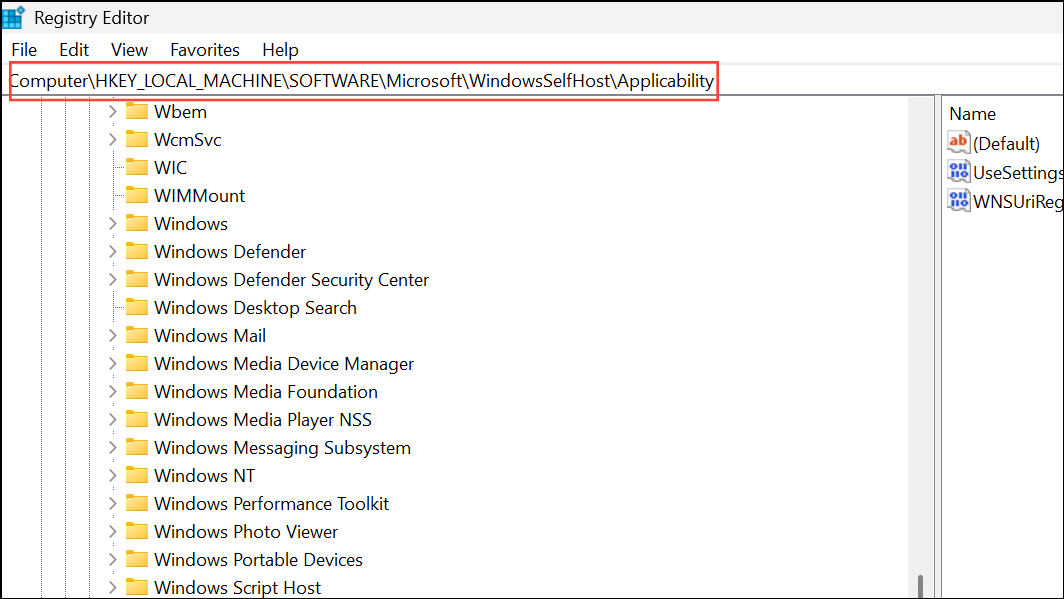
Step 3: If you see a registry entry named ThresholdOptedIn, right-click it and select Delete. Close the Registry Editor and restart your PC.
Perform a Clean Boot to Eliminate Software Conflicts
Third-party applications or services can interfere with Windows Update. A clean boot starts Windows with only essential services and drivers, helping you isolate the cause of persistent errors.
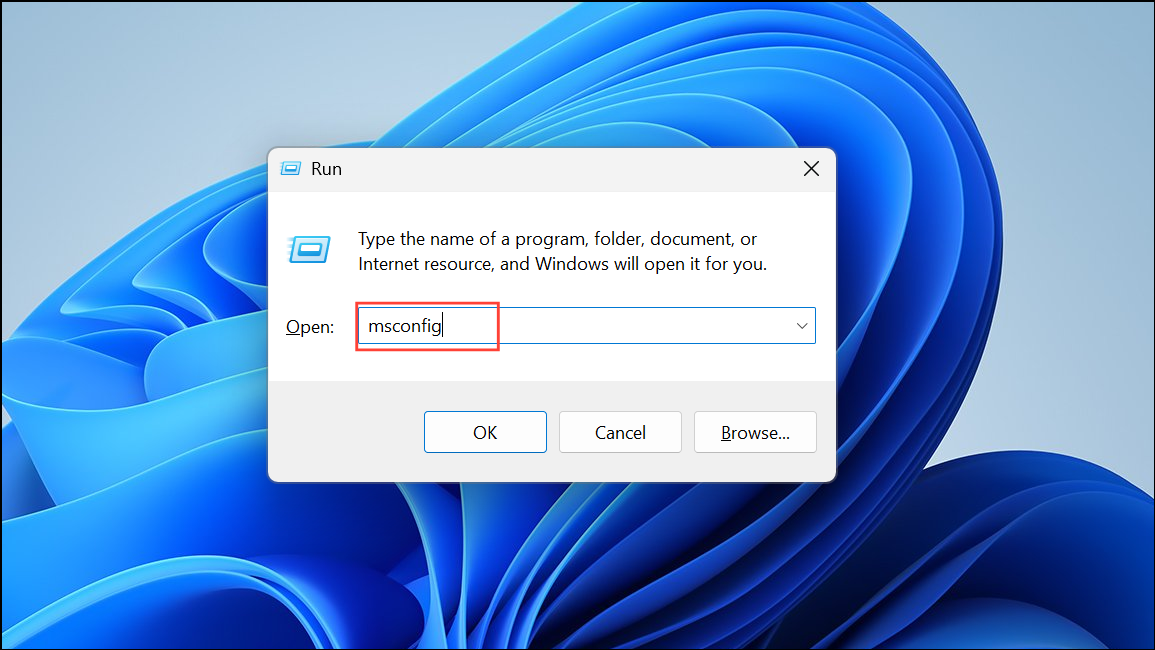
Step 1: Press Windows key + R, type msconfig, and press Enter.
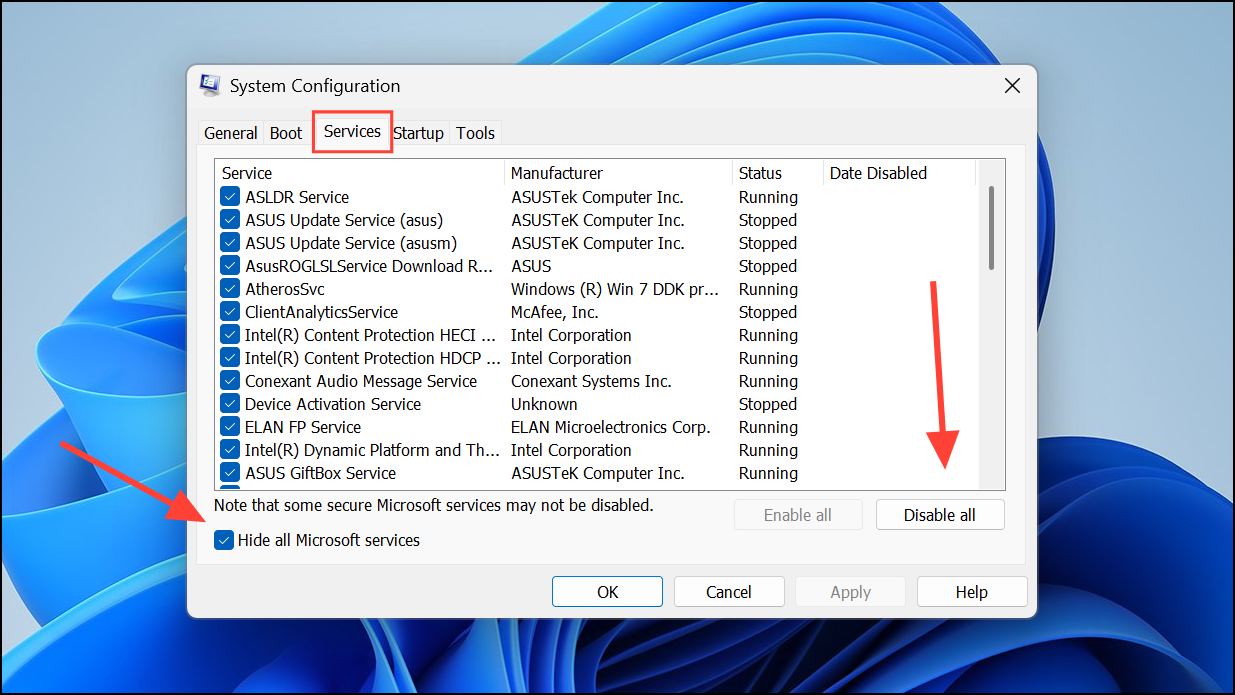
Step 2: In the System Configuration window, go to the Services tab, check Hide all Microsoft services, then click Disable all.
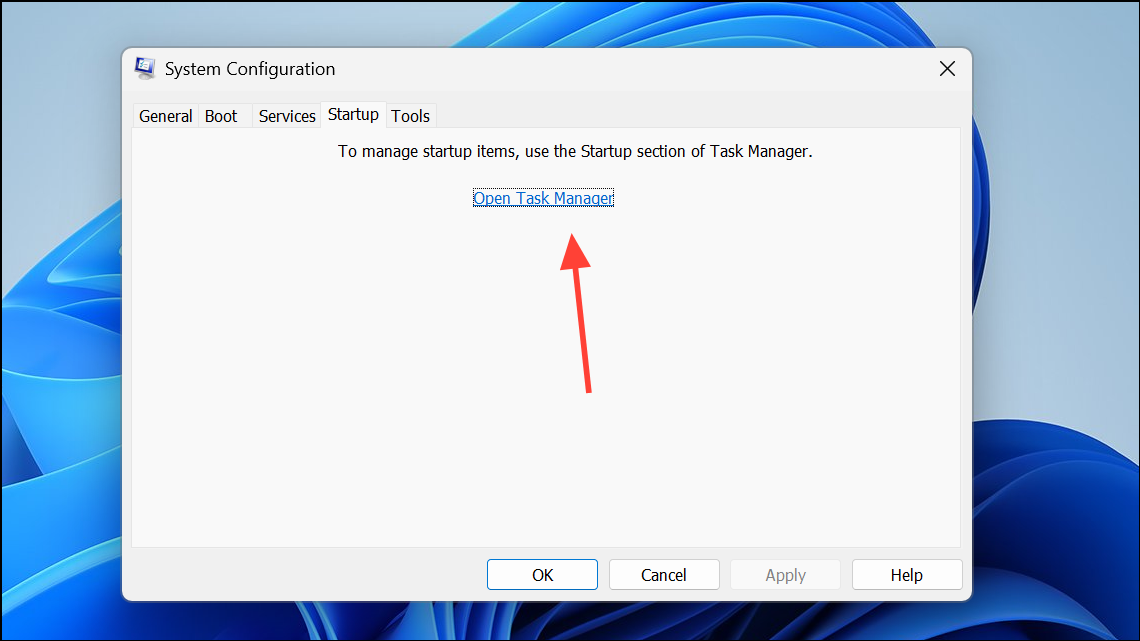
Step 3: Switch to the Startup tab and click Open Task Manager. Disable all startup items. Close Task Manager and click OK in System Configuration.
Step 4: Restart your PC and try updating again. If updates work, gradually enable services and startup items to identify the conflicting software.
Resolving error 0x80244018 on Windows 11 usually comes down to correcting proxy settings, refreshing update components, and repairing system files. Regularly checking your network configuration and keeping system files healthy ensures smoother future updates.