
Windows 11’s built-in backup tools can stop working with error code 0x81000036, often displaying a message like “Windows could not find backup devices.” This issue disrupts the ability to create or restore system images, putting important files and recovery options at risk. The error is frequently linked to conflicts with virtualization features, corrupted backup folders, or misconfigured system services. Addressing these causes restores reliable backup functionality and ensures your data remains protected.
Disable Windows Sandbox
Virtualization features such as Windows Sandbox can interfere with the backup process and trigger error 0x81000036. Temporarily turning off Windows Sandbox resolves conflicts that prevent the backup service from detecting storage devices.
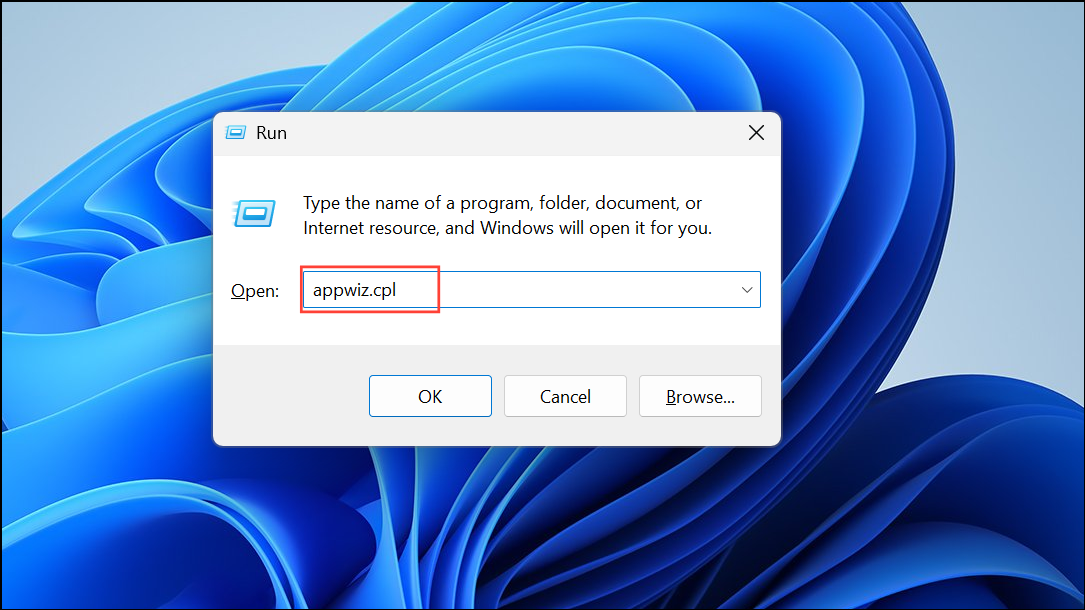
Step 1: Open the Windows Features dialog by pressing Windows key + R, typing appwiz.cpl, and pressing Enter. In the Programs and Features window, select Turn Windows features on or off from the left pane.
Step 2: In the list of Windows features, locate Windows Sandbox and remove the checkmark next to it. Click OK to apply the changes. If prompted, confirm your choice and provide administrator approval if required.
Step 3: Restart your computer to complete the process. After rebooting, attempt the backup or restore operation again to verify if the error is resolved.
Disable Hyper-V
Hyper-V, Microsoft’s virtualization platform, can also cause conflicts with the backup system. Disabling Hyper-V removes this interference and allows the backup utility to function correctly.
Step 1: Return to the Turn Windows features on or off dialog using the steps above.
Step 2: Find Hyper-V in the list and uncheck it. Click OK to save the changes and approve any prompts for administrator access.
Step 3: Restart your computer. Once your system restarts, try running the backup or restore task to check if the issue persists.
Remove or Rename the WindowsImageBackup Folder
Corrupted or incomplete backup data in the WindowsImageBackup folder can block new backup attempts and cause error 0x81000036. Clearing out this folder restores the backup utility’s ability to create fresh images.
Step 1: Open File Explorer and navigate to the drive where backups are stored. The WindowsImageBackup folder is typically located at the root of the backup drive or in C:\System Volume Information. Note that this folder may be hidden, so enable viewing of hidden items from the View menu if necessary.
Step 2: Either delete the WindowsImageBackup folder or move its contents to another location for safekeeping. Deleting old or corrupted backups ensures the system can generate a new backup image without interference.
Step 3: Retry the backup process to confirm the error is cleared.
Restart Volume Shadow Copy and Related Services
The Volume Shadow Copy Service (VSS) is essential for backups. If this service or related components are not running, backup operations may fail with error 0x81000036. Restarting these services often restores normal function.
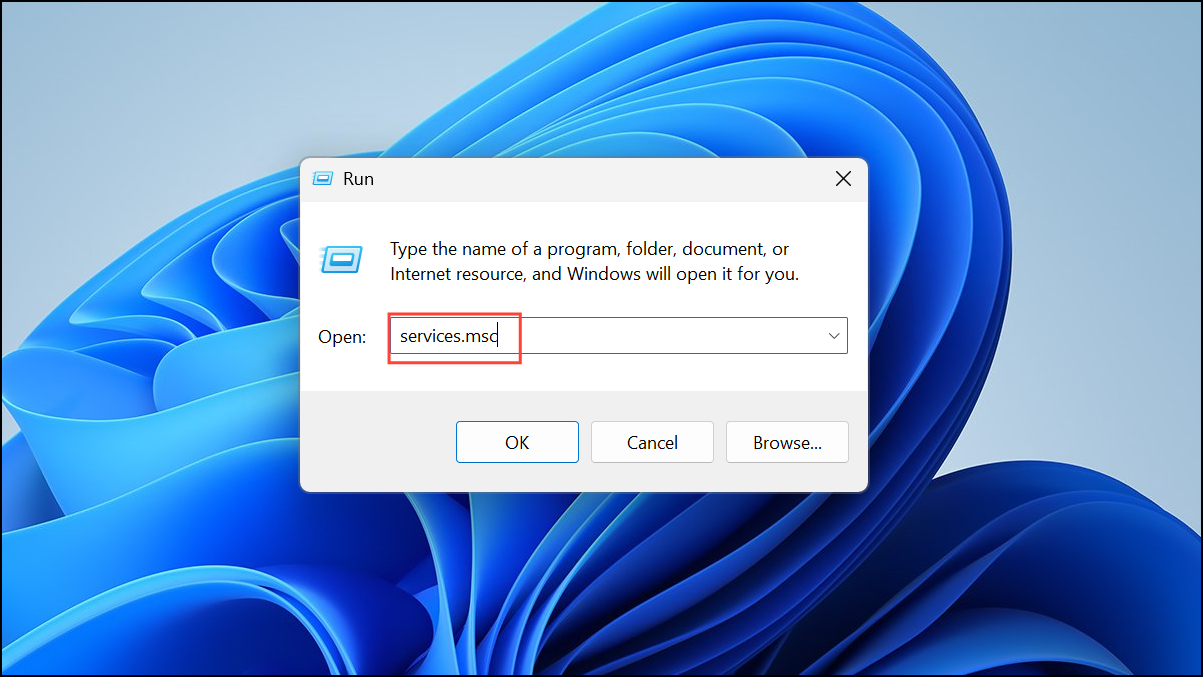
Step 1: Press Windows key + R, type services.msc, and press Enter to open the Services window.
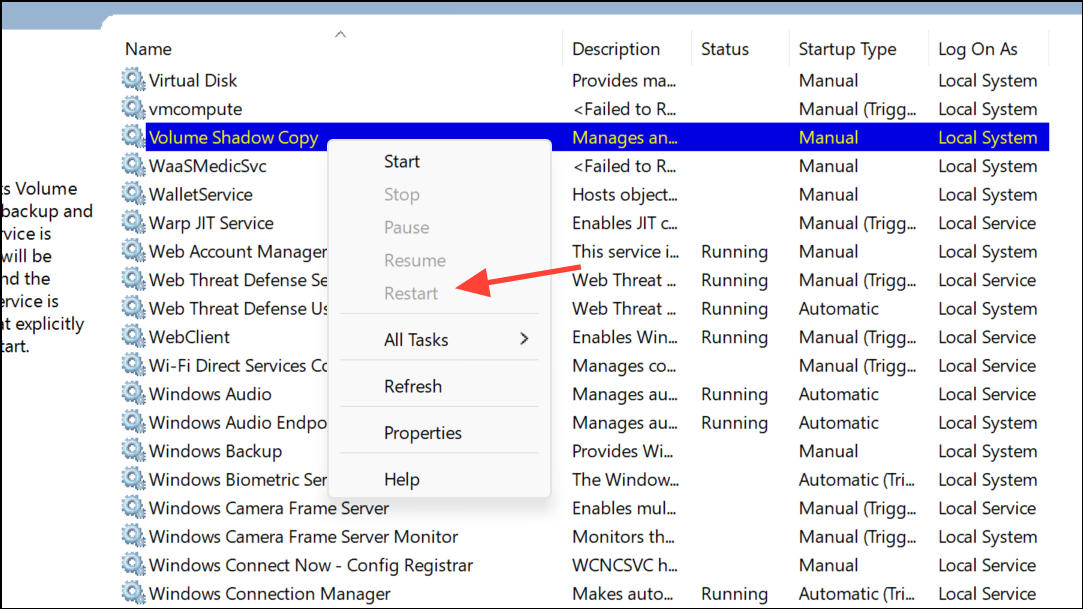
Step 2: Scroll down to find Volume Shadow Copy. Right-click it and choose Restart. If it’s not running, select Start instead.
Step 3: Repeat this process for Microsoft Software Shadow Copy Provider and Windows Backup services if available.

Step 4: After restarting these services, attempt your backup or restore operation again.
Run System File Checker and DISM to Repair System Files
Corrupted system files can block backup operations and result in error 0x81000036. Running built-in repair tools addresses underlying file integrity issues that may be affecting the backup system.
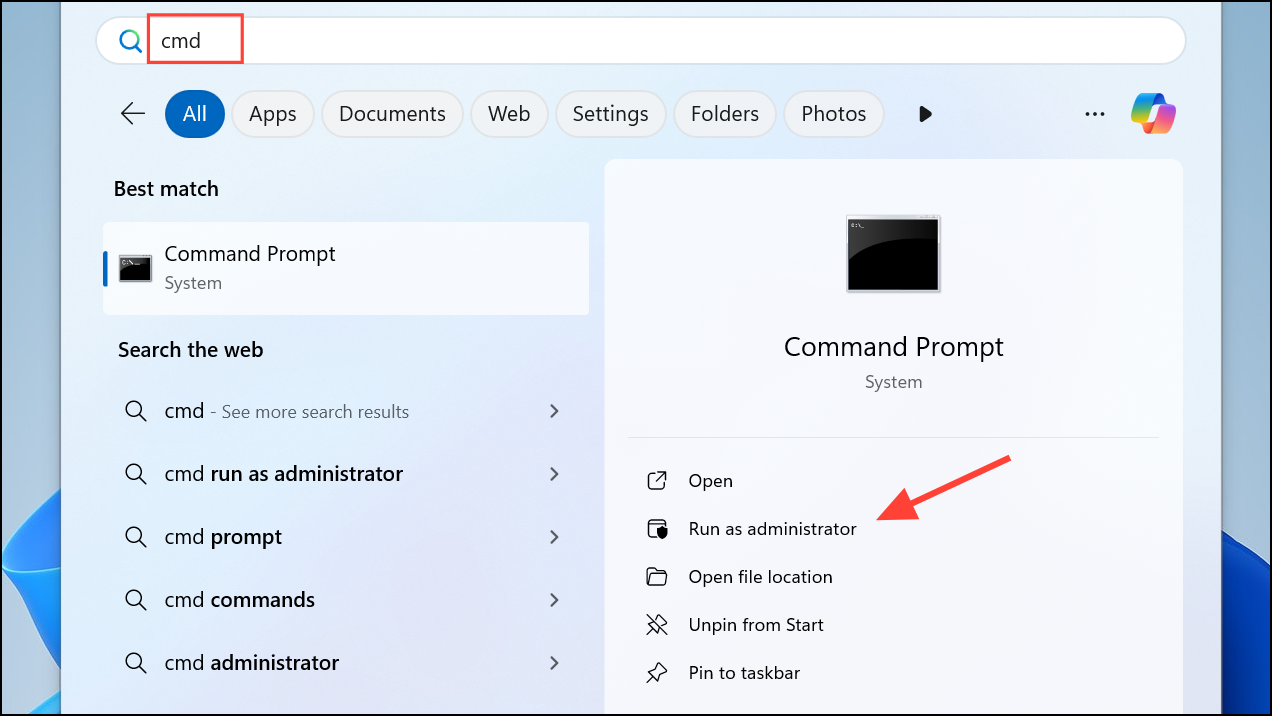
Step 1: Open the Start menu, search for cmd, right-click Command Prompt, and select Run as administrator.
Step 2: Enter the following command to scan and repair system files:
sfc /scannow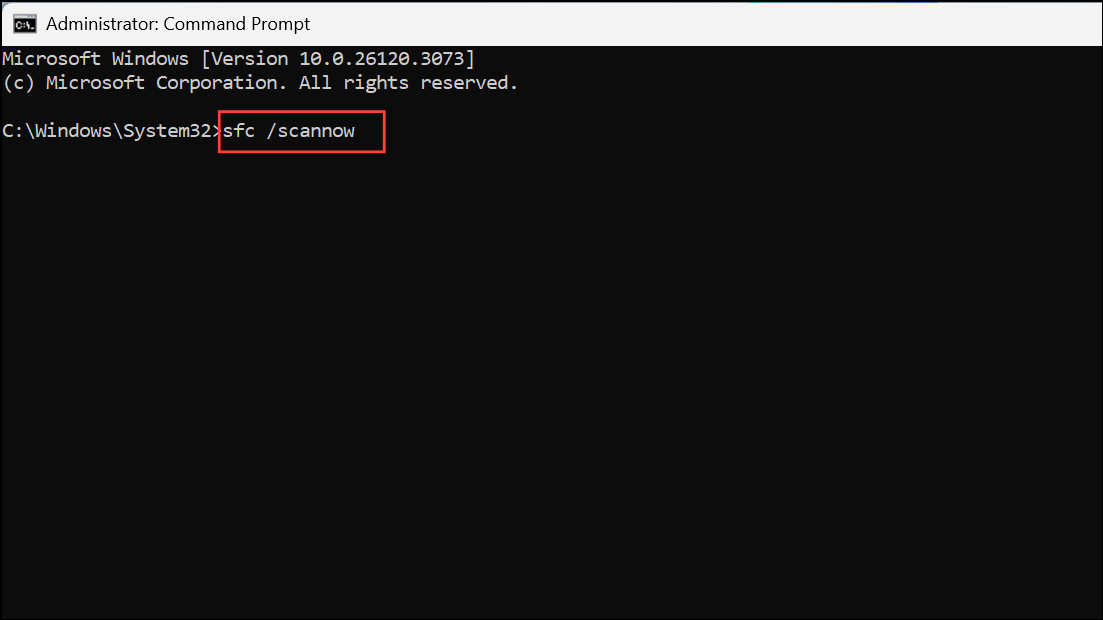
This process checks for and replaces corrupted Windows files.
Step 3: After the scan completes, run the Deployment Imaging Service and Management Tool (DISM) to repair the Windows image:
DISM /Online /Cleanup-Image /RestoreHealth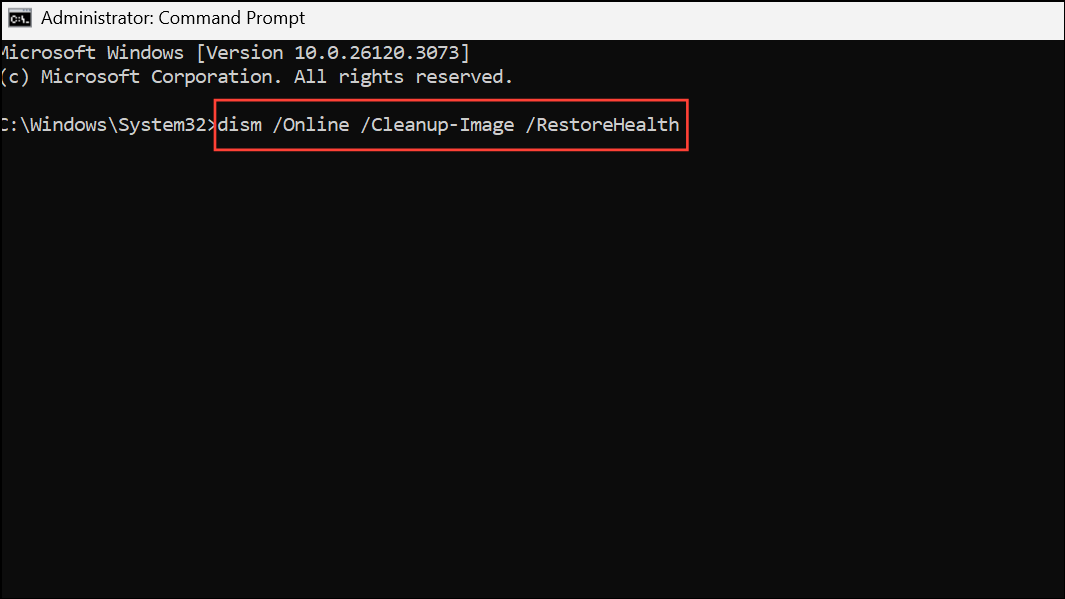
Step 4: Once both scans finish, restart your computer and check if Windows Backup now works as expected.
Check Disk Space and Backup Configuration
Insufficient disk space or misconfigured backup settings can also cause error 0x81000036. Ensuring adequate free space and correct backup settings removes these obstacles.
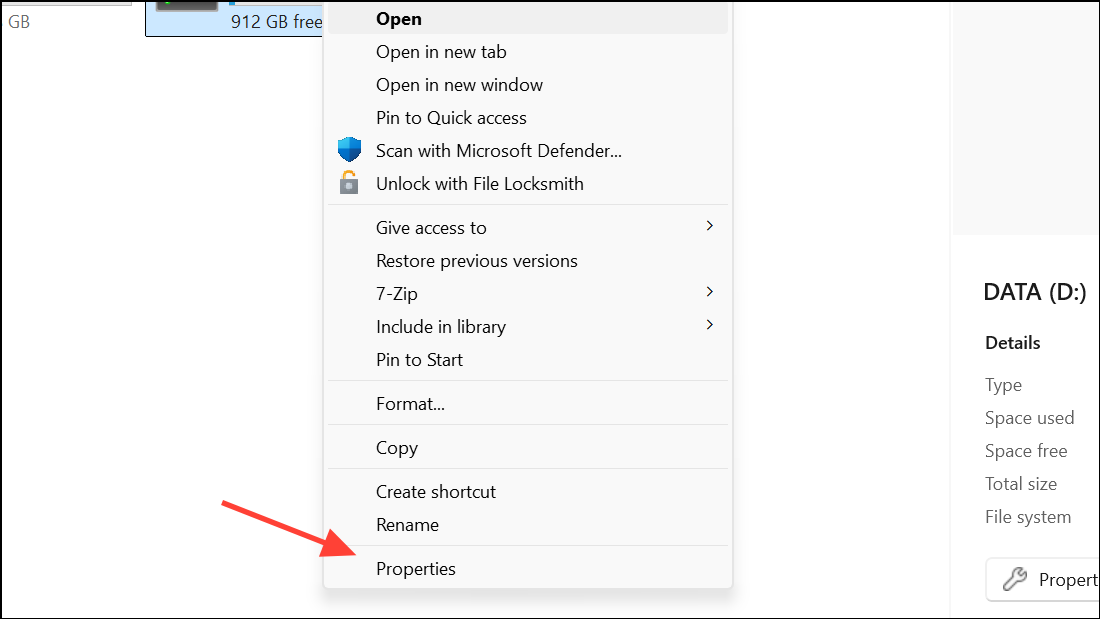
Step 1: Open File Explorer, right-click the backup destination drive, and select Properties. Review the available space. If storage is low, delete unnecessary files or use Disk Cleanup to free up space.
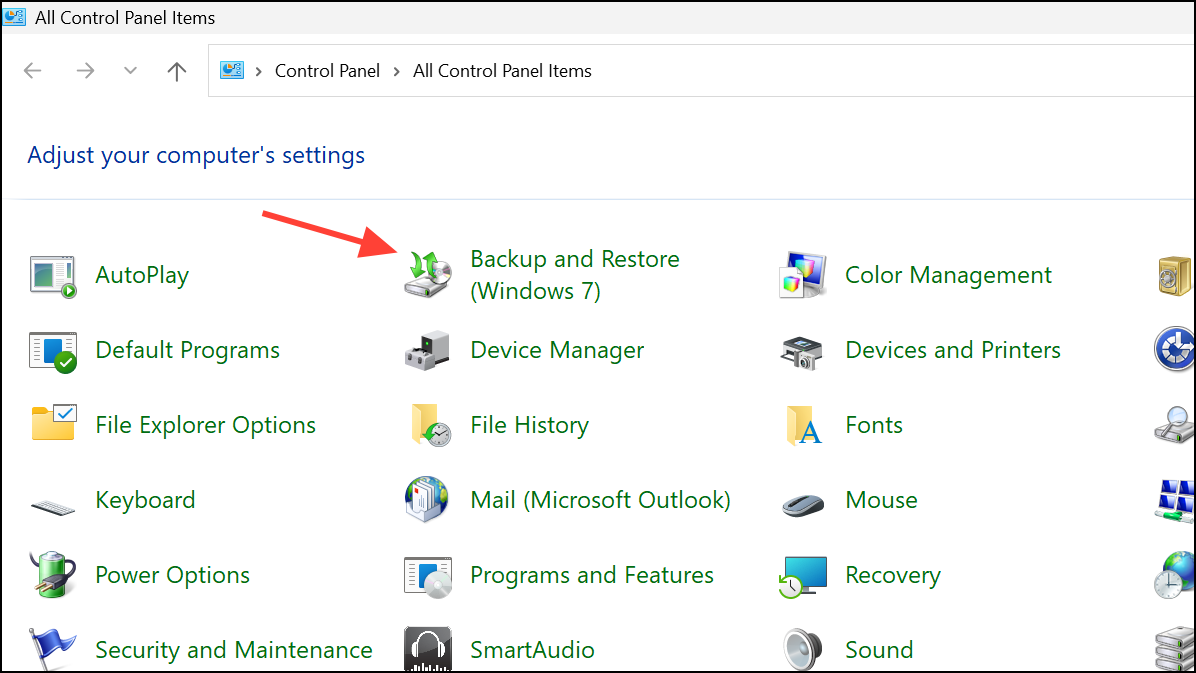
Step 2: Go to Control Panel > System and Security > Backup and Restore (Windows 7).
Step 3: Click Change settings and review your backup configuration. Make sure you are not backing up to the same drive as your Windows installation and that all selected folders are accessible.
Step 4: Save any changes and try the backup or restore operation again.
Turning off Windows Sandbox and Hyper-V resolves most cases of error 0x81000036 in Windows 11 backup. If problems persist, clearing old backup folders, restarting system services, repairing system files, and adjusting backup settings restore full backup functionality and keep your data safe.