
Ethernet connectivity on Windows 11 can abruptly stop functioning after system updates, hardware changes, or network misconfigurations, leaving users with unreliable or no wired internet access. This issue disrupts everything from file transfers to online gaming, and often persists even after basic troubleshooting. Below are detailed steps and proven fixes, prioritized by effectiveness, to restore a stable Ethernet connection on Windows 11.
Update or Reinstall Ethernet Adapter Drivers
Outdated or incompatible network drivers frequently cause Ethernet failures, especially after Windows updates. Installing the latest compatible drivers directly from your hardware or motherboard manufacturer's website often resolves persistent connection drops, "No Internet" errors, or adapters not being detected.
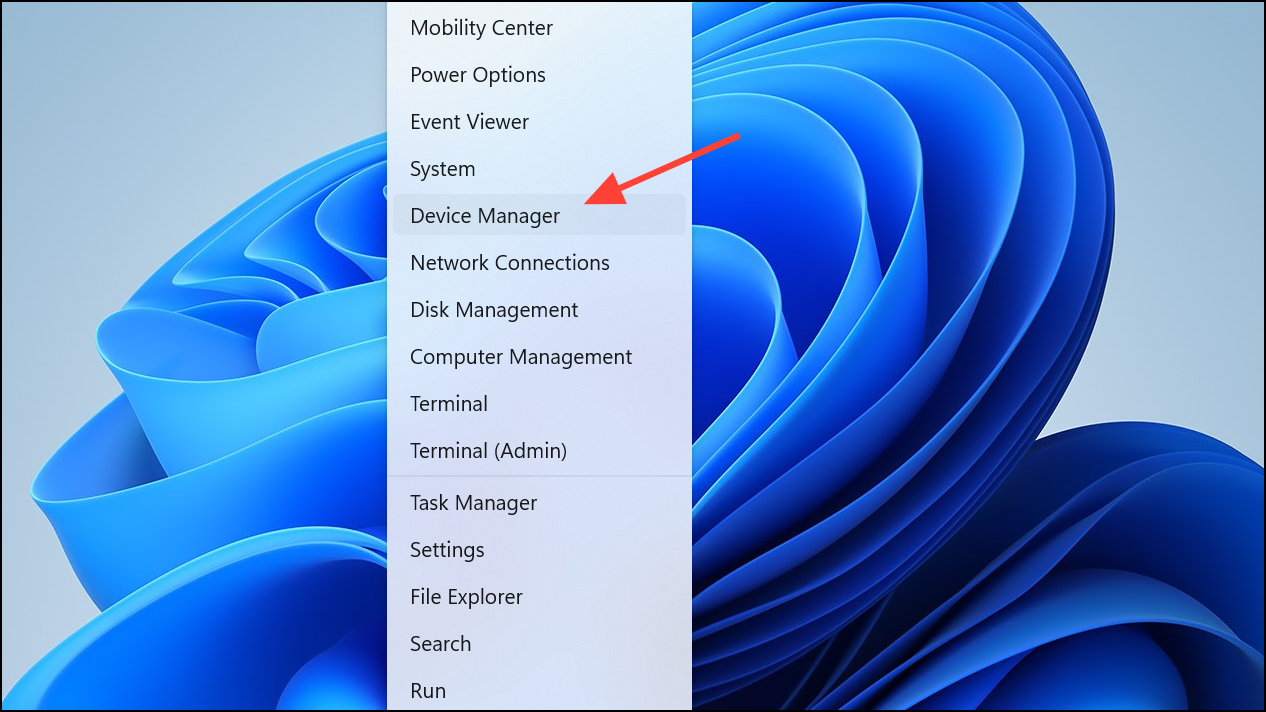
Step 1: Identify your Ethernet adapter model. Press Windows + X and select Device Manager.
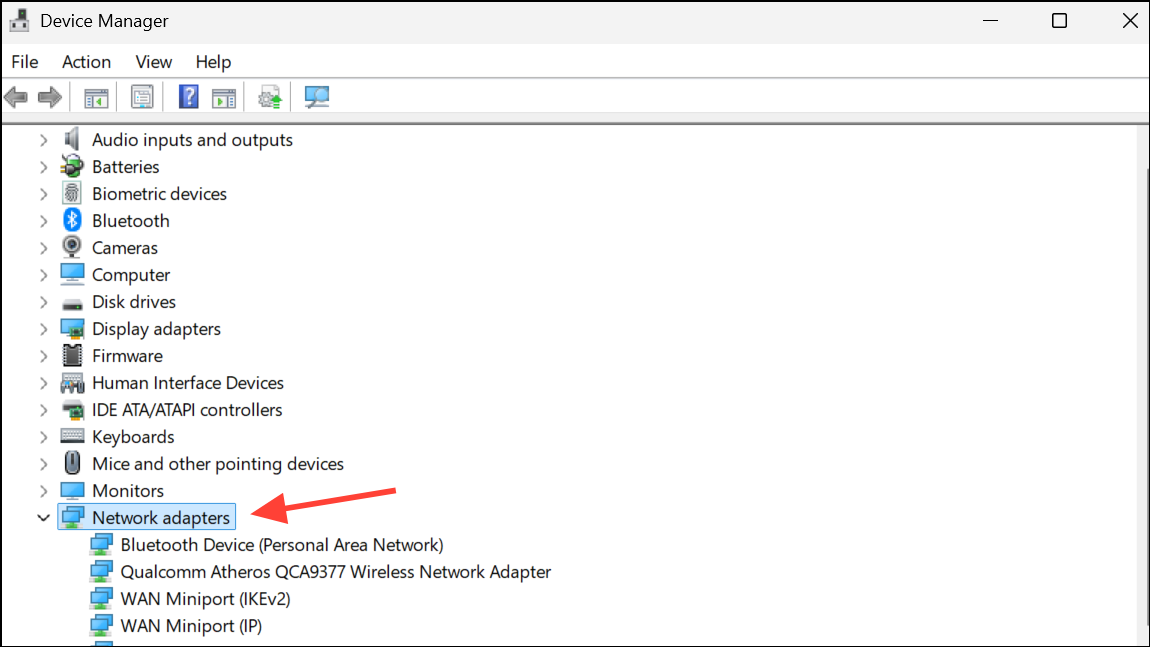
Step 2: Expand Network adapters and note the name of your Ethernet device (e.g., Realtek PCIe GbE Family Controller).
Step 3: Visit your PC or motherboard manufacturer's support site. Download the latest Windows 11-compatible Ethernet driver for your specific hardware model. If you cannot access the internet on the affected PC, use another device and transfer the driver via USB.
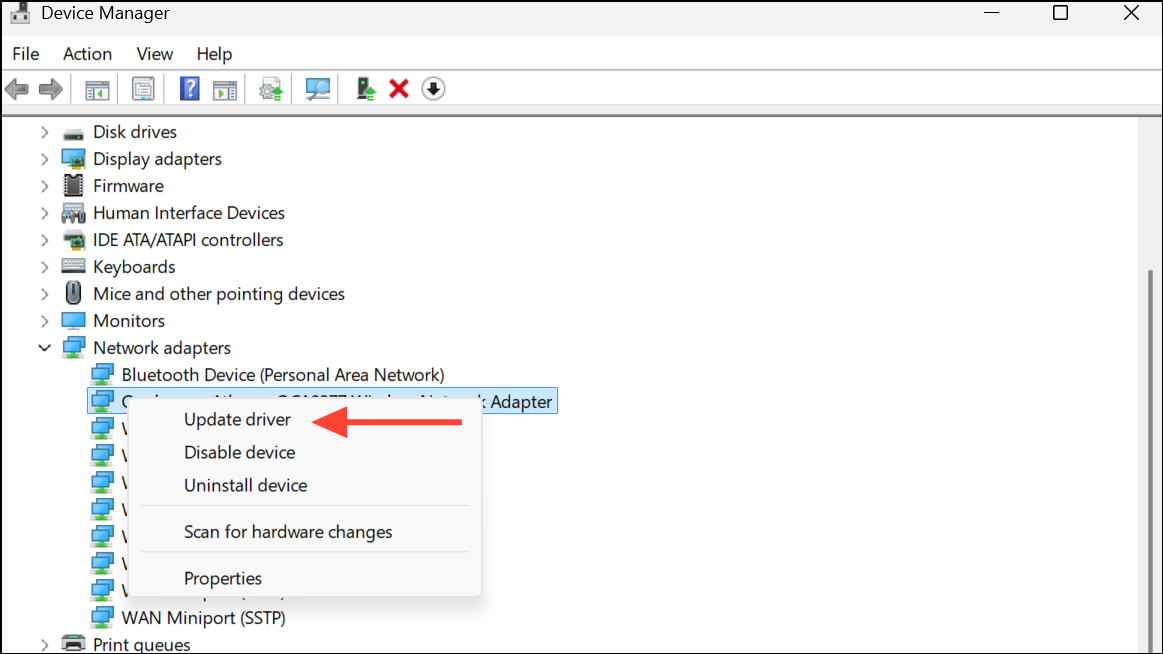
Step 4: In Device Manager, right-click your Ethernet adapter and choose Update driver.
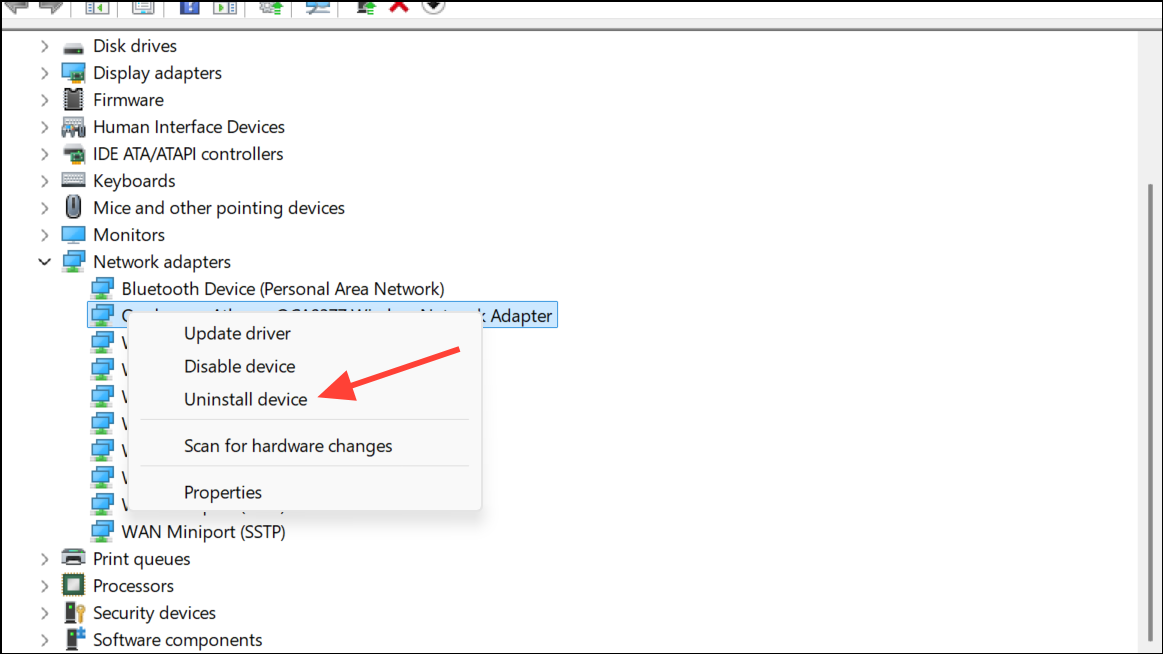
Step 5: Select Browse my computer for drivers and point to the downloaded file. If the latest driver is already installed or updating does not help, right-click the adapter and select Uninstall device. Restart your PC; Windows will attempt to reinstall the driver automatically. If not, manually install the driver you downloaded.
Step 6: After updating or reinstalling, check if the Ethernet connection is restored and stable. This process corrects driver mismatches and resolves issues introduced by recent Windows updates.
Run the Network Troubleshooter and Network Reset
Windows 11 includes built-in troubleshooting tools that can automatically diagnose and fix common network issues, reset network stacks, and restore default settings.
Step 1: Open Settings by pressing Windows + I. Navigate to System > Troubleshoot > Other troubleshooters.

Step 2: Click Run next to Network and Internet and follow the prompts. The troubleshooter attempts to identify and fix issues such as invalid IP configurations or gateway errors.

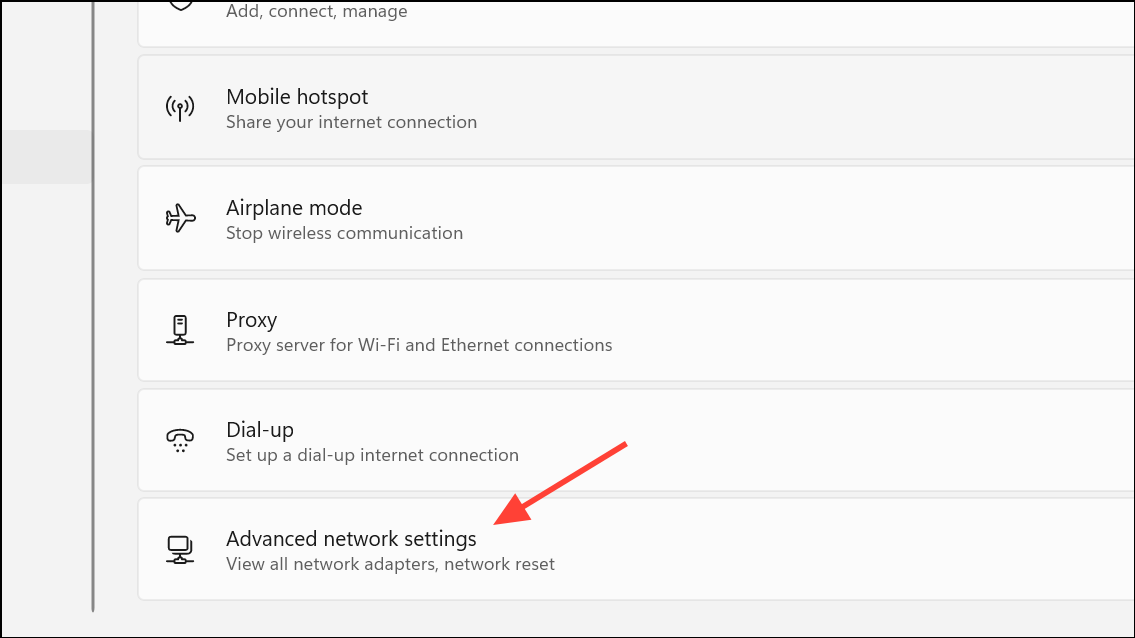
Step 3: If problems persist, perform a full network reset. In Settings > Network & internet > Advanced network settings,
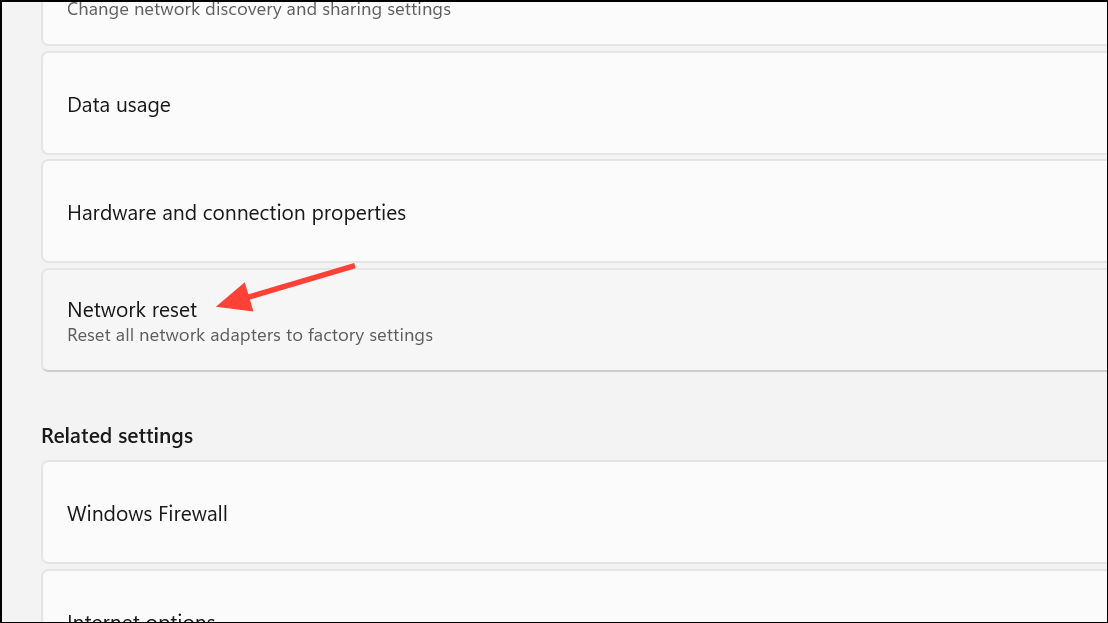
Step 4: Select Network reset and confirm. This removes all network adapters and resets related settings. After your PC restarts, reconfigure any VPN or custom network software as needed.
These steps often resolve issues caused by corrupted network settings or conflicting configurations after updates.
Check Physical Connections and Hardware
Loose cables, faulty ports, or damaged Ethernet cables can cause intermittent or no connectivity, even if Wi-Fi functions normally.
Step 1: Ensure the Ethernet cable is securely plugged into both your PC and router. Try a different cable and, if possible, a different port on the router and PC. Inspect cables for visible damage or bent pins.
Step 2: Test the Ethernet connection on another device using the same cable and port. If the second device also cannot connect, the issue likely lies with the cable or router port. If the second device connects, the problem is specific to your Windows 11 PC.
Verifying hardware eliminates wasted time on software troubleshooting when the root cause is a physical failure.
Configure Network Adapter Settings
Power management and advanced adapter options can disrupt Ethernet connectivity by disabling the adapter to save power or misconfiguring VLAN and priority settings.
Step 1: Open Device Manager, right-click your Ethernet adapter, and select Properties.
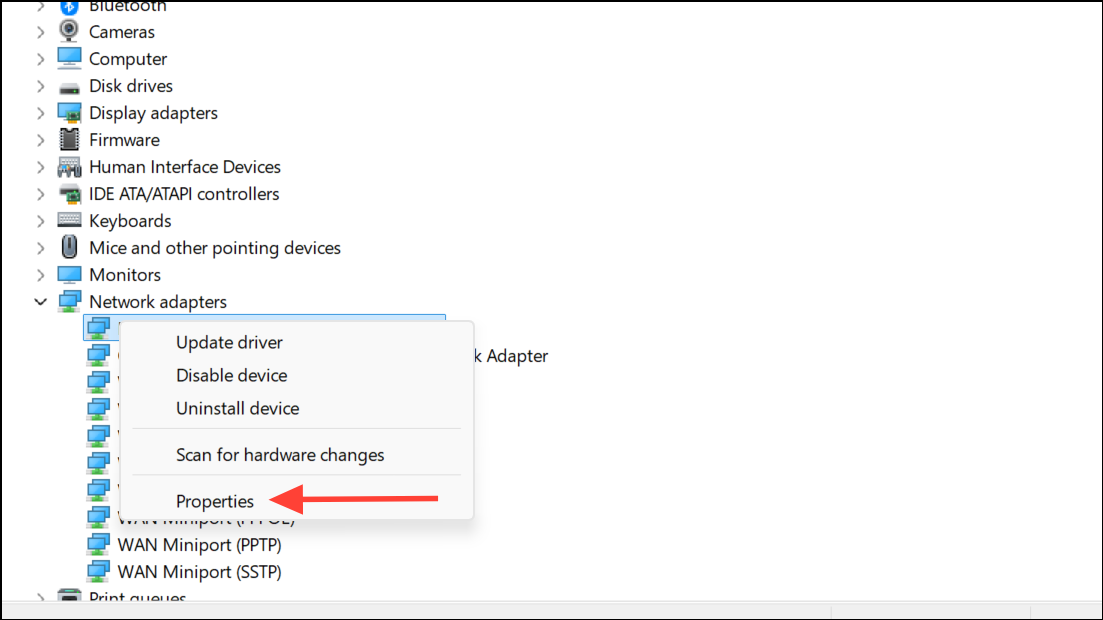
Step 2: Go to the Power Management tab. Uncheck Allow the computer to turn off this device to save power.
Step 3: Some users report success by adjusting VLAN or priority settings. In Device Manager, under your Ethernet adapter's Advanced tab, locate Priority & VLAN and set VLAN Enabled if available. This can resolve issues where the adapter fails to maintain a stable link.
Disabling power-saving features and correcting advanced options prevents the adapter from disconnecting unexpectedly.
Reset TCP/IP Stack and DNS Settings via Command Prompt
Corrupted TCP/IP or DNS settings can prevent your PC from obtaining a valid network address or connecting to the internet, even when hardware and drivers are functioning.
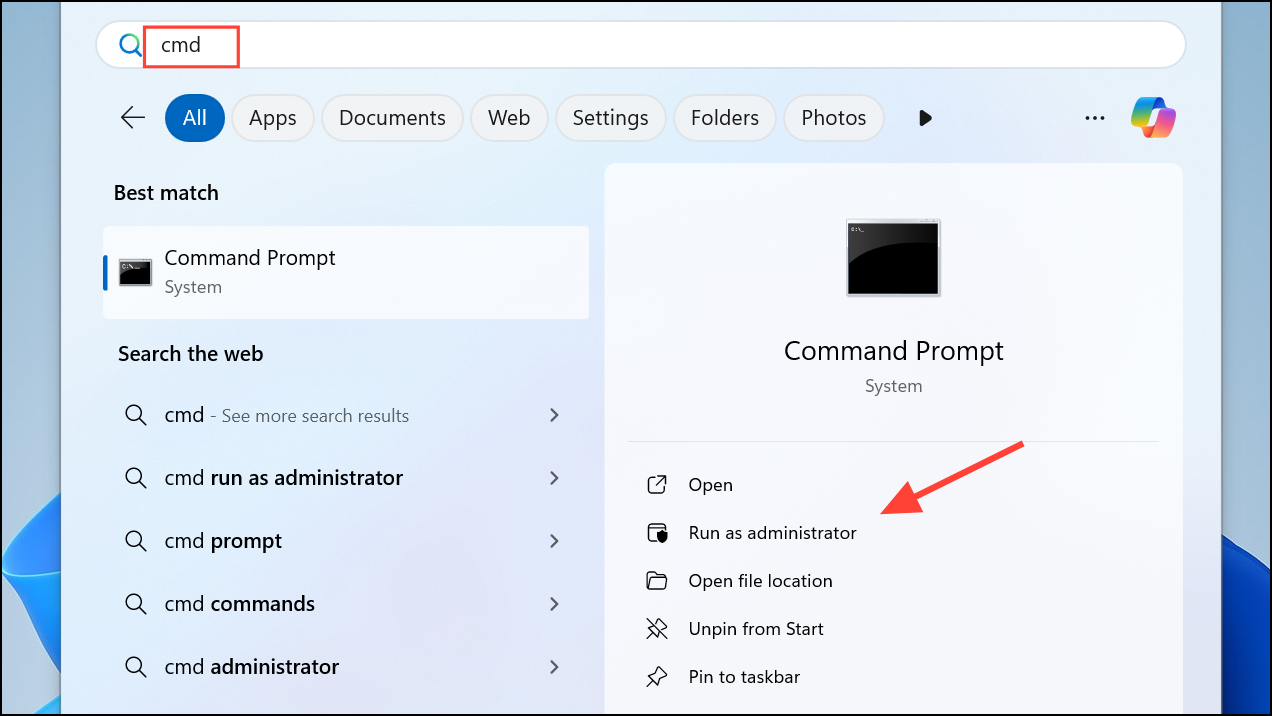
Step 1: Press Windows + S, type cmd, right-click Command Prompt, and select Run as administrator.
Step 2: Enter the following commands one at a time, pressing Enter after each:
netsh winsock reset
netsh int ip reset
ipconfig /release
ipconfig /renew
ipconfig /flushdns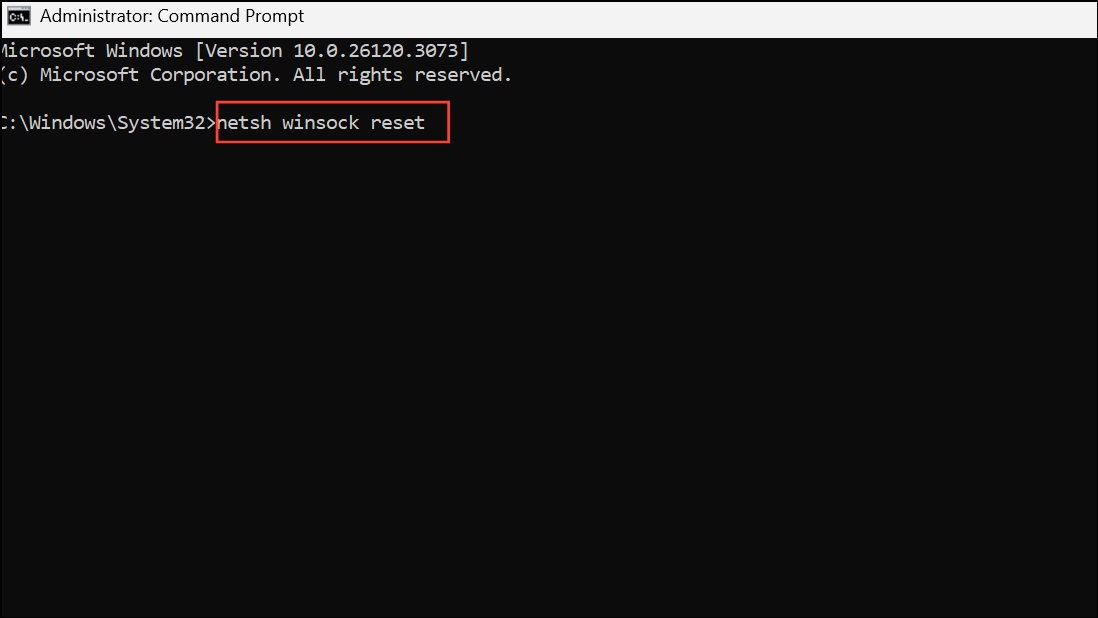
These commands reset network protocols, release and renew your IP address, and clear DNS cache. Restart your PC and check for connectivity.
Disable Proxy Server and Check Network Configuration
Incorrect proxy settings or static IP assignments can block Ethernet access or cause DNS failures.
Step 1: Type Internet Options in the Windows search bar and open it.
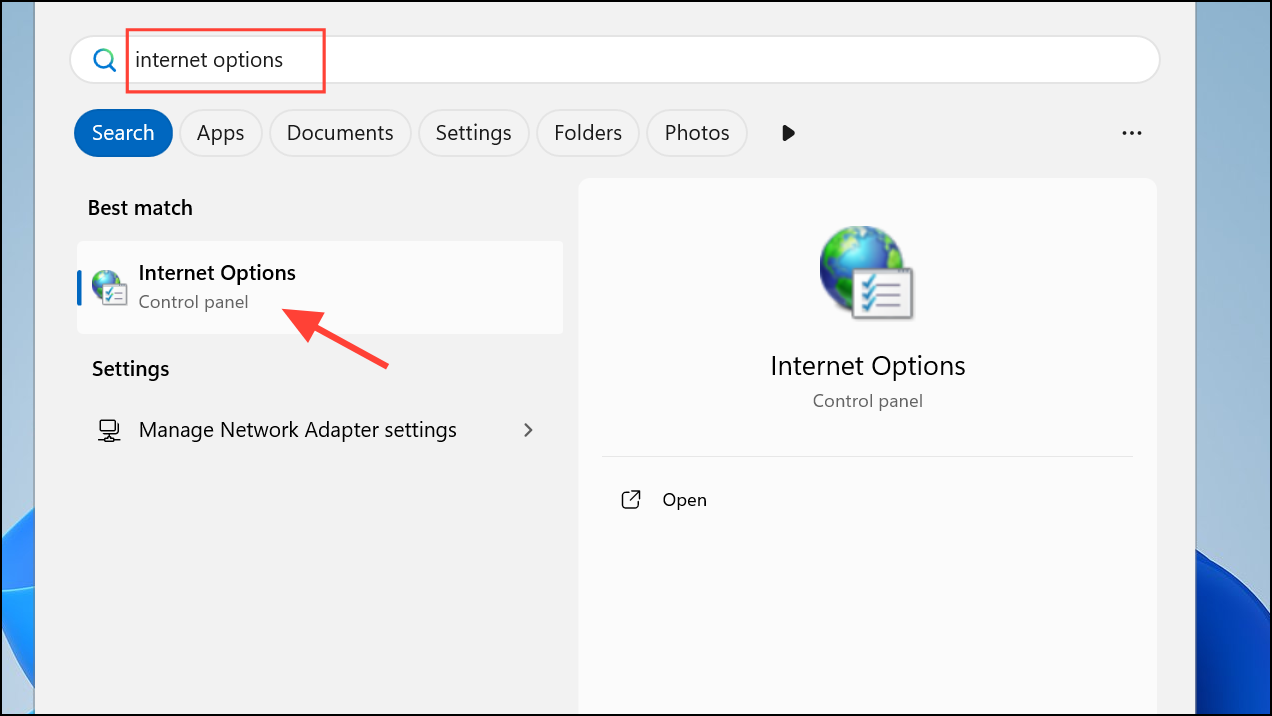
Step 2: Go to the Connections tab, click LAN Settings, and ensure Use a Proxy Server for your LAN is unchecked unless your network specifically requires it.

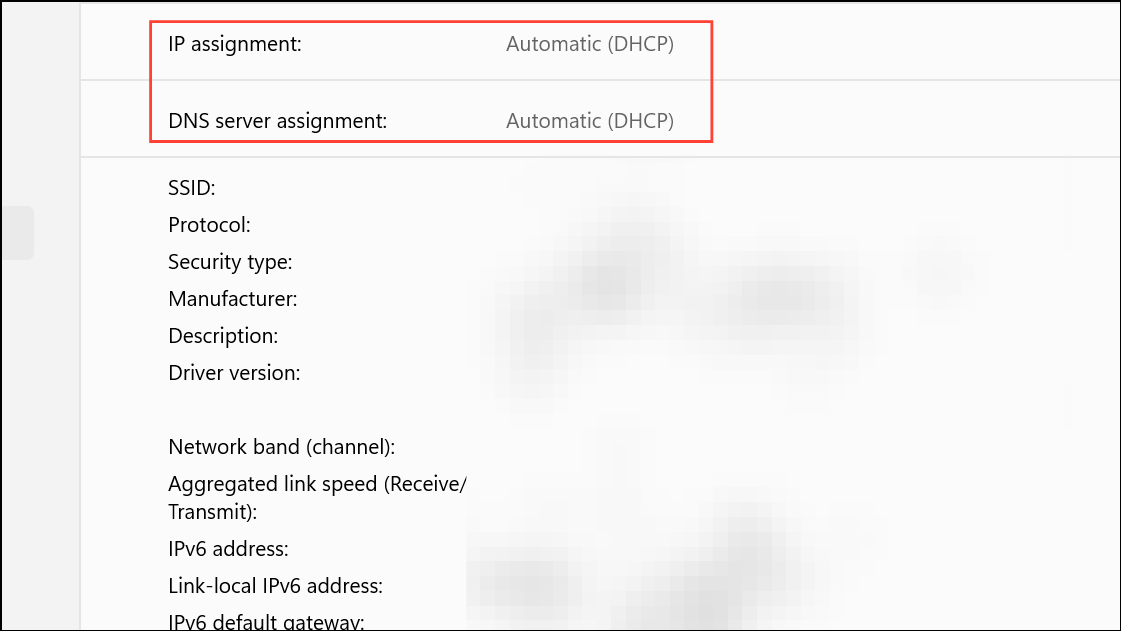
Step 3: In Settings > Network & internet > Ethernet, select your network and ensure IP assignment and DNS assignment are set to Automatic (DHCP) unless you have specific static values from your network administrator. Incorrect manual settings can prevent your PC from joining the network or resolving addresses.
Roll Back or Uninstall Recent Windows Updates
Major Windows 11 updates occasionally introduce compatibility problems for network adapters, especially with certain Realtek or Intel chipsets. If your Ethernet stopped working immediately after a Windows update, reverting to a previous build or uninstalling the problematic update often restores connectivity.
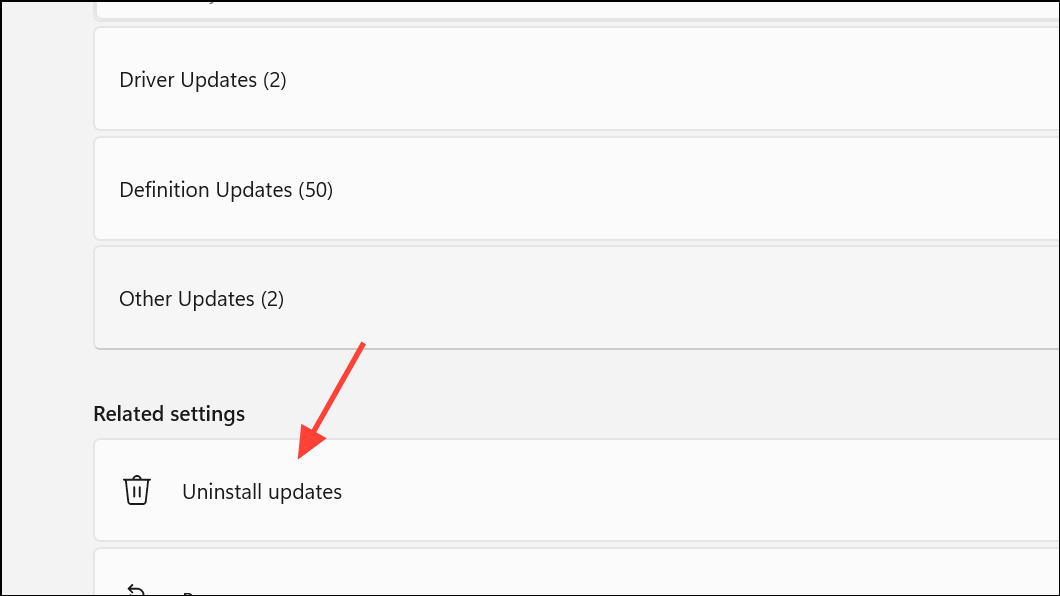
Step 1: Open Settings > Windows Update > Update history.
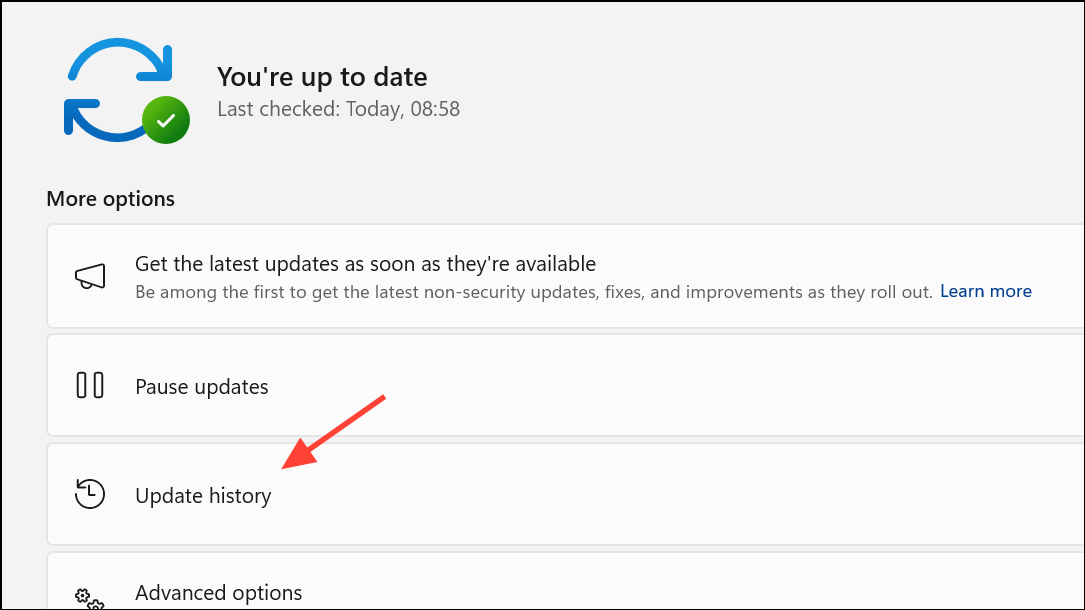
Step 2: Click Uninstall updates, select the most recent update, and confirm removal.
Step 3: Restart your PC and check if Ethernet connectivity is restored. If so, you may need to delay or block the specific update until a compatible driver or patch is available. Microsoft offers the "Show or Hide Updates" troubleshooter tool to prevent reinstallation of problematic updates.
Restore Windows Using System Restore Point
If all else fails and you suspect a recent change caused the issue, using a system restore point can quickly revert your PC to a working state without affecting personal files.
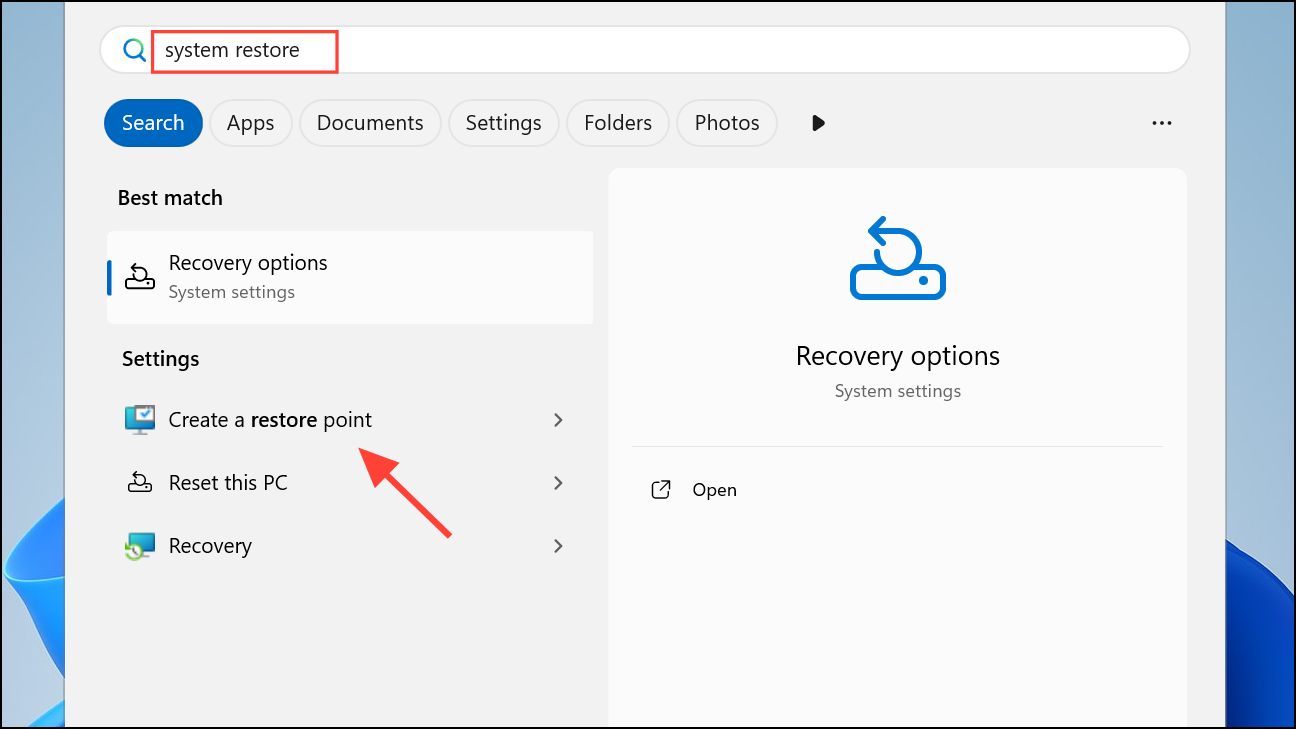
Step 1: Type System Restore in the Windows search bar and select Create a restore point.
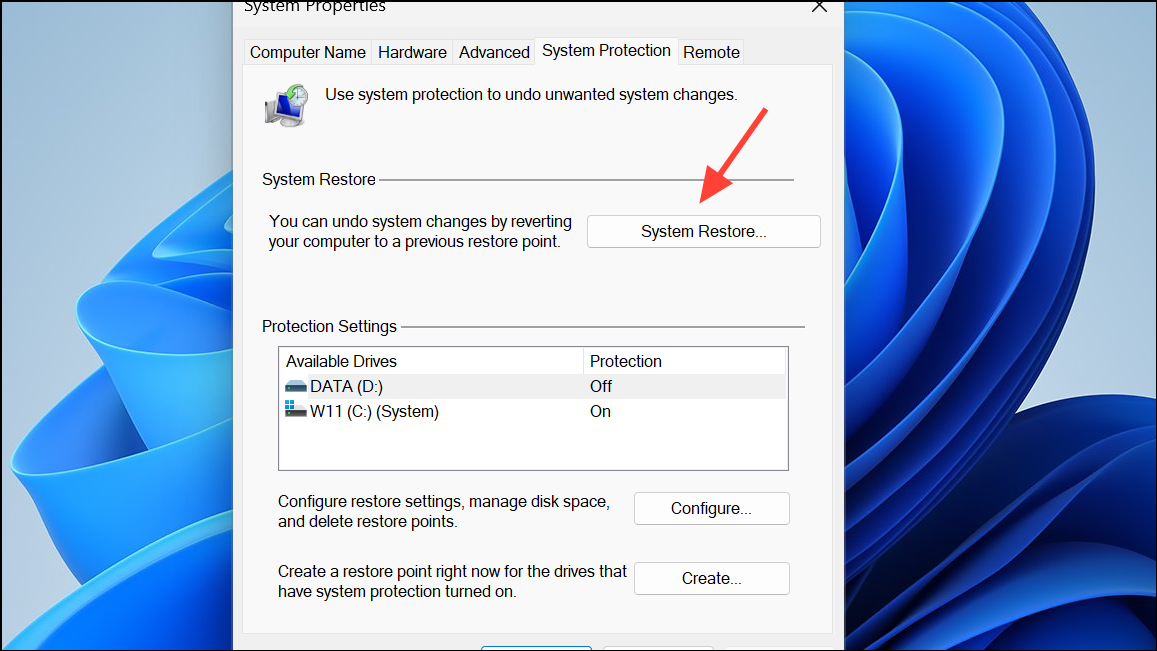
Step 2: Click System Restore and follow the prompts to select a restore point from before the Ethernet issue began.
Step 3: Complete the restore process and allow the PC to reboot. Test your Ethernet connection. This method is especially effective when a Windows update or driver change caused the problem, and it reverts all system files and settings to a previous stable state.
Persistent Ethernet problems on Windows 11 can usually be solved by updating drivers, resetting network settings, and verifying hardware. If the issue started after an update, rolling back or restoring your system often brings back reliable wired connectivity.