
“Gdrv2.sys driver cannot load on this device” appears after Windows 11 24H2 installation when GIGABYTE’s motherboard or graphics utilities attempt to load a driver that is now blocked by new security policies. This driver, bundled with GIGABYTE tools like App Center, EasyTune, and RGB Fusion, grants hardware-level access for system monitoring, overclocking, and lighting control. Windows 11’s tightened security—especially features like Memory Integrity and stricter driver signing—flags certain versions of this driver as vulnerable or incompatible, stopping them from running and triggering repeated error messages or feature loss in GIGABYTE software.
Uninstall GIGABYTE Utilities to Remove the Error
Removing GIGABYTE utilities is the most reliable way to eliminate the Gdrv2.sys error, especially if you don’t depend on their advanced motherboard controls. This approach completely removes the problematic driver and prevents future conflicts with Windows security features.
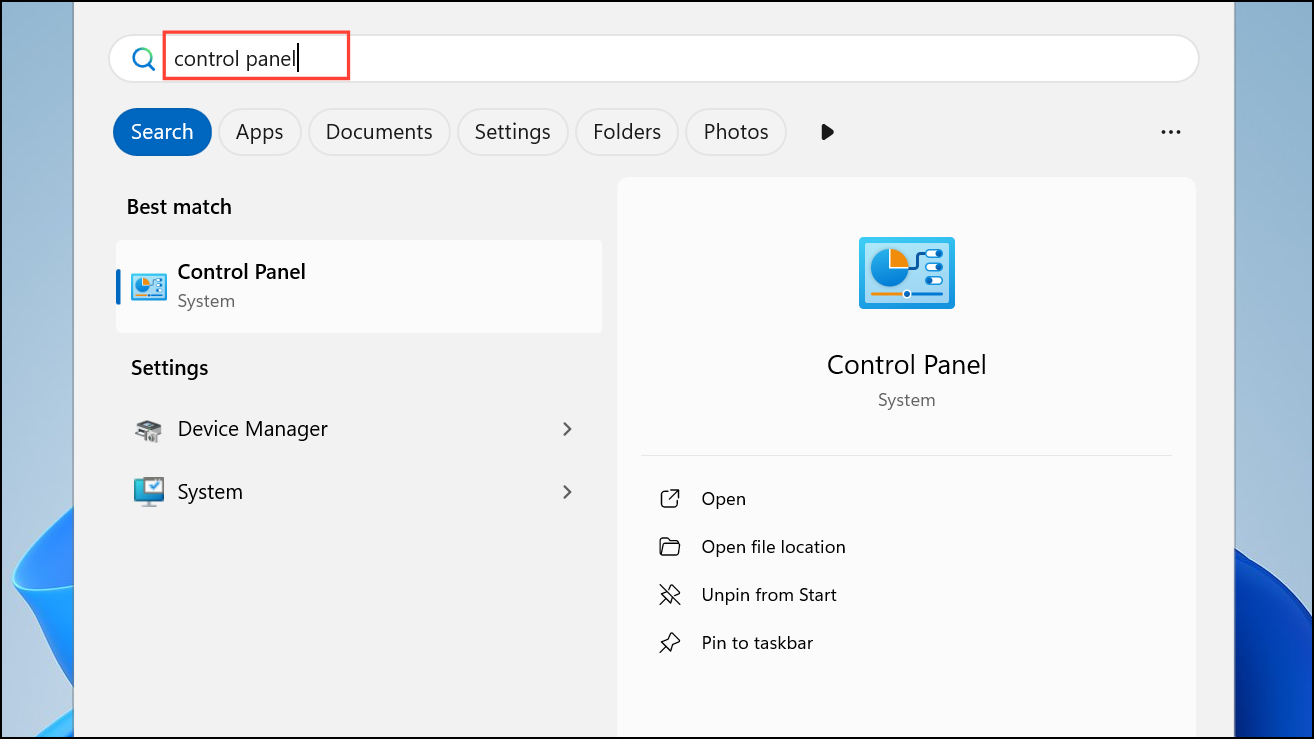
Step 1: Open the Windows search bar, type Control Panel, and press Enter.
Step 2: In the Control Panel, select Programs and then Programs and Features.
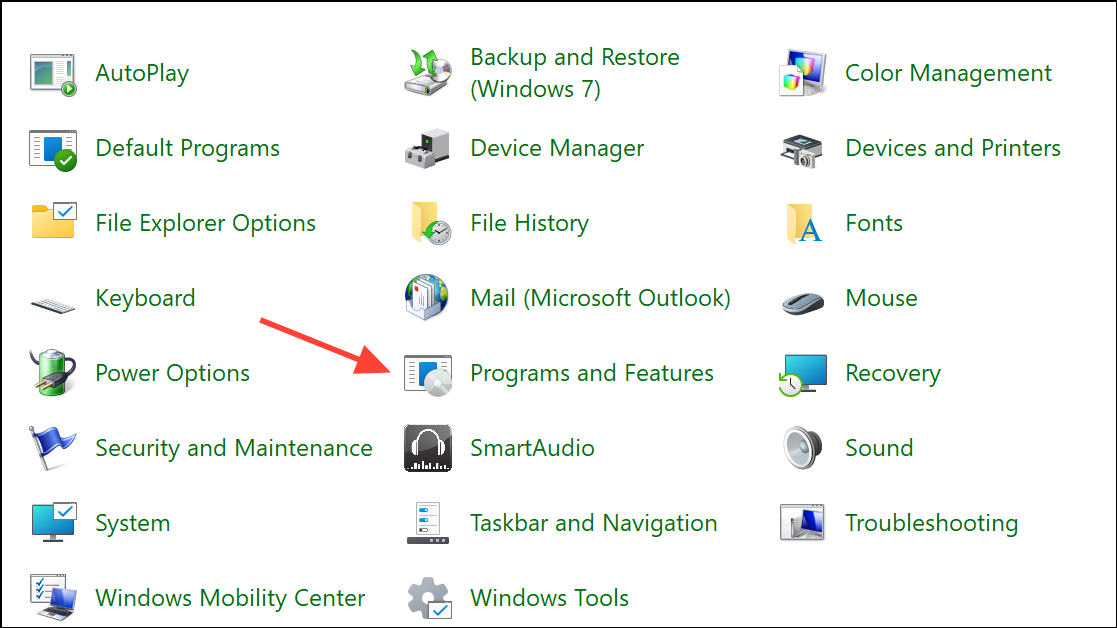
Step 3: Review the list of installed applications for any GIGABYTE utilities, such as App Center, EasyTune, RGB Fusion, Aorus Engine, or System Information Viewer (SIV). These are the most likely to install or depend on the Gdrv2.sys driver.
Step 4: Right-click each GIGABYTE utility and select Uninstall. Follow any prompts to complete the removal process. For some utilities, you may need to confirm that you want to remove all associated files and settings.
Step 5: Restart your PC to ensure all drivers and services are unloaded from memory. After rebooting, the Gdrv2.sys error should no longer appear, and your system will run without the blocked driver.
Update GIGABYTE Drivers and Utilities
If you rely on GIGABYTE’s advanced features—such as hardware monitoring or fan tuning—updating to the latest official drivers and software may resolve compatibility issues with Windows 11 24H2. GIGABYTE periodically releases new versions of their utilities and drivers to match Windows security requirements.
Step 1: Visit the GIGABYTE Support website. Enter your motherboard or device model to access the downloads section.
Step 2: Look for updated versions of App Center, EasyTune, System Information Viewer, or any utility you use. Check release notes for mention of Windows 11 24H2 compatibility or updated driver signing.
Step 3: Download and install the latest available versions, following the on-screen instructions. Updated installers may replace the Gdrv2.sys driver with a signed, compliant version that Windows 11 will allow to load.
Step 4: Restart your computer to apply the changes. If the error persists, it may indicate that GIGABYTE has not yet released a compatible update. In this case, either uninstall the utility or consider the security trade-offs of the next method.
Disable Memory Integrity (Core Isolation) to Allow the Driver
Memory Integrity, also called Core Isolation, is a Windows security feature that blocks drivers considered vulnerable or unsigned. Disabling it may allow Gdrv2.sys to load, restoring GIGABYTE utility functionality. However, this weakens system protection against certain attacks, so proceed only if you trust the driver’s source and require its features.
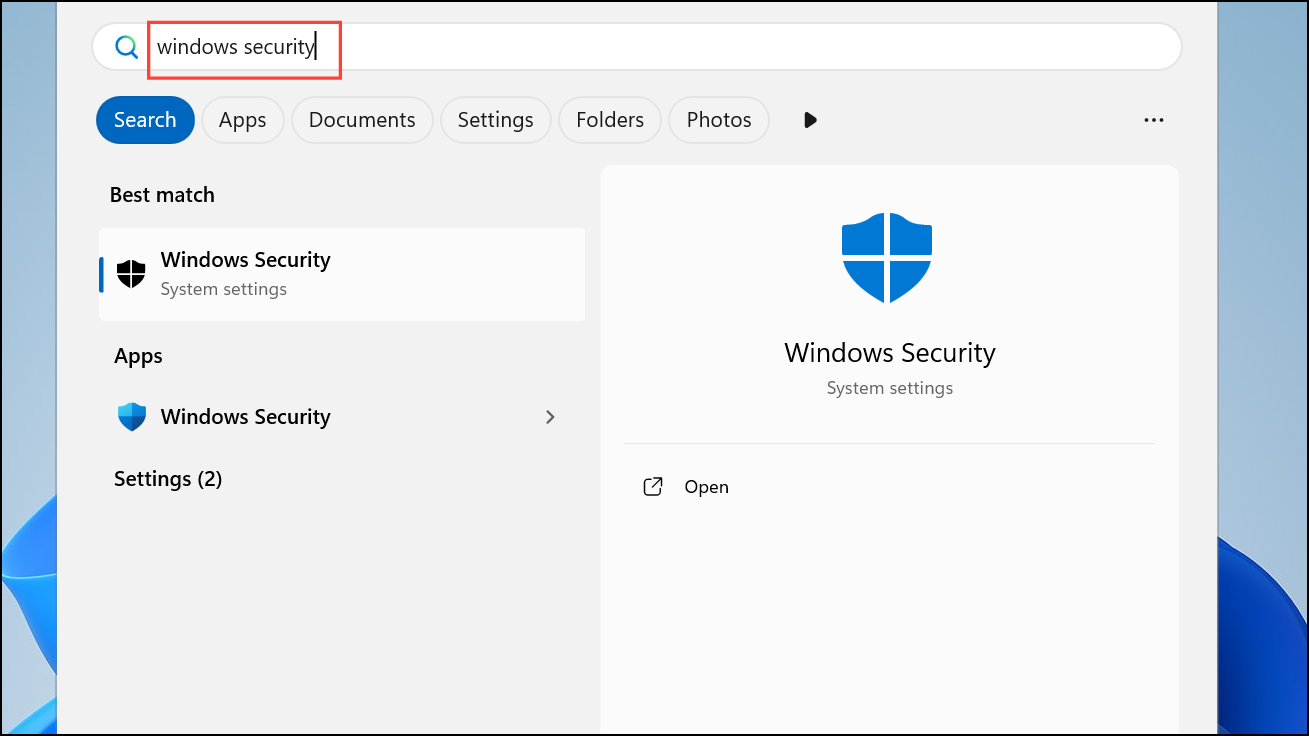
Step 1: Press the Windows key, type Windows Security, and press Enter to open the security dashboard.
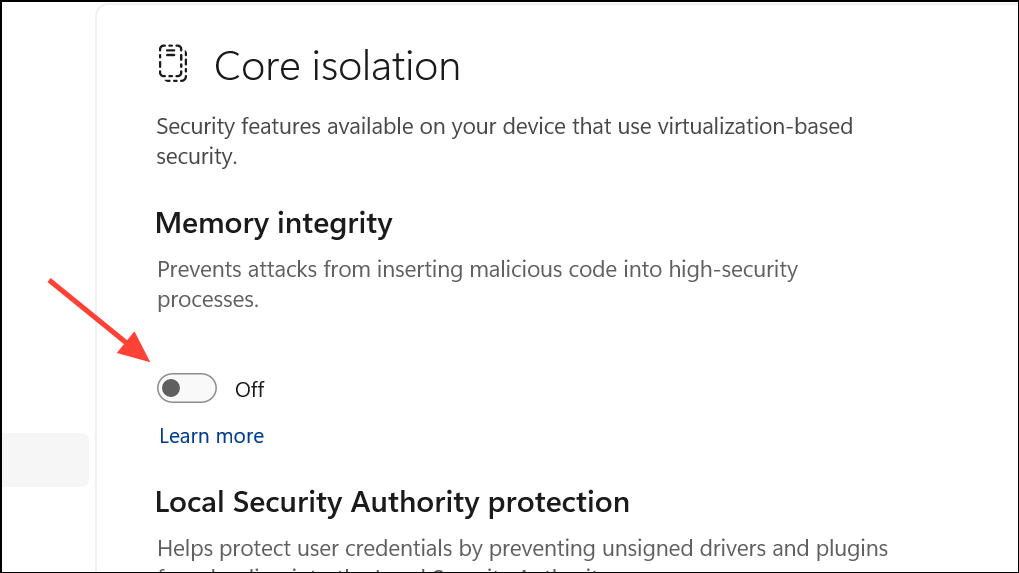
Step 2: Select Device Security from the sidebar, then click Core Isolation Details.
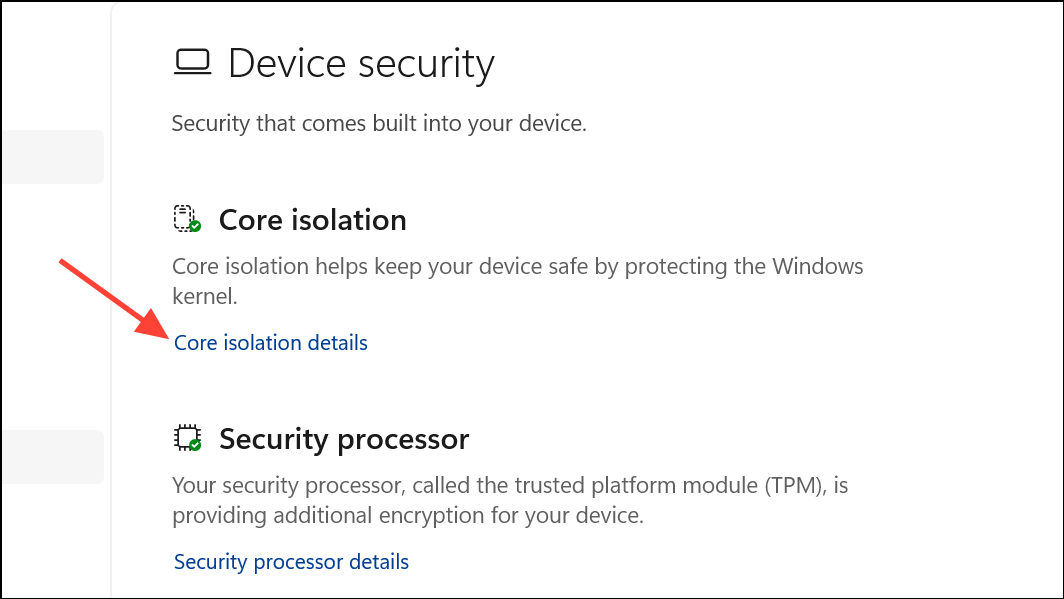
Step 3: Locate the Memory Integrity toggle and switch it to Off. You may need to confirm this change or restart your computer.
Step 4: After rebooting, check if GIGABYTE utilities function as expected and the Gdrv2.sys error no longer appears. Remember to re-enable Memory Integrity once a driver update is available, as leaving it off reduces your system’s resilience against malicious software.
Update or Remove Problematic Drivers via Device Manager
In some cases, updating the driver directly through Device Manager can resolve compatibility issues. This method is useful if a newer signed driver is available through Windows Update or if you want to manually remove the problematic driver.
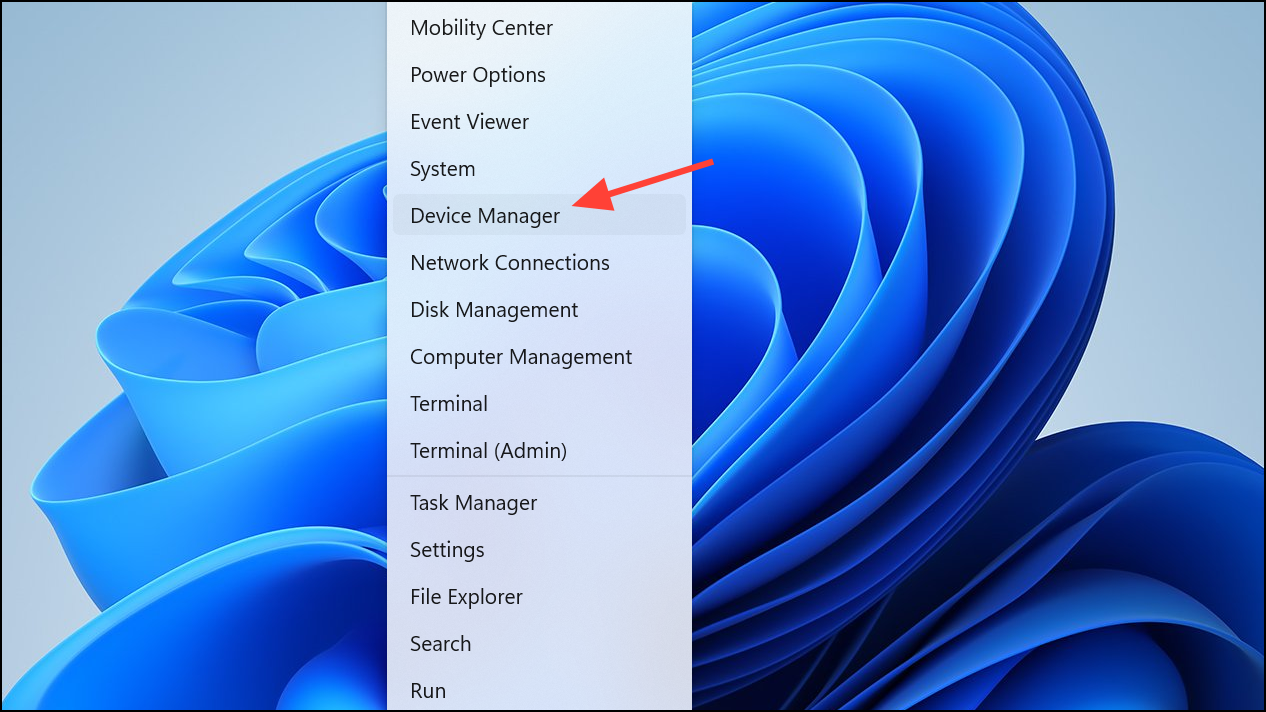
Step 1: Right-click the Start button and select Device Manager.
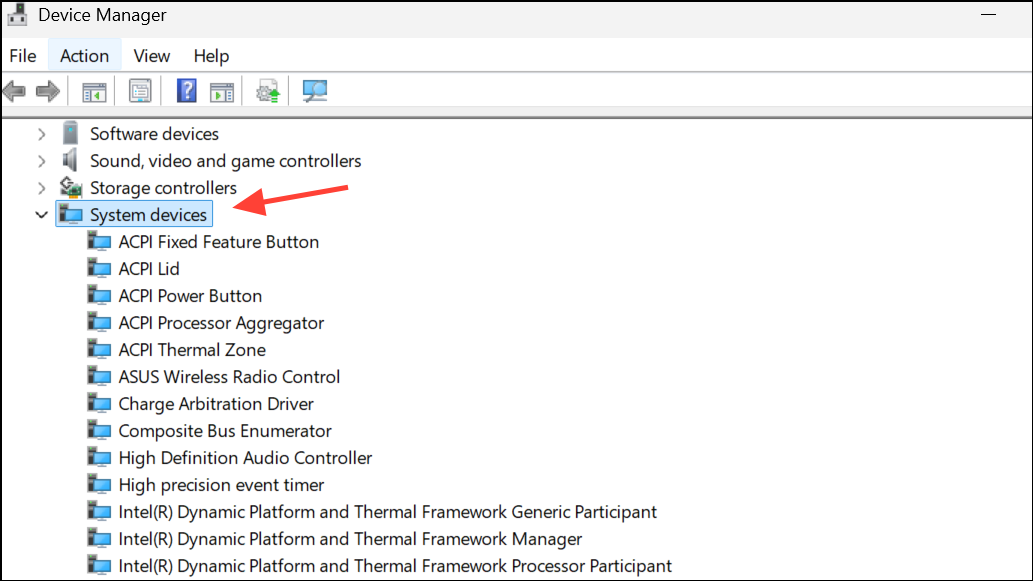
Step 2: Expand the System Devices section and look for any GIGABYTE-related entries or specifically for Gdrv2.sys.
Step 3: Right-click the device and choose Update driver. Select Search automatically for drivers to let Windows find and install an updated version.
Step 4: If no update is found or the error continues, right-click the driver and select Uninstall device. Confirm the removal and restart your PC. This removes the driver from your system, resolving the loading error but also disabling associated GIGABYTE features.
Repair Corrupted System Files
Corrupted system files can also cause driver loading errors. Running Windows’ built-in repair tools can restore missing or damaged files that interfere with driver operations.
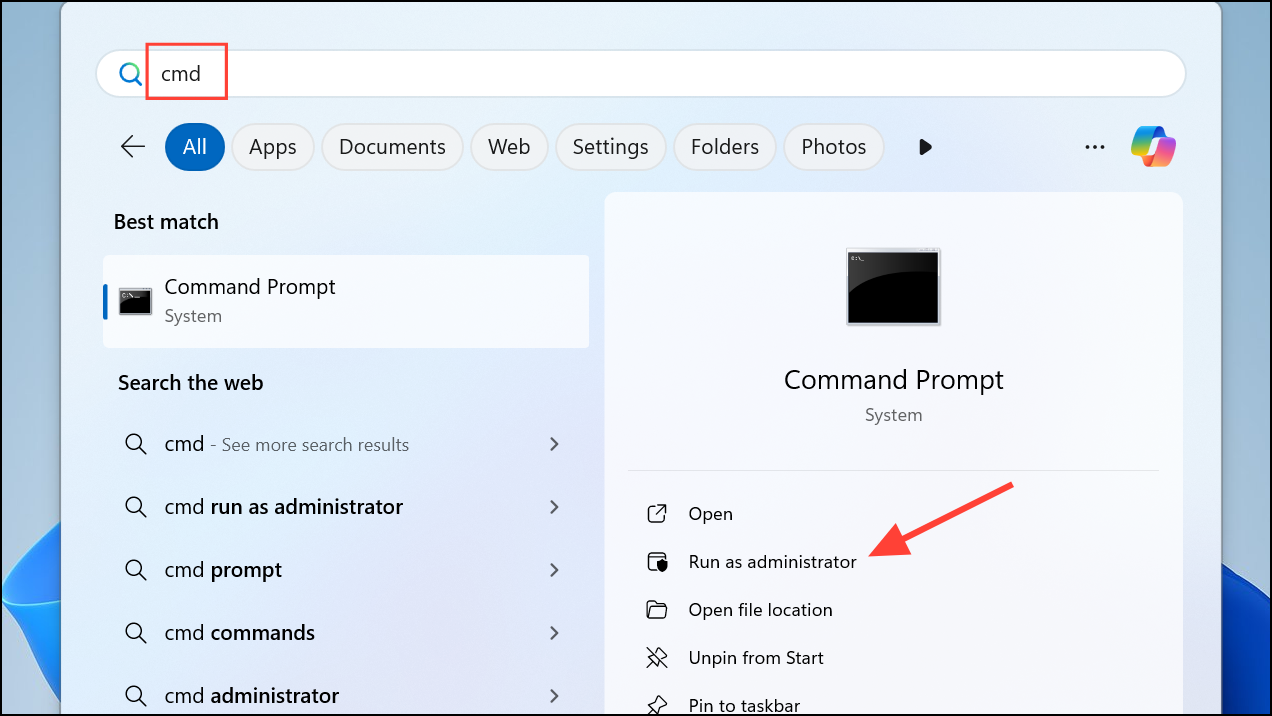
Step 1: Open the Windows search bar, type Command Prompt, right-click the result, and select Run as administrator.
Step 2: In the command prompt window, enter the following command and press Enter:
DISM.exe /Online /Cleanup-Image /Restorehealth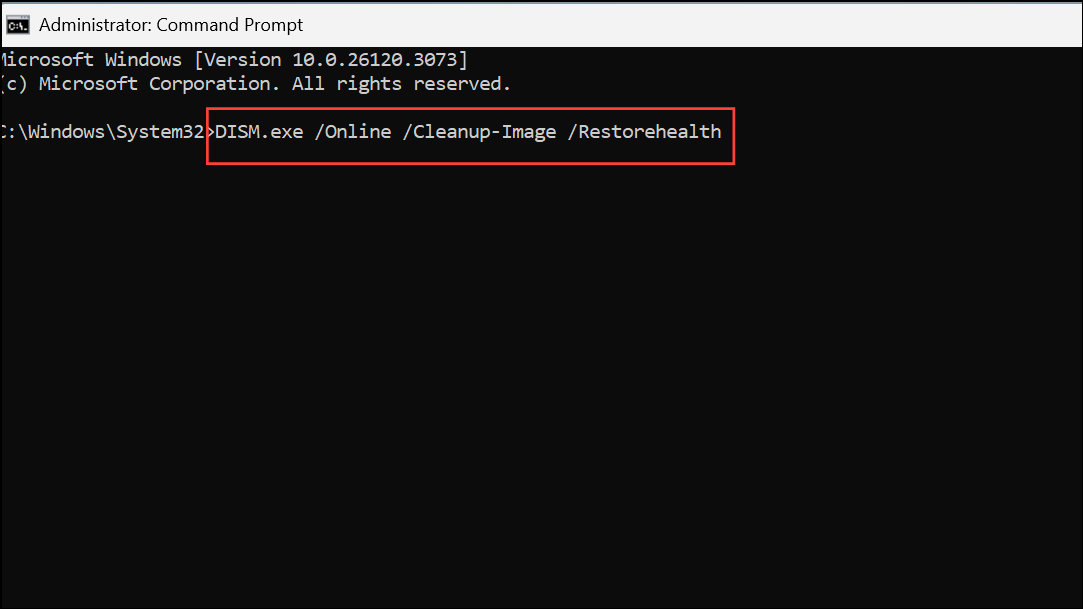
Step 3: Wait for the process to finish. Then type:
sfc /scannow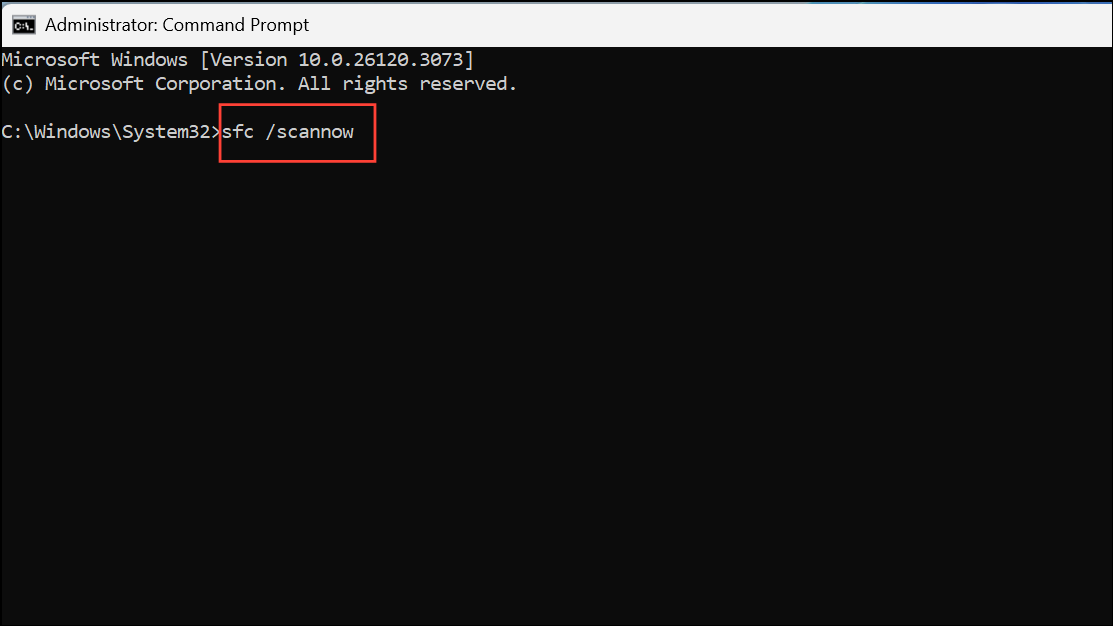
Step 4: Allow the scan to complete and follow any instructions if issues are found. Restart your computer and see if the Gdrv2.sys error is resolved.
Advanced: Disable Driver Signature Enforcement or Secure Boot
As a last resort, you can temporarily disable driver signature enforcement or Secure Boot to allow unsigned drivers to load. This method is not recommended for regular use, as it significantly reduces system security and exposes your computer to potential threats.
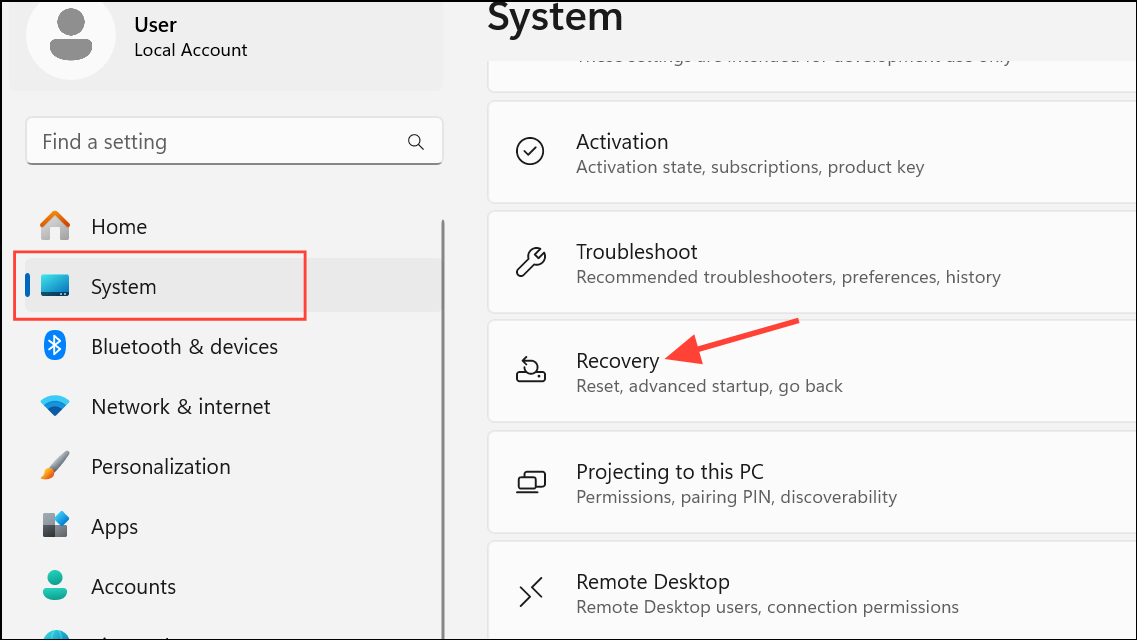
Step 1: Open Settings, go to System > Recovery.
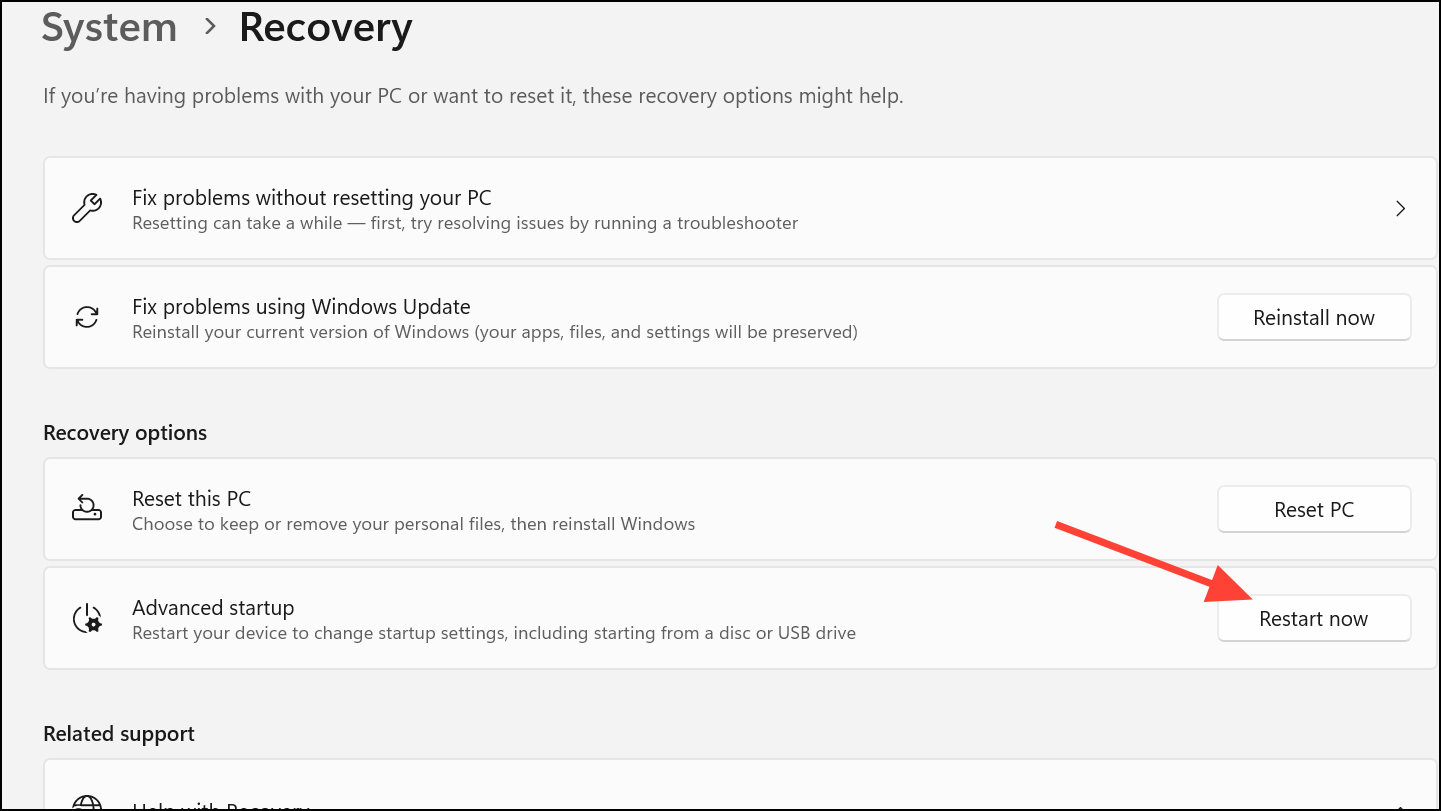
Step 2: Then click Restart now under Advanced startup.
Step 3: After reboot, select Troubleshoot > Advanced options > Startup Settings > Restart.
Step 4: On the Startup Settings screen, press the number key for Disable driver signature enforcement.
Step 5: Your system will boot with relaxed driver checks. Install or run the required GIGABYTE utility, then restart your computer normally. Only use this approach for short-term troubleshooting, and restore all security settings as soon as possible.
Removing or updating GIGABYTE software resolves most Gdrv2.sys errors, while adjusting security settings can restore needed features at the cost of protection. Keep your drivers and Windows updated, and monitor GIGABYTE’s support channels for official fixes compatible with Windows 11 24H2.