
If you're attaching a generic PnP monitor to your laptop or multi-monitor desktop setup but Windows 11 fails to detect it, it can be due to various causes, such as a malware attack or outdated drivers. Fortunately, there are several potential solutions that can help you fix the problem easily.
Update or Reinstall Device Driver
A faulty or outdated driver is one of the most common causes that can prevent Windows 11 from detecting your generic monitor. You can check whether there is any problem with the driver, and update or reinstall it as needed.
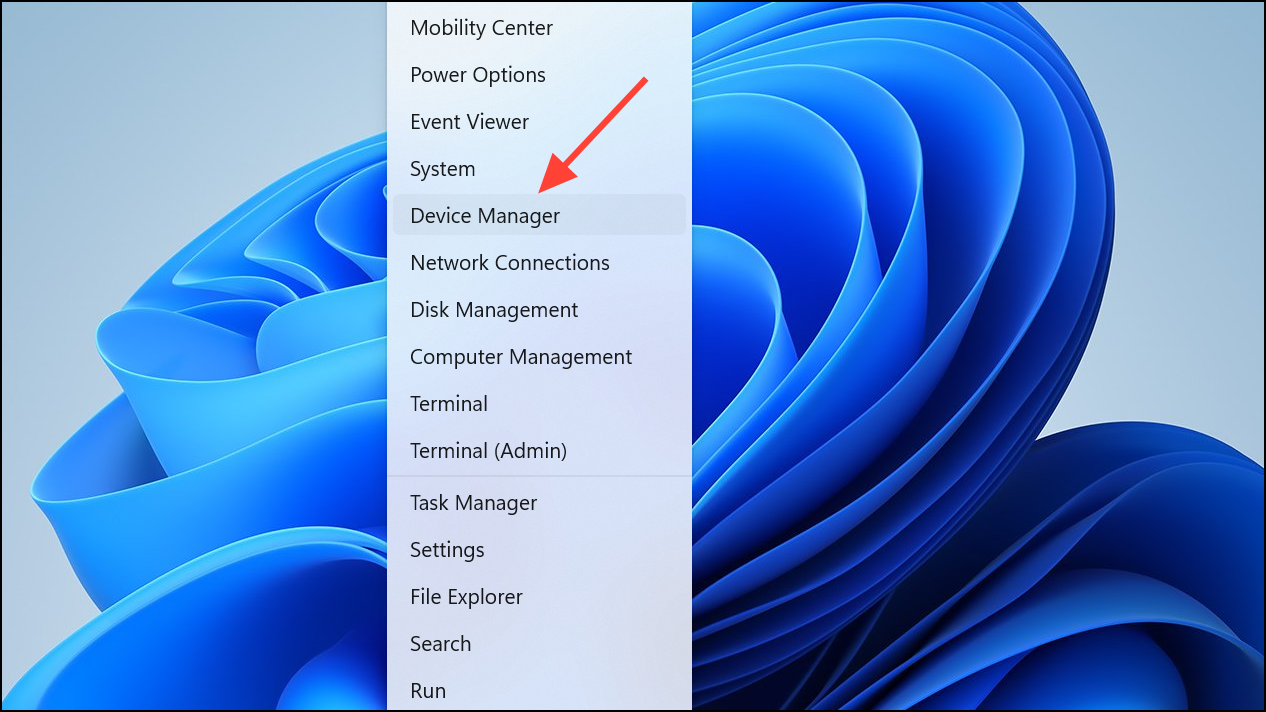
- Right-click the Start button and select Device Manager on the PC to which you want to attach the generic monitor.
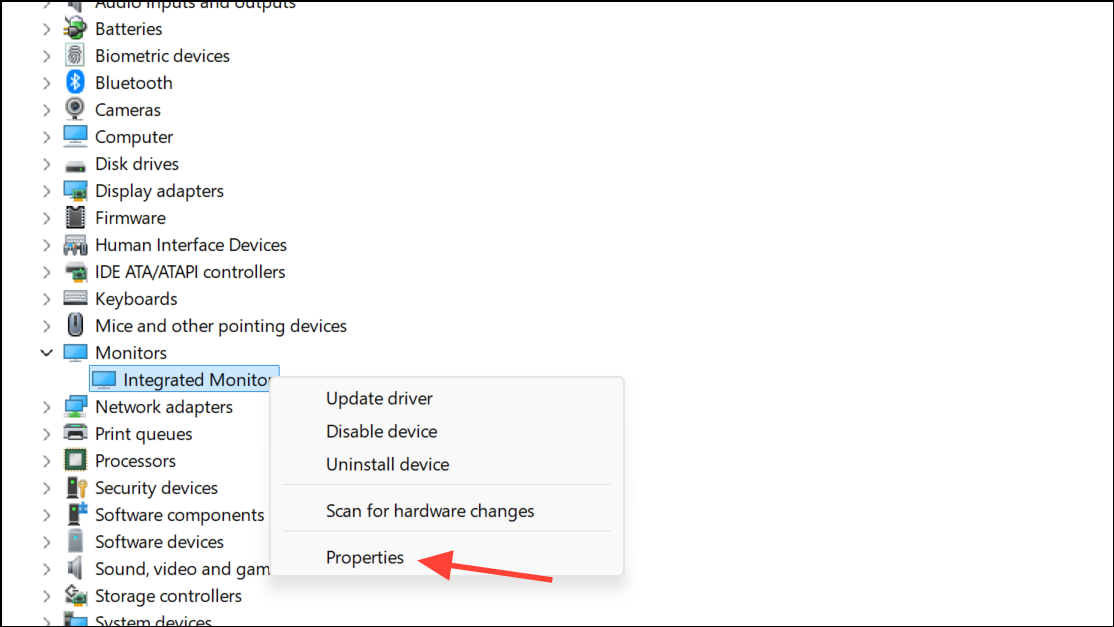
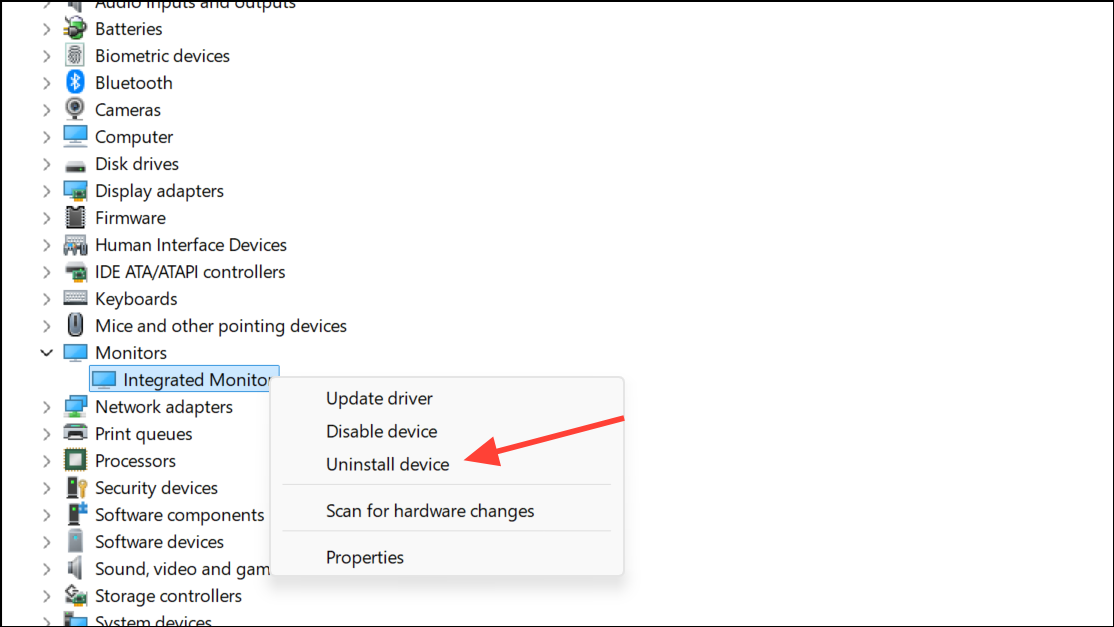
- When the Device Manager opens, click the Monitors section to expand it, right-click your monitor, and select Properties.
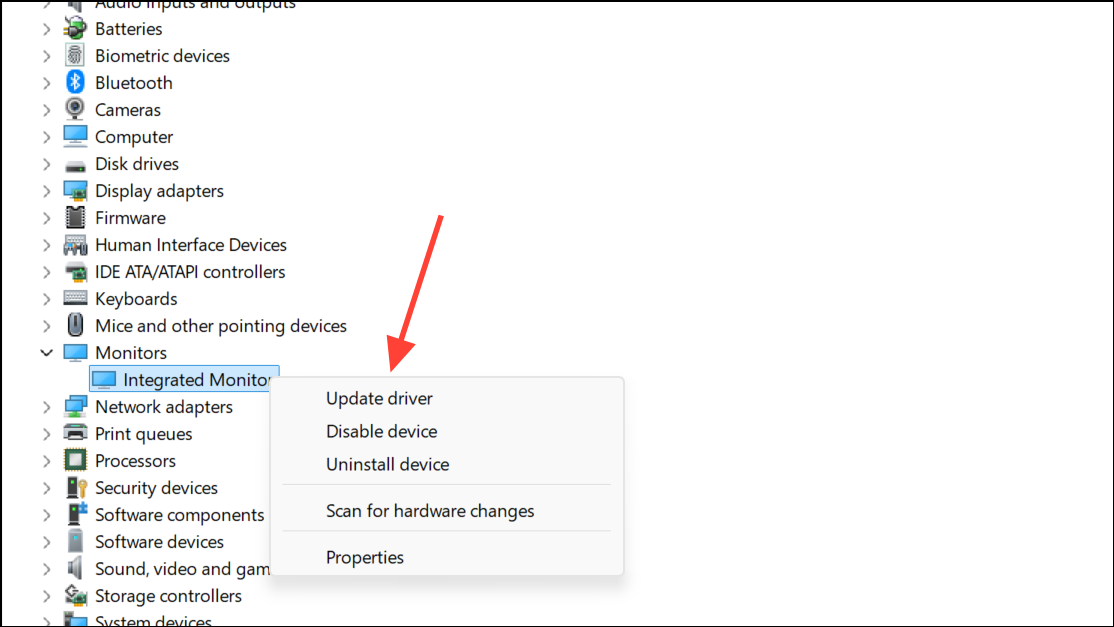
- Check if there is any error message here. If there is, you may have to update or reinstall the driver. To do that, right-click the driver again and select Update driver.
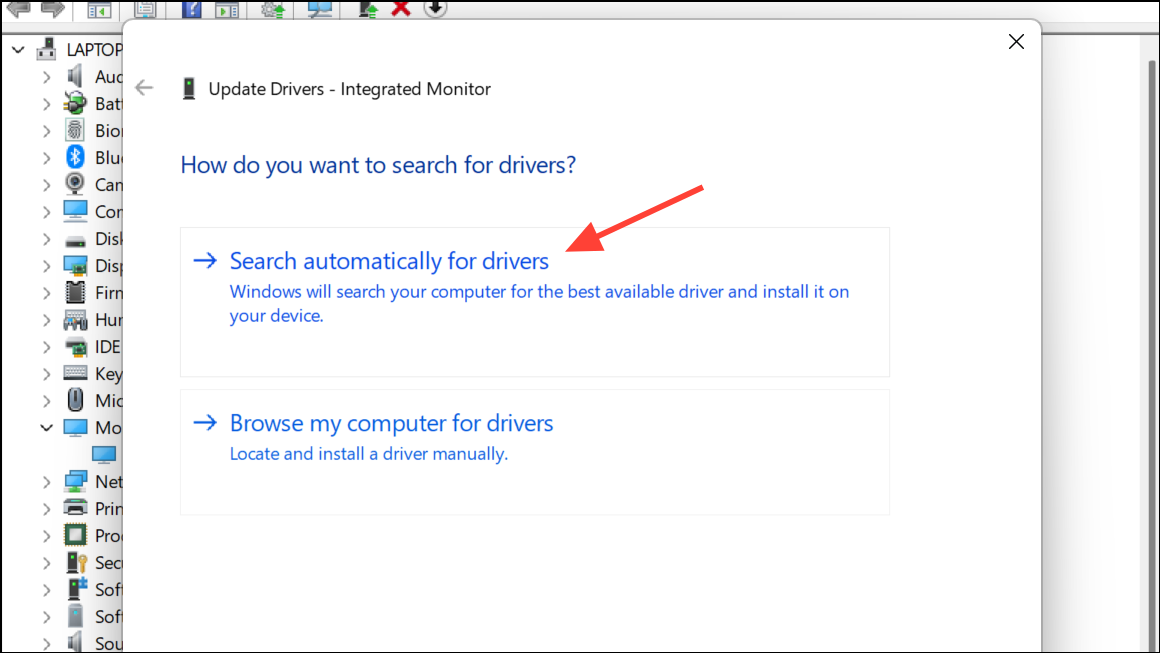
- Select Search automatically for drivers and let Windows get the latest driver for the monitor.
- If updating the driver doesn't work, open the Device Manager again, right-click the driver, and select Uninstall.
Verify Your Monitor Functions Properly
You should also check and ensure that your monitor functions properly. Disconnect your generic monitor and connect it to a power source to see whether it turns on. If it does, you should see a message, like No cable attached or No Signal. Once you have verified that the monitor is working, try connecting it to another laptop or computer if possible, using a VGA or HDMI cable. On the other hand, if the monitor does not turn on or show any messages, there may be a problem with it. In that case, you will need to take it to a technician.
Replace the Cable and Source Port
Sometimes, the cable you use to connect your monitor may be damaged, preventing Windows from detecting the monitor. Try replacing the cable and then checking the monitor. Another cause might be a damaged source port on your graphics card or motherboard. If the port is clogged with dust, clean it and try again.
Perform a Virus Scan
The issue might not lie with the monitor but with your PC, especially if it has been infected by malware or a virus. Performing a virus scan will help you check whether that is the case and take the necessary steps to get rid of the virus/malware.
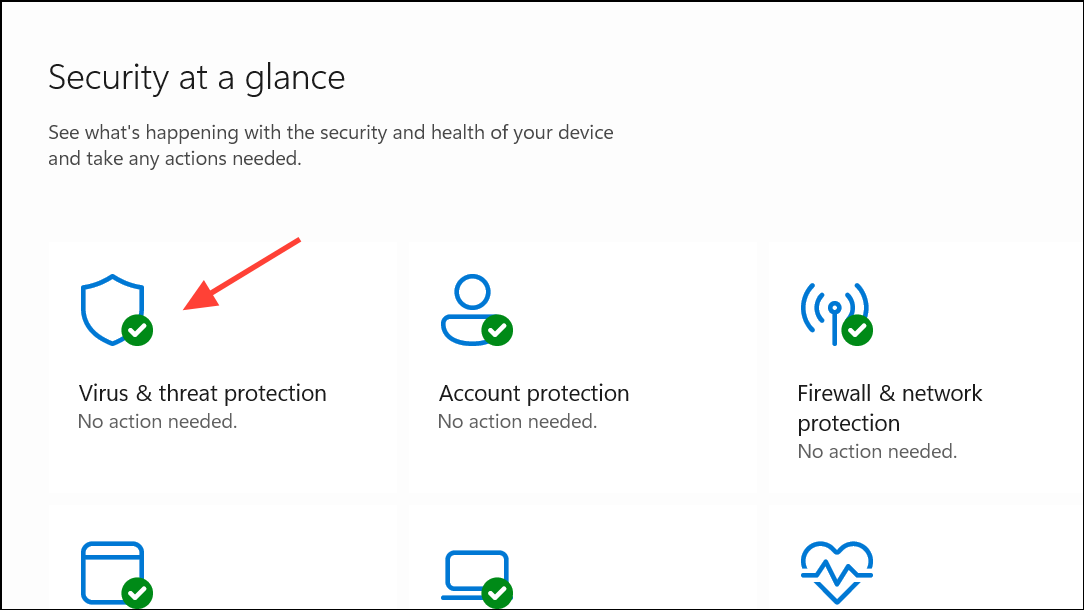
- Open Windows Security from the Start menu and select Virus and Threat Protection.
- Click Scan Options, select Full Scan, and then click the Scan now button.
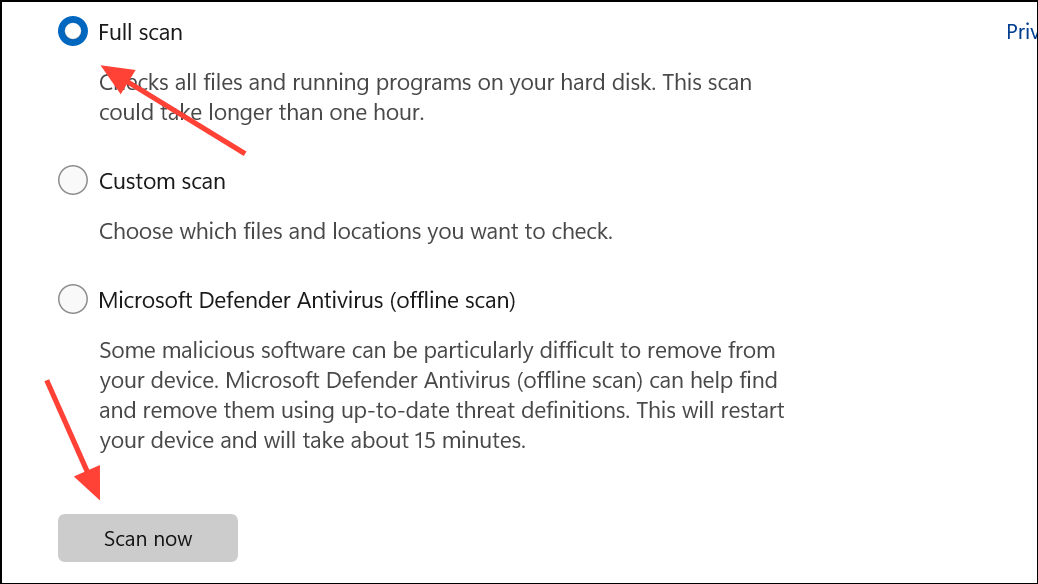
- Wait for the scan to complete. If Windows finds any infected items, remove them from the system and then try connecting the monitor again.
Replacing the cable, checking the port, and updating or reinstalling the device driver can help you fix the problem if your monitor is functional and has no other issues. On the other hand, if you find that Windows still cannot detect it, your monitor might be damaged and may need to be checked by a technical expert.