
Unexpected shutdowns after locking a Windows 11 laptop disrupt workflow and can signal underlying power, battery, or hardware issues. Addressing these symptoms requires a systematic approach to restore normal operation and prevent further interruptions.
Drain Residual Power and Reset the Laptop
Step 1: Disconnect your laptop from all power sources by unplugging the AC adapter and, if possible, removing the battery. This isolates the system from any external electricity and prepares it for a full power reset.
Step 2: Press and hold the laptop's power button for at least 20–30 seconds. This action discharges residual (flea) power from the motherboard and internal components, which can resolve issues caused by static buildup or incomplete shutdown states.
Step 3: Reinsert the battery (if removable) and reconnect the AC adapter. Wait a few seconds, then press the power button to attempt to turn on the laptop. If it starts, allow it to charge fully before normal use to ensure battery stability.
Check and Replace Power Supply Components
Step 1: Inspect the AC adapter and power cable for visible damage, loose connections, or frayed wires. A faulty cable or adapter often prevents the laptop from receiving consistent power, leading to shutdowns or failure to restart.
Step 2: Test the wall outlet by plugging in another device (like a lamp) to confirm it delivers power. If using a surge protector or power strip, verify its functionality or try plugging the laptop directly into the wall outlet.
Step 3: If available, use a multimeter to check the output voltage of your laptop's power adapter. Replace the adapter or cable if it does not deliver the specified voltage or shows intermittent connectivity.
Step 4: For laptops with docking stations, disconnect from the dock and connect the power adapter directly to the laptop. Faulty docking stations can interrupt power delivery and cause unexpected shutdowns.
Test and Replace the Laptop Battery
Step 1: Remove the battery if your laptop design allows. With the battery out, connect the AC adapter and power on the laptop. If the laptop turns on reliably, the battery may be faulty or depleted beyond recovery.
Step 2: If the laptop operates normally on AC power but shuts down or fails to start with the battery installed, consider replacing the battery with a new, manufacturer-approved unit.
Step 3: For laptops with non-removable batteries, monitor for signs of battery failure such as sudden drops in battery percentage, overheating, or warning messages in Windows. Consult a technician for battery diagnostics and replacement if needed.
Inspect for Overheating and Blocked Vents
Step 1: Examine all air vents on your laptop for dust, debris, or obstructions. Blocked vents can cause overheating, which triggers the system to shut down to protect internal components.
Step 2: Use compressed air to gently blow out dust from vents, fans, and cooling fins. Avoid using a vacuum or inserting objects into the vents, as this can damage delicate parts.
Step 3: Place the laptop on a hard, flat surface during operation. Avoid using it on soft surfaces like beds or couches, which can block airflow and elevate internal temperatures.
Step 4: If shutdowns persist, monitor system temperatures using tools like HWMonitor or Core Temp. Consistently high temperatures suggest cooling system issues—seek professional servicing if fans are not spinning or if thermal paste needs replacement.
Run Windows Hardware Diagnostics
Step 1: Start the laptop and repeatedly press Esc (or the manufacturer’s diagnostic key) to access the Startup Menu. On HP laptops, for example, press F2 for System Diagnostics.
Step 2: Select the "Extensive Test" or equivalent hardware test. Allow it to run and observe if the laptop shuts down during the process. If the system powers off during diagnostics, this points to hardware instability, often related to the motherboard, memory, or power delivery components.
Step 3: If diagnostics complete without errors but problems persist, consider professional evaluation for deeper hardware faults.
Reset Power Settings and Disable Problematic Features
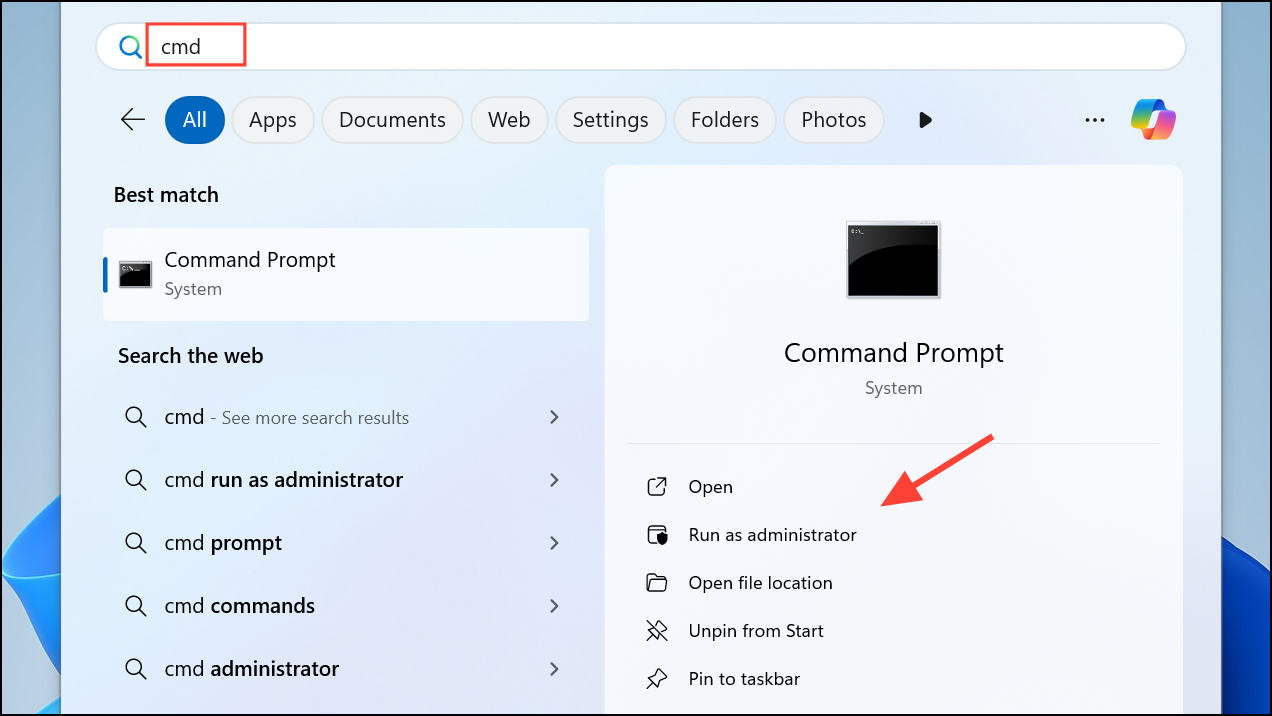
Step 1: Open an elevated Command Prompt by pressing Windows + S, typing cmd, right-clicking "Command Prompt," and selecting "Run as administrator."
Step 2: Enter the following command to reset all Windows power plans to their defaults:
powercfg -restoredefaultschemes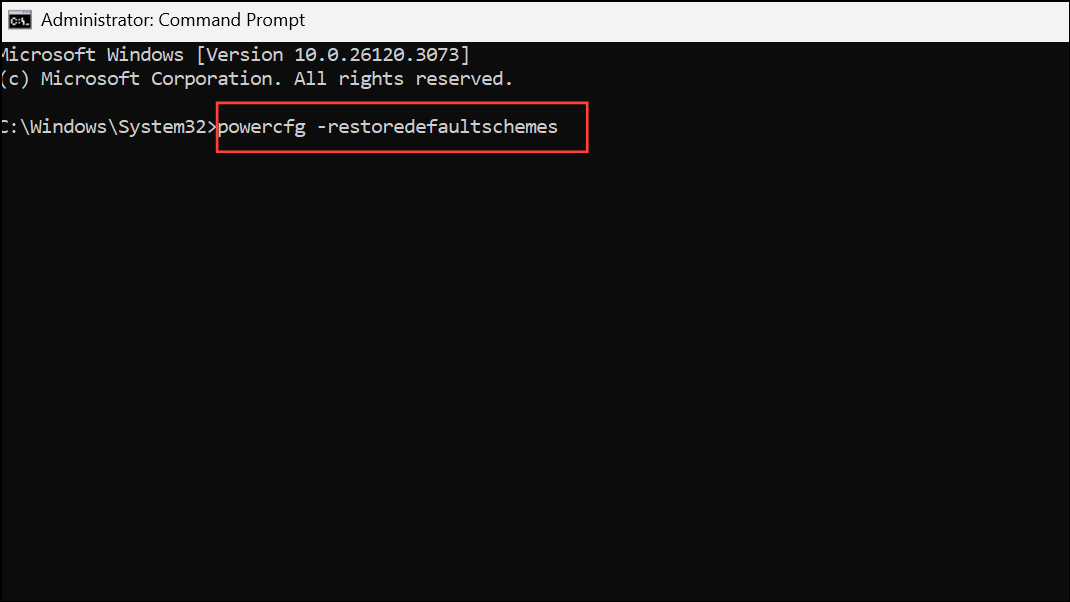
This action removes custom or corrupted power settings that might interfere with normal sleep, lock, or shutdown behavior.
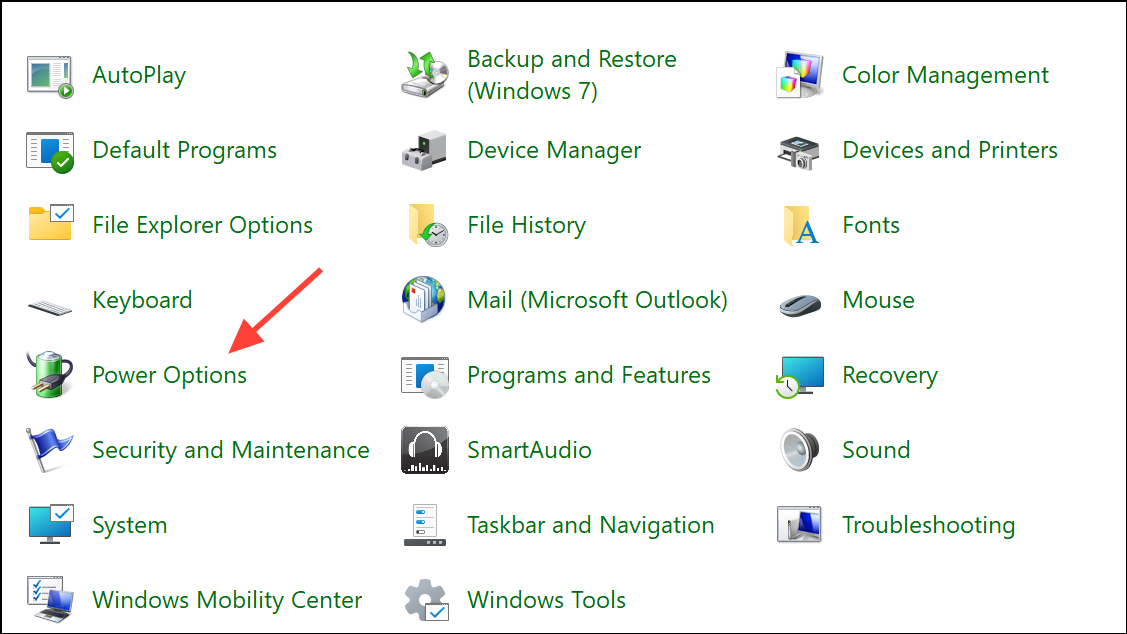
Step 3: After resetting, open "Control Panel" → "Hardware and Sound" → "Power Options" and review advanced settings.
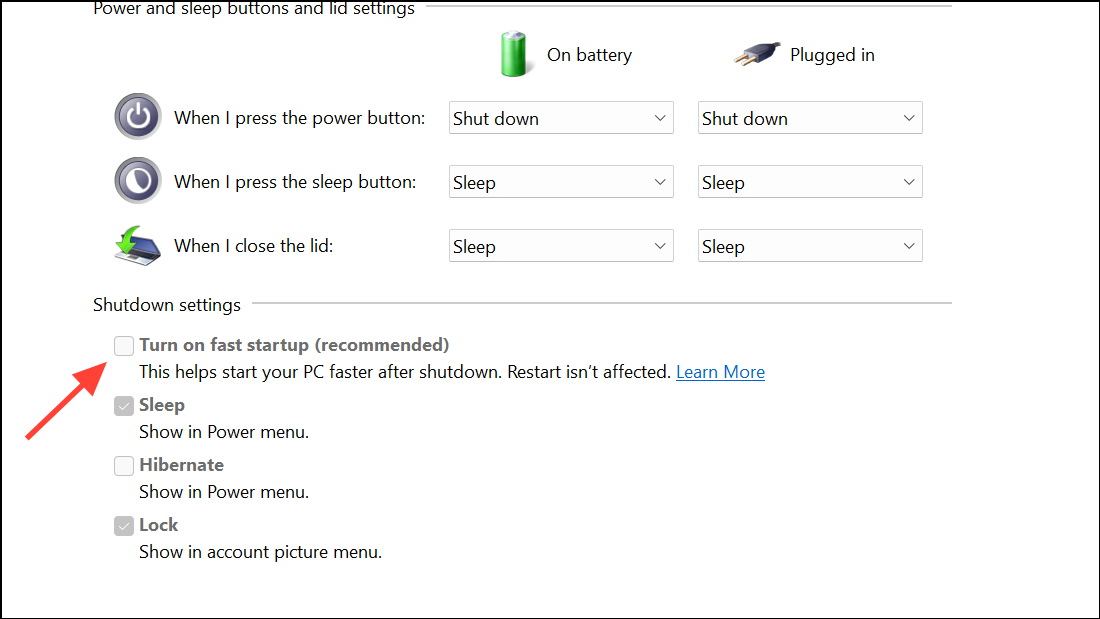
Step 4: Disable "Fast Startup" and ensure "Allow wake timers" are set to "Disabled" for both battery and plugged-in modes. These changes prevent scheduled tasks or devices from waking and shutting down the system unexpectedly.
Check for Faulty Hardware and External Devices
Step 1: Disconnect all external devices (USB drives, printers, external monitors, etc.) and attempt to start the laptop. Faulty peripherals can cause power conflicts or crashes during the lock or power-on sequence.
Step 2: If you recently installed new RAM, SSD, or other internal components, remove or reseat them to rule out improper installation or hardware failure. Refer to your laptop's manual for correct procedures and static safety precautions.
Step 3: If the laptop still will not turn on after all previous steps, the motherboard or power delivery circuitry may be defective. At this point, seek professional repair or warranty service.
Systematic troubleshooting of power, battery, and hardware components resolves most cases where a Windows 11 laptop shuts down after locking and fails to restart. Regular maintenance and timely replacement of faulty parts keep your device running reliably.