
If you find the mouse getting stuck, freezing, stuttering, or lagging on your Windows 11 PC, there can be several reasons for that. It can be something as minor as a glitch, but may sometimes also be because your mouse is damaged and needs to be replaced. Other common causes include a defective USB port, a low battery, driver issues, incorrect settings, and others. Dirt can also cause problems with the mouse, preventing it from working properly. There are several potential solutions to these problems that you can try out to get your mouse working properly.
Clean The Mouse and Mouse Pad
Dirt can prevent the mouse from communicating with your PC properly, especially if you are using a wireless mouse. It can block the sensor at the bottom of the mouse and lead to stuttering, lagging, and even cause the mouse to get stuck. Cleaning the mouse and the mouse pad so there is no dirt might be a very basic fix, but it can sometimes be all you need.
Connect To A Different USB Port
The USB port to which you have connected your mouse or mouse dongle may be malfunctioning or might be damaged. Try connecting your mouse to another port and check if it is working properly. If you still run into problems, the port might not be the issue, and you'll have to try out the other fixes mentioned here.
Revert to Default Settings and Disable Smooth Scrolling
Incorrect settings can interfere with the functioning of the mouse, causing it to stutter, lag, or freeze when you try to use it. Resetting the mouse settings to their defaults might help fix this.
- Open the Settings app using the
Win + Ishortcut, click Bluetooth and Devices from the left, and select Mouse.
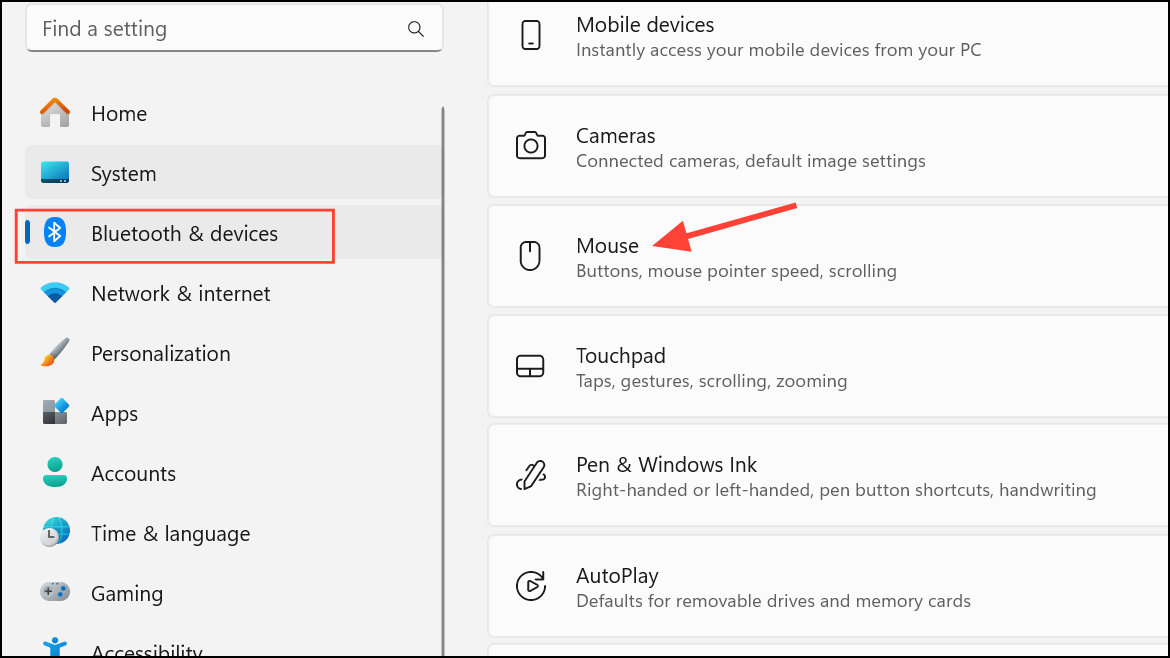
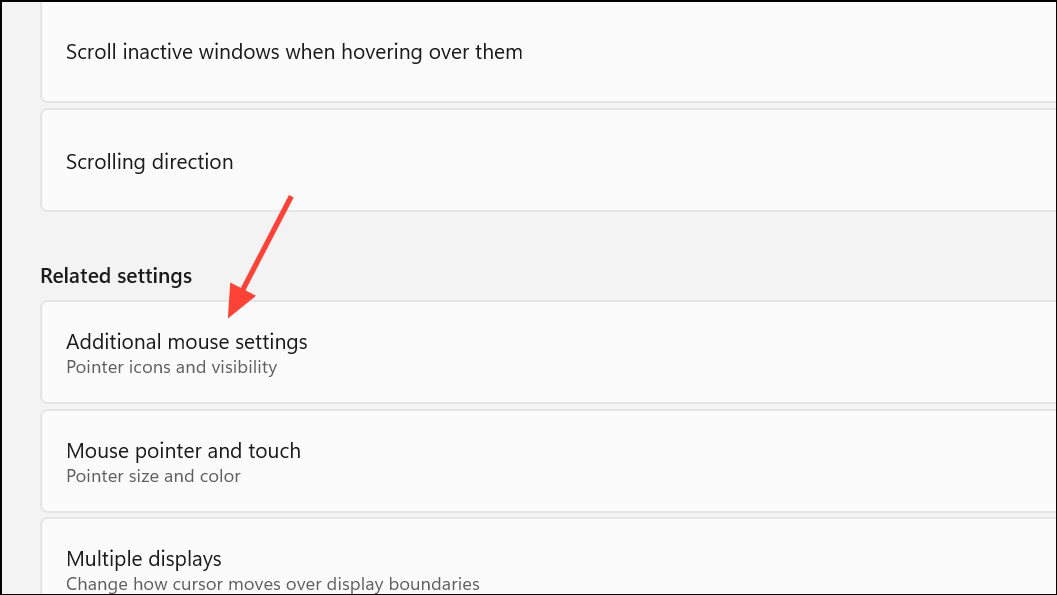
- On the Mouse Settings page, scroll down and select Additional mouse settings.
- When the Mouse Properties dialog box opens, go to the Pointers tab at the top. Then click the Use Default button to reset.
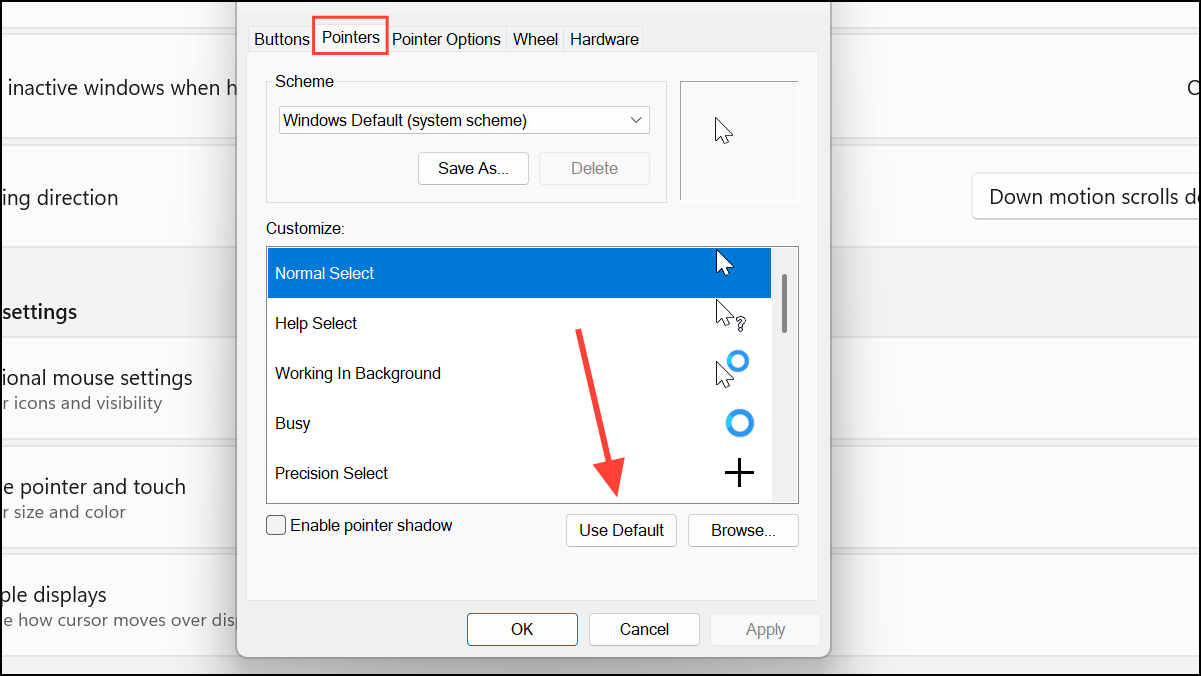
- Click the Apply and OK buttons. Then check whether your mouse is working normally.
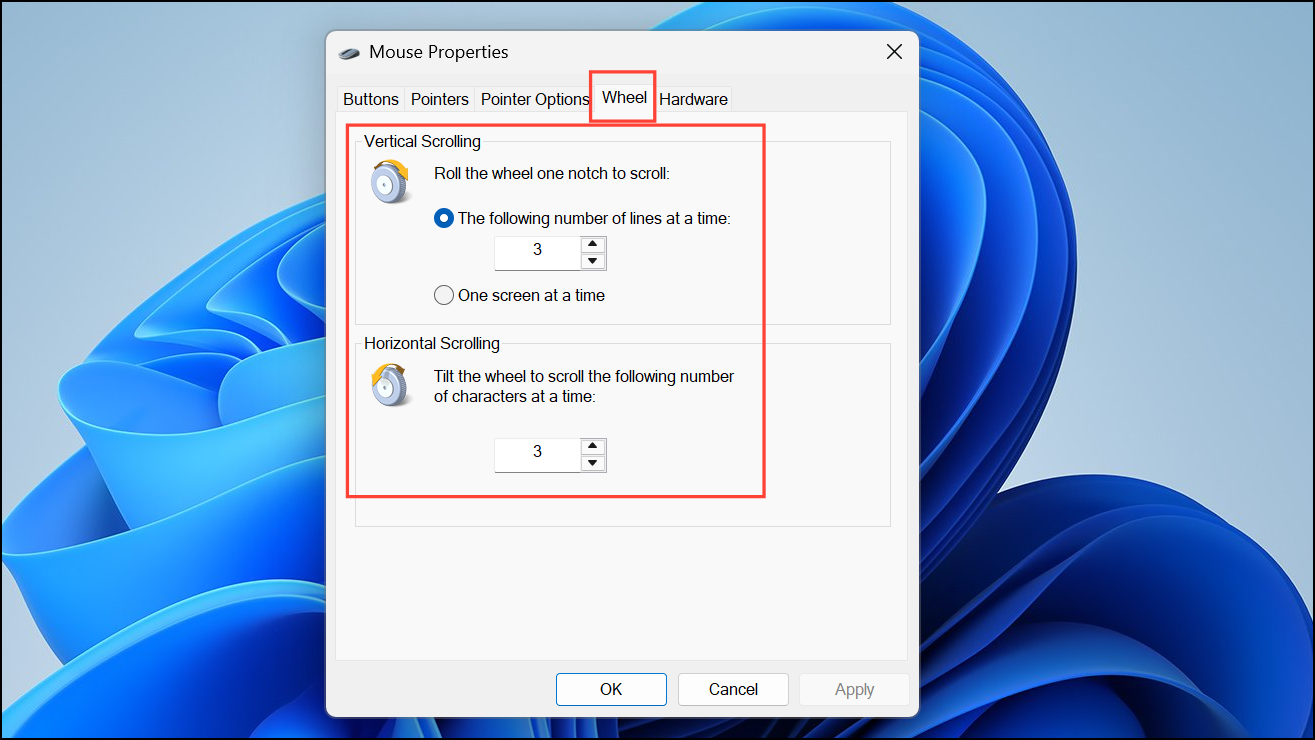
- If it still doesn't work, open the Mouse Properties dialog box again. Go to the Wheel tab at the top and reduce the number of lines and characters to scroll when using the wheel.
Update or Roll Back Mouse Drivers
Outdated or corrupted drivers can cause several issues, like stuttering, lagging, and freezing. You can update the mouse driver to the latest version or roll back to the previous one, depending on which one is working properly.
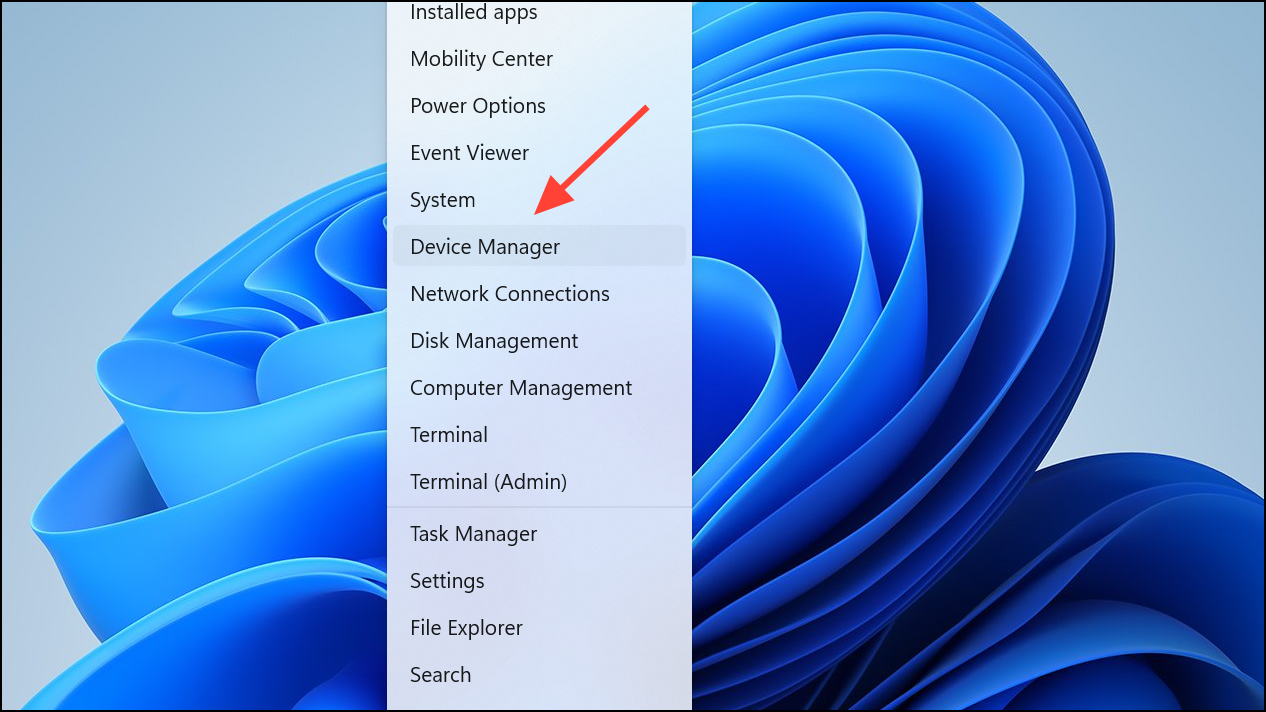
- Right-click the Start button and select Device Manager from the menu.
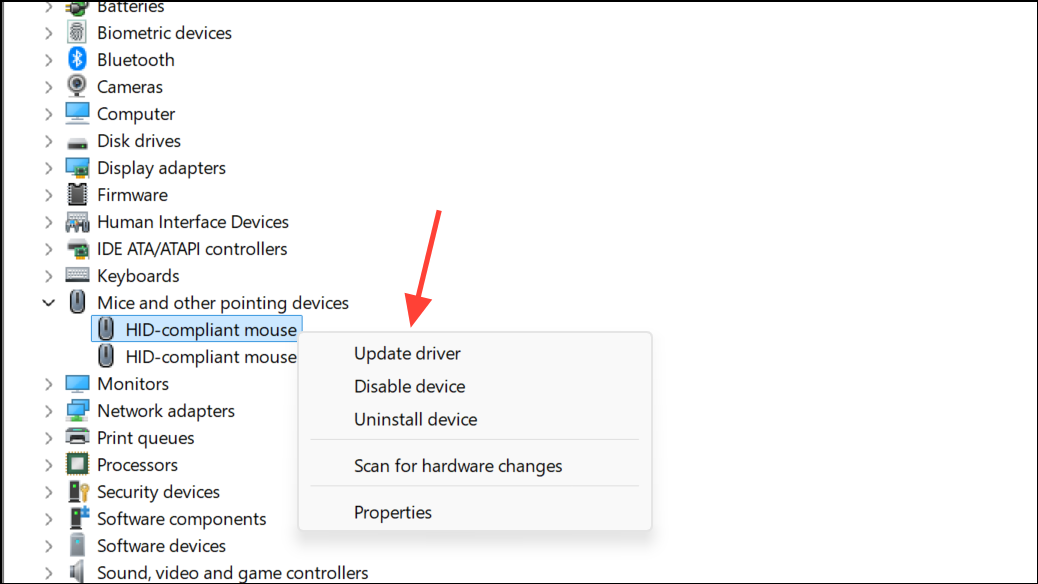
- When the Device Manager opens, expand the Mice and other pointing devices section. Right-click your mouse and select Update driver.
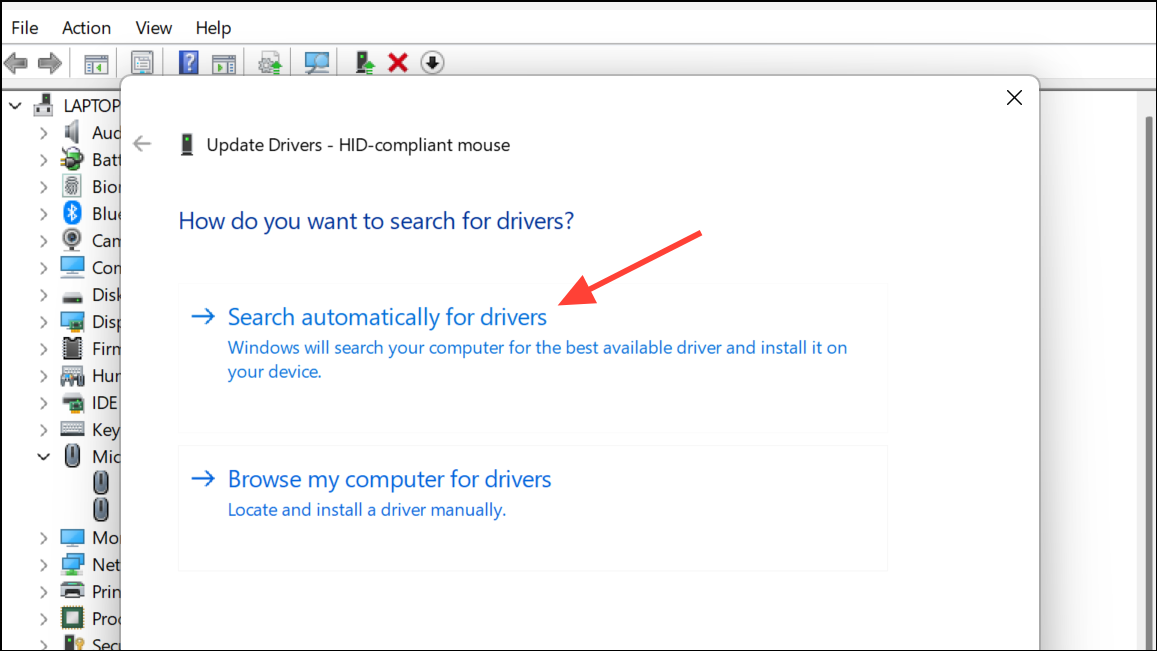
- Select Search automatically for drivers and wait for the drivers to be updated before testing the mouse again.
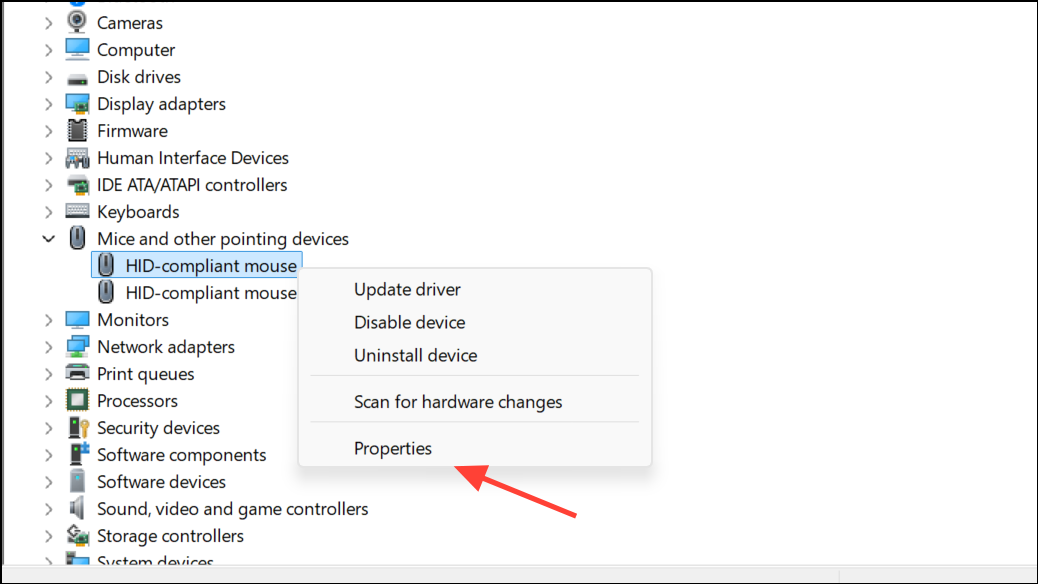
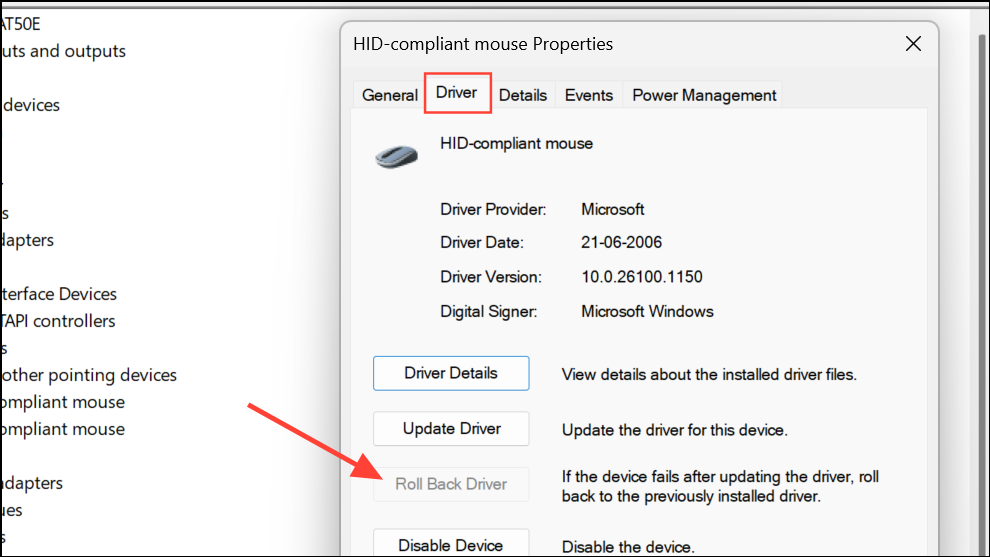
- If this does not fix the issue, open the Device Manager and expand the mouse section again. Right-click your mouse and select Properties.
- In the Properties dialog box, go to the Driver tab at the top. Then click the Roll back driver button to revert to the older driver.
Disable Power Saving For the Mouse
On laptops, Windows can sometimes turn off pointing devices like the mouse to save power. You may find that the mouse is stuck when this happens. To change this, you can turn off the power-saving feature.
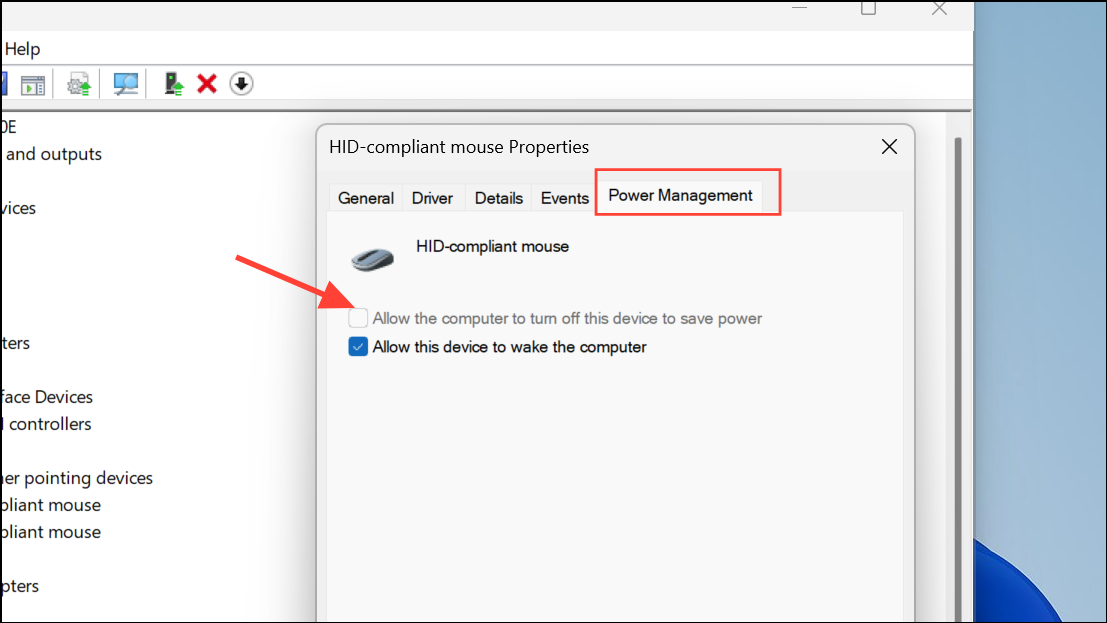
- Open the Device Manager, expand the mouse section, and open the Properties dialog of your mouse as before.
- In the Properties dialog box, go to the Power Management tab and disable the Allow the computer to turn off this device to save power option.
Update Your Graphics Driver
If you're facing issues with your mouse on Windows 11 while doing graphics-intensive tasks, consider updating your graphics drivers. The best way to do so is to visit your PC manufacturer's website and check for graphics driver updates. If updates are available, download and install them. Then reboot your PC and check whether the mouse is functioning properly.
Adjust Touchpad Sensitivity
When lagging and stuttering issues occur with your touchpad, adjusting touchpad sensitivity might help.
- Open the Settings app with the
Win + Ishortcut and go to Bluetooth and Devices > Touchpad.
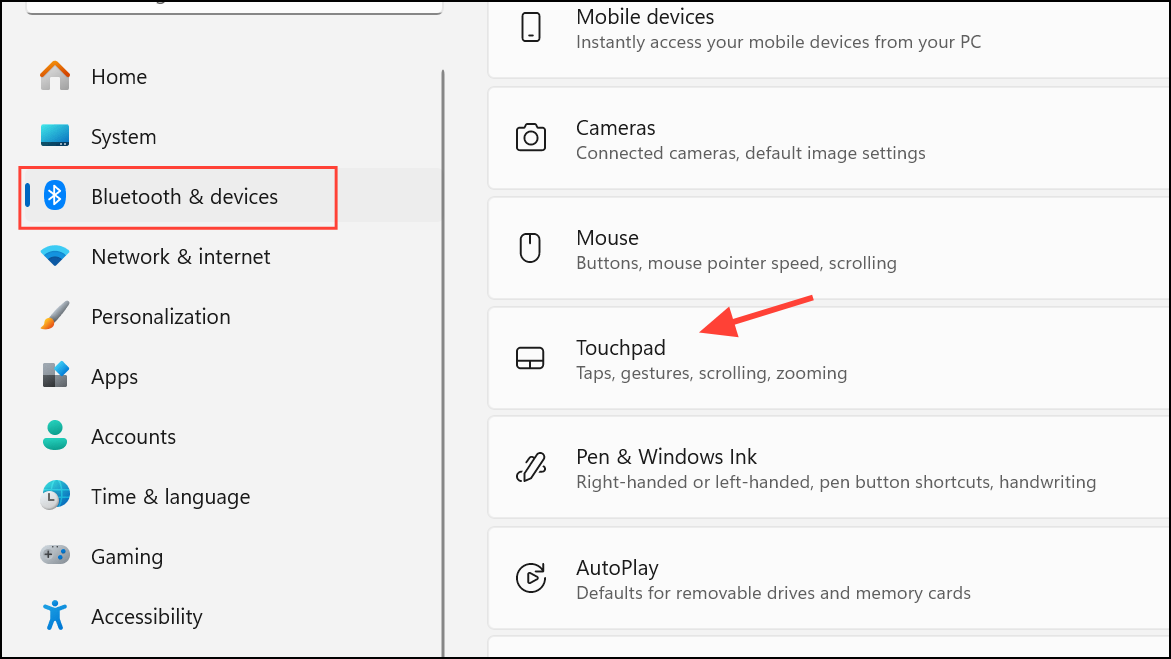
- Expand the Taps section and adjust the sensitivity as needed from the drop-down.

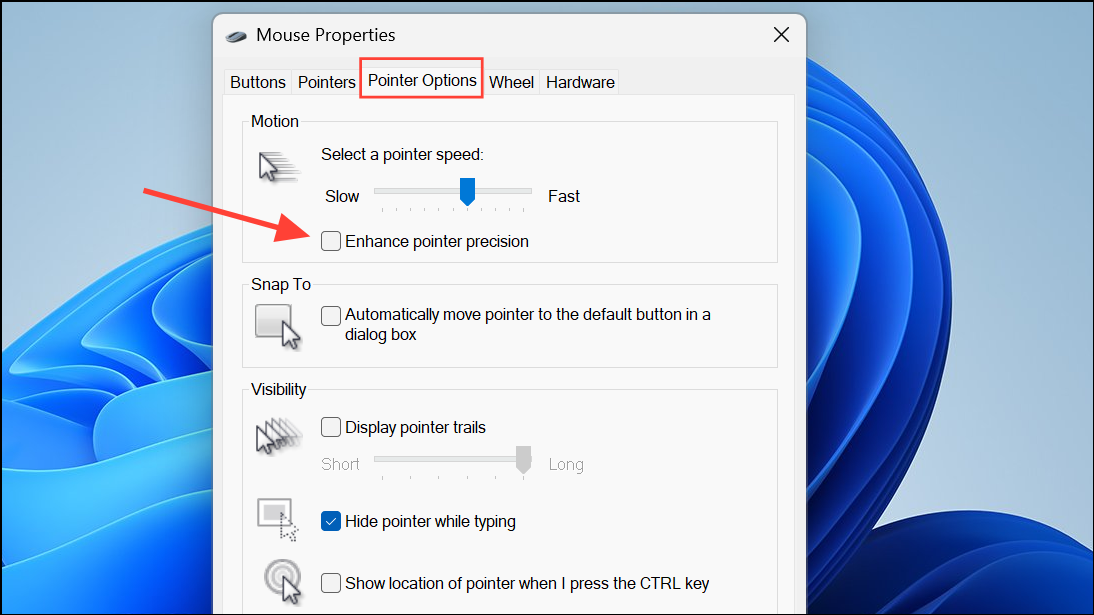
Turn Off Enhanced Pointer Precision
Enhanced Pointer Precision is a feature designed to make the mouse easier to use, but it can occasionally cause issues. Disabling it can sometimes resolve mouse-related errors.
- Open Control Panel, go to Hardware and Sound, and select Mouse.
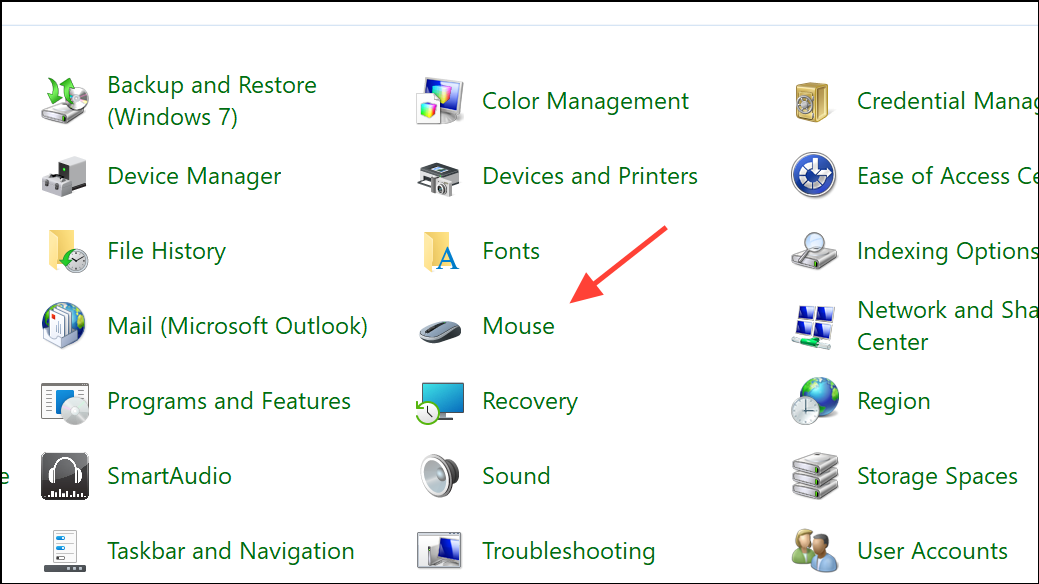
- Go to the Pointer Options tab and disable Enhance pointer precision.
Run Windows Hardware Troubleshooter
Microsoft is replacing the built-in troubleshooters on Windows with the new Get Help feature, but you can still use them to identify and fix issues currently.
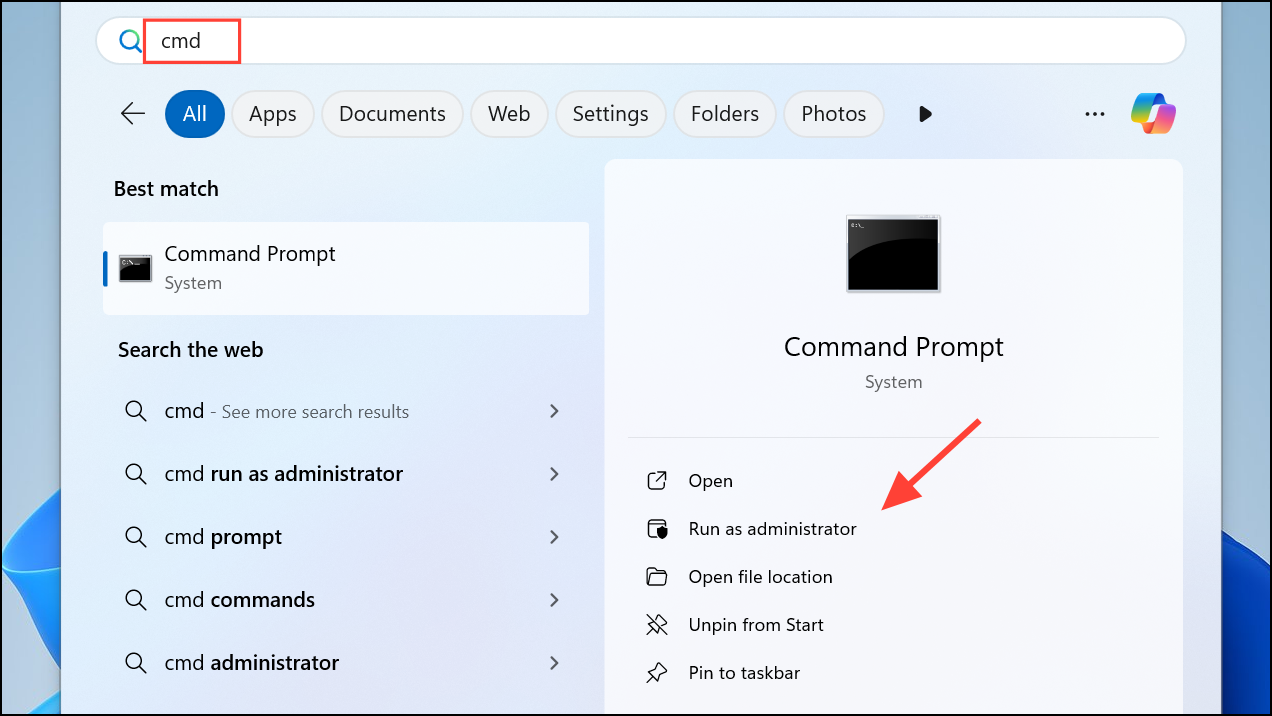
- Open Windows Search, type
cmdand click Run as administrator to open Command Prompt with admin privileges.
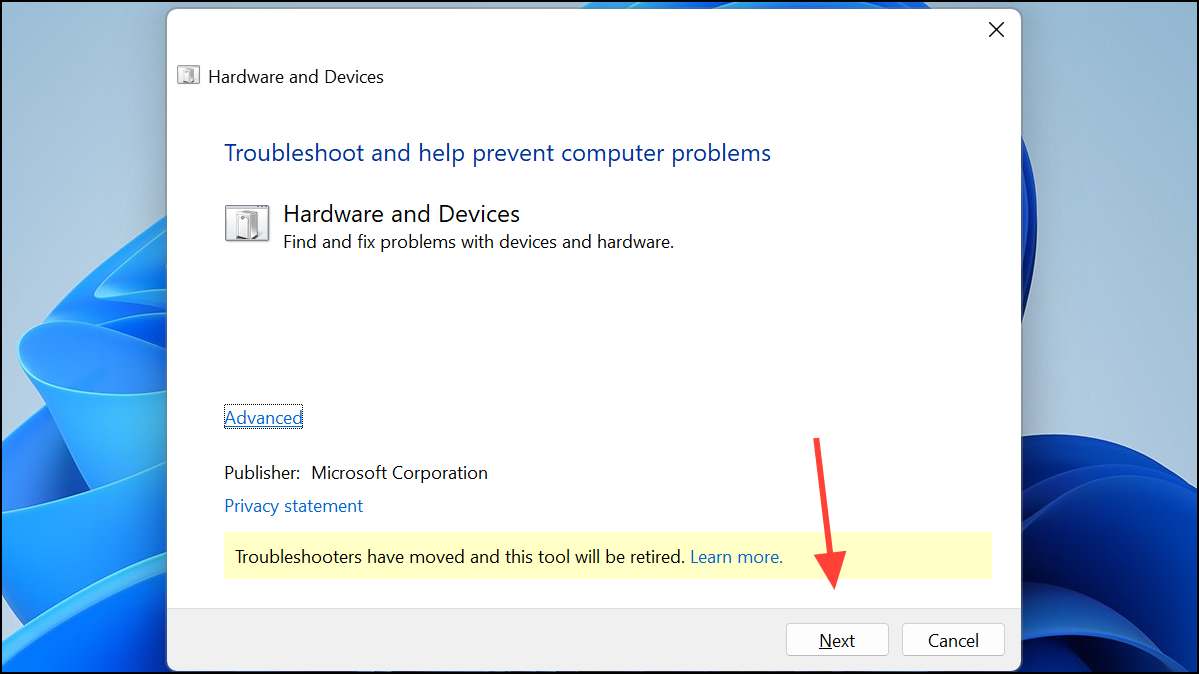
- In the Command Prompt window, type
msdt.exe -id DeviceDiagnosticand press Enter to launch the Hardware Troublehshooter.

- When the troubleshooter opens, click the Next button and follow the instructions on your screen.
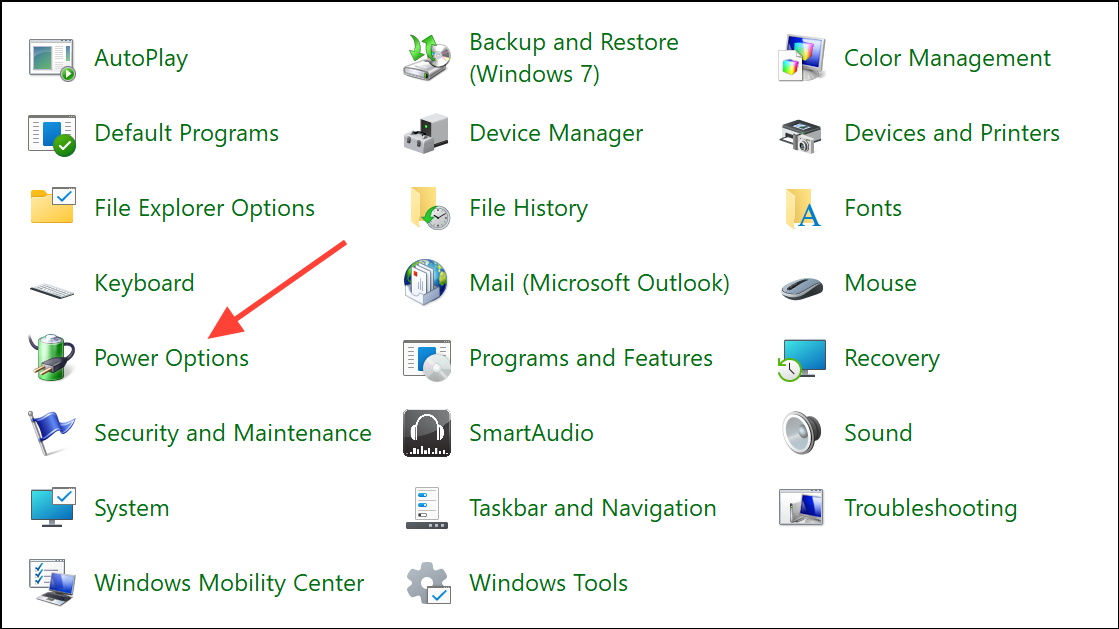
Turn Off Fast Startup
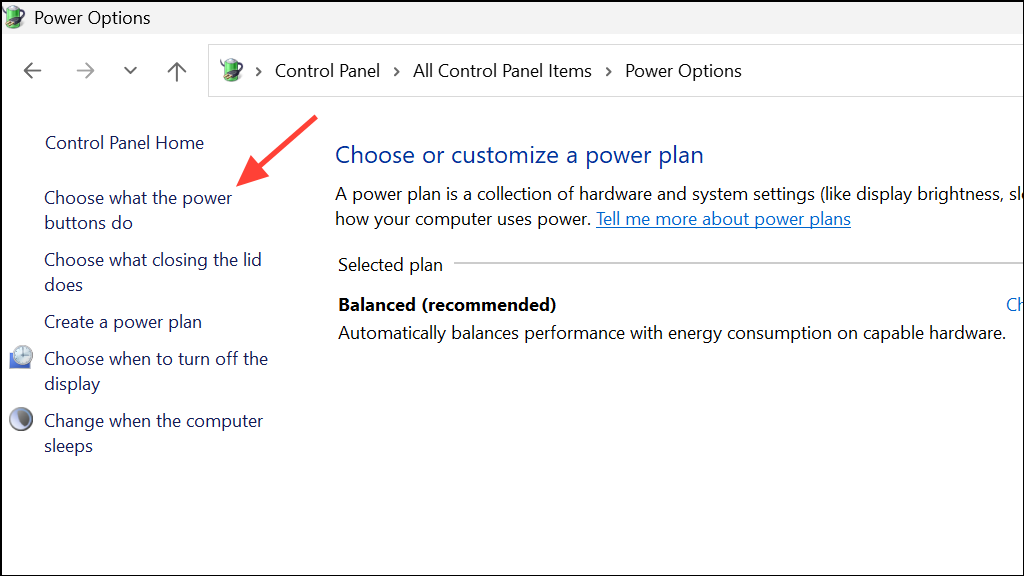
- Open Control Panel and go to Power Options.
- Click Choose what the power buttons do on the left.
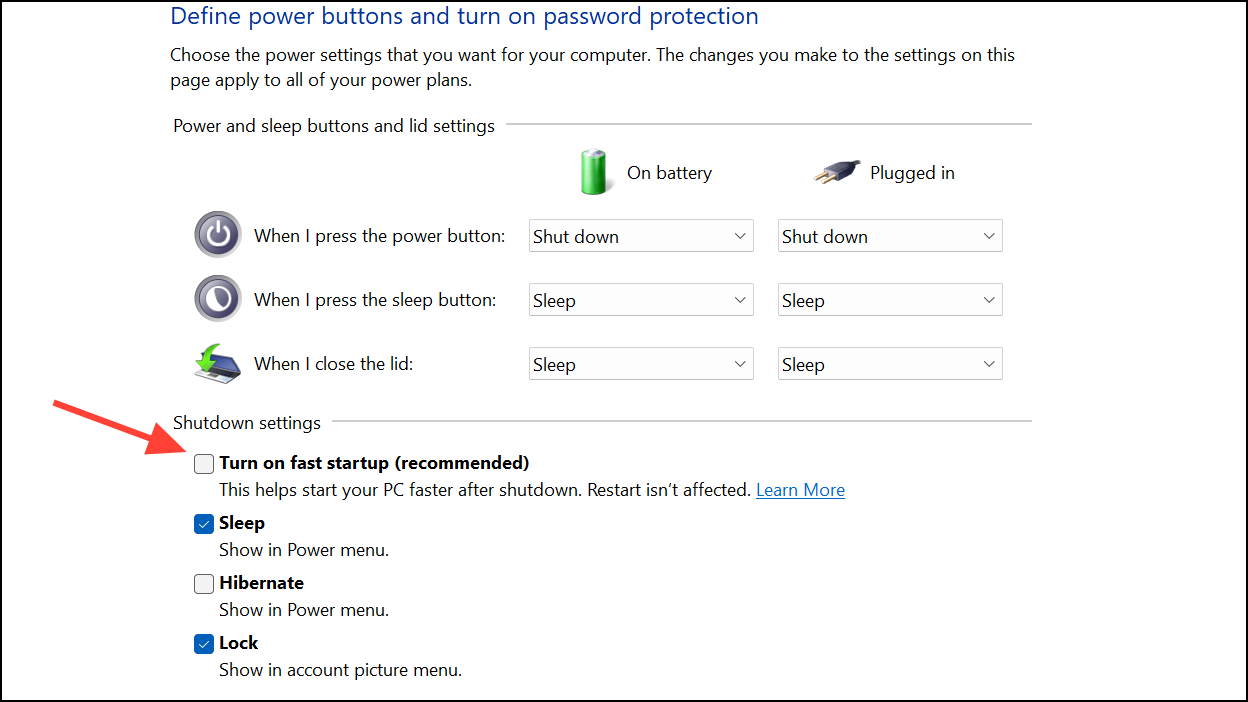
- Click Change settings that are currently unavailable at the top, and then disable Turn on fast startup (recommended). Save the changes.
Restart Windows Explorer
- Right-click the taskbar and select Task Manager.
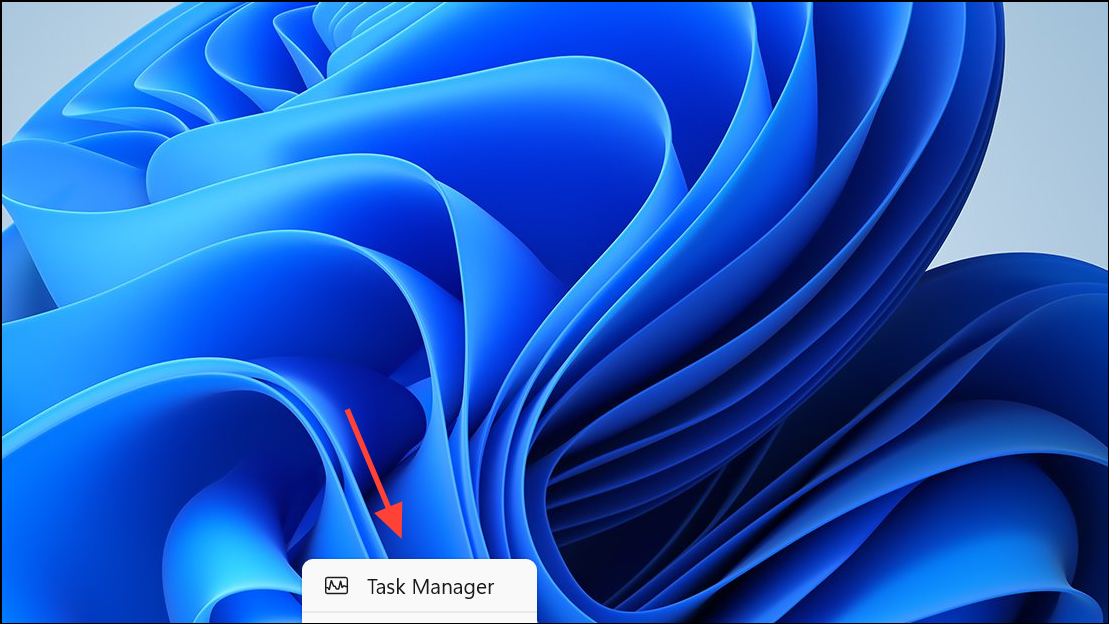
- When the Task Manager opens, right-click the File Explorer in the Processes tab and select Restart.

In addition to the above fixes, you should replace the batteries of your wireless mouse and reduce the distance between the mouse and your PC. If you're using a new mouse, check whether Windows has automatically changed the drivers and remove them from the Device Manager if they are causing problems.